Transforming a chaotic pantry into a streamlined, Pinterest-worthy sanctuary doesn’t require a massive renovation budget or a professional contractor.
In my years of hacking small spaces and upcycling old furniture, I’ve learned that the secret to a tidy kitchen lies in maximizing every vertical inch and choosing shelving solutions that adapt to your lifestyle.
Whether you’re dealing with a tiny reach-in closet or a spacious walk-in, these 12 smart pantry shelving ideas will help you conquer the clutter once and for all.
1. Reclaimed Wood Floating Shelves
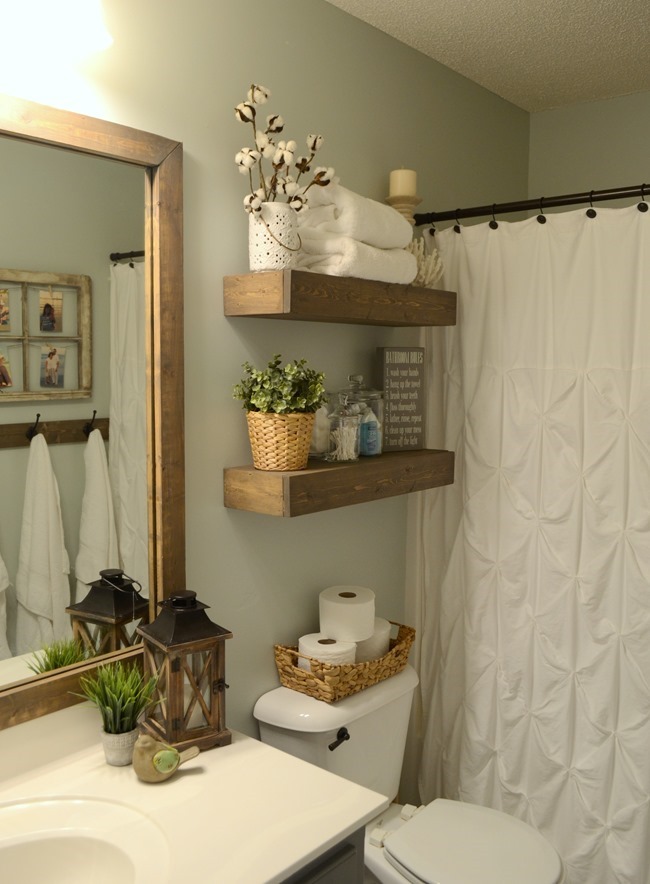
There is something incredibly satisfying about the warmth of real wood against a crisp white pantry wall. I’m a huge fan of using reclaimed wood—think old barn beams or even sturdy pallet wood—to create thick, floating shelves.
Unlike standard wire shelving, solid wood prevents small spice jars from tipping over and can hold significantly more weight.
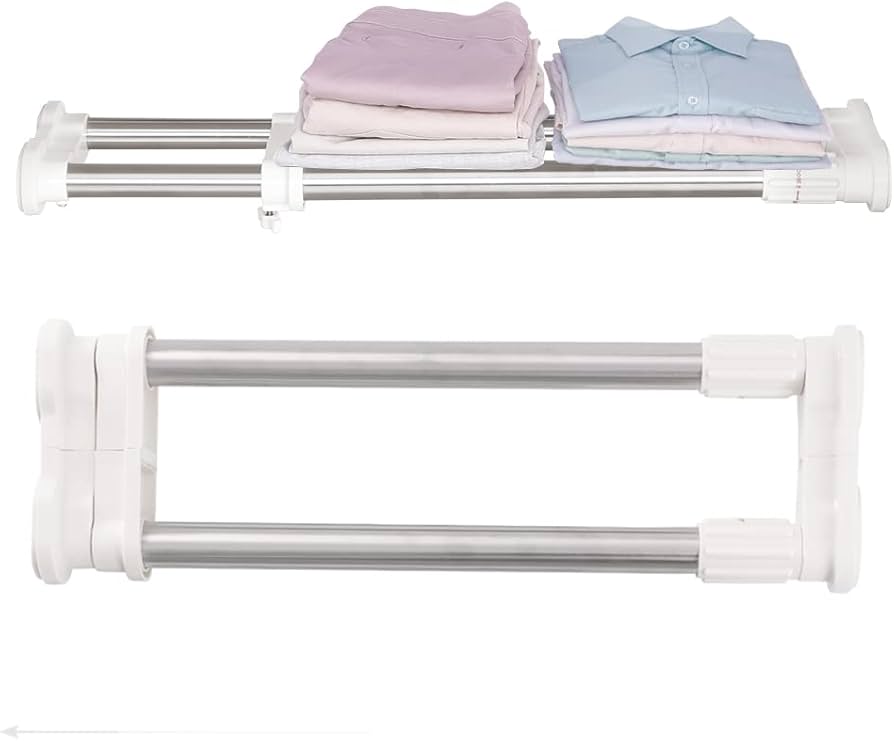
2. Adjustable Wall-Mounted Track Systems
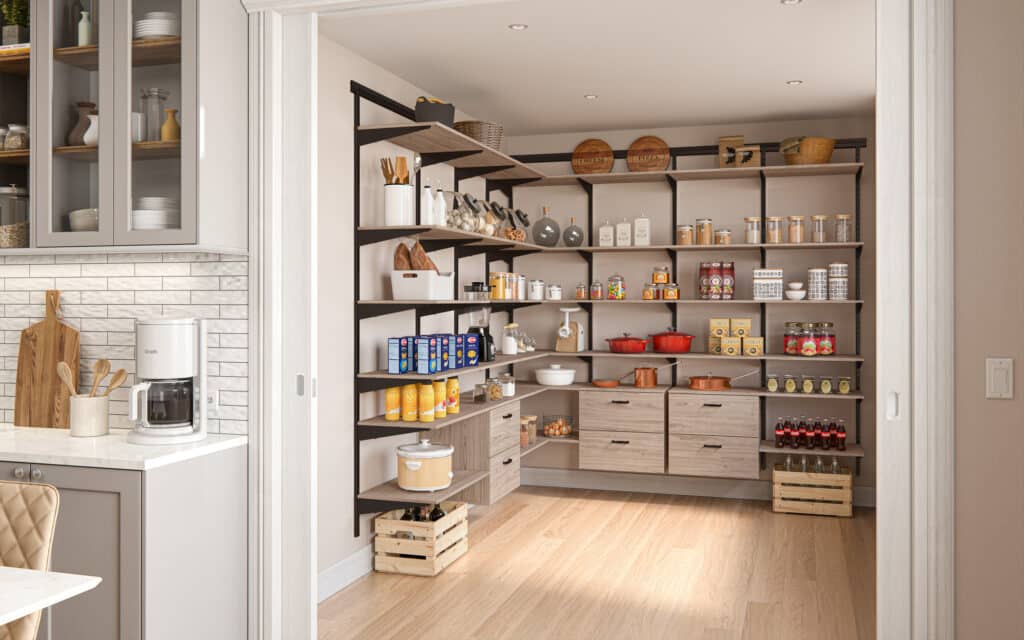
If your storage needs change as often as mine do (one month it’s bulk baking supplies, the next it’s an obsession with air frying), fixed shelves are your enemy.
Adjustable track systems—those vertical metal rails with slots—are the ultimate “smart” shelving. You can pop the brackets out and move the shelves up or down in seconds.
I recommend using the heavy-duty versions. While the lightweight ones are fine for towels, a pantry full of canned goods and gallon-sized vinegar bottles needs the industrial-strength tracks. I like to paint the metal tracks the same color as the wall to make them “disappear” for a cleaner look.
3. DIY Pull-Out Sliding Drawers

We’ve all been there: reaching for a jar of pasta sauce only to find a forgotten, expired tin of sardines from 2018 at the very back of the shelf. Deep shelves are great for capacity but terrible for visibility.
The fix? Convert those deep lower shelves into pull-out drawers. You don’t need to be a master carpenter for this. You can buy pre-made wooden crates or shallow boxes and attach side-mount drawer slides to the existing shelf frame.
- ✓ Pro Tip: Use full-extension slides so you can see every single item, even the ones hiding in the very back corners.
4. The Over-the-Door Command Center
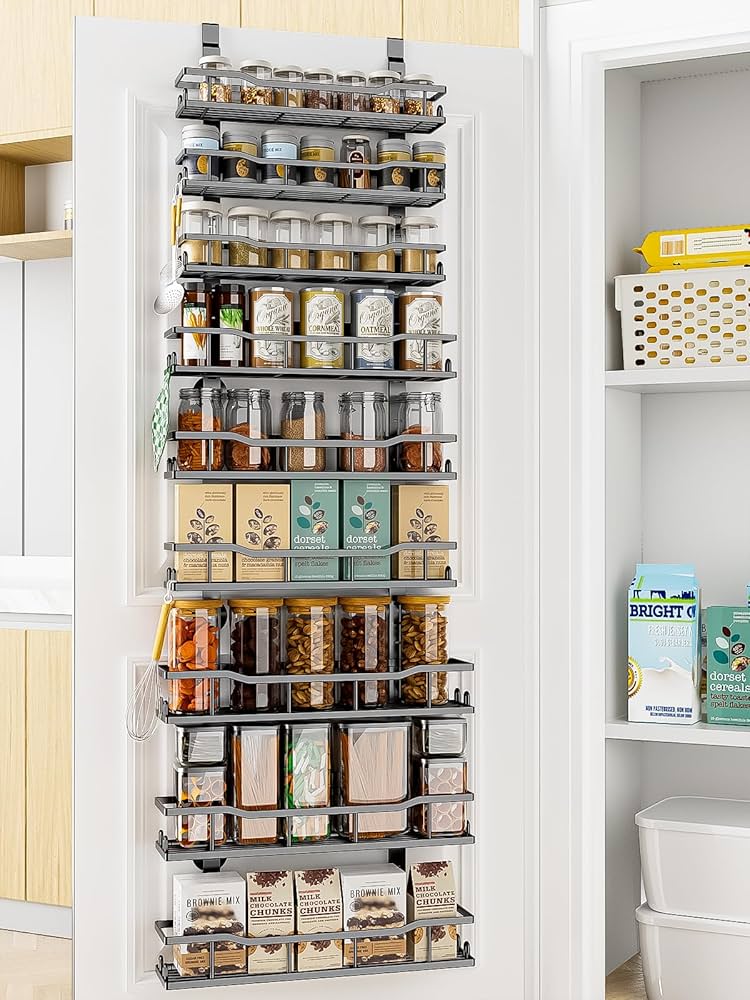
In a small kitchen, the back of the pantry door is prime real estate that usually goes to waste. Instead of those flimsy plastic shoe organizers, I prefer a heavy-duty metal rack system.
This is the perfect spot for “flat” items: aluminum foil, cling wrap, boxes of tea, or snacks for the kids. If you’re a DIYer, you can even build a custom wooden rack using thin strips of pine (lattice strips) to create “fences” that keep items from falling when the door swings.
It’s a game-changer for keeping the main shelves clear for heavier bulk items.
5. Corner Lazy Susans (The Dead-Zone Killer)
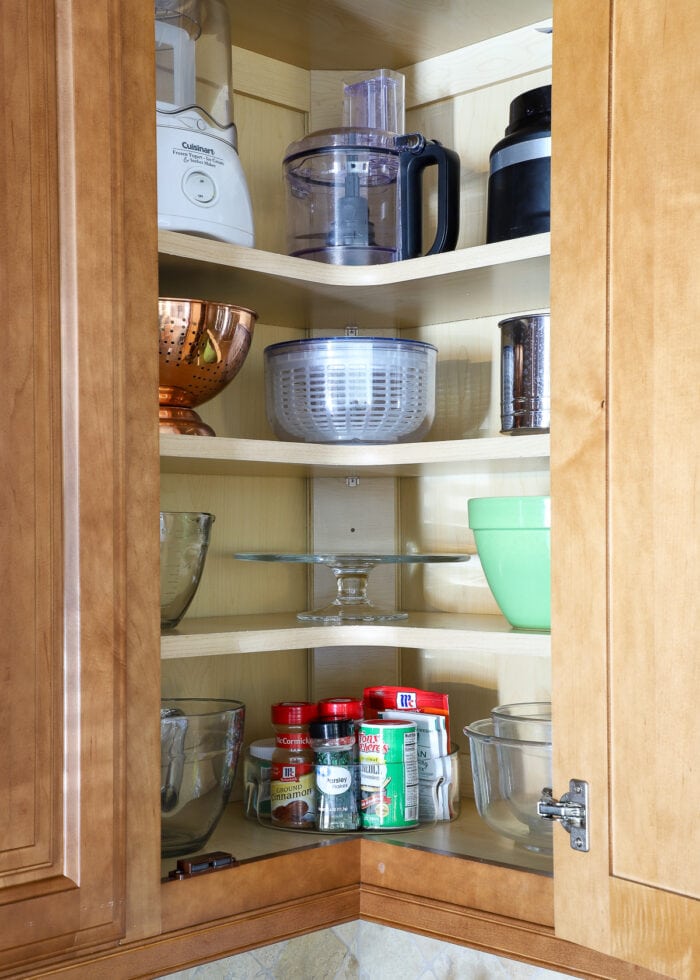
Pantry corners are where snacks go to die. To reclaim this space, install a large-diameter Lazy Susan. I’ve actually made these myself using two circles of plywood and a “turntable bearing” (you can find these for under $10 online).
By making them “tiered” (two or three levels), you can store oils, vinegars, and sauces in a way that makes them accessible with a simple flick of the wrist. No more digging through a dark corner with a flashlight!
6. Tiered “Stadium” Shelving for Canned Goods
If you have shelves that are spaced far apart, you’re likely wasting the top half of that vertical space. “Stadium” shelving—essentially mini stairs for your cans—allows you to see the labels of the back row over the front row.
7. Under-Shelf Wire Baskets
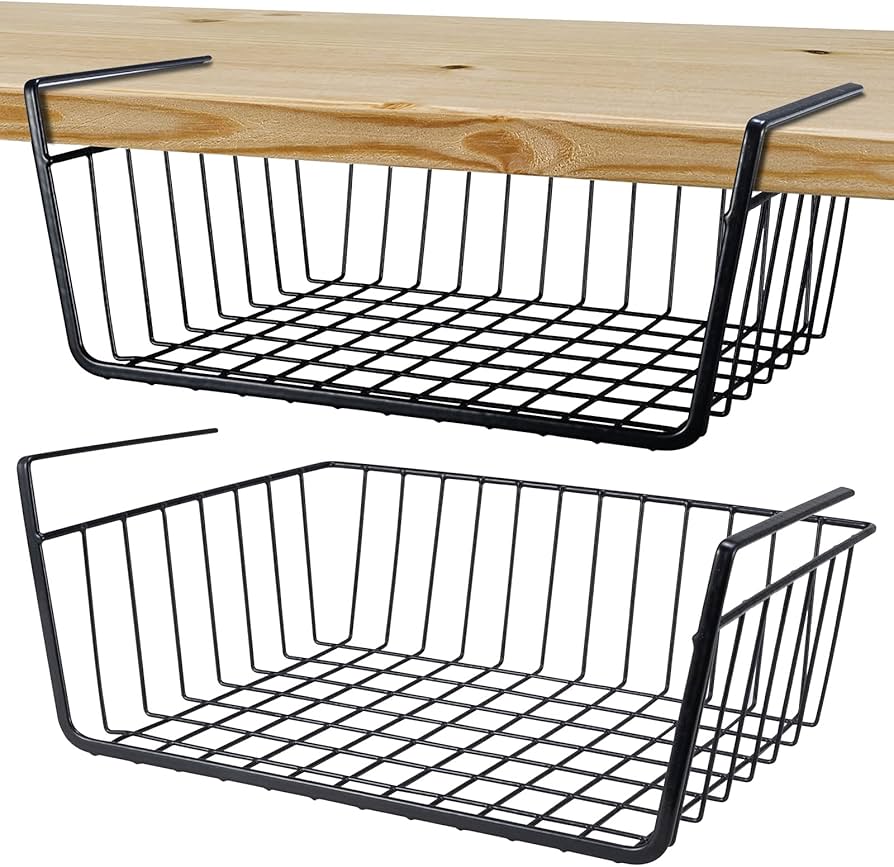
When you can’t add more shelves, add “hanging” storage. Under-shelf baskets slide onto your existing shelves and provide a “mezzanine” level of storage.
These are perfect for lightweight, awkward items like bags of bread, tortillas, or bags of chips that usually get crushed under heavier items. I’ve found that the cheap versions can sometimes sag, so look for the ones with a reinforced frame.
If you’re feeling crafty, you can even screw small wooden “runners” to the underside of a shelf and slide in a plastic bin to act as a hidden drawer.
8. Pegboard Pantry Wall
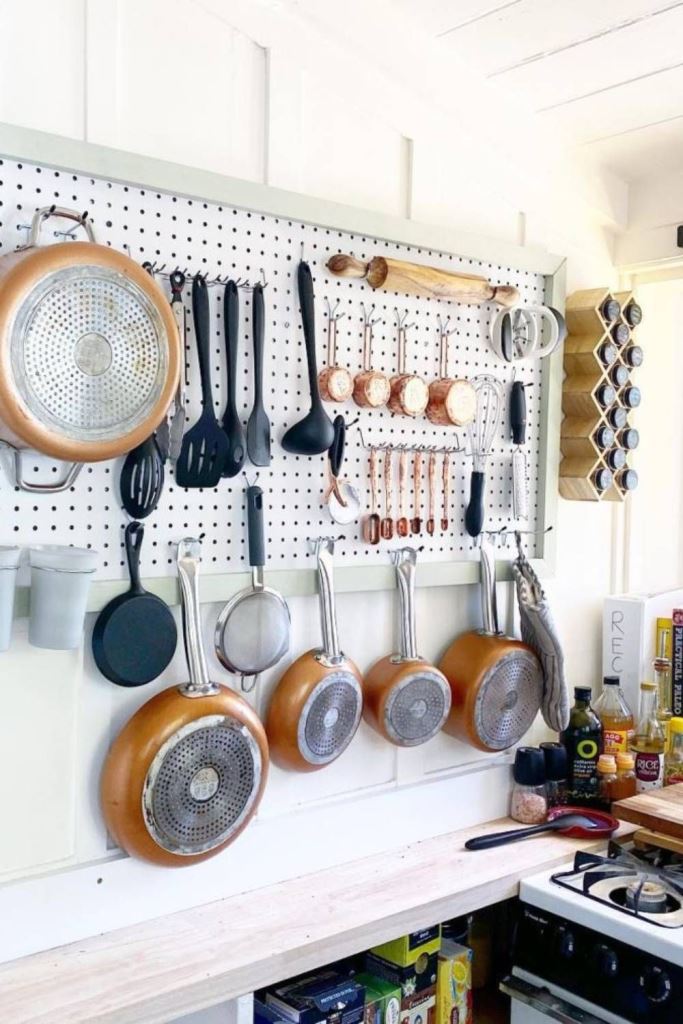
Pegboards aren’t just for garages anymore. If you have a blank wall in your pantry, a floor-to-ceiling pegboard is the ultimate modular shelving solution. You can move hooks, baskets, and small shelves around whenever you want.
I love to spray paint my pegboards a bold color like navy blue or forest green to add some personality. It’s the perfect place to hang your aprons, measuring cups, or even a specialized rack for your rolling pins. It keeps the “tools” out of the way of the “food.”
9. Upcycled Wooden Crate Shelving
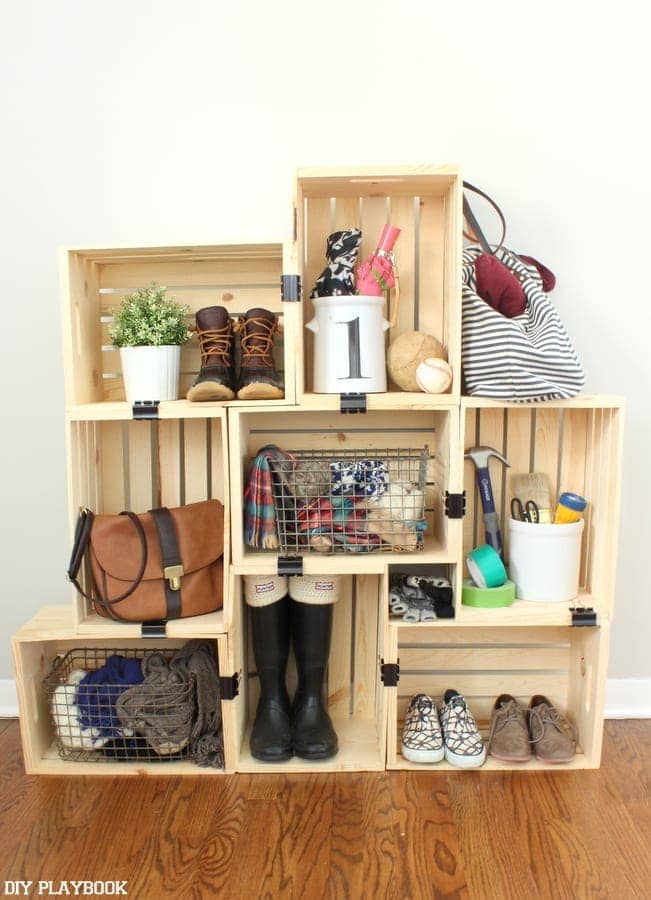
For a farmhouse or boho vibe, nothing beats upcycled wooden crates. You can find these at craft stores or, if you’re lucky, score some old wine crates from a local shop.
The trick here is to secure them to each other and to the wall. I like to stack them in an asymmetrical pattern to create cubbies of different sizes. This is great for bulky items like bags of potatoes or onions that need airflow.
- ⓘ Note: If storing produce, make sure the crates are unfinished or used water-based, non-toxic stains to keep things safe.
10. Industrial Pipe and Wood Shelves
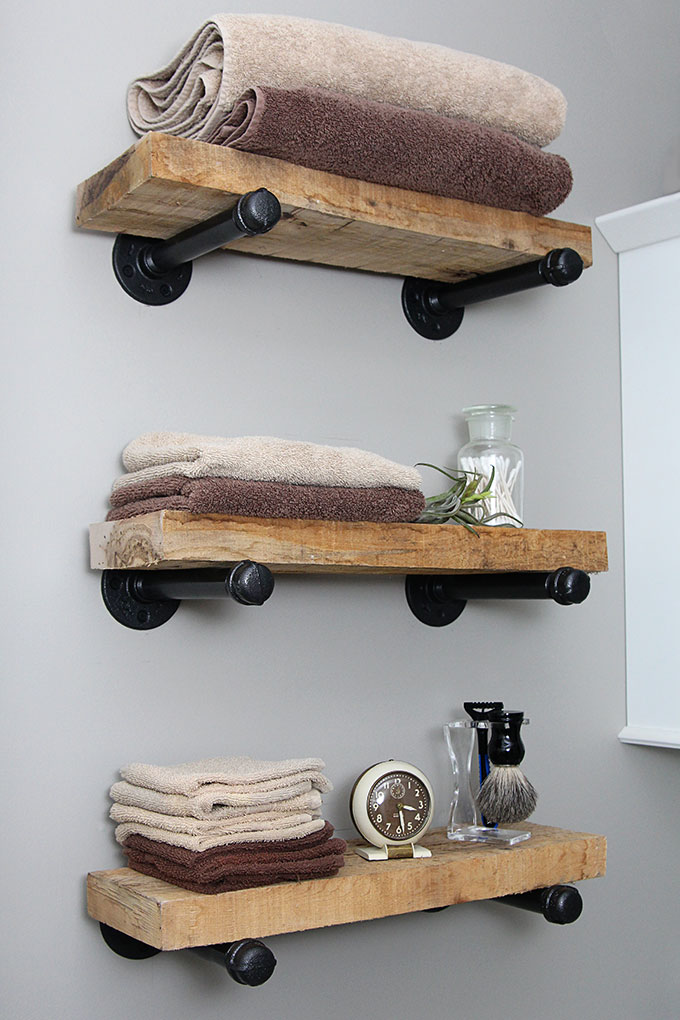
If you want a shelf that can hold 50 pounds of flour and a cast-iron Dutch oven collection without breaking a sweat, industrial pipe shelving is the way to go.
Using black iron pipes from the plumbing aisle and thick chunky wood, you create a look that is both modern and incredibly sturdy. The best part? You can customize the height of every shelf exactly to your containers.
I always recommend cleaning the pipes with mineral spirits before assembly to get rid of the greasy residue they come with from the factory. Finish with a clear coat of spray paint to prevent rusting.
11. Tension Rod Dividers for Slim Storage
This is my favorite “no-drill” hack. If you have a shelf dedicated to baking sheets, cutting boards, or muffin tins, they usually end up in a messy, clattering pile.
By placing small tension rods vertically between two shelves, you create “slots” for these flat items to stand up straight. It makes grabbing a cookie sheet so much easier and utilizes that narrow vertical space that usually goes to waste.
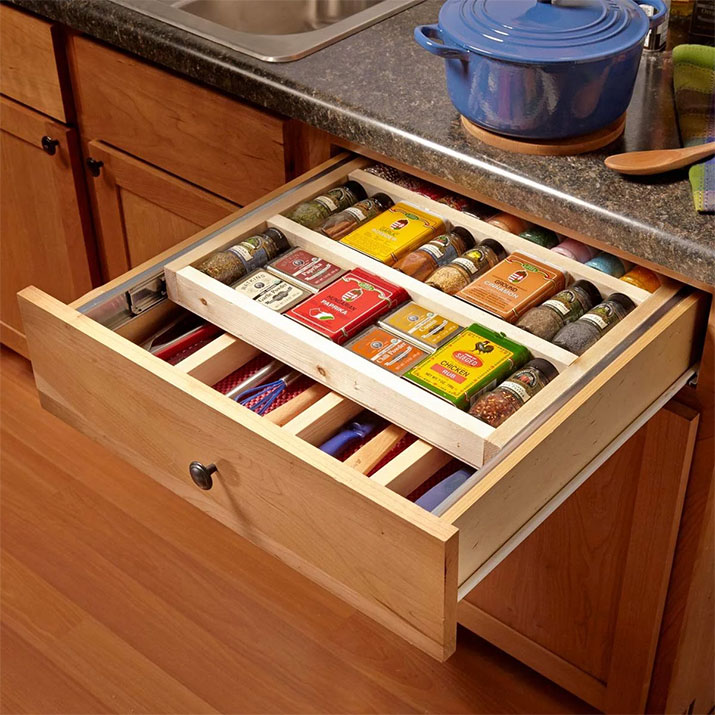
12. Deep Drawer Dividers for Bulk Bins
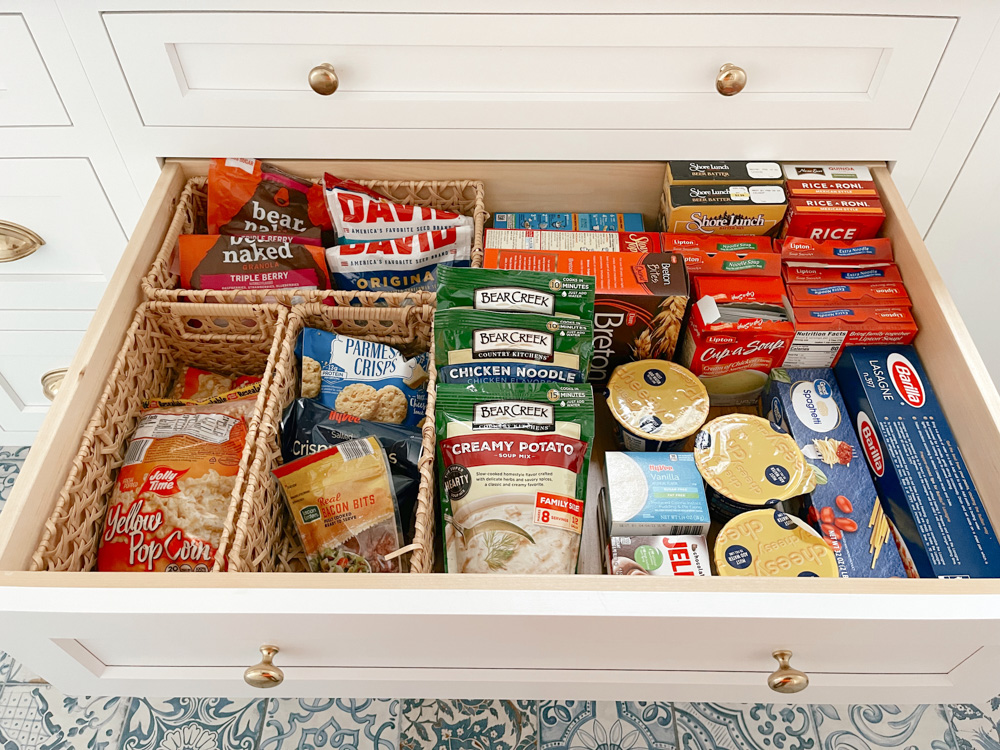
If your pantry has deep built-in drawers at the bottom, they often become a “junk drawer” for bags of rice and pasta. Customizing these with DIY dividers is essential.
I use 1/4 inch plywood to create a grid inside the drawer. This allows me to drop in clear acrylic bins or glass jars for bulk items. Everything stays upright, and nothing gets lost at the bottom. It’s all about creating a “home” for every category of food.
Comparison: Which Shelving Style is Right for You?
| Shelving Type | Best For | Skill Level | Budget |
|---|---|---|---|
| Floating Wood | Aesthetics & Heavy Items | Intermediate | Medium |
| Track Systems | Versatility & Growth | Beginner | Low-Medium |
| Pull-Out Drawers | Deep Cabinets/Accessibility | Advanced | Medium-High |
| Pegboard | Small Tools & Modular Needs | Beginner | Low |
| Industrial Pipe | Extreme Weight & Style | Intermediate | Medium-High |
DIY Pro-Tips for Pantry Success
- ★ Measure Twice, Buy Once: Before you head to the hardware store, measure your tallest cereal box and your widest crockpot. Build your shelf heights around your actual items, not a “standard” measurement.
- ★ Lighting Matters: No matter how great your shelves are, if you can’t see the back, it’s a fail. I highly recommend adding battery-operated LED motion-sensor strips under each shelf. It feels like a luxury upgrade for under $20.
- ★ Label Everything: Once the shelves are up, the job isn’t done. Use a label maker or chalk markers on your bins. When every shelf has a designated “zone” (e.g., Baking, Grains, Snacks), the rest of the family is more likely to keep it tidy.
Frequently Asked Questions (FAQ)
Q: What is the best depth for pantry shelves?
A: For standard reach-in pantries, 12 to 16 inches is ideal. Anything deeper than 16 inches makes it hard to see items in the back unless you use pull-out drawers or Lazy Susans.
Q: Can I install new shelves over existing wire shelving?
A: Yes! Many people “cap” their wire shelves by building a wooden box that slides right over the wire. It gives you the look of solid wood shelves without the demolition.
Q: How do I prevent my wooden shelves from bowing?
A: If your shelves are longer than 3 feet, you need center support. For heavy items like canned goods, use 1-inch thick wood (like “5/4” boards) rather than thin 1/2-inch plywood.
Q: Is it cheaper to build or buy pantry shelving?
A: Generally, building your own using raw lumber or upcycled materials is significantly cheaper and results in a much sturdier product than the “particle board” kits found at big-box stores.
Conclusion
Building a functional pantry is one of the most rewarding DIY projects you can tackle. It’s not just about the wood and the screws; it’s about reducing the daily “kitchen friction” that comes from not being able to find the ingredients you need.
Start small—maybe with a few tension rod dividers or a Lazy Susan—and work your way up to those beautiful floating shelves. Your future, organized self will thank you every time you open that door to grab a snack! Happy crafting!
Leave a Reply