Starting your sewing journey can feel overwhelming, but the secret to success lies in choosing projects that build confidence through simple, straight lines and minimal hardware.
Sewing is a foundational skill for DIY home decor and upcycling, allowing you to transform a yard of cotton or an old bedsheet into something functional and beautiful.
By focusing on quick wins—projects that can be completed in under an hour—you develop the muscle memory needed for more complex tailoring later on.
Before diving into the patterns, it is essential to have a basic toolkit ready.
Essential Beginner Sewing Kit
| Tool | Purpose | Why You Need It |
|---|---|---|
| Fabric Shears | Cutting fabric only | Dull scissors cause jagged edges and fabric fraying. |
| Seam Ripper | Correcting mistakes | Every pro uses this; it’s your best friend when learning. |
| Clear Acrylic Ruler | Measuring and marking | Ensures your rectangles and squares are perfectly straight. |
| Glass Head Pins | Holding fabric together | These won’t melt if you accidentally iron over them. |
| Universal Needles | Machine sewing | A fresh 80/12 needle works for most beginner fabrics. |
1. The Classic Envelope Pillow Cover
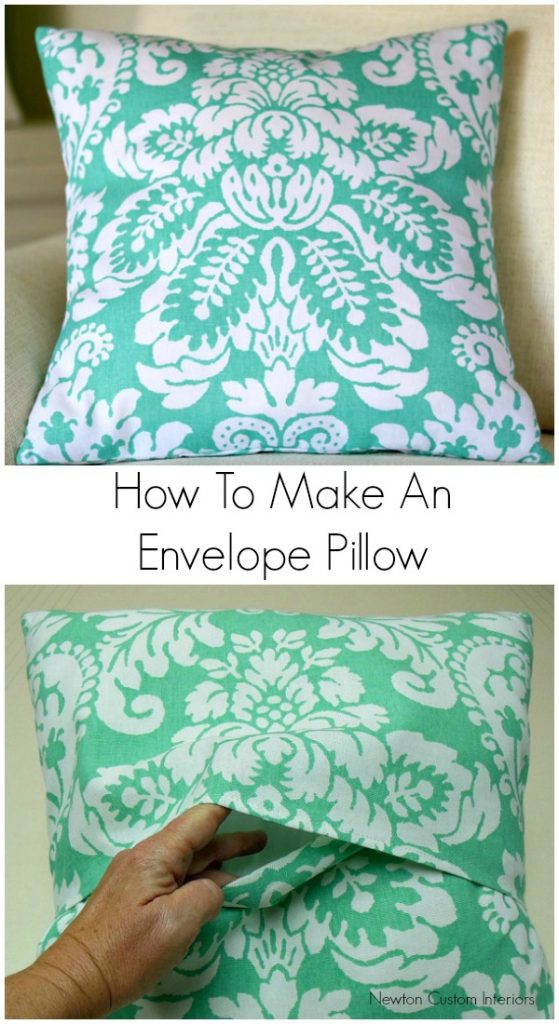
The envelope pillow cover is the ultimate first project. It requires no zippers, no buttons, and only straight-line stitching.
It is the fastest way to update your living room decor using high-quality upholstery fabric or upcycled linens.
How to Make It:
- • Measure your pillow insert: Common sizes are 18″x18″.
- • Cut your fabric: You need one long piece. The width should be the pillow size plus 1 inch (19″). The length should be double the pillow size plus 6 inches for the overlap (42″).
- • Hem the short ends: Fold the short edges over by 1/2 inch, press, fold again, and sew.
- • Fold and pin: Lay the fabric right-side up. Fold the ends toward the center so they overlap, creating a square that matches your pillow size.
- • Sew the sides: Stitch down the two open sides with a 1/2-inch seam allowance. Turn it right-side out, and you’re done!
2. Reusable Grocery Tote Bag
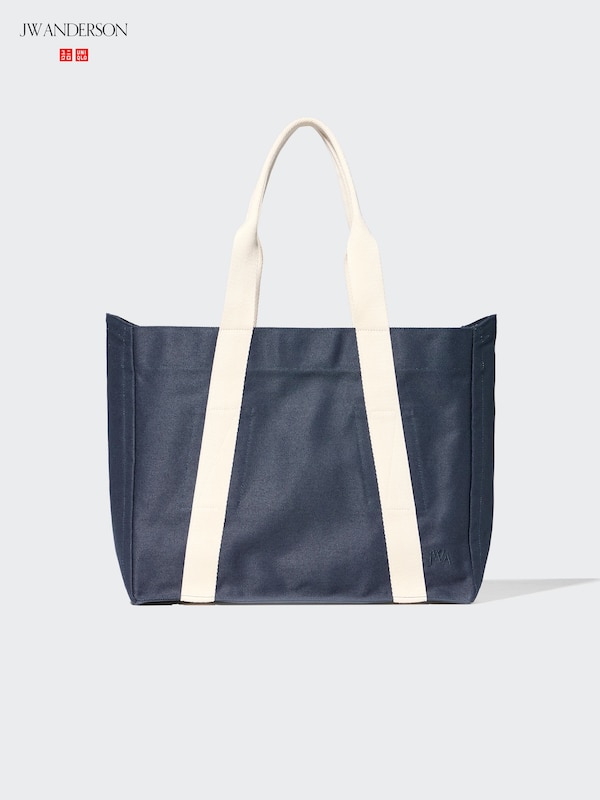
Ditch plastic bags for good with a custom canvas tote. This project teaches you how to create boxed corners, which gives bags a flat bottom so they can stand upright.
How to Make It:
- • Cut two rectangles: 15″ x 18″ is a standard size.
- • Create the straps: Use heavy-duty webbing or sew tubes of matching fabric.
- • Sew the body: Place the rectangles right sides together and sew the sides and bottom.
- • Box the corners: Flatten the bottom corner into a triangle shape, sew across the point, and trim. This creates depth.
- • Attach straps: Fold the top edge of the bag down twice to create a clean hem, tuck the straps under the fold, and stitch a box X pattern for strength.
3. Simple Drawstring Gift Pouch

Drawstring pouches are perfect for eco-friendly gift wrapping or organizing jewelry.
This pattern introduces the concept of a casing—a hollow channel for a cord or ribbon.
How to Make It:
- • Cut two rectangles: Any size works (e.g., 6″ x 8″).
- • Sew sides and bottom: Leave the top 2 inches of the side seams open.
- • Create the casing: Fold the top edge down 1/4 inch, then again by 1 inch. Sew along the bottom of this fold, ensuring you don’t sew the bag shut.
- • Thread the cord: Use a safety pin to guide a ribbon through the casing and tie the ends.
4. Mitered Corner Cloth Napkins

Upgrading to cloth napkins is a sustainable home decor move.
The challenge here is the mitered corner, which results in a professional, pointed finish rather than a bulky, folded one.
How to Make It:
- • Cut a 18″ square: Use linen or 100% cotton.
- • Press the edges: Fold all edges in by 1/2 inch, then another 1/2 inch. Press well.
- • The Miter Trick: Unfold the corners. Fold the corner tip inward diagonally. Re-fold your pressed edges, and the corner will meet in a perfect 45-degree angle.
- • Topstitch: Sew all the way around the inner edge of the fold.
5. The 10-Minute Hair Scrunchie
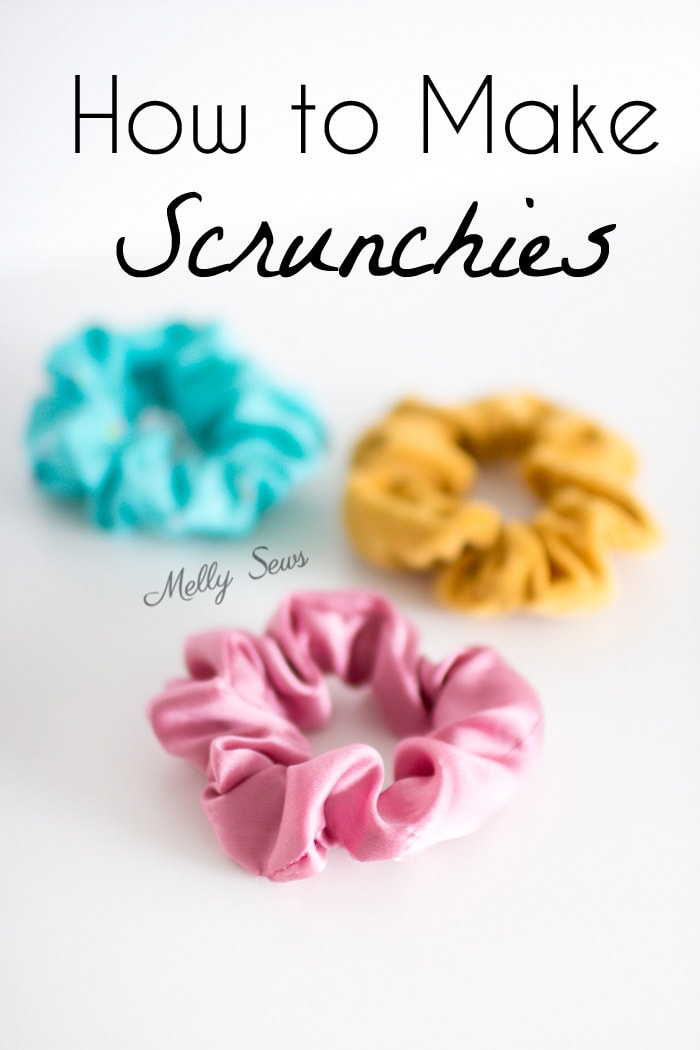
Scrunchies are the perfect way to use up cabbage—the industry term for fabric scraps.
They teach you how to sew a tube and turn it right-side out.
How to Make It:
- • Cut fabric: A strip 3″ wide by 18″ long.
- • Sew the tube: Fold lengthwise, right sides together, and sew the long edge to make a long tube.
- • Turn and elasticize: Turn the tube right-side out. Thread an 8-inch piece of elastic through using a safety pin.
- • Close the loop: Tie the elastic ends in a knot. Tuck one raw end of the fabric tube into the other and topstitch to close.
6. DIY Fabric Coasters
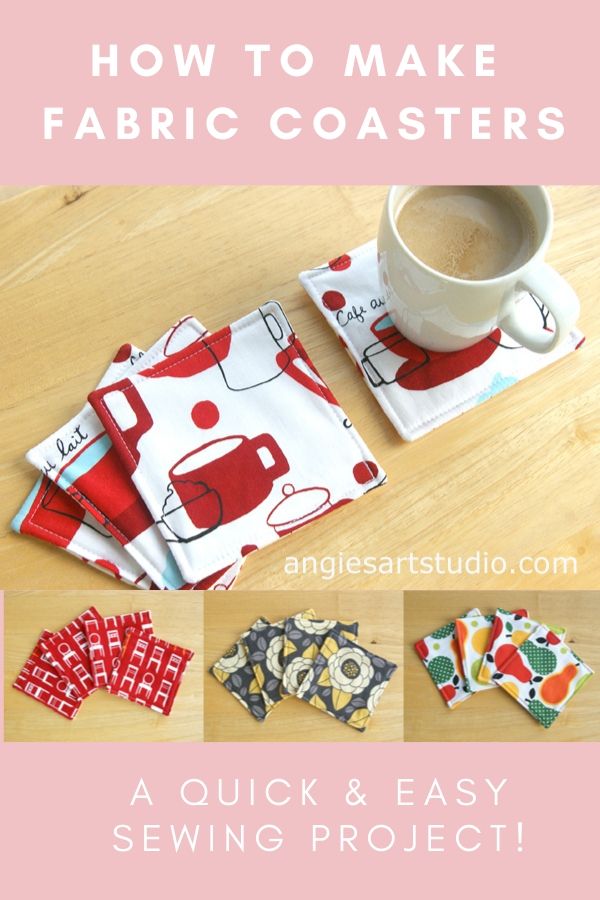
Coasters allow you to practice topstitching—the visible decorative stitching on the outside of a project.
They also introduce batting (stuffing layer) to add heat resistance.
How to Make It:
- • Cut squares: Two 5″ squares of fabric and one 5″ square of quilt batting.
- • Layer: Stack the batting, then the two fabric squares (right sides facing each other).
- • Sew and flip: Sew around the perimeter, leaving a 2-inch gap. Trim corners, flip right-side out through the gap, and press.
- • Finish: Topstitch 1/8 inch from the edge all the way around; this closes the gap and gives a crisp look.
7. Elastic Waist Lounge Skirt
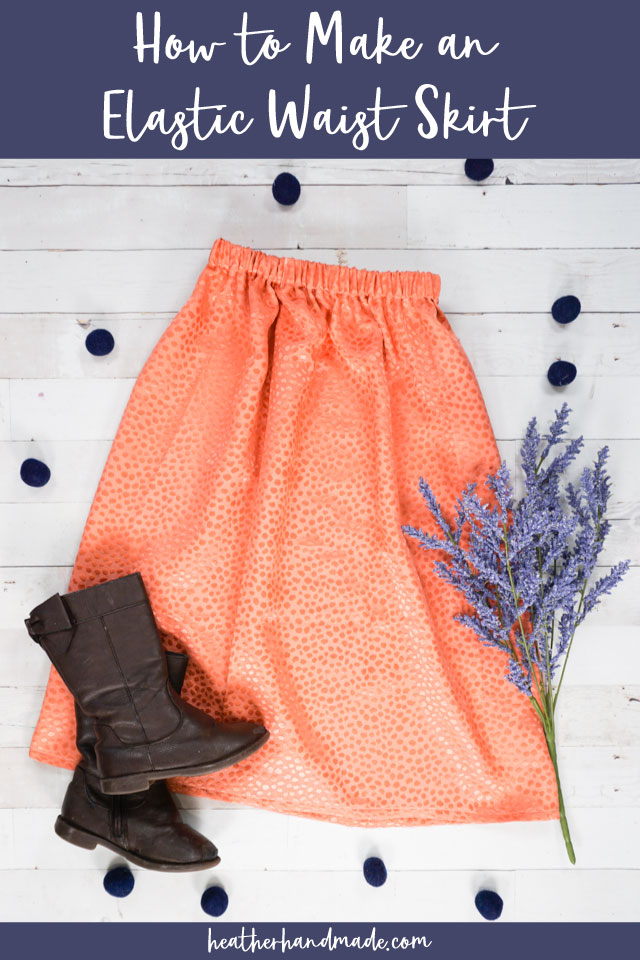
Ready to wear your crafts? An elastic waist skirt is the easiest garment to make because it requires no complex fitting or zippers.
How to Make It:
- • Measure: Measure your widest part (hips) and the desired length.
- • Cut: Two rectangles. Width = (Hip measurement + 10 inches) divided by 2. Length = Desired length + 3 inches for the waistband.
- • Side Seams: Sew the two rectangles together at the sides.
- • The Waistband: Fold the top edge down 1.5 inches to create a casing. Leave a small gap to insert 1-inch wide elastic.
- • Finish: Sew the elastic ends together, close the gap, and hem the bottom.
8. Microwaveable Rice Heating Pad
This is a functional upcycling project. Use old 100% cotton flannel shirts or pillowcases.
Important: Never use fabric with metallic threads or synthetic fibers (like polyester) as they can melt or spark in the microwave.
How to Make It:
- • Cut: Two 7″ x 12″ rectangles of 100% cotton.
- • Sew: Right sides together, sew around the edges, leaving a 3-inch opening.
- • Fill: Turn right-side out and fill 3/4 full with plain dried rice or flaxseeds.
- • Seal: Hand-sew or machine-stitch the opening shut.
9. Infinity Scarf
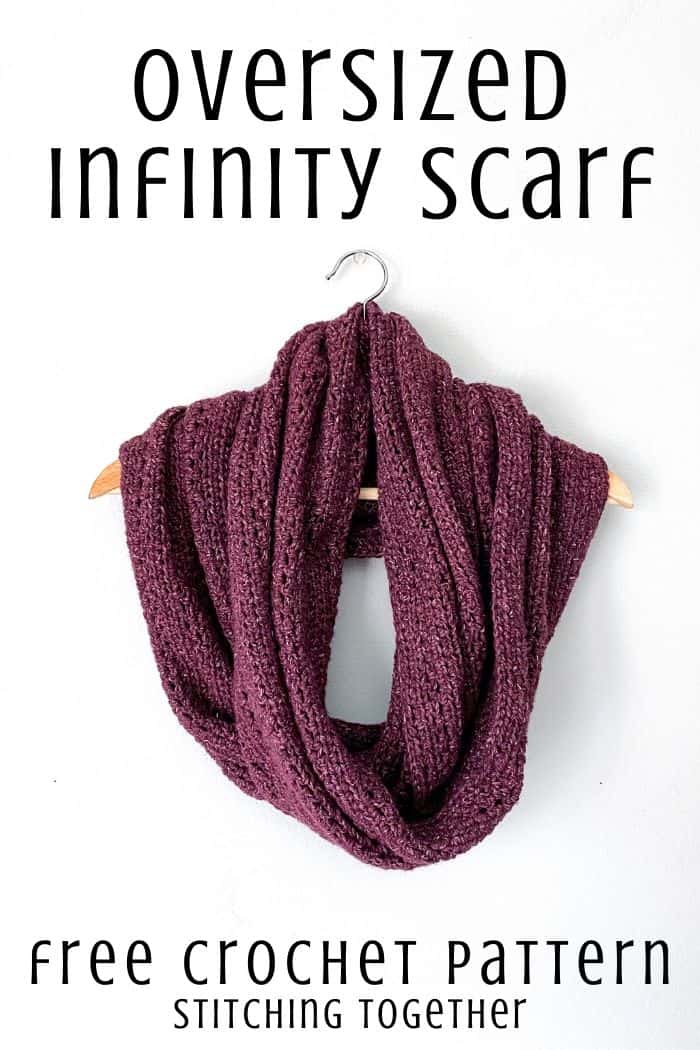
An infinity scarf is essentially one large loop of fabric. It’s a great project for practicing with lightweight knits or soft flannels.
How to Make It:
- • Cut: A piece of fabric 20″ wide by 60″ long.
- • Long Seam: Fold lengthwise, right sides together, and sew the long edge to make a long tube.
- • The Loop: Reach through the tube, grab the other end, and pull it through so the short raw edges meet, right sides together.
- • Final Seam: Sew around the short circular edge, leaving a small gap. Pull the scarf through the gap and hand-stitch it closed.
10. Zippered Pencil Case or Makeup Bag
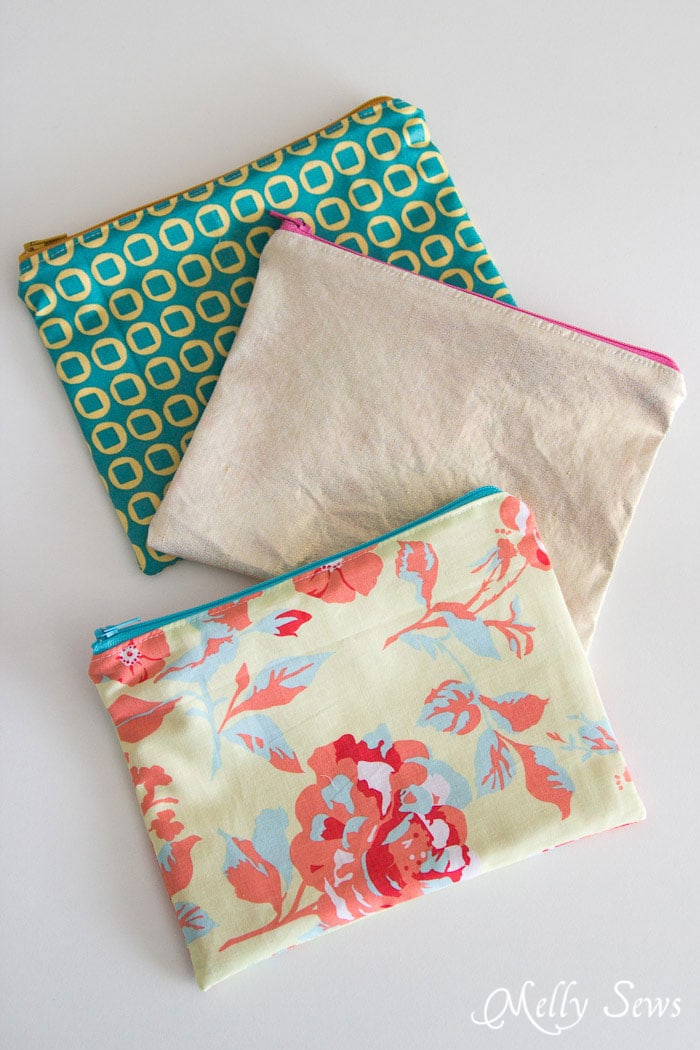
Many beginners fear zippers, but a flat pouch is the best place to start.
This project teaches you how to use a zipper foot on your machine.
How to Make It:
- • The Sandwich: Lay your zipper face down on the right side of your fabric rectangle. Place your lining fabric on top. Sew along the zipper edge.
- • Repeat: Do the same for the other side of the zipper with your remaining fabric pieces.
- • Open the Zipper: Crucial step! Open the zipper halfway.
- • Sew the perimeter: Match the exterior fabrics together and the lining fabrics together. Sew all the way around, leaving a gap in the lining.
- • Flip: Pull the bag through the lining gap, then push the lining inside.
11. Self-Binding Baby Blanket
This project looks high-end but relies on a simple mathematical trick where the back fabric is larger than the front, causing it to wrap around to the front as a binding.
How to Make It:
- • Cut: One 30″ square for the front and one 40″ square for the back (using minky or flannel).
- • Center and Pin: Find the center of each side and pin the smaller square to the larger one. The larger fabric will bunch at the corners—this is normal.
- • Sew: Sew the sides, stopping 1/4 inch from each corner.
- • Miter Corners: Fold the excess corner fabric and sew a diagonal line to create a crisp mitered edge.
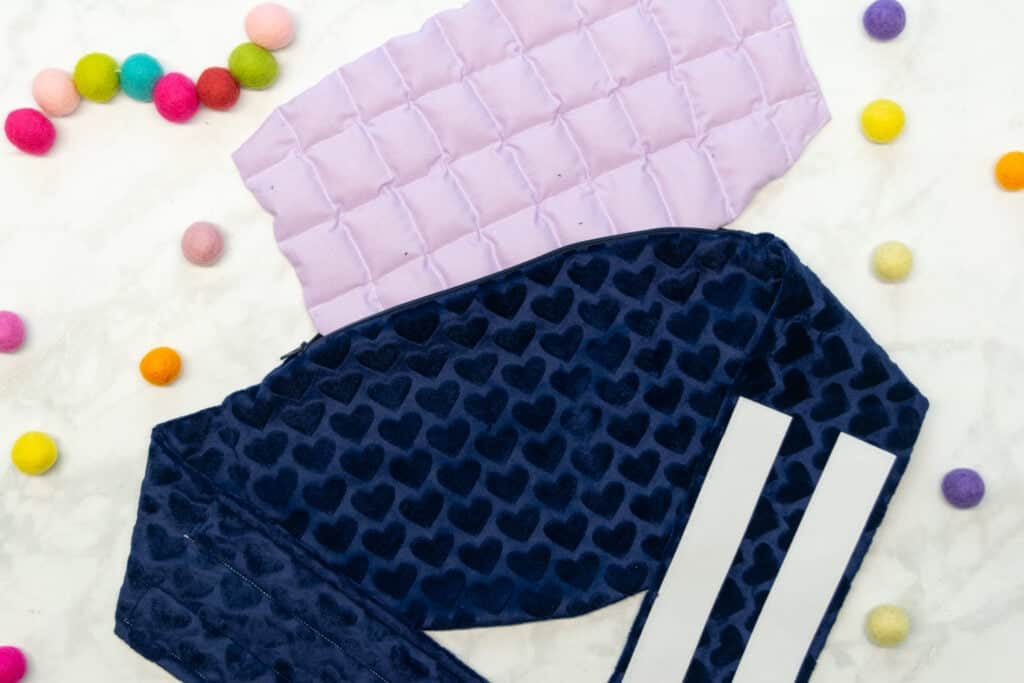
12. Reusable Snack Bags (PUL Lined)
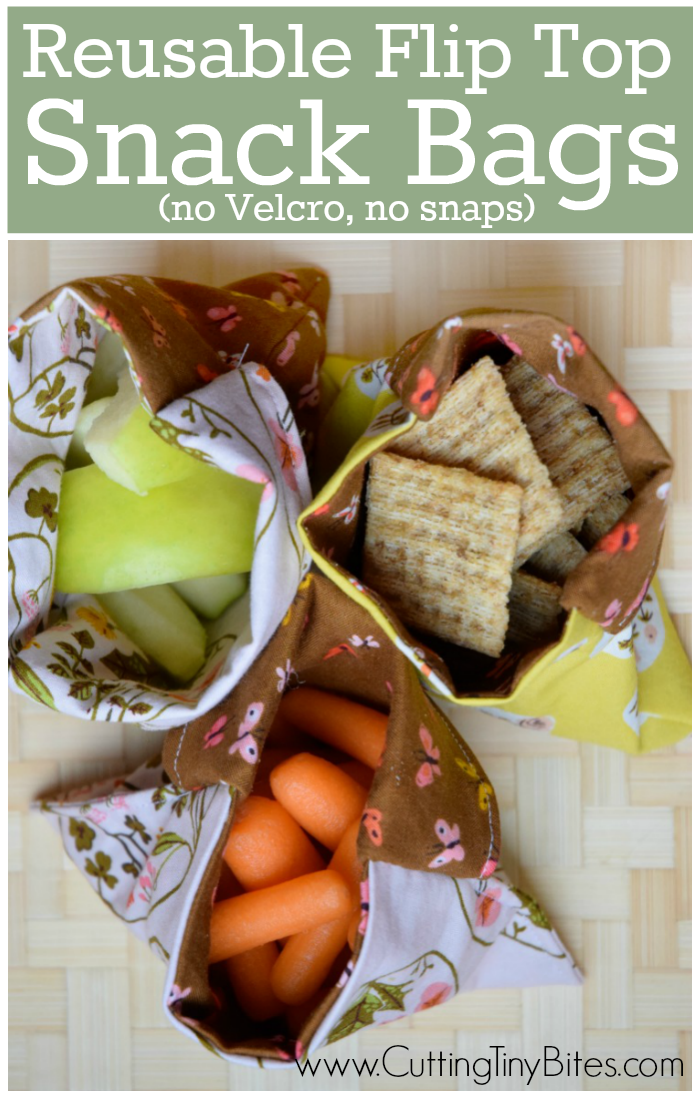
Upcycle your lunch routine with these waterproof bags. This project introduces PUL fabric (Polyurethane Laminate), which is food-safe and waterproof.
How to Make It:
- • Cut: One rectangle of cotton (exterior) and one of PUL (interior), both 7″ x 14″.
- • Sew Ends: Place right sides together and sew the two short ends.
- • Form the Pouch: Offset the fabric so that one end folds over to create a flap. Sew the sides.
- • Add Closure: Attach Velcro or plastic snaps to the flap and the body of the bag.
Best Fabrics for Beginners
Choosing the right fabric is half the battle. Avoid slippery fabrics like silk or stretchy fabrics like thin jersey until you have mastered the basics.
| Fabric Type | Best For | Why? |
|---|---|---|
| Quilting Cotton | Coasters, Napkins, Pouches | Doesn’t slip; holds a crease well when ironed. |
| Cotton Flannel | Scarves, Heating Pads | Soft but stable; easy to sew. |
| Canvas/Duck Cloth | Tote Bags | Durable and easy to guide through the machine. |
| Linen | Home Decor/Clothing | Beautiful texture and very forgiving for beginners. |
Frequently Asked Questions (FAQ)
1. Why is my thread bunching up under the fabric?
This is usually called bird-nesting. It almost always happens because the machine was threaded incorrectly, or the bobbin isn’t seated right.
Re-thread your machine with the presser foot up, and ensure the bobbin is spinning in the correct direction.
2. Do I really need to iron while I sew?
Yes! Ironing (or pressing) is what separates homemade-looking projects from professional-looking ones.
Pressing your seams flat after sewing them helps the stitches settle into the fabric and makes the next steps much more accurate.
3. What is “seam allowance”?
Seam allowance is the distance between the edge of the fabric and your line of stitching. Most patterns use a 5/8-inch or 1/2-inch allowance.
Consistency is key to making sure your pieces fit together.
4. Can I use a regular needle for all these projects?
A Universal 80/12 needle will work for about 90% of these projects.
However, if you are sewing heavy canvas for a tote bag, you might want to switch to a 90/14 or Denim needle.
Conclusion
Sewing is a rewarding journey that blends utility with creativity. By starting with these 12 simple patterns, you aren’t just making stuff—you are building a technical foundation.
You’ll learn how to handle fabric, manage tension, and solve problems. Remember: every expert was once a beginner who accidentally sewed their project to their own sleeve.
Don’t be afraid of your seam ripper, embrace the process, and soon you’ll be designing your own custom home decor and upcycled fashion. Happy sewing!
Leave a Reply