Revitalizing a room’s ambiance doesn’t always require a complete renovation or expensive new furniture. Often, the most impactful changes come from the smallest details, such as lighting.
A DIY lampshade cover is one of the most effective ways to inject personality, texture, and color into your living space while upcycling old, stained, or dated fixtures.
By using everyday materials like fabric scraps, twine, or even vintage maps, you can transform a basic lamp into a high-end statement piece that reflects your unique style.
1. The Classic Fabric Wrap
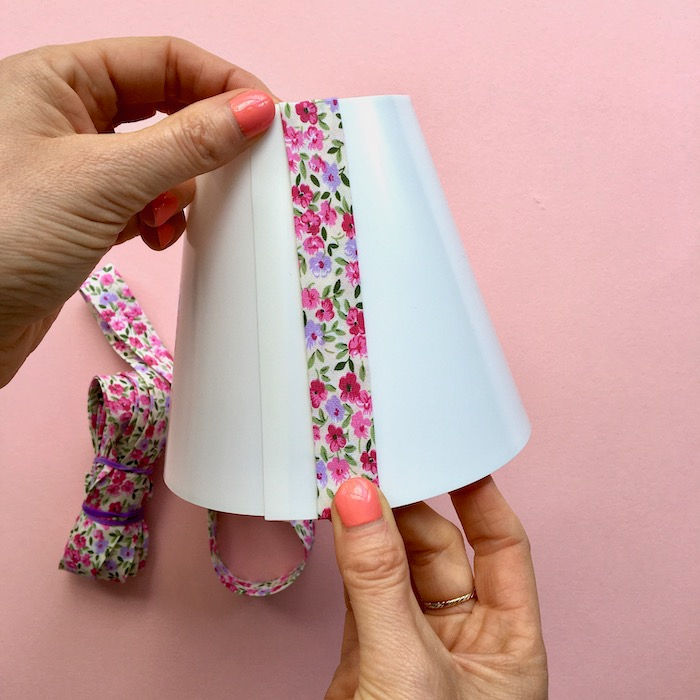
The fabric wrap is the gold standard of lampshade DIYs because of its versatility. Whether you want a bold floral pattern for a maximalist look or a neutral linen for a minimalist vibe, this method allows for total customization.
- ✓Materials Needed: Cotton fabric, spray adhesive, fabric shears, and bias tape for the edges.
- ✓The Process: You’ll want to create a template by rolling your lampshade over a piece of paper and tracing the path. Cut your fabric according to this template, leaving an extra inch for folding. Use a high-quality spray adhesive to bond the fabric to the existing shade, smoothing out air bubbles as you go.
- ✓Pro Tip: Choose a lightweight fabric. Heavy upholstery fabrics can block too much light, making the lamp less functional.
2. Bohemian Macramé Overlay
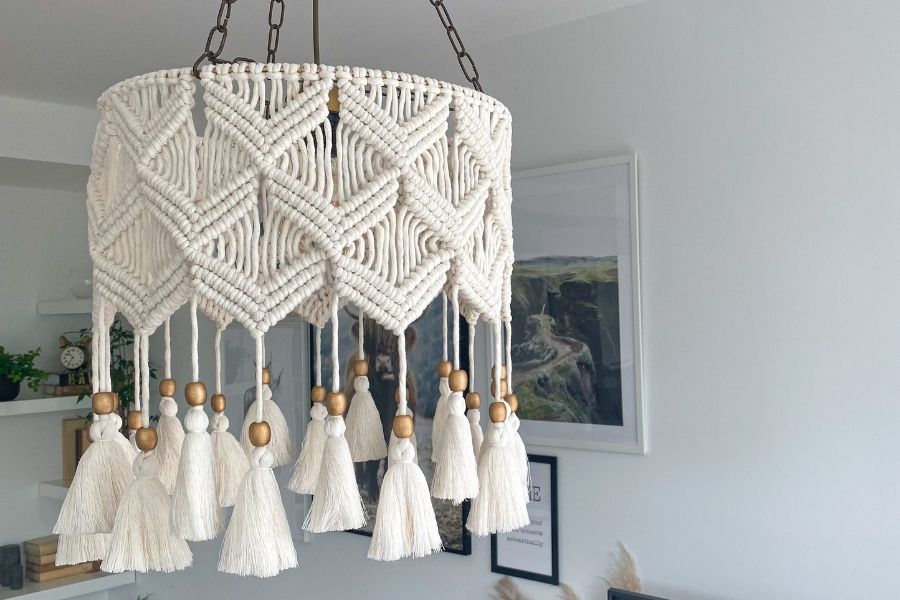
For those who love the “Boho-chic” aesthetic, a macramé lampshade adds incredible texture and a soft, filtered light that creates beautiful shadows on the walls.
- ✓Materials Needed: 3mm or 4mm cotton macramé cord and a metal lampshade frame (you can strip the fabric off an old shade).
- ✓The Process: Start by attaching your cords to the top ring using “Lark’s Head” knots. From there, you can create a simple square knot mesh or more intricate spiral patterns. Leave the bottom long for a fringed effect or tie it off at the bottom ring for a structured look.
- ✓Pro Tip: Use an LED bulb with macramé shades to ensure the cord doesn’t get too warm.
3. Rustic Twine or Jute Wrap
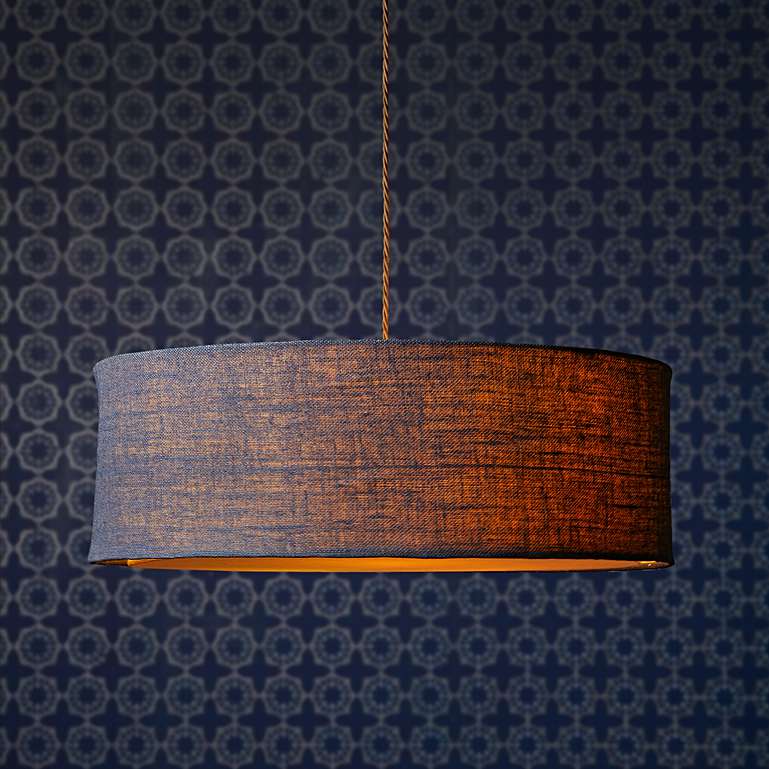
If you’re aiming for a farmhouse or coastal look, wrapping a shade in twine or jute is a cost-effective solution that provides a raw, organic feel.
- ✓Materials Needed: A spool of jute twine and a hot glue gun.
- ✓The Process: Apply a small bead of hot glue at the top rim and secure the end of the twine. Begin wrapping the twine tightly around the shade, applying small dots of glue every few inches to keep it from slipping. Continue until the entire surface is covered.
- ✓Pro Tip: For a more modern “linear” look, wrap the twine vertically instead of horizontally.
4. Vintage Map Decoupage
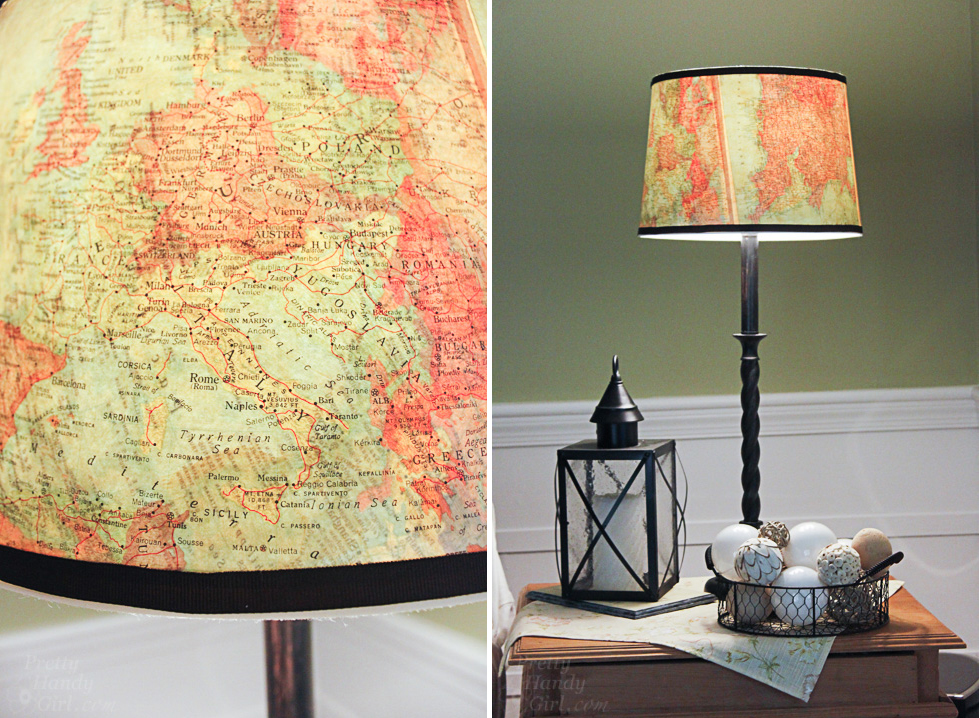
Travelers and fans of “dark academia” will appreciate the intellectual charm of a map-covered lampshade. This project is a great way to use old atlases or maps from your favorite vacations.
- ✓Materials Needed: Old maps, Mod Podge (matte finish), and a foam brush.
- ✓The Process: Cut the maps into strips or organic shapes. Apply a layer of Mod Podge to a small section of the shade, lay the map piece down, and smooth it out. Once the whole shade is covered, apply a final “sealing” coat of Mod Podge over the top.
- ✓Pro Tip: When the lamp is turned on, the light will illuminate the details of the map, creating a warm, amber glow.
5. Pressed Flower and Parchment
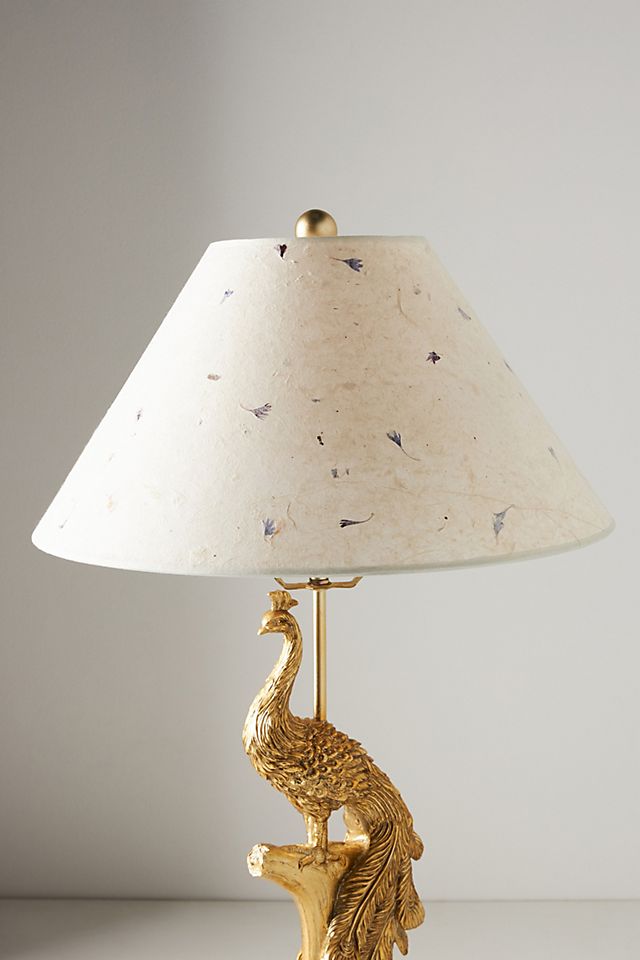
Bringing the outdoors in is easy with a pressed flower lampshade. This style is delicate, ethereal, and perfect for bedrooms or sunrooms.
- ✓Materials Needed: Dried pressed flowers, translucent parchment paper or vellum, and clear-drying craft glue.
- ✓The Process: Arrange your dried flowers on the existing lampshade to find a composition you like. Dab a tiny amount of glue on the back of each flower and press it onto the shade. Once dry, you can wrap a thin layer of parchment paper over the flowers to protect them and give the shade a uniform finish.
- ✓Pro Tip: Use flowers with thin petals (like pansies or ferns) so they adhere flat to the surface.
6. Geometric Ribbon Weave
Ribbon weaving allows you to play with color blocking and geometric patterns without needing advanced sewing skills. It creates a structured, high-fashion look.
- ✓Materials Needed: Grosgrain or satin ribbon in two contrasting colors and a hot glue gun.
- ✓The Process: Attach vertical strips of ribbon around the entire shade. Then, weave horizontal strips over and under the vertical ones. You can create a simple checkerboard or more complex “twill” weaves.
- ✓Pro Tip: Use ribbons of different widths to add more visual interest and depth to the pattern.
7. Upcycled Sweater Sleeve
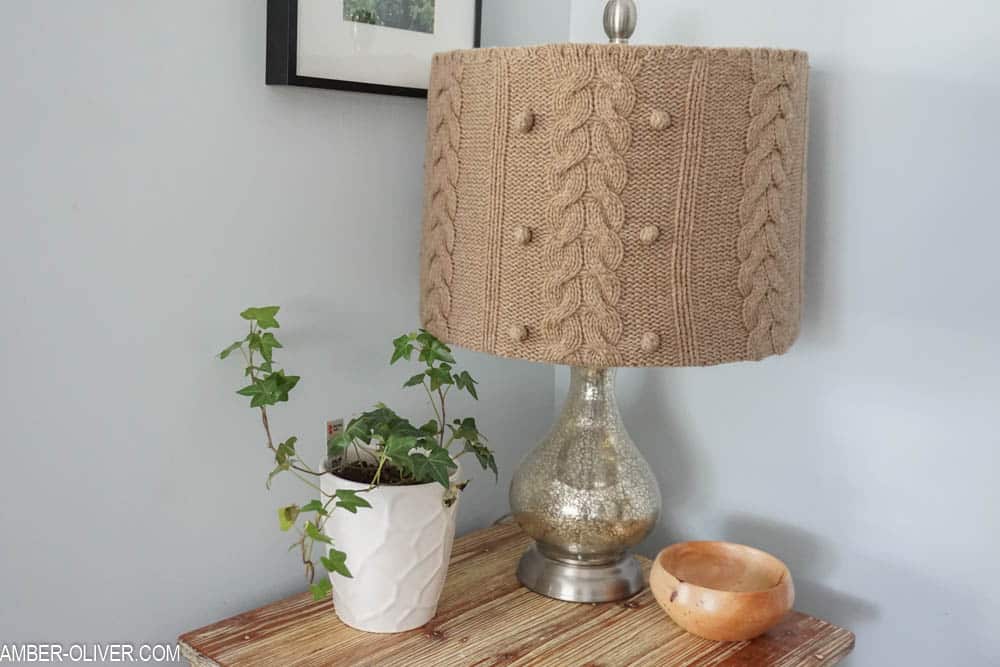
Don’t throw away that shrunk wool sweater! A sweater lampshade adds instant coziness to a room, making it the perfect DIY for the autumn and winter seasons.
- ✓Materials Needed: An old knit sweater and fabric glue.
- ✓The Process: Cut the sleeve or the torso of the sweater (depending on the size of your lamp). Slide it over the lampshade like a sock. Fold the excess fabric over the top and bottom rims and secure it with fabric glue or a few hidden stitches.
- ✓Pro Tip: Cable knit patterns look particularly stunning when the light shines through the “braids” of the knit.
8. Industrial Wire Mesh
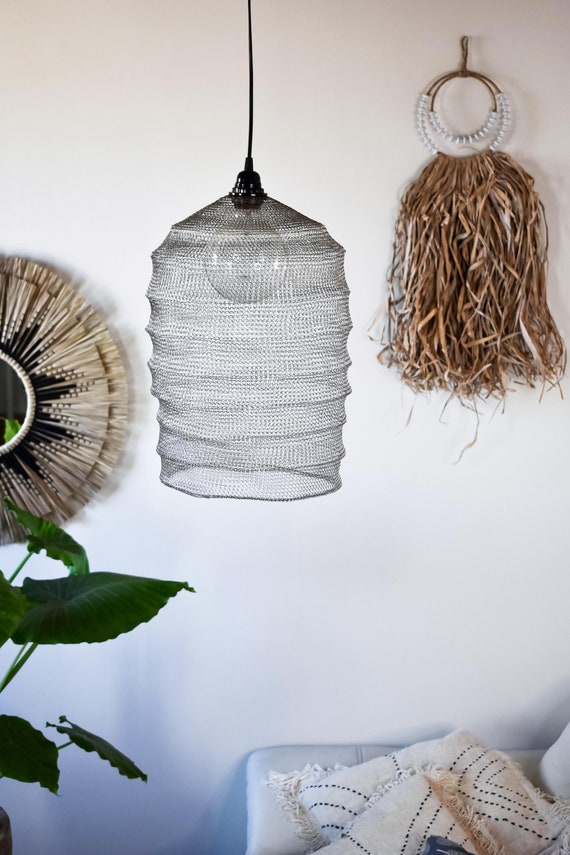
For an edgy, industrial, or steampunk vibe, replace the fabric altogether with wire mesh or hardware cloth.
- ✓Materials Needed: Chicken wire or decorative expanded metal mesh and wire cutters.
- ✓The Process: Remove the fabric from an old lampshade frame. Measure the circumference and cut the wire mesh to size. Wrap the mesh around the frame and secure it by twisting the wire ends around the metal rings.
- ✓Pro Tip: Spray paint the mesh matte black or metallic gold to match your room’s hardware.
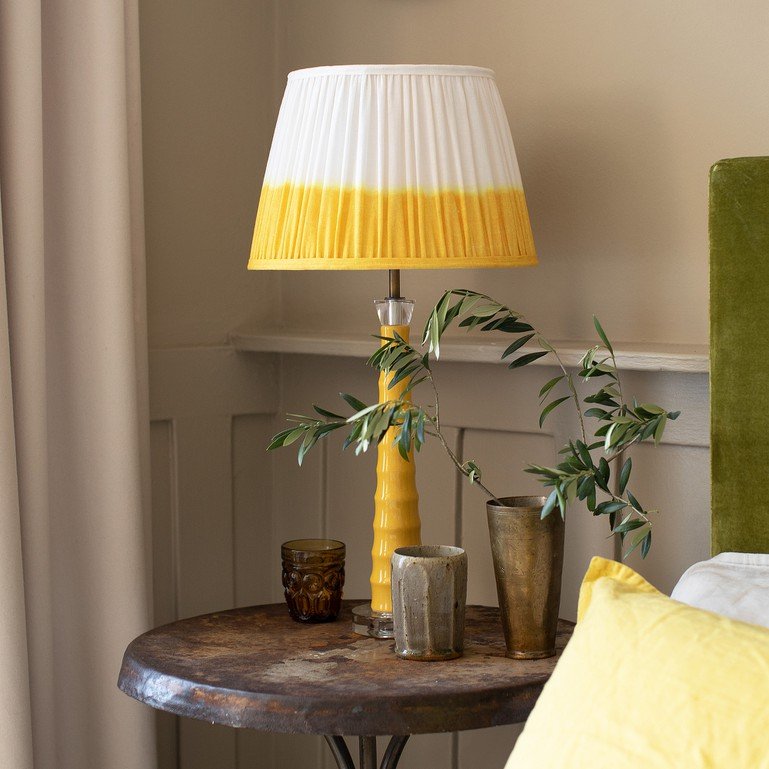
9. Painted Watercolor Ombre
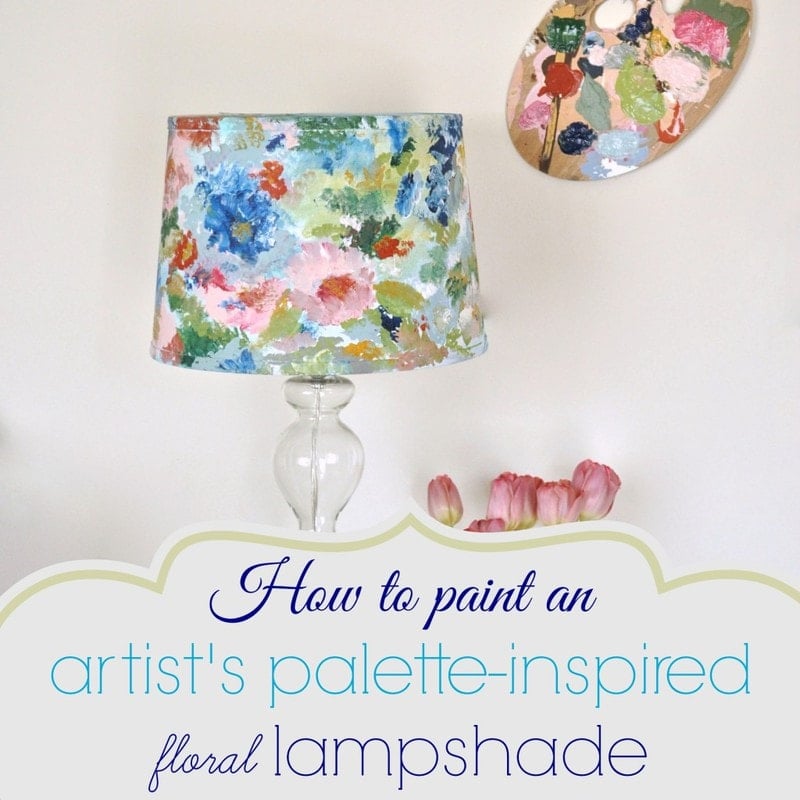
If you have a plain white or cream fabric shade, treat it like a canvas. A watercolor ombre effect is sophisticated and surprisingly easy to achieve.
- ✓Materials Needed: Fabric paint or acrylics, water, and a wide brush.
- ✓The Process: Wet the lampshade slightly with a spray bottle. Start with a concentrated color at the bottom and gradually add more water to your brush as you move upward. This creates a soft, bleeding gradient.
- ✓Pro Tip: Keep the brush strokes horizontal for a “sunset” effect or vertical for a more modern, “drip” look.
10. Paper Cut-Out Silhouette
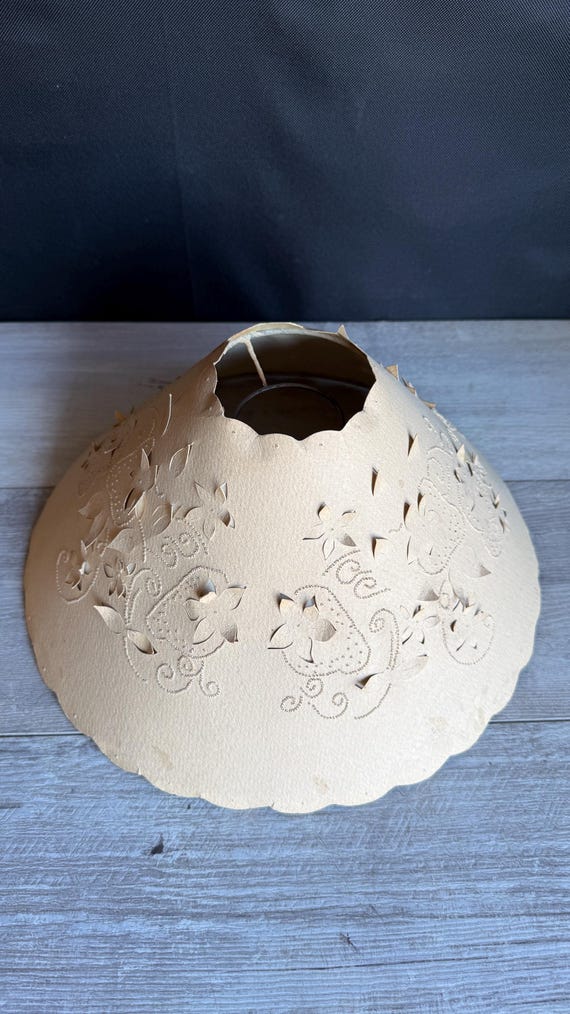
This DIY creates a “hidden” surprise. By day, it looks like a simple paper shade. By night, it reveals intricate silhouettes.
- ✓Materials Needed: Heavy cardstock and an X-Acto knife.
- ✓The Process: Cut out shapes—like stars, cityscapes, or forest treelines—into a sheet of cardstock. Wrap this cardstock around your existing shade. When the light is switched on, the cut-outs will project shapes onto the walls.
- ✓Pro Tip: This is an excellent idea for a nursery or kid’s room using star and moon patterns.
11. Pom-Pom and Tassel Fringe
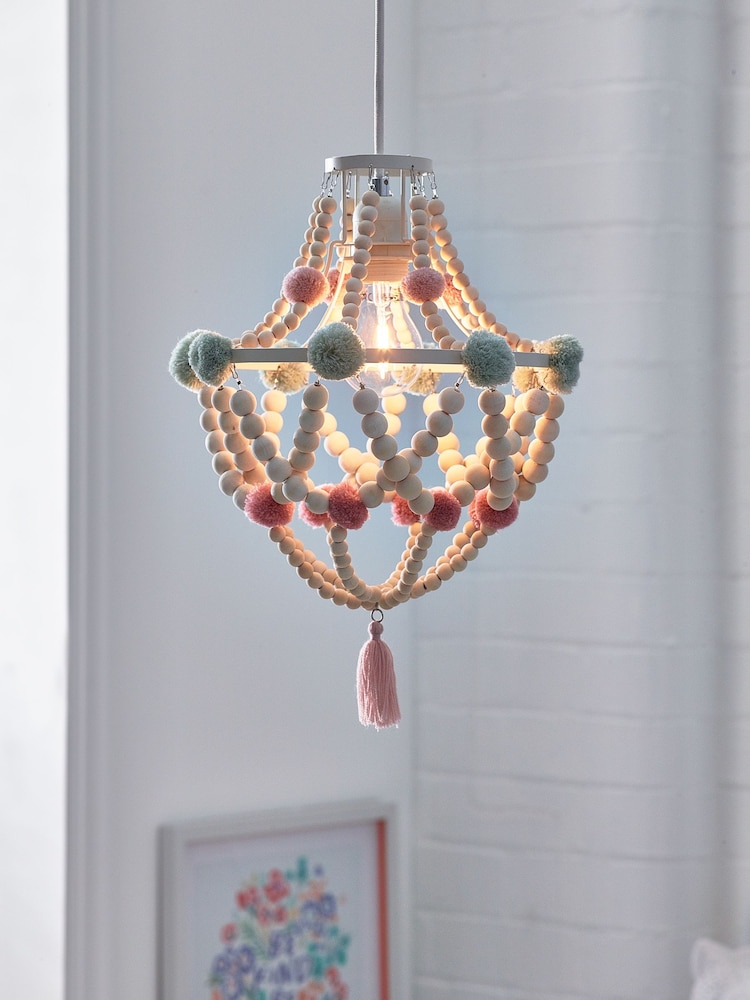
Sometimes you don’t need to cover the whole shade; you just need to embellish it. Adding fringe or pom-poms provides a playful, eclectic touch.
- ✓Materials Needed: Pom-pom trim or tassel fringe and fabric glue.
- ✓The Process: Simply run a line of glue along the bottom (and/or top) rim of your lampshade. Press the trim into the glue and hold for a few seconds.
- ✓Pro Tip: Mix and match different colors of tassels for a “global” or Moroccan-inspired aesthetic.
12. Stenciled Burlap
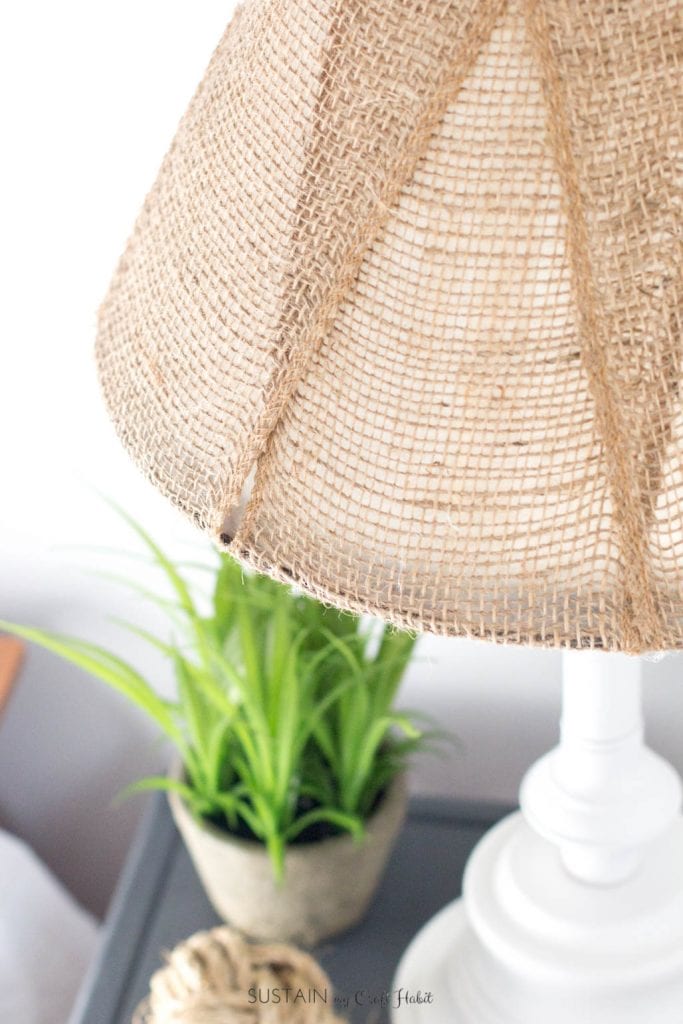
Burlap provides a heavy texture that diffuses light beautifully. Adding a stencil allows you to incorporate typography or botanical motifs.
- ✓Materials Needed: Burlap fabric, a stencil, and fabric ink.
- ✓The Process: Wrap the shade in burlap first (similar to the fabric wrap method). Once the glue is dry, lay your stencil flat against the burlap and dab on the ink using a sponge.
- ✓Pro Tip: Because burlap is porous, use a “dry brush” technique with your ink to prevent bleeding under the stencil.
Comparison of DIY Lampshade Styles
| DIY Method | Difficulty Level | Best Decor Style | Primary Material |
|---|---|---|---|
| Fabric Wrap | Easy | Traditional / Modern | Cotton Fabric |
| Macramé | Intermediate | Bohemian | Cotton Cord |
| Twine Wrap | Easy | Farmhouse / Rustic | Jute Twine |
| Map Decoupage | Easy | Vintage / Academic | Paper Maps |
| Pressed Flower | Intermediate | Cottagecore | Dried Flowers |
| Wire Mesh | Advanced | Industrial | Metal Mesh |
| Watercolor | Easy | Artistic / Eclectic | Fabric Paint |
Step-by-Step Tutorial: The Perfect Fabric Wrap
If you are new to DIY, the fabric wrap is the best place to start. Here is a more detailed breakdown to ensure a professional finish.
Step 1: Prepare Your Template
Don’t try to “wing it” by cutting the fabric directly. Lay your lampshade on a large piece of kraft paper. Mark a starting point on the shade.
Roll the shade slowly across the paper, tracing the top and bottom edges with a pencil. Add a 1/2 inch “seam allowance” to all sides before cutting the paper out.
Step 2: Cut and Press
Pin your paper template to your chosen fabric. Cut the fabric carefully.
Once cut, use an iron to press the edges inward by a quarter inch. This creates a clean, finished edge so you don’t have frayed threads showing on the lamp.
Step 3: Adhesive Application
In a well-ventilated area, spray the back of the fabric with a permanent spray adhesive. Wait about 30 seconds for it to become “tacky.”
Step 4: Attachment
Align the fabric with the seam of your lampshade. Slowly roll the shade onto the fabric, using your hands to smooth out any wrinkles.
If the fabric goes slightly crooked, most spray adhesives allow for a quick reposition if you act fast.
Frequently Asked Questions
Is it safe to put fabric or paper on a lampshade?
Yes, as long as you maintain a safe distance between the bulb and the shade. Always use LED bulbs for DIY lampshades, as they produce significantly less heat than traditional incandescent bulbs, drastically reducing any fire risk.
What is the best glue for lampshade DIYs?
For fabric, a heavy-duty spray adhesive (like 3M Super 77) is best for a smooth look. For trims, tassels, or twine, a high-temp hot glue gun provides the quickest and strongest bond. For paper projects, Mod Podge is the industry standard.
Can I clean a DIY lampshade?
It depends on the material. Fabric-wrapped shades can be lightly vacuumed with a brush attachment. Twine or macramé shades can be dusted with a microfiber cloth.
Avoid getting decoupaged (paper) shades wet, as it may soften the glue.
How do I choose the right fabric?
Look for “light-to-medium weight” cottons. If you choose a fabric that is too dark or too thick, the lamp will only provide “task lighting” (shining out the top and bottom) rather than “ambient lighting” (glowing through the sides).
Conclusion
Updating your home decor doesn’t require a massive budget—it just requires a bit of creativity and a few hours of your weekend.
Whether you choose the rugged texture of a jute wrap, the delicate beauty of pressed flowers, or the sophisticated lines of a geometric ribbon weave, a DIY lampshade cover allows you to customize your lighting to perfectly match your aesthetic.
By upcycling what you already own, you not only save money but also create a one-of-a-kind piece that tells a story. Grab your glue gun and start transforming your space one light at a time!
Leave a Reply