Maximizing cupboard storage in small spaces is less about having more room and more about utilizing the “cubic inch” philosophy. When floor and counter space are limited, the interior of your cabinets must work twice as hard.
By implementing vertical dividers, utilizing the backs of doors, and introducing tiered systems, you can effectively double your storage capacity without a single renovation.
The key is to eliminate dead air—that empty space between the top of your stacks and the shelf above—while ensuring every item remains visible and accessible.
1. Install Tiered Shelf Risers
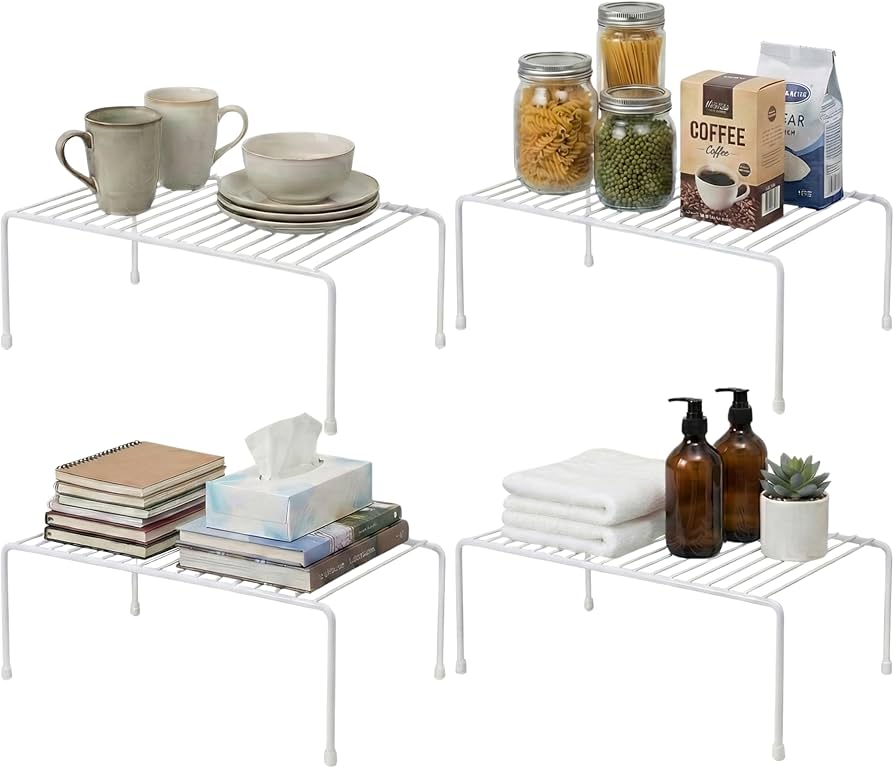
Tiered shelf risers are the ultimate solution for cupboards filled with varying heights of glassware, canned goods, or spices. In a standard cupboard, we often stack items directly on top of one another, making it a nightmare to reach the item at the bottom.
Shelf risers create a staircase effect or a secondary mini-shelf that allows you to utilize the vertical height of the cupboard.
Why It Works for Small Spaces:
- • Accessibility: You can see exactly what is in the back row without moving the front items.
- • No-Drill Solution: Most risers are freestanding, making them perfect for renters.
- • Customizable: You can find expandable versions that stretch to the exact width of your cupboard.
DIY Tip: You can easily upcycle scrap 1×4 lumber to create custom-width risers. Simply cut a top board to your desired length and attach two legs on either side with wood glue and finishing nails. Paint them to match your cabinet interior for a high-end, built-in look.
2. Over-the-Door Hanging Organizers
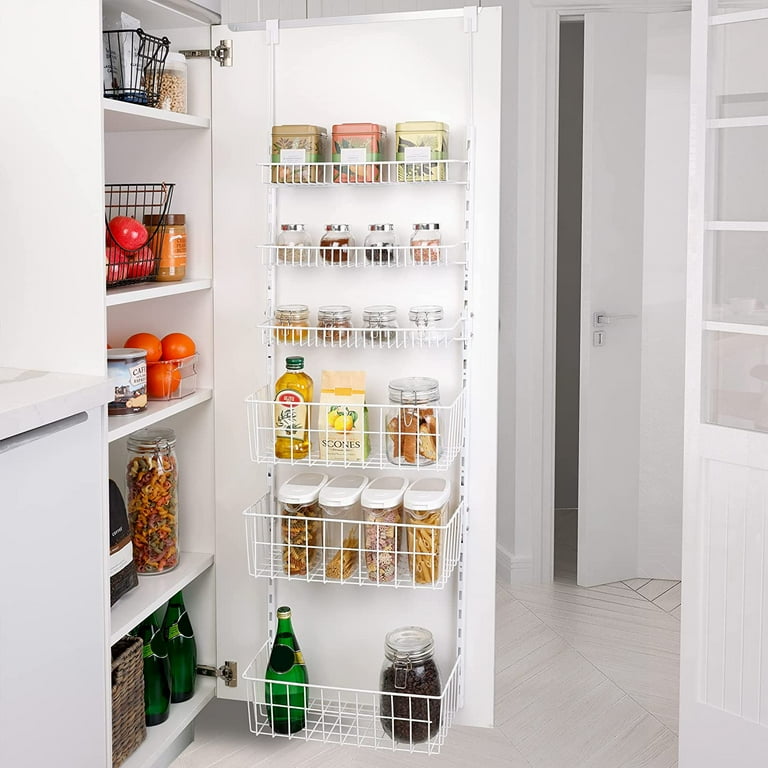
The back of a cupboard door is often overlooked real estate. In a small kitchen or bathroom, this area can hold everything from spices and cleaning supplies to hair tools and rolls of foil.
By attaching a slim-profile rack or a series of small bins to the door, you free up the main shelves for bulkier items.
Top Items to Store on Doors:
- 1 Kitchen: Spices, measuring cups, pot lids, and aluminum foil boxes.
- 2 Bathroom: Hairdryers, brushes, and skincare bottles.
- 3 Utility: Trash bags, sponges, and microfiber cloths.
When installing these, ensure the depth of the organizer does not hit the internal shelves when the door is closed. Measure the gap between the shelf edge and the door before purchasing or building your rack.
3. Magnetic Strips for Metal Tools
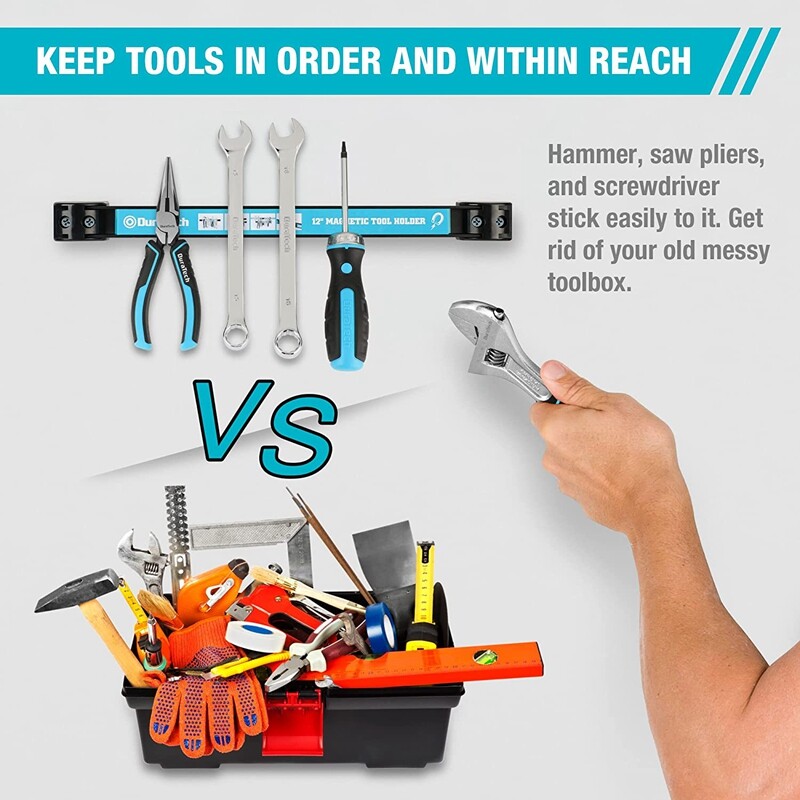
Magnetic strips are not just for knives on a backsplash. Mounting a heavy-duty magnetic strip to the inside wall of a cupboard or the back of a door provides a floating storage solution for metal items.
This is particularly effective in small craft rooms or workshops where small metal tools often get lost in deep drawers.
Creative Uses:
- • Kitchen: Store metal measuring spoons, whisks, or even small spice tins with metal lids.
- • Bathroom: Keep bobby pins, tweezers, and nail clippers organized and easy to grab.
- • Craft Room: Hold scissors, precision blades, and metal rulers.
4. The Classic Lazy Susan (Turntable)
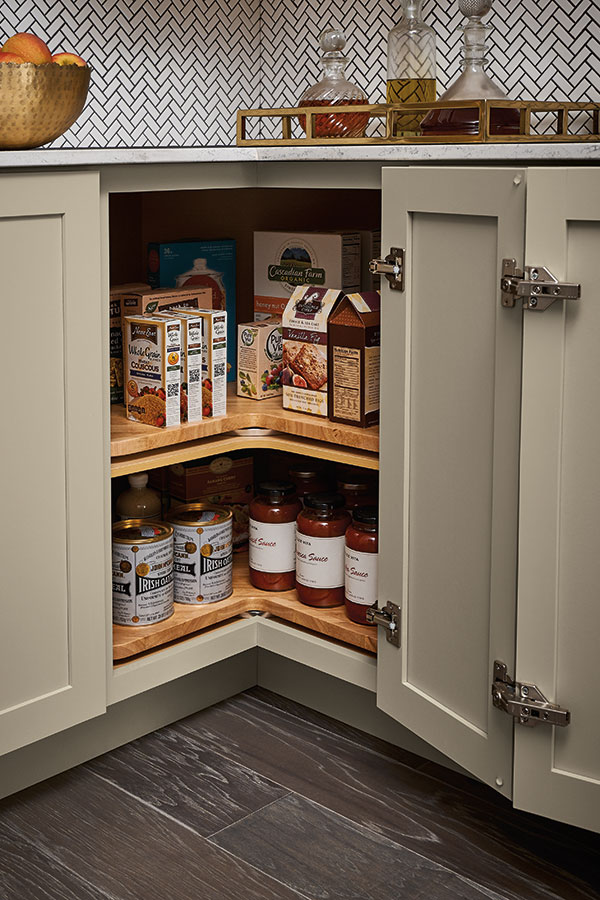
The dead corner is the enemy of small-space organization. A Lazy Susan solves this by bringing the items in the back to the front with a simple spin.
These are particularly effective in deep lower cabinets or high upper shelves where reaching the back is difficult.
| Feature | Best Use Case | Benefit |
|---|---|---|
| Single Tier | Oils and Vinegars | Prevents sticky spills on shelves |
| Double Tier | Canned Goods | Maximizes vertical height |
| D-Shaped | Square Cabinets | Fits flush against the door |
To maximize efficiency, look for non-skid versions so your items don’t fly off when you give it a fast spin.
5. Vertical Tension Rod Dividers

Storing flat items like baking sheets, cutting boards, and serving platters in a stack is a recipe for frustration. Every time you need the bottom tray, the whole stack comes crashing down.
By placing small tension rods vertically between two shelves, you create slots that allow these items to stand upright.
How to Install:
- 1 Clear the shelf and measure the height between the bottom and top surfaces.
- 2 Purchase small cupboard-sized tension rods.
- 3 Place them 2–3 inches apart, ensuring they are tight enough not to slip.
- 4 Slide your trays in between the rods.
This method is completely non-permanent and allows you to adjust the width of the slots as your collection of cookware changes.
6. Stackable Clear Acrylic Bins
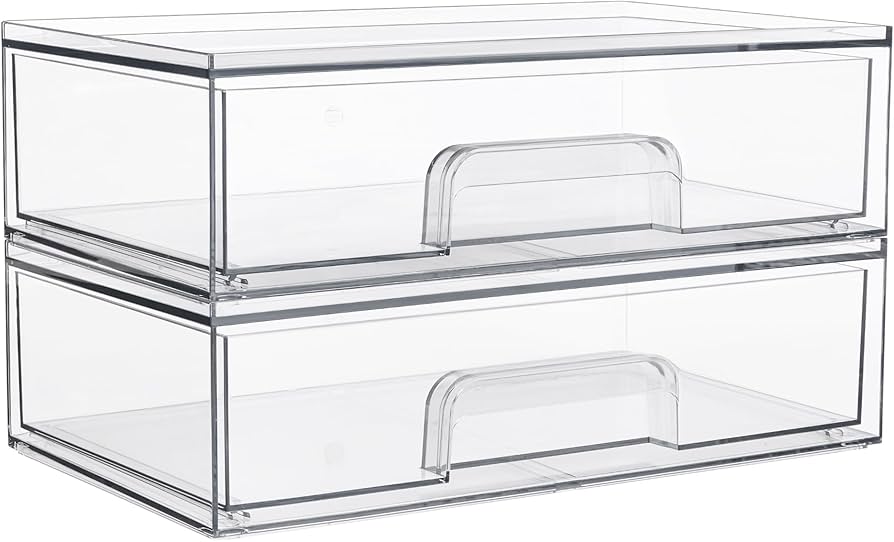
Visual clutter makes a small space feel even smaller. Clear acrylic bins provide a uniform look while allowing you to see exactly what is inside.
In a cupboard, these act like drawers that you can pull out to access items in the back.
The Category Method: Group items by use. For example, create a Baking Bin with flour, sugar, and baking powder, or a Breakfast Bin with oatmeal and tea. When it’s time to cook, you simply pull out the entire bin and bring it to the counter. This reduces the time the cupboard door stays open and keeps the interior tidy.
7. Adhesive Hooks for Pot Lids
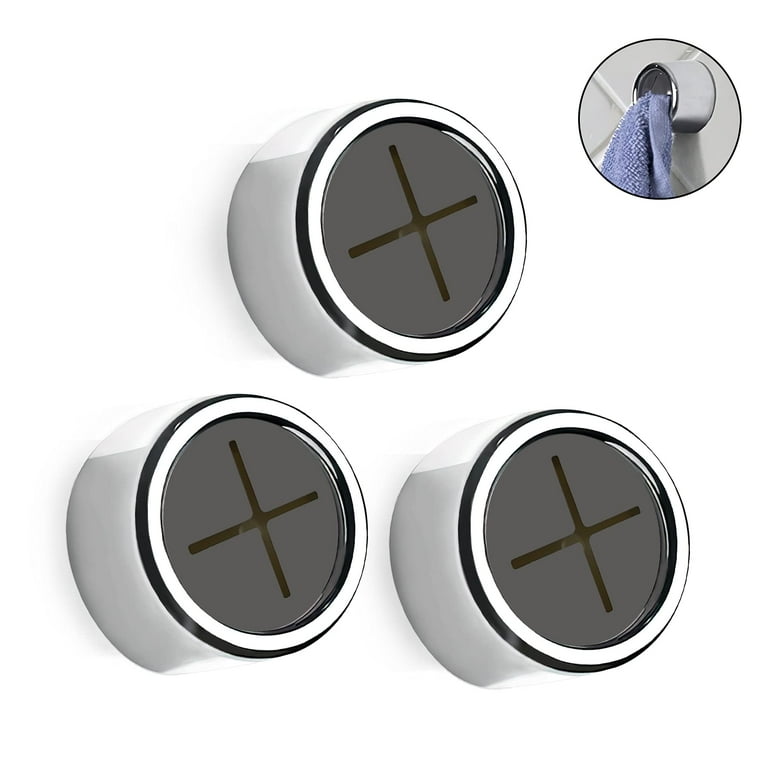
Pot lids are notoriously difficult to store because of their awkward shapes and handles. A clever and inexpensive DIY trick is to use two adhesive plastic hooks positioned at an angle on the inside of a cupboard door.
The lid nests between the hooks, held securely by its own weight.
Tutorial Steps:
- 1 Clean the inside of the door with rubbing alcohol to ensure a strong bond.
- 2 Hold the lid against the door to find the perfect placement.
- 3 Mark where the 4 o’clock and 8 o’clock positions of the lid would be.
- 4 Apply the adhesive hooks at those marks, angled slightly inward.
- 5 Wait 24 hours for the adhesive to cure before hanging the lid.
8. Retrofit Pull-Out Sliding Drawers
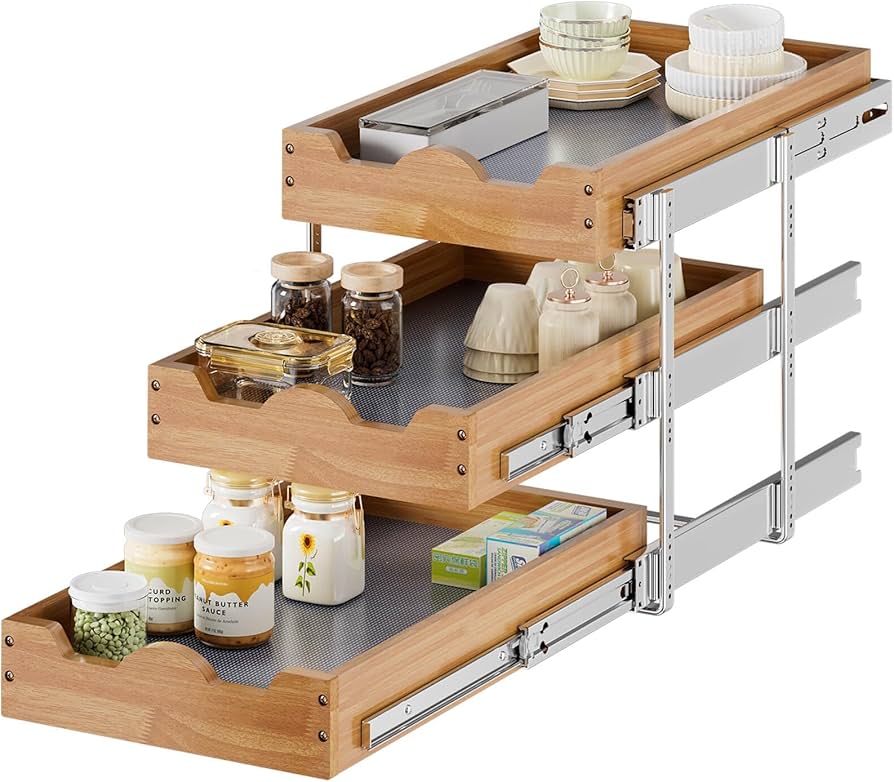
Deep lower cabinets are often wasted because the back half is inaccessible. You can purchase retrofit sliding drawer kits that screw into the base of your existing cupboard.
This transforms a dark, deep hole into a functional drawer that brings all your pots and pans into the light.
If you are on a budget, you can simulate this by using long, narrow plastic baskets. While they won’t have the smooth glide of a ball-bearing track, they allow you to pull the contents of the shelf out toward you.
9. Corner Cabinet Blind-Spot Organizers
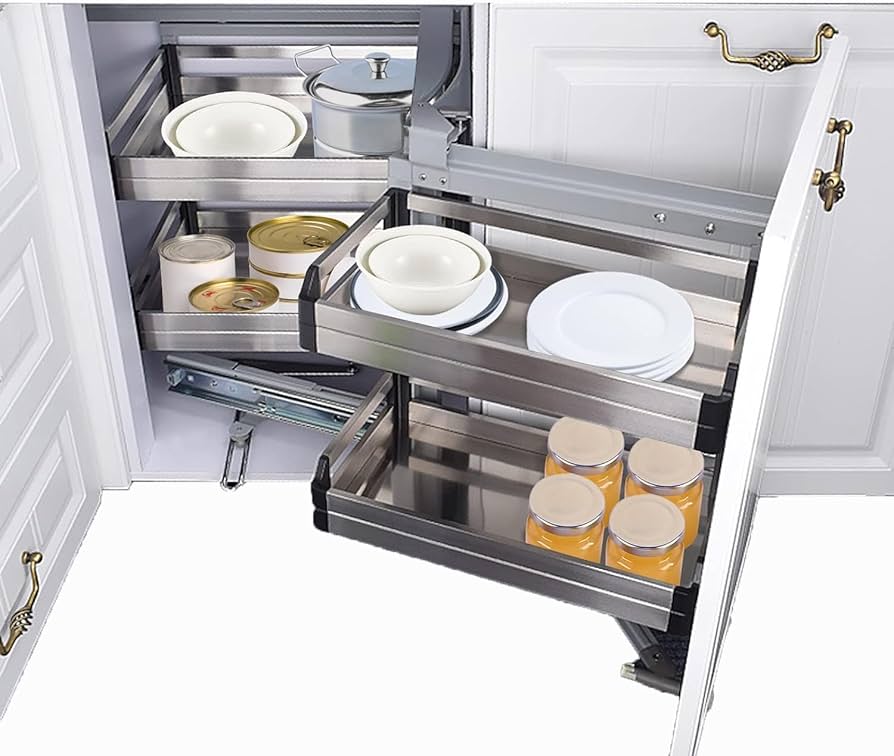
The blind corner is a cupboard that extends far back into a corner, accessible only by a small door. Standard organization fails here.
The solution is a specialized Cloud or Kidney shaped pull-out. These swing out of the cabinet entirely, allowing you to access every inch of that hidden corner.
For a DIY version, consider using extra-large Lazy Susans or bins on wheels that you can roll out of the corner when needed.
10. Under-Shelf Wire Baskets
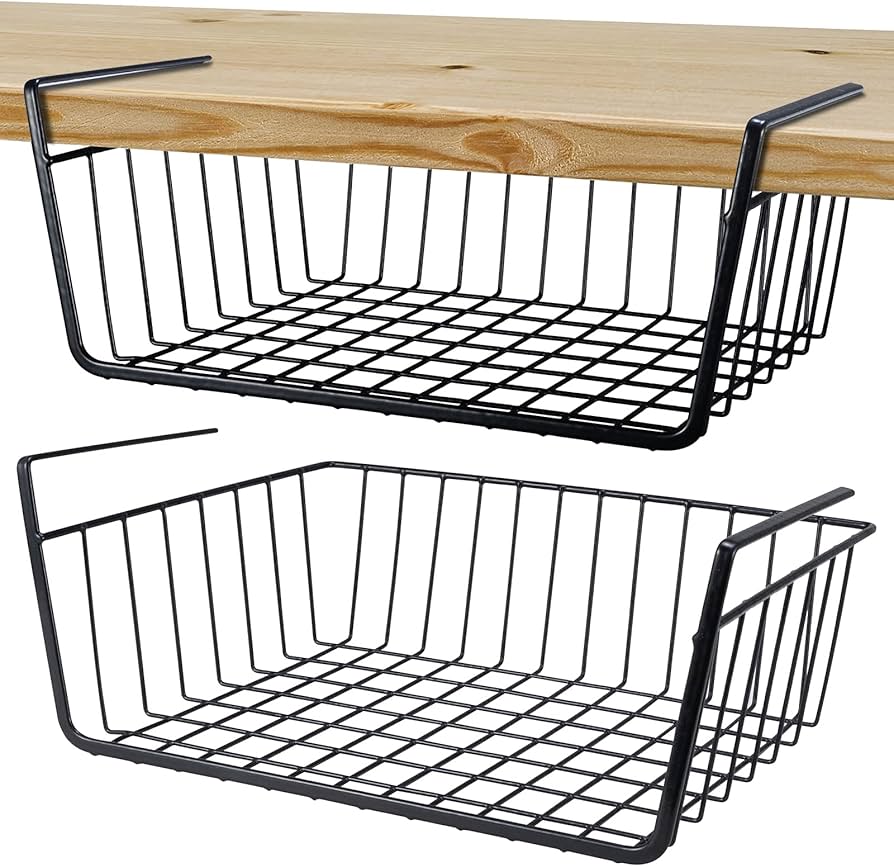
If you have a large gap between the top of your items and the next shelf, an under-shelf wire basket is a plug-and-play solution.
These baskets have arms that slide onto your existing shelf, creating a secondary storage area suspended underneath.
Perfect for:
- • Kitchen: Napkins, dish towels, or bread.
- • Wardrobe: Socks, scarves, or belts.
- • Office: Paper, envelopes, and notebooks.
11. Internal Pegboard Lining
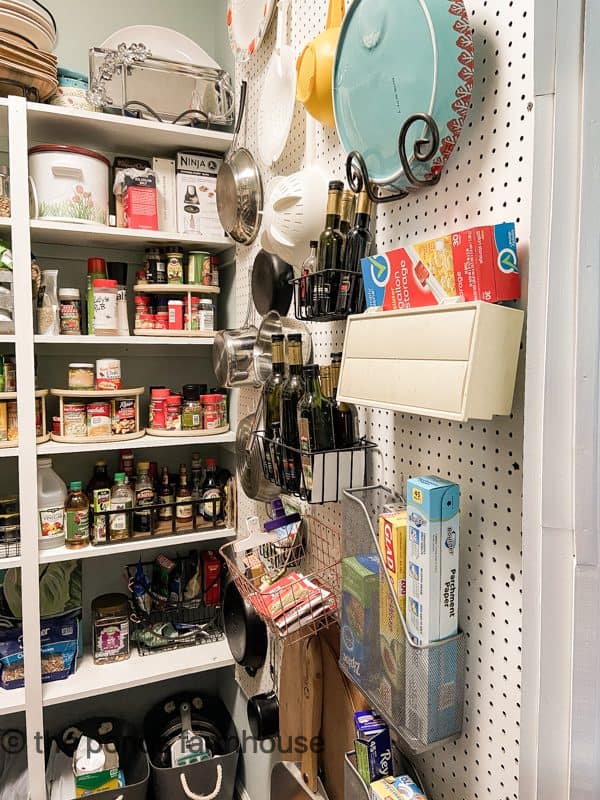
Pegboards aren’t just for garages. Lining the back or sides of a large cupboard with pegboard allows for infinite customization.
You can add hooks for mugs, small baskets for snacks, or shelves for spices.
Upcycling Idea: If you have an old pegboard from a workshop, cut it to fit the side wall of your pantry. Paint it a bright, contrasting color. This turns the side of your cupboard into a vertical storage powerhouse for heavy items like cast iron pans or colanders.
12. Upcycled Magazine File Organizers

Magazine files (the upright cardboard or plastic boxes used for office papers) are the perfect size for several awkward kitchen items.
Because they are narrow and tall, they fit perfectly in slim cupboards.
What to store in them:
- • Water Bottles: Lay the file on its side and stack bottles inside to prevent them from toppling.
- • Boxed Goods: Stand them upright to hold boxes of spaghetti or cling wrap.
- • Vegetables: Use metal mesh files for onions and potatoes to allow for airflow.
Comparison of Storage Materials
When choosing your organization tools, consider the environment of the cupboard.
| Material | Durability | Best For | Pros/Cons |
|---|---|---|---|
| Acrylic | High | Pantry, Fridge | + Visible, – Can crack if dropped |
| Wood/Bamboo | High | Display, Dry Goods | + Aesthetic, – Heavy, prone to moisture damage |
| Wire/Metal | Medium | Fruits, Linens | + Breathable, – Can rust in humid bathrooms |
| Plastic | Medium | Cleaning Supplies | + Cheap, easy to clean, – Not eco-friendly |
FAQ: Frequently Asked Questions
Q: How do I start organizing a very messy cupboard?
A: Always start by emptying the entire cupboard. Declutter items that are expired or unused. Group like with like on your counter before you even think about buying bins or dividers.
Q: What is the best way to label bins in a dark cupboard?
A: Use high-contrast labels. White chalk markers on black adhesive labels or bold black text on clear tape work best. Ensure the labels are placed at eye level.
Q: Can I use these ideas in a rental apartment?
A: Absolutely. Focus on tension based products (tension rods), adhesive hooks (that can be removed with heat), and freestanding risers. Avoid anything that requires drilling into the cabinet frames.
Q: How do I prevent my cupboard from getting messy again?
A: Follow the One In, One Out rule. Additionally, leave about 10% of your cupboard space empty. If a cupboard is packed to 100% capacity, it is impossible to maintain organization.
Conclusion
Maximizing cupboard storage in a small space is a rewarding DIY challenge that combines logic with creativity. By shifting your perspective from horizontal stacking to vertical utilization, you can transform even the most cramped kitchen or bathroom into a functional sanctuary.
Whether you choose to install high-tech pull-out drawers or simple upcycled magazine files, the goal remains the same: every item should have a home, and every home should be easily accessible.
Start with one cupboard this weekend, and you’ll be surprised at how much extra space you’ve had all along.
Leave a Reply