Creating a custom serving tray is one of the most rewarding entry-level DIY projects for home decor enthusiasts.
Not only do these pieces serve a functional purpose—carrying morning coffee or organizing cocktail essentials—but they also act as a stylistic anchor for coffee tables, ottomans, and kitchen counters.
By upcycling household items or using basic hardware store materials, you can craft a high-end look for a fraction of the retail cost.
Whether you prefer the rugged charm of reclaimed wood or the sleek finish of modern marble, these ten projects offer a range of styles and skill levels to elevate your hosting game.
1. The Upcycled Vintage Picture Frame Tray
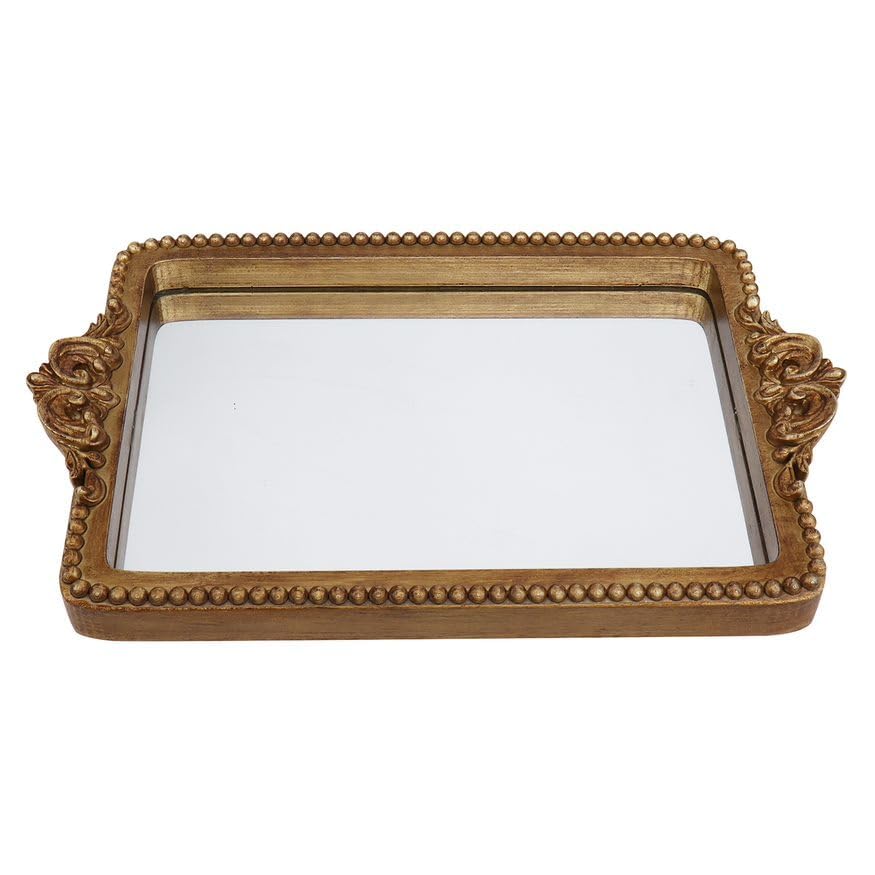
One of the easiest ways to create a high-authority decor piece is by repurposing a vintage picture frame.
This project is ideal for those who want a tray with intricate detailing without the need for heavy power tools.
Materials Needed:
- ✦ An old wooden or metal picture frame (sturdy construction)
- ✦ Two cabinet handles or drawer pulls
- ✦ Decorative fabric, wallpaper, or scrapbook paper
- ✦ A drill and small drill bits
- ✦ Clear silicone or glass adhesive
Step-by-Step Tutorial:
- ✦ Prepare the Frame: Remove the back and the glass. Clean both thoroughly. If the frame is worn, give it a fresh coat of spray paint or a “distressed” sanding.
- ✦ Add the Handles: Measure the center point on the two shorter sides of the frame. Carefully drill holes through the frame material. Screw the cabinet handles into place.
- ✦ Insert the Base: Cut your decorative fabric or paper to fit the size of the glass. Place the glass back into the frame, followed by the decorative layer, and then the frame backing.
- ✦ Seal for Security: Use a small bead of clear silicone around the edges of the backing to ensure it stays in place when carrying weight.
2. Rustic Reclaimed Wood Pallet Tray
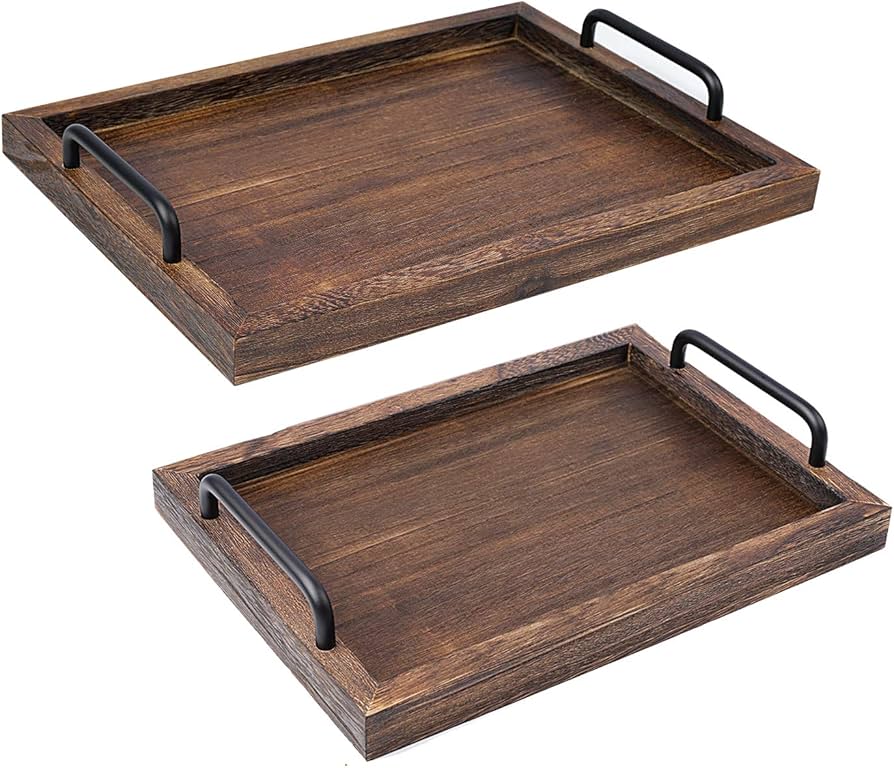
For a farmhouse or industrial aesthetic, nothing beats the texture of aged wood.
Using pallet wood or scrap lumber makes this an eco-friendly and nearly free project.
The Beauty of Imperfection
The key to this tray is embracing knots, nail holes, and grain variations.
To make this tray, you will need three to four slats of wood cut to equal lengths (typically 18-24 inches) and two smaller “cleats” for the bottom to hold the slats together.
Construction Steps:
- ✦ Sanding: Sand the wood aggressively to avoid splinters, but leave enough texture for character.
- ✦ Assembly: Lay the slats side-by-side. Nail the cleats across the bottom to join them.
- ✦ Staining: Use a dark walnut or weathered gray stain to enhance the wood grain.
- ✦ Hardware: Heavy-duty black iron handles work best for this rugged style.
3. Modern Marble and Gold Accent Tray
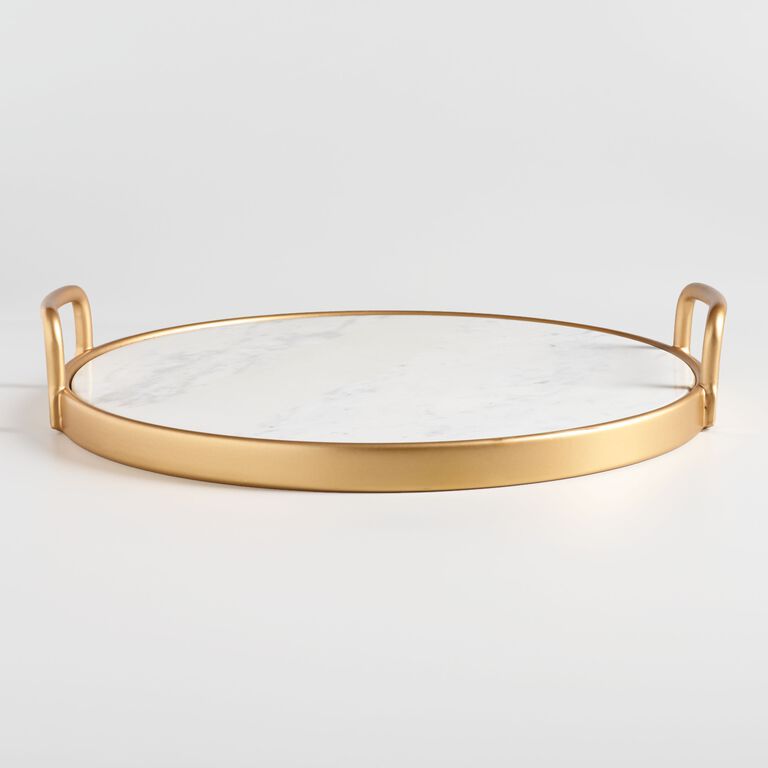
Marble trays are a staple in luxury home stores, often retailing for over $100.
You can replicate this look using a large porcelain floor tile or high-quality contact paper.
Materials Comparison Table
| Feature | Real Marble Tile DIY | Marble Contact Paper DIY |
|---|---|---|
| Cost | $15 – $25 | $5 – $10 |
| Weight | Heavy / Substantial | Lightweight |
| Durability | High (Heat resistant) | Moderate (Water resistant) |
| Ease of Build | Requires strong adhesive | Simple “peel and stick” |
How to Build with a Tile:
- ✦ Purchase a single 12×24-inch marble-look porcelain tile from a flooring store.
- ✦ Attach felt pads to the bottom four corners to protect your furniture.
- ✦ Use “E6000” industrial strength adhesive to bond two sleek gold handles directly to the top surface of the tile. Let it cure for 24 hours before use.
4. Industrial Wood Tray with Plumbing Pipe Handles
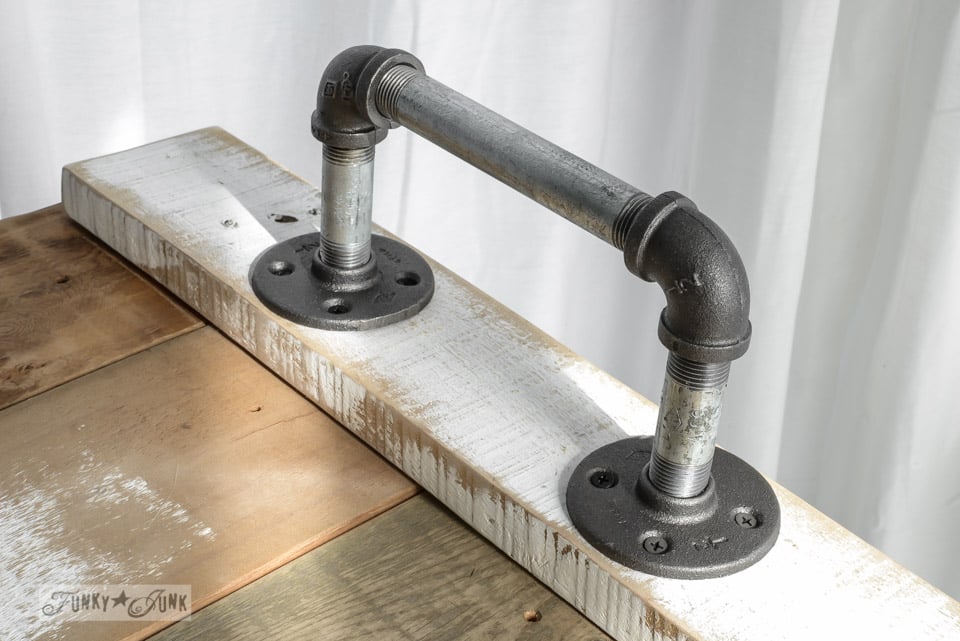
This design combines the warmth of wood with the “steampunk” or industrial vibe of black iron plumbing pipes.
It is incredibly sturdy and perfect for serving heavy appetizers or drinks.
Detailed Assembly:
Instead of standard cabinet pulls, head to the plumbing aisle. You will need two 4-inch “nipple” pipes, four “flanges,” and four “elbow” joints.
- ✦ Assemble the pipes into a “C” shape.
- ✦ Screw the flanges directly into a thick piece of stained pine or oak.
- ✦ Pro Tip: Wipe the pipes down with lacquer thinner before assembly to remove the greasy factory coating, then spray them with a matte black rust-protector.
5. Nautical Sisal Rope-Wrapped Tray
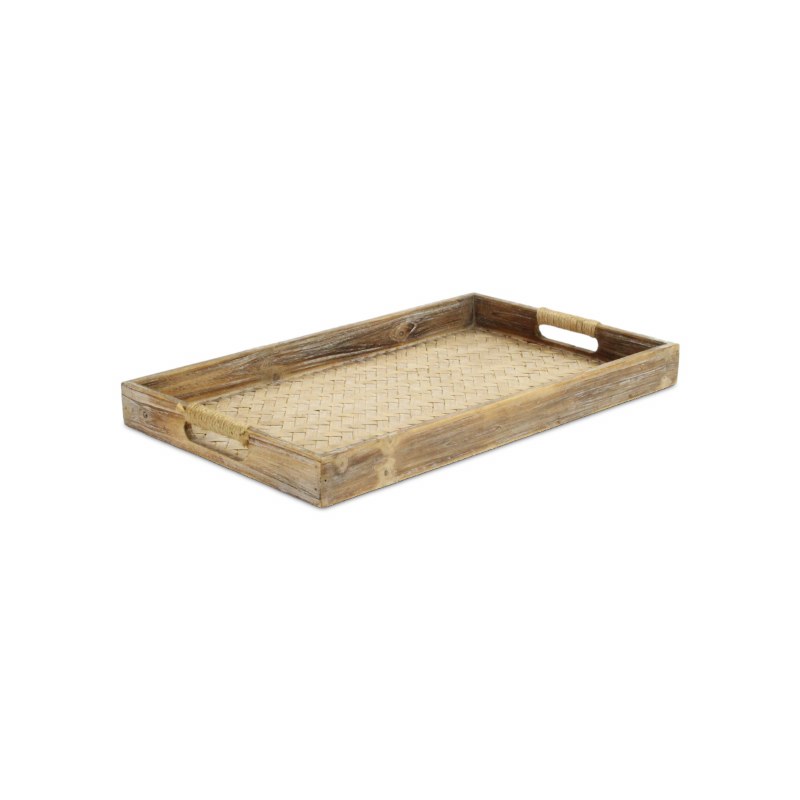
Perfect for coastal homes or summer patios, this tray uses texture rather than color to make a statement.
You can use a cheap plastic or wooden circular tray as your base.
Techniques for a Clean Finish:
- ✦ The Coiling Method: Start at the center of the tray and apply a bead of hot glue. Coil the sisal or manila rope tightly, moving outward until the entire base is covered.
- ✦ The Handle Wrap: If your base tray already has handles, wrap the rope tightly around them to hide the original material.
- ✦ The Border: Add a thicker “braided” rope around the top rim to give the tray height and a finished look.
6. Abstract Resin-Poured Serving Tray
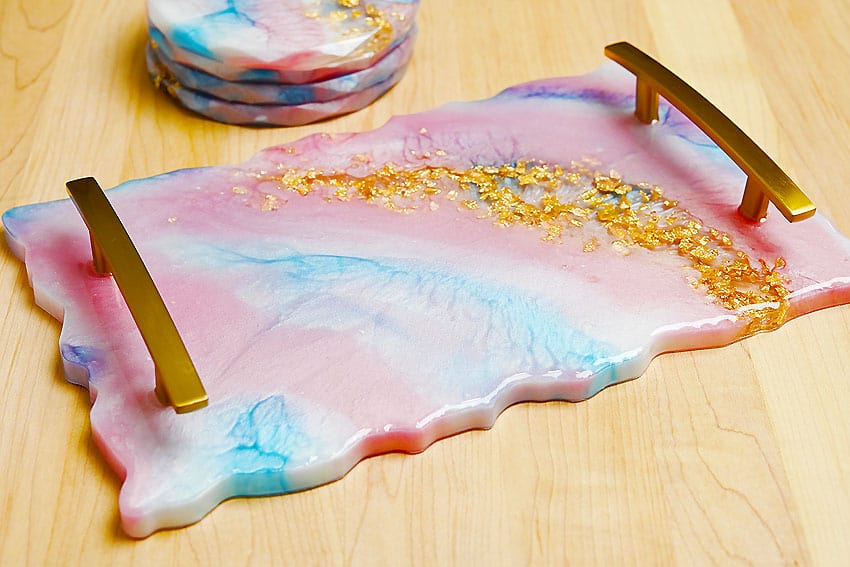
Resin art is a major trend in DIY crafts.
By pouring dyed epoxy resin into a plain wooden tray, you create a functional piece of “fluid art.”
Important Safety and Prep:
Working with resin requires a level, dust-free surface and a well-ventilated room.
- ✦ Seal the Base: Paint your wooden tray a solid color (white or navy works well) and seal it so the resin doesn’t soak into the wood.
- ✦ The Pour: Mix your resin according to instructions. Divide into cups and add mica powders or liquid pigments.
- ✦ The “Dirty Pour”: Pour the colors onto the tray and use a heat gun or hair dryer to move the resin around, creating “lacing” or “cell” effects that mimic ocean waves or marble veins.
7. Upcycled Wine Cork Mosaic Tray

If you are a wine lover, this project allows you to display your collection of corks in a creative, organized way.
It’s an excellent conversation piece for a home bar.
Pattern Ideas:
- ✦ Herringbone: Angled corks for a sophisticated look.
- ✦ Grid: Simple horizontal and vertical rows.
- ✦ Randomized: For a more eclectic, boho vibe.
Assembly Tip:
Use a tray with a deep lip (at least 1.5 inches). Glue the corks down using a hot glue gun.
To make the surface functional for glasses, you must pour a thin layer of clear epoxy resin over the corks to create a flat, level top.
8. Scandi-Minimalist Natural Plywood Tray
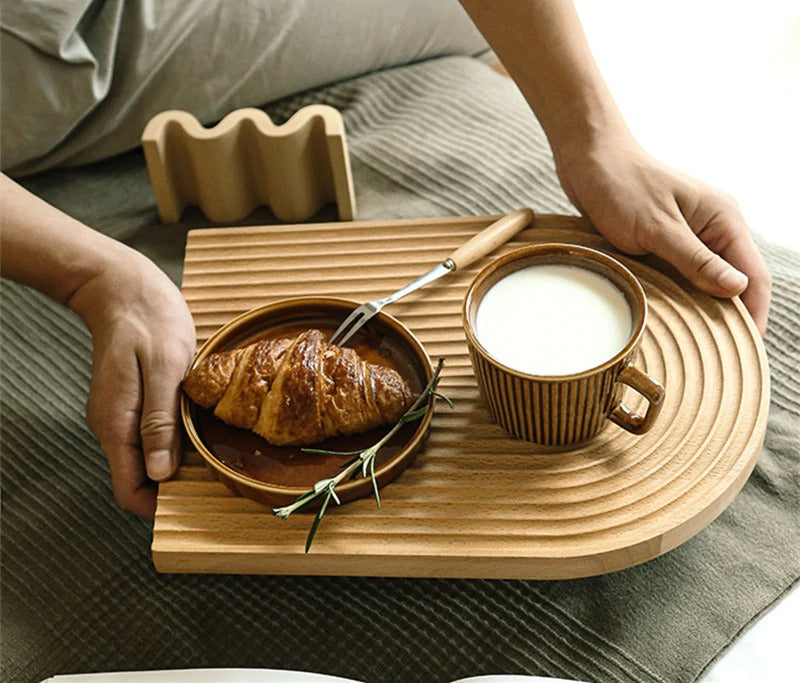
Scandinavian design focuses on light woods, clean lines, and functionality.
A high-grade birch plywood tray is the epitome of this style.
Key Features:
- ✦ Material: Use 1/2-inch Baltic Birch plywood.
- ✦ Design: Instead of external handles, use a jigsaw to cut “hand slots” directly into the side walls of the tray.
- ✦ Finish: Avoid dark stains. Use a clear water-based polyurethane or a simple butcher block oil to keep the wood looking as natural as possible.
9. Decoupage Vintage Map Travel Tray
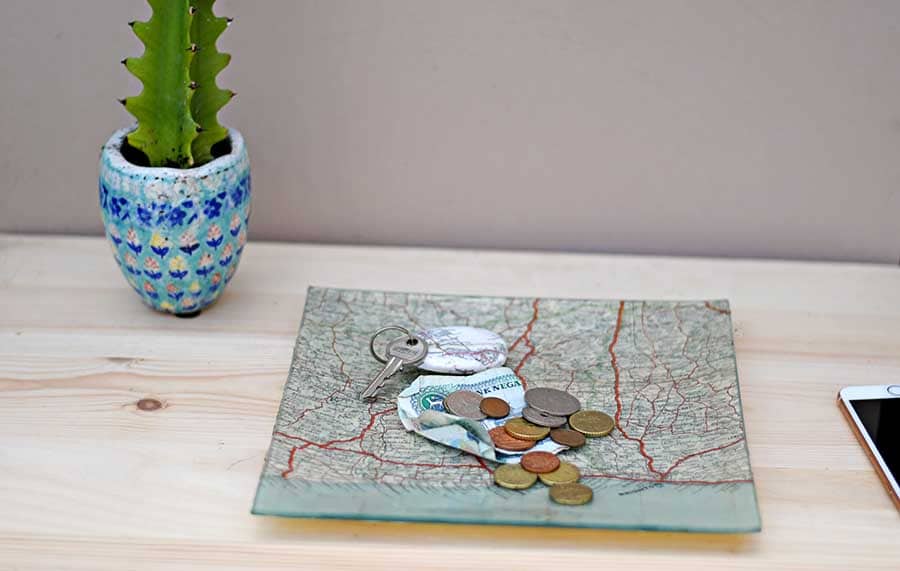
This tray is a wonderful gift for travelers.
By using maps of a favorite city or a “bucket list” destination, you personalize the decor.
The Decoupage Process:
- ✦ Cut the Map: Trim your map to the exact dimensions of the tray’s interior.
- ✦ Apply Medium: Spread a thin, even layer of Mod Podge on the tray base.
- ✦ Smooth It Out: Lay the map down and use a brayer or a credit card to smooth out any air bubbles.
- ✦ Top Coat: Apply 3-4 additional layers of Mod Podge (allowing drying time between each) to create a water-resistant seal.
10. Geometric Painted Pattern Tray
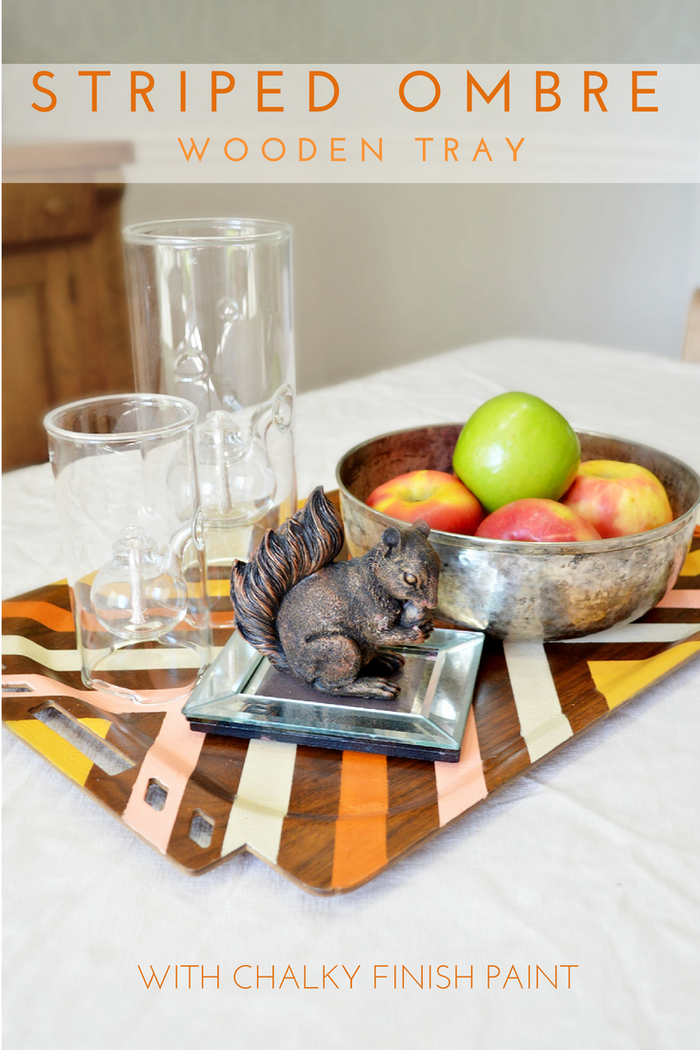
If you have a plain wooden tray and some leftover acrylic paint, you can create a high-impact geometric design using painter’s tape.
Design Tips:
- ✦ The “Rule of Three”: Choose three complementary colors (e.g., Navy, Gold, and Grey) for a balanced look.
- ✦ Sharp Lines: After taping your pattern, paint over the tape edges with the base color of the tray first. This “seals” the tape so the accent colors don’t bleed under.
- ✦ Symmetry: Use a ruler to ensure your triangles or chevrons are uniform across the surface.
Essential Tips for DIY Tray Success
Before you start your project, consider these professional tips to ensure your tray is as functional as it is beautiful:
- ✦ Weight Distribution: Always test your handles. If you are using a heavy material like tile or thick oak, ensure the handles are bolted through the material rather than just glued.
- ✦ Food Safety: If you plan to serve food directly on the tray surface (like a charcuterie board), use a food-safe finish like mineral oil or beeswax. Standard spray paints and resins are generally for “decorative use only” or for carrying plates.
- ✦ Leveling: Nothing is worse than a wobbly drink. Always ensure the base of your tray is perfectly flat. If using reclaimed wood, sand the bottom cleats until the tray sits flush on a table.
Frequently Asked Questions (FAQ)
What is the best wood for a DIY serving tray?
For a lightweight tray, pine or cedar is excellent. For a more “high-end” and durable tray, hardwoods like oak, walnut, or maple are preferred. If you are a beginner, birch plywood is the easiest to work with and offers a clean, modern look.
How do I make my tray waterproof?
For trays that will encounter moisture (like coffee or cocktails), a polyurethane spray or a pour-on epoxy resin is the best waterproofing method. Mod Podge is water-resistant but can become tacky if it stays wet for too long.
Where can I find cheap handles for my tray?
Check the “clearance” bins at hardware stores like Home Depot or Lowe’s. Alternatively, thrift stores often have old cabinets; you can buy a small cabinet for a few dollars just to harvest the high-quality vintage hardware.
Can I make a tray without power tools?
Yes! The “Picture Frame Tray” and the “Marble Tile Tray” require zero power tools. You can use industrial-strength adhesives (like E6000) to attach handles and felt pads.
Conclusion
DIY serving trays are the perfect intersection of utility and artistry.
From the rugged appeal of a reclaimed pallet tray to the sophisticated shimmer of a resin-poured masterpiece, these projects allow you to express your personal style while organizing your home.
By following these tutorials, you can create professional-grade decor that rivals boutique store offerings.
Choose the project that matches your current skill level, gather your materials, and start crafting a piece that will be the centerpiece of your next gathering.
Leave a Reply