Fabric flowers are the ultimate scrap-buster project for any DIY enthusiast. Instead of letting those beautiful remnants of silk, cotton, or felt go to waste, you can transform them into high-end hair accessories that look like they stepped off a boutique shelf.
Whether you’re crafting for a toddler’s photoshoot, a wedding, or just to add a pop of color to your daily outfit, DIY fabric flower headbands are budget-friendly, customizable, and incredibly satisfying to make.
In my years of crafting, I’ve learned that the secret isn’t just in the folding technique; it’s in choosing the right fabric for the right vibe. From the singe method for satins to the shabby-chic fraying of denim, there is a style for every skill level.
Today, I’m walking you through 10 of my favorite fabric flower headband projects that I’ve personally tested, failed at, refined, and perfected.
The Essential DIY Flower Kit
Before we dive into the specific projects, let’s talk shop. You don’t need a sewing machine for most of these, but you do need a few holy grail items.
| Tool/Material | Why You Need It | Pro Tip |
|---|---|---|
| Hot Glue Gun | The backbone of fabric crafting. | Use a high-temp gun for a more permanent bond, but watch your fingers! |
| Fabric Scissors | Clean cuts prevent unwanted fraying. | Never use your fabric scissors on paper; it dulls them instantly. |
| Felt Squares | Used as the base to glue flowers onto. | Match the felt color to the flower or the headband. |
| Headband Bases | Plastic, metal, or elastic. | Soft elastic is best for babies; plastic grips better for thick hair. |
| Lighter/Candle | For heat-sealing synthetic fabrics. | Only use on 100% polyester or nylon; cotton will just catch fire. |
1 The Classic No-Sew Felt Rosette
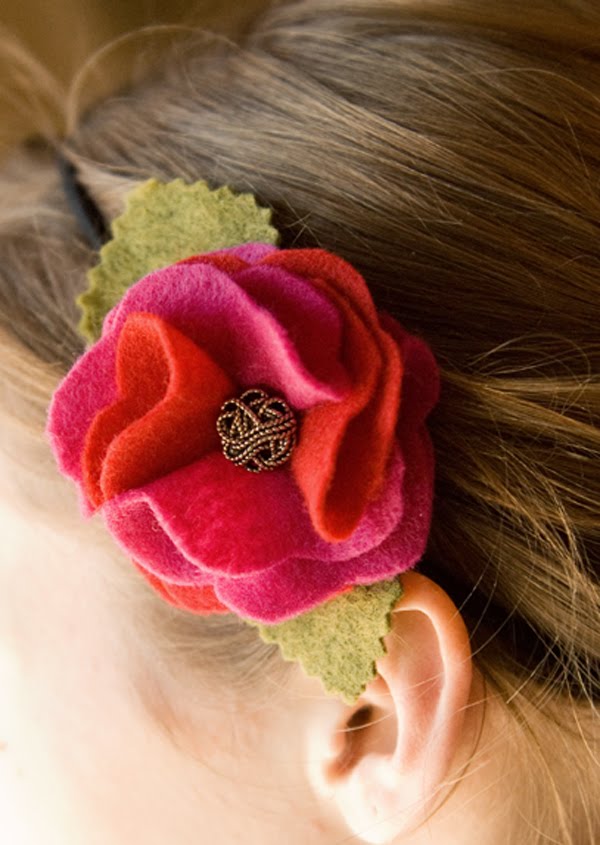
If you are a beginner, start here. Felt is incredibly forgiving because it doesn’t fray, and it has enough grip to hold its shape without much effort. I love using wool-blend felt for a more premium look.
To make these, cut a circle out of felt (about 4 inches in diameter). Cut the circle into a spiral, starting from the outside and working your way in. Leave a small circular tab at the very center.
Starting from the outside tail, roll the felt tightly toward the center. Once you reach the middle, apply a generous glob of hot glue to that center tab and press it against the bottom of your rolled flower.
My Crafter’s Secret: Don’t roll it too perfectly. A little bit of unevenness makes it look like a real, blooming rose rather than a plastic toy. Attach three of these in varying sizes to a skinny metal headband for a sophisticated look.
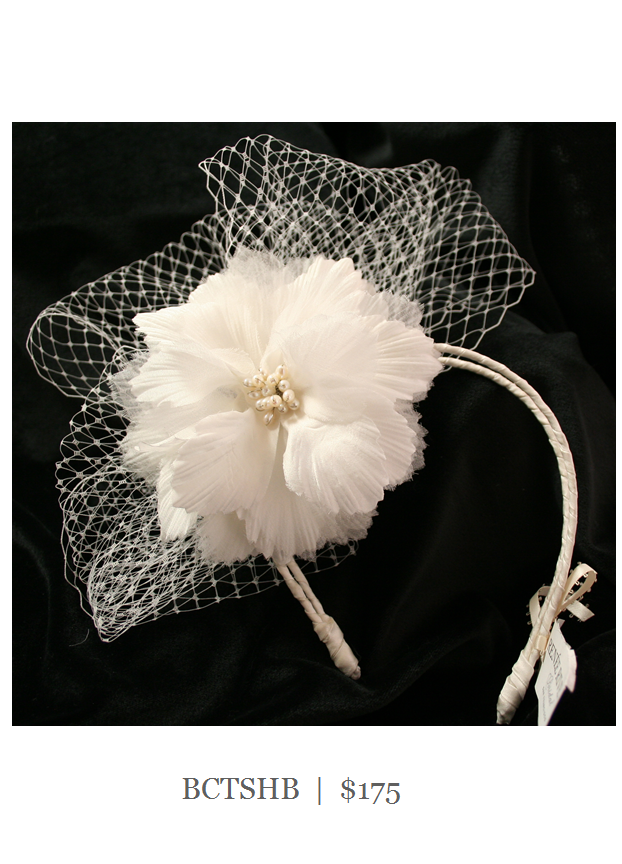
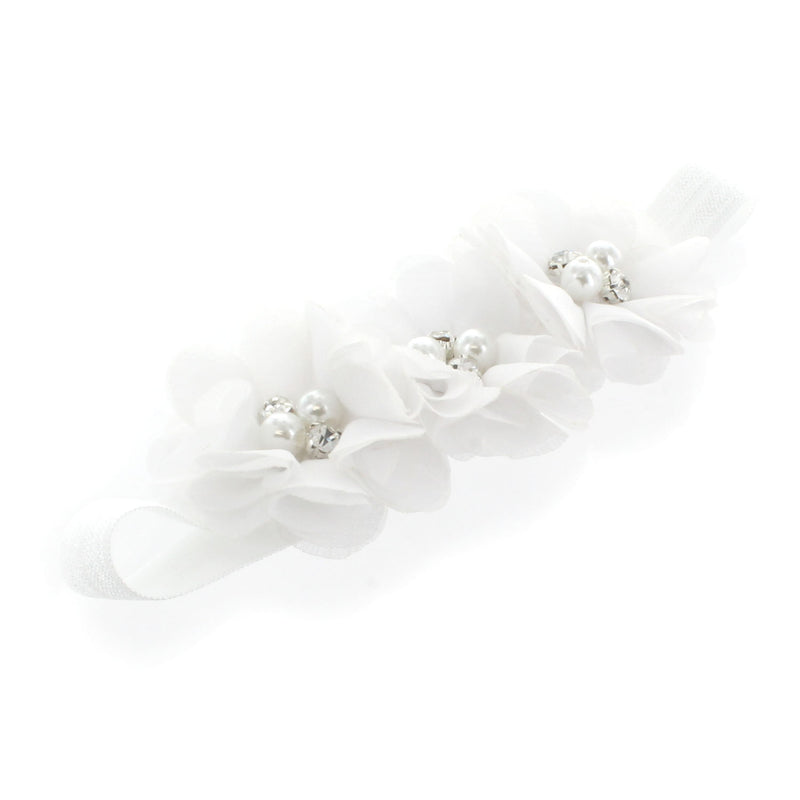
2 Singed Satin Peonies
These are my absolute favorites for weddings or formal events. You’ll need 100% polyester satin or organza. The magic happens when you melt the edges of the petals.
Cut 5-7 circles of varying sizes from your fabric. They don’t have to be perfect circles—wavy edges actually look better. Hold the edge of each circle near a candle flame (don’t touch the flame!).
The heat will cause the edges to curl and singe, giving them a realistic petal shape. Stack the layers from largest to smallest and sew a few beads or a pearl into the center to hold them together.
Warning: This creates fumes, so do it in a well-ventilated room. Also, keep a bowl of water nearby just in case you get too close to the flame!
3 Shabby Chic Denim Roses
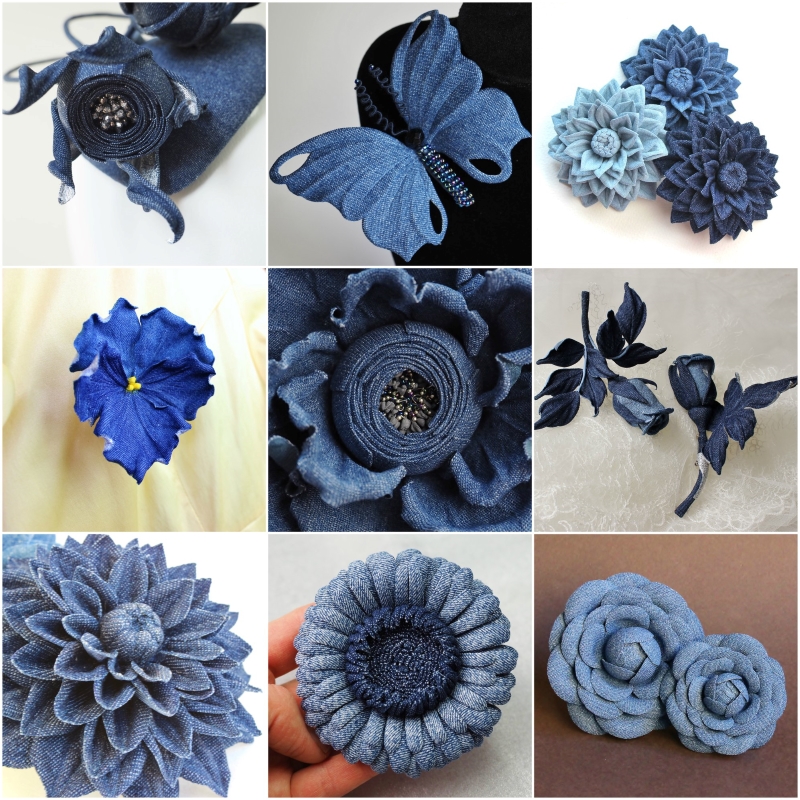
Don’t throw away those old jeans! Denim makes for a fantastic, rugged flower that looks amazing on a casual elastic headband. This is an upcycling win.
Cut long strips of denim (about 1 inch wide and 12 inches long). Pull at the edges to purposefully fray them—this is where the shabby charm comes from.
Fold the strip in half lengthwise and roll it, twisting the fabric as you go. Secure the bottom with hot glue every few turns. These look best when paired with a bit of lace or some burlap leaves.
4 Tulle Puff Pom-Poms
These are whimsical, airy, and perfect for kids’ headbands. They look like little clouds of color.
The easiest way to make these is the cardboard method. Wrap tulle around a piece of cardboard (about 3 inches wide) about 20-30 times. Slide the tulle off, tie a string tightly around the middle, and cut the loops on both ends. Fluff it out into a ball.
Budget Hack: Buy tulle on a spool (6-inch width) rather than by the yard. It’s much easier to handle and often cheaper during craft store sales.
5 Layered Cotton Scrappy Flowers
If you have quilting scraps, this project is for you. These flowers are flat and sturdy, making them great for everyday wear.
Cut 5-6 petal shapes from different coordinating cotton prints. Use pinking shears (the ones that cut zig-zags) to prevent fraying and add texture. Layer them in a star pattern and put a decorative button in the center.
I like to stiffen the fabric first with a little spray starch so the petals don’t flop over time.
6 Ribbon Loop Chrysanthemums
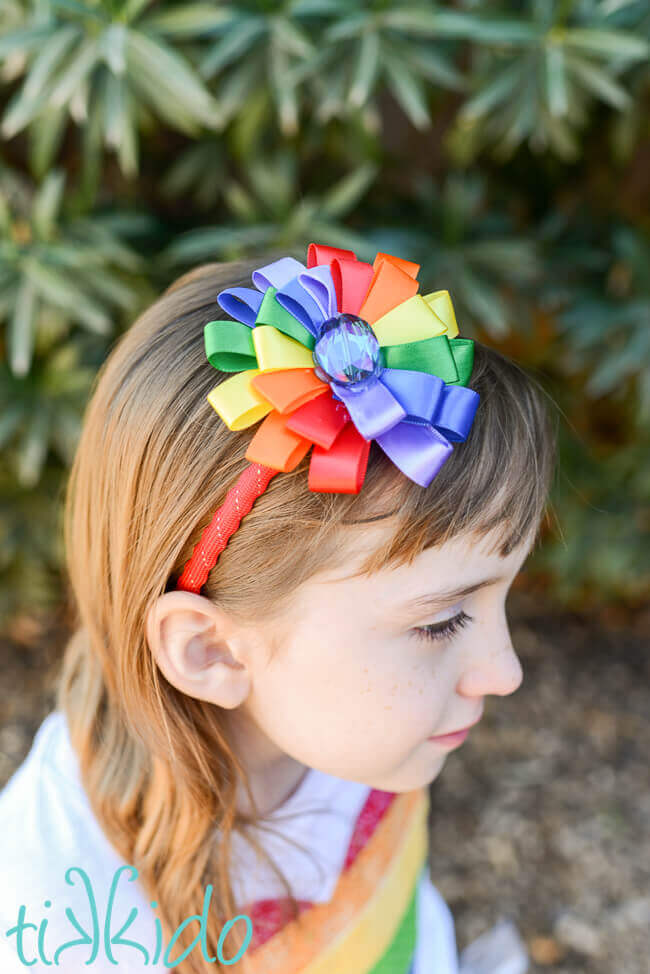
Grosgrain ribbon is the star here. This flower has a lot of body and looks very professional.
Cut about 20 pieces of ribbon, each 3 inches long. Fold them into loops and glue the ends together. Cut a small felt circle as your base.
Glue the loops around the edge of the circle, then do a second row inside that, and a third in the center. Finish the middle with a rhinestone or a fabric-covered button.
Pro Tip: Use a heat sealer or a quick zap from a lighter on the ribbon ends before looping them to ensure they never unravel.
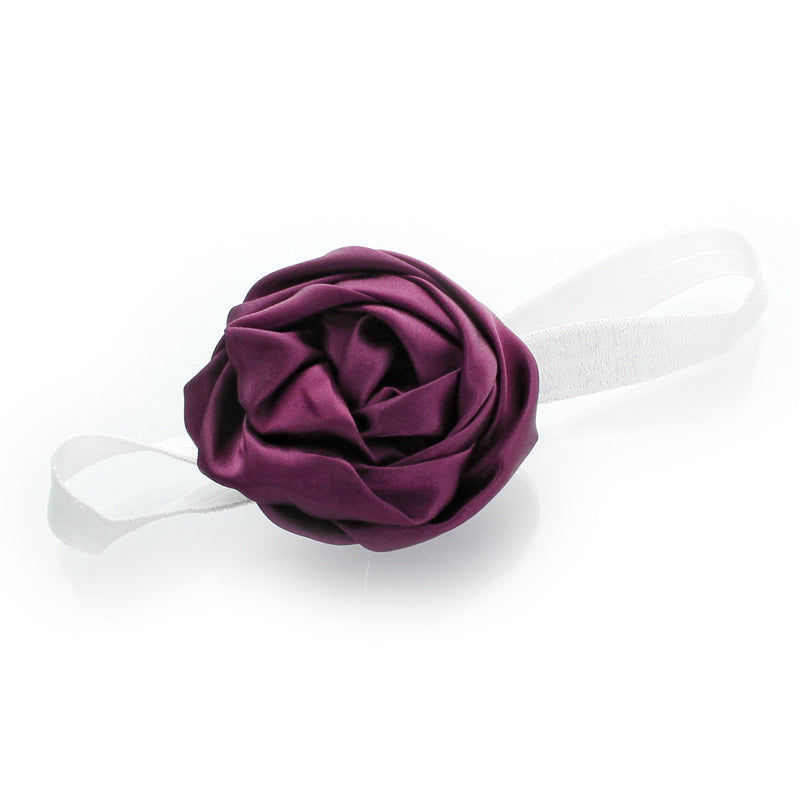
7 Chiffon Rolled Roses
Chiffon is delicate and feminine, but it can be slippery to work with. The trick here is the fold and roll technique.
Take a long strip of chiffon (about 2 inches wide and 18 inches long). Fold it in half. Start rolling, but every half-turn, fold the fabric back away from the center. This creates those points you see on a real rose.
Because chiffon is so thin, you’ll need more fabric than you think to get a full-looking flower.
8 Burlap Sunflower Headband

For a rustic or farmhouse vibe, burlap is king. It’s messy, though—be prepared for little fibers everywhere!
Cut pointed petal shapes from yellow burlap. Glue them to a circular felt base. For the center, use a dark brown felt or even a cluster of coffee beans (yes, really!) for a unique texture.
These look stunning on a simple twine-wrapped headband.
9 Leather (or Faux) Minimalist Blooms
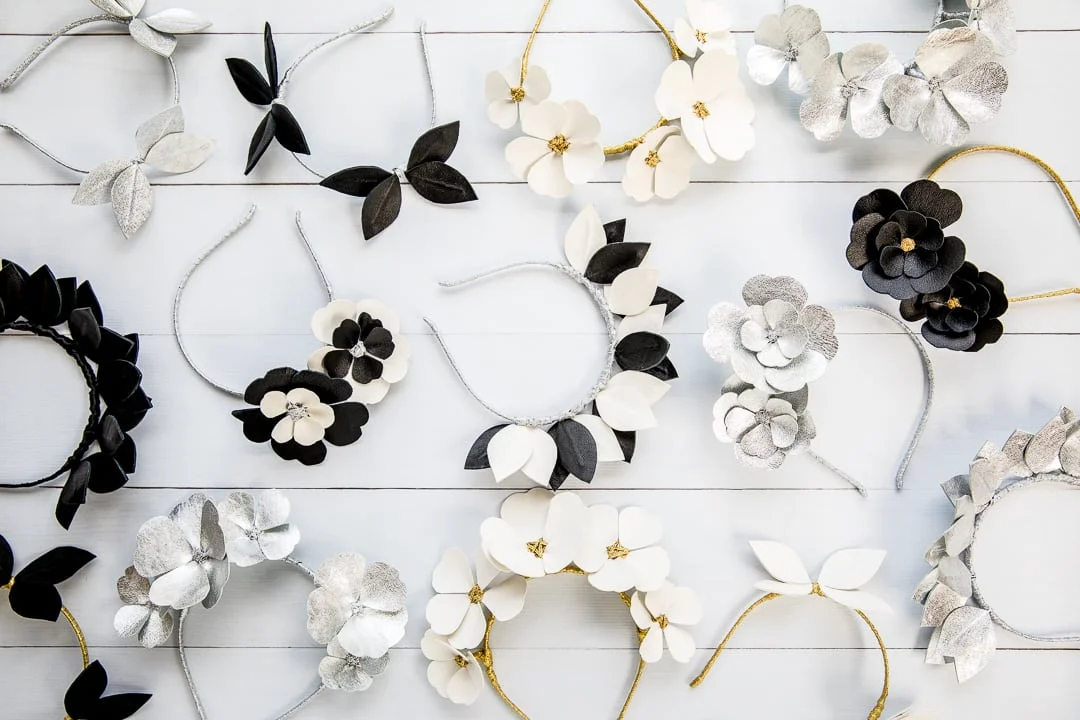
If you want something edgy and modern, go for leather or vegan leather. These don’t need many layers because the material is so thick.
Cut a simple five-petal flower shape. To give it dimension, cut a small slit between two petals and overlap them slightly, gluing them down. This creates a cup shape.
A single leather flower on a thin gold headband is the height of minimalist chic.
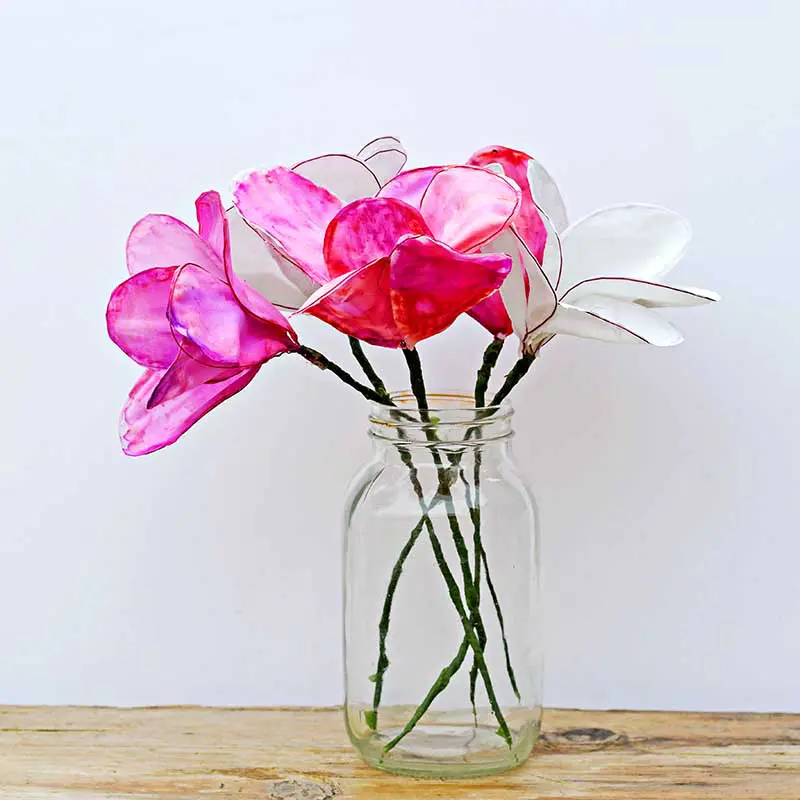
10 Organza Floating Petals
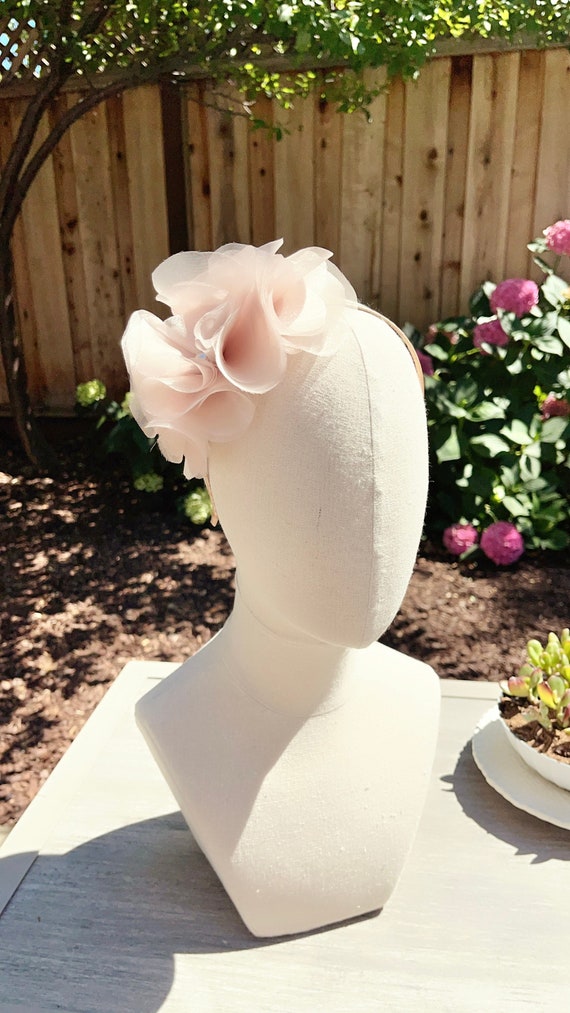
Organza is sheer and ethereal. This style involves creating individual petals and assembling them one by one.
Cut 10-12 heart-shaped petals. Lightly singe the edges. Instead of stacking them, glue them in a circle, overlapping the point of the hearts.
Because the fabric is see-through, the overlapping areas create beautiful color gradients. This is a very high-fashion look that works beautifully for flower girls.
Frequently Asked Questions (FAQ)
What is the best glue for fabric flowers?
While a hot glue gun is the fastest, it can sometimes peel off plastic headbands. For a permanent bond, I recommend E6000 or a specific fabric glue like Beacon Fabri-Tac.
If you use hot glue, make sure it’s the high-temp variety for better adhesion.
How do I make the headband comfortable for babies?
Always use soft nylon elastic for babies. You should also glue a circle of soft felt on the inside of the headband, directly behind the flower.
This sandwiches the headband and ensures no scratchy glue or fabric touches the baby’s skin.
Can I wash these headbands?
Generally, no. Water can ruin the shape of felt, cause singed edges to become brittle, or dissolve some fabric glues.
If they get dusty, use a canned air duster (the kind for keyboards) or a lint roller to gently clean them.
My fabric is fraying too much. What can I do?
If you aren’t using the singe method, try Fray Check. It’s a liquid sealant you apply to the edges of the fabric.
Alternatively, using pinking shears to cut your petals creates a structural edge that resists fraying better than a straight cut.
Conclusion
Creating your own DIY fabric flower headbands is more than just a craft; it’s a way to express your personal style while being mindful of waste. From the rustic charm of burlap to the elegant shimmer of singed satin, the possibilities are truly endless.
Don’t be afraid to mix and match materials—some of my best designs came from mixing denim with lace or felt with leather.
Grab your scrap bin, heat up that glue gun, and start experimenting. Remember, in the world of handmade flowers, there are no mistakes—only unique variations. Happy crafting!
Leave a Reply