Paper crowns are a staple of childhood creativity, offering a budget-friendly way to transform an ordinary afternoon into a royal adventure.
Whether you are planning a birthday party, a classroom activity, or a rainy-day home project, paper crowns are versatile, easy to customize, and excellent for developing fine motor skills in young children.
By using simple materials like cardstock, markers, and recycled items, you can create professional-looking headpieces that spark the imagination.
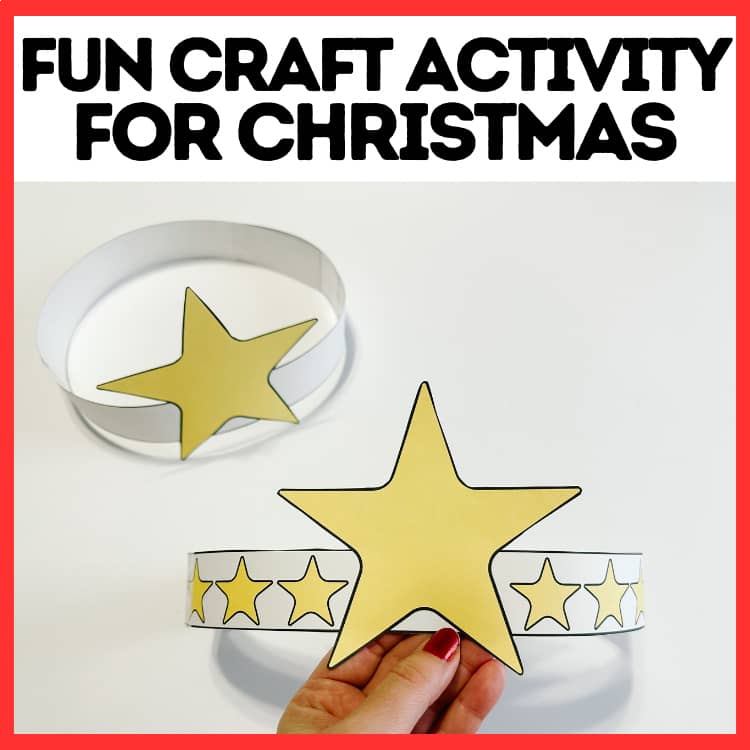
1. The Classic Royal Gold Crown

The classic royal crown is the most recognizable design, featuring sharp triangular peaks and a regal aesthetic.
This project is perfect for teaching kids about symmetry and geometric shapes.
- ✨The Vibe: Majestic, traditional, and celebratory.
- ✨Best For: Birthday parties or King and Queen roleplay.
How to Make It: To create this, fold a long strip of yellow or gold cardstock in half.
Draw a series of triangles along the top edge, ensuring they are uniform in height. Once cut and unfolded, you have a perfectly symmetrical crown.
For an added touch of royalty, glue large plastic rhinestones or jewels made from crumpled bits of colorful tissue paper onto each peak.
2. Enchanted Floral Garden Tiara
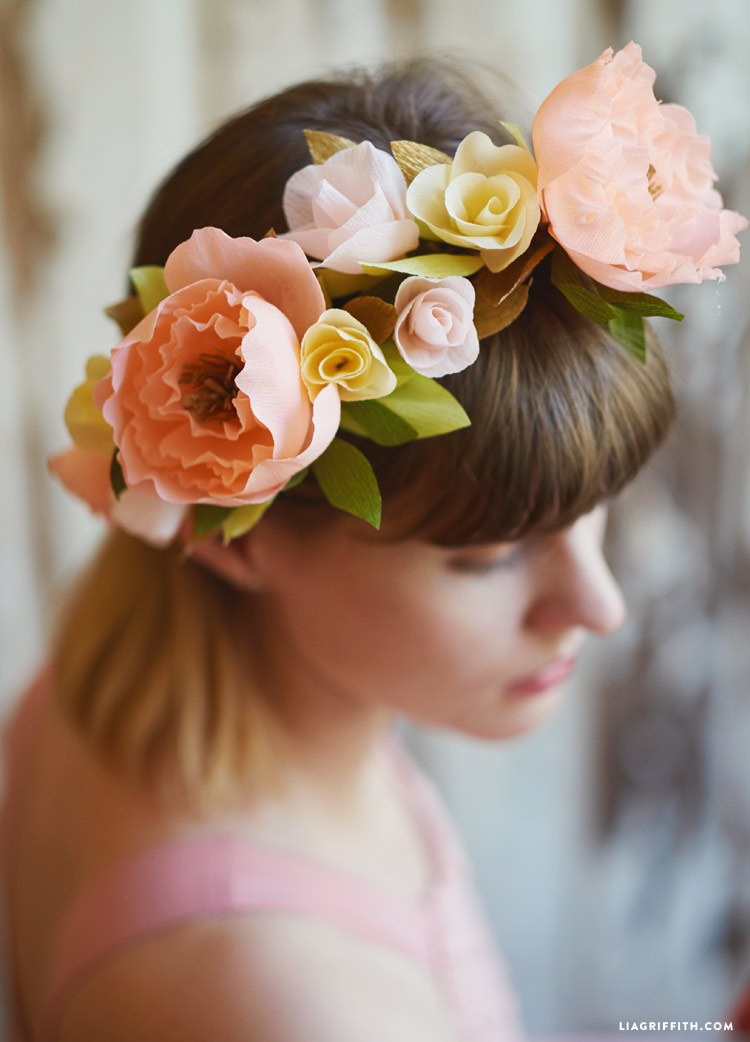
This design moves away from the rigid peaks of a traditional crown and embraces the soft, organic shapes of nature.
It’s a wonderful spring-themed craft that allows kids to experiment with layering different paper textures.
- ✨The Vibe: Whimsical, soft, and nature-inspired.
- ✨Best For: Garden parties or fairy-themed play.
How to Make It: Start with a simple green paper headband.
Instead of cutting peaks into the band, keep it flat. Have the children cut out various flower shapes from pink, purple, and yellow paper.
Layer smaller circles inside larger petals to create a 3D effect. Glue these flowers along the band, interspersed with leaf cutouts.
For a bit of magic, add a light dusting of biodegradable glitter to the center of each flower.
3. Wild Animal Ears Crown
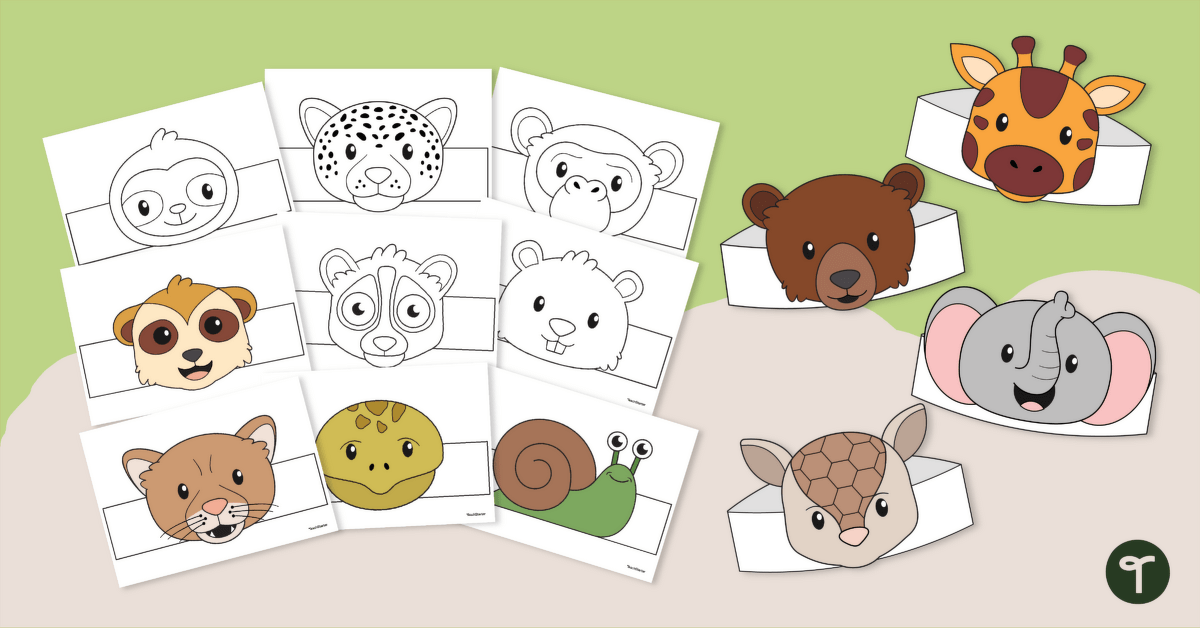
Why be a king when you can be a lion, a bear, or a bunny?
This crown uses the headband structure as a base for animal features, making it a hit for costume days or zoo-themed lessons.
- ✨The Vibe: Playful, cute, and character-driven.
- ✨Best For: Halloween alternatives or school plays.
How to Make It: Cut a wide band of brown, orange, or white cardstock.
Depending on the chosen animal, cut two matching ear shapes. For a lion, add a mane by fringing strips of orange tissue paper and gluing them around the entire band.
For a bunny, use long, tall ovals with pink inner-ear inserts. The key here is the placement; ensure the ears are stapled securely to the sides so they stand upright during play.
4. Celestial Starry Night Crown
This crown captures the beauty of the night sky.
It is an excellent project for children interested in space or magic, using dark colors and metallic accents to create a sophisticated look.
- ✨The Vibe: Dreamy, cosmic, and magical.
- ✨Best For: Bedtime stories or space-themed parties.
How to Make It: Use deep navy blue or black cardstock as your base.
Instead of standard peaks, cut out several stars of varying sizes from silver or gold foil paper.
Attach the stars to the band using thin strips of paper or springs made by folding paper strips accordion-style, which allows the stars to wobble and dance as the child moves.
Use a silver metallic marker to draw constellations or stardust dots across the band.
5. Underwater Mermaid Scales Crown

Dive into creativity with a crown inspired by the ocean.
This project introduces kids to the concept of patterns and overlapping shapes to mimic the look of fish scales.
- ✨The Vibe: Shimmery, aquatic, and vibrant.
- ✨Best For: Summer pool parties or mermaid fans.
How to Make It: Cut a band from teal or light blue paper.
Using a circle punch or scissors, cut out dozens of circles from iridescent or glitter paper.
Start at one end of the band and glue the circles in an overlapping scale pattern. Top the center of the crown with a large paper seashell or a starfish cutout.
Adding a few strands of blue curling ribbon to the back can simulate seaweed or long mermaid hair.
6. Upcycled Newspaper Origami Crown
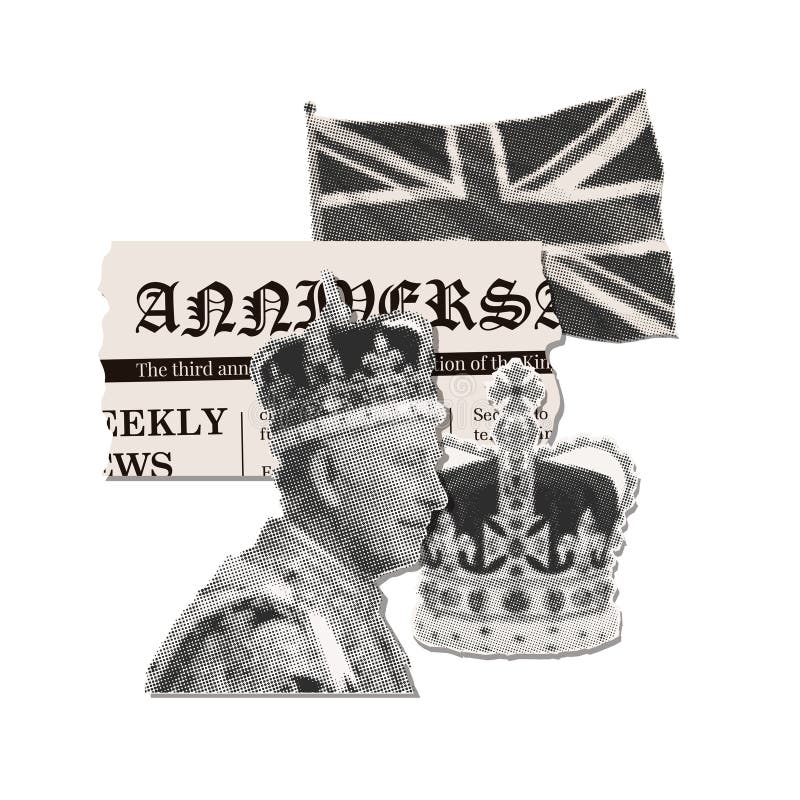
Sustainability meets craft in this eco-friendly project.
Using old newspapers or magazines teaches children about upcycling while practicing the precision of origami folding.
- ✨The Vibe: Rustic, vintage, and eco-conscious.
- ✨Best For: Earth Day activities or budget-friendly classroom crafts.
How to Make It: This crown is built using modular origami.
Fold several square sheets of newspaper into units (usually a triangle with a pocket). Slide the point of one unit into the pocket of the next, forming a continuous chain that eventually circles back to the start.
The text and photos from the newspaper create a unique, busy pattern that looks surprisingly high-end when finished. You can lightly spray-paint the tips for a pop of color.
7. Rainbow Pipe Cleaner Crown
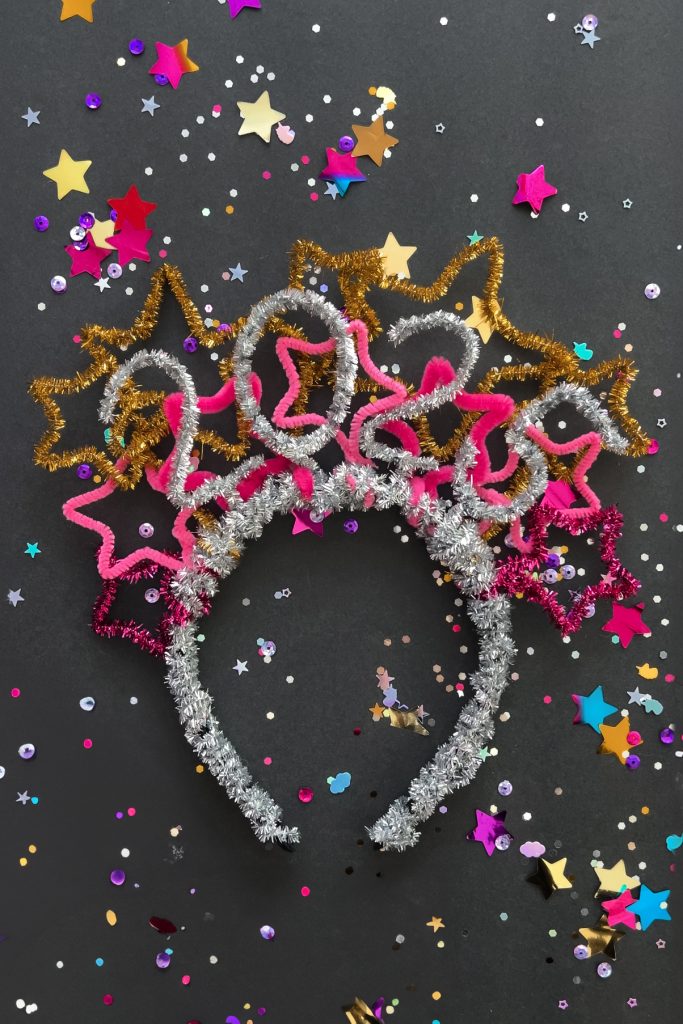
While primarily a paper craft, integrating pipe cleaners adds a tactile, 3D element that kids love.
This mixed media crown is flexible, making it very comfortable for long-term wear.
- ✨The Vibe: Bright, neon, and tactile.
- ✨Best For: Pride celebrations or art-focused playdates.
How to Make It: Punch holes along the top of a white paper headband.
Thread colorful pipe cleaners through the holes, twisting them into loops, hearts, or zig-zags.
The paper band provides the stability, while the pipe cleaners provide the height and color. This is the easiest crown for toddlers to decorate because they can simply twist and hook the elements without needing messy glue.
8. Personalized Birthday Number Crown
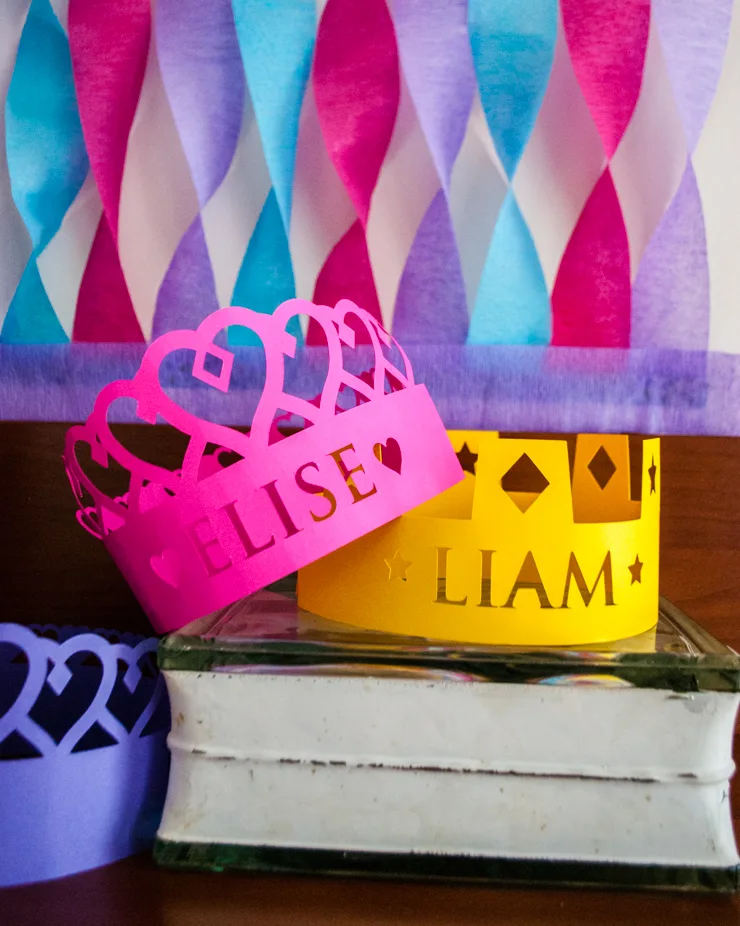
Make the birthday child feel extra special with a crown that highlights their new age.
This is a great keepsake that can be photographed every year to track how they grow.
- ✨The Vibe: Celebratory, bold, and personalized.
- ✨Best For: Milestone birthdays.
How to Make It: Create a sturdy cardstock base in the child’s favorite color.
In the very center, place a large, bold cutout of the number they are turning (e.g., a big 5).
Surround the number with rays of paper to make it look like a sunburst. Use letter stickers or a marker to write their name across the front.
This crown should be slightly taller than the others to ensure the number is the focal point.
9. Forest Leaf and Branch Crown
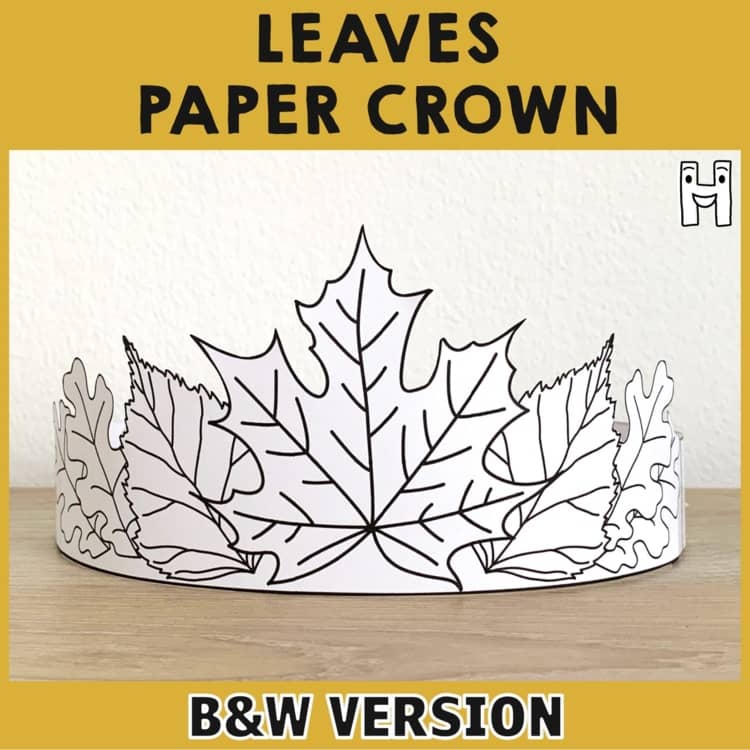
Perfect for an outdoor nature scavenger hunt, this crown uses paper to mimic the textures found in the woods.
It’s an earthy alternative to the shiny, glittery versions.
- ✨The Vibe: Organic, adventurous, and autumnal.
- ✨Best For: Fall festivals or scouting events.
How to Make It: Use brown construction paper to create a band that looks like tree bark (you can draw rings and knots on it with a crayon).
Cut out leaf shapes from red, orange, and yellow paper. To make them look realistic, fold the leaves down the center to create a vein and give them a 3D shape.
Glue them at various angles around the band to look like a wreath of fallen leaves.
10. Superhero Emblem Crown
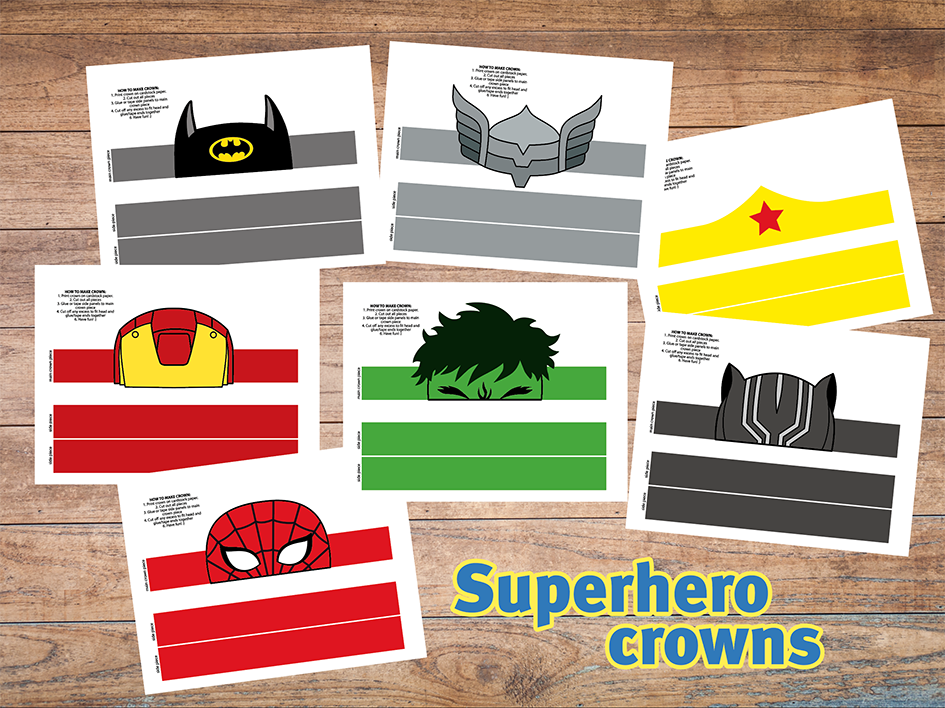
Every superhero needs a mask or a crown.
This design uses sharp angles and bold, primary colors to evoke a sense of power and speed.
- ✨The Vibe: Heroic, energetic, and comic-book style.
- ✨Best For: Active play or superhero-themed parties.
How to Make It: Instead of a circular band, cut the front of the crown into a V shape that sits on the forehead (similar to Wonder Woman’s tiara).
Use bright red, blue, or yellow cardstock. In the center, glue a lightning bolt, a shield, or the child’s initial inside a star.
Use black markers to add thick comic book outlines to the edges of the shapes to make them pop.
Comparison of Paper Types for DIY Crowns
Choosing the right material is crucial for the durability and look of your crown. Use the table below to decide which paper fits your project best.
| Paper Type | Durability | Best For… | Ease of Cutting |
|---|---|---|---|
| Cardstock | High | Structural crowns, birthday crowns | Moderate |
| Construction Paper | Medium | School crafts, animal ears | Easy |
| Crepe/Tissue Paper | Low | Flowers, fringe, decorations | Very Easy |
| Foil/Glitter Paper | High | Royal crowns, stars, accents | Moderate |
| Recycled Newsprint | Low | Origami, eco-projects | Easy |
Step-by-Step Guide: How to Size a Paper Crown
Regardless of which style you choose, getting the fit right is the most important step for a child’s comfort.
- Measure Twice: Wrap a strip of paper around the child’s head, just above the ears. Mark where the paper overlaps.
- Add an Inch: Add about 1-2 inches to that measurement to allow for the overlap where you will staple or tape the ends together.
- Height Matters: For toddlers, keep the crown height under 4 inches so it doesn’t tip over. For older kids, you can go up to 6 or 7 inches for dramatic effect.
- Secure the Ends: Use staples for the strongest hold, but always cover the flat side of the staple with a piece of clear tape so it doesn’t snag the child’s hair.
Frequently Asked Questions (FAQ)
Q: How can I make a paper crown more durable for long-term play?
A: To make a crown last longer, laminate the cardstock before assembly or line the inside of the band with clear packing tape. This prevents the paper from tearing at the staples and protects it from sweat.
Q: What is the best glue for attaching jewels to paper?
A: While standard school glue works, a low-temperature glue gun is best for plastic rhinestones as it sets instantly and provides a much stronger bond. Always supervise children if using a glue gun.
Q: Can I use these templates for adults?
A: Absolutely! Simply increase the length of the base band. Most adult heads require a band length of 22–24 inches, whereas children usually need 19–21 inches.
Q: How do I stop a tall crown from falling off?
A: If a crown is top-heavy, punch a small hole on either side of the band (near the ears) and tie a piece of elastic string or ribbon to go under the child’s chin.
Conclusion
DIY paper crowns are more than just a simple craft; they are a gateway to imaginative play and a wonderful way for children to express their personalities.
From the regal peaks of a gold royal crown to the whimsical layers of a floral tiara, the possibilities are limited only by your supply of cardstock and glue.
By following these ten ideas and utilizing the sizing tips provided, you can create high-quality, memorable headpieces that children will be proud to wear. So, clear off the craft table, grab your scissors, and let the royal crafting begin!
Leave a Reply