Transform everyday scraps into stunning functional art with these 10 beautiful DIY coaster ideas. Perfect for upcycling materials like wine corks, old tiles, and fabric remnants, these projects are beginner-friendly, customizable, and add a personal touch to your coffee table. Each one takes under an hour (most under 30 minutes) and costs less than $5 using household items.
Why DIY Coasters?
Coasters aren’t just practical—they’re a canvas for creativity. Upcycling reduces waste, saves money, and lets you match your home decor.
From rustic farmhouse vibes to modern geometric patterns, these ideas suit any style. Gather basics like Mod Podge, felt, hot glue, and sealant for success across all projects.
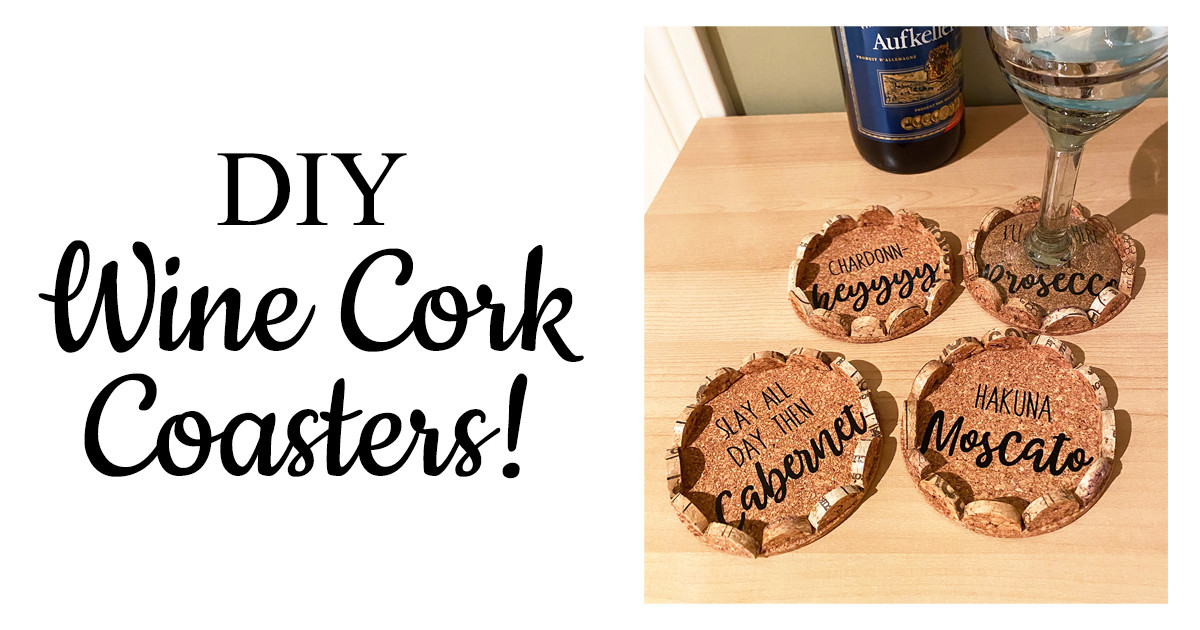
1. Wine Cork Coasters
Slice up leftover wine corks for a textured, eco-friendly set that screams rustic charm.
Materials:
- ✿ 20-30 wine corks
- ✿ Utility knife or cork slicer
- ✿ Hot glue gun
- ✿ Sandpaper
Steps:
- Cut corks into ¼-inch rounds.
- Arrange 7-9 slices in a circle on a flat surface.
- Glue slices together, pressing firmly.
- Sand edges smooth and seal with polyurethane for water resistance.
These coasters absorb condensation naturally and pair perfectly with charcuterie boards. Yield: 4 coasters.
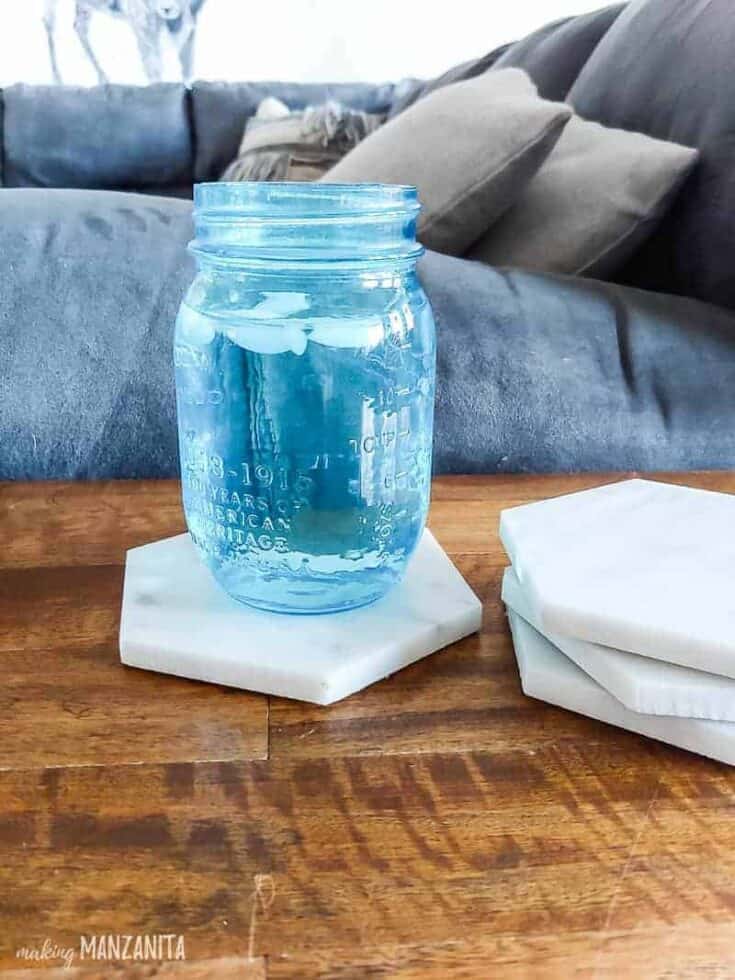
2. Marble Tile Coasters
Repurpose surplus bathroom tiles for sleek, heat-resistant coasters with a high-end spa feel.
Materials:
- ✿ 4 marble or stone tiles (4×4 inches)
- ✿ Felt pads
- ✿ Cork backing sheets
- ✿ Spray adhesive
Steps:
- Clean tiles thoroughly.
- Cut cork to tile size and adhere with spray glue.
- Attach felt bumpers to corners for furniture protection.
- Optional: Stencil and paint designs before sealing.
Durable for hot mugs, these mimic $20 store-bought versions for pennies.
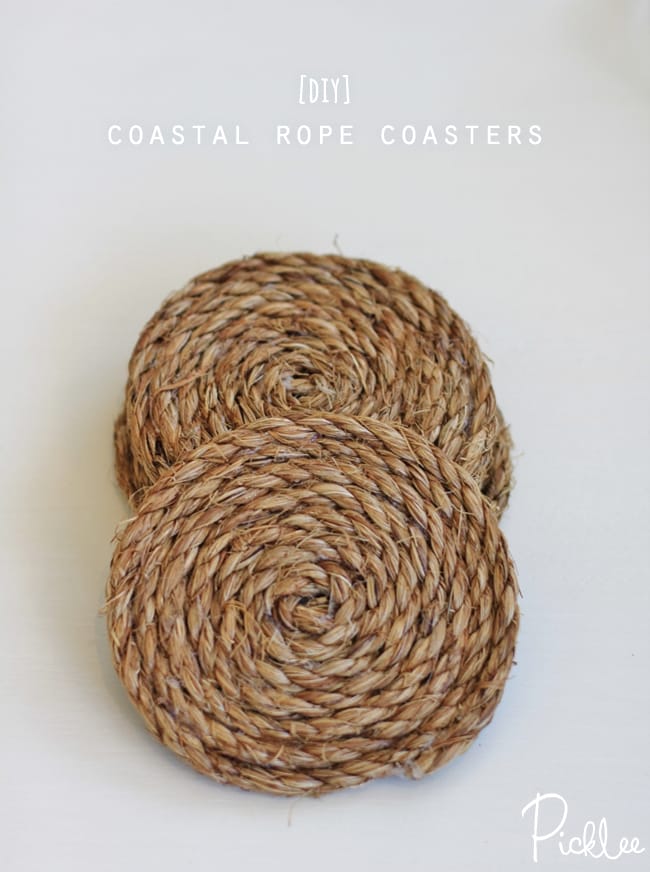
3. Fabric-Wrapped Rope Coasters
Twist nautical rope around a wooden base for boho beachy vibes—ideal for coastal decor.
Materials:
- ✿ Thick cotton rope (10 feet per coaster)
- ✿ 4-inch wooden discs or cardboard circles
- ✿ Hot glue gun
- ✿ Fabric scraps (optional wrap)
Steps:
- Glue rope center to disc.
- Coil rope tightly outward, gluing as you go.
- Trim excess and tuck end under.
- Seal with clear varnish.
Stackable and squishy underfoot if dropped—great for summer patios.
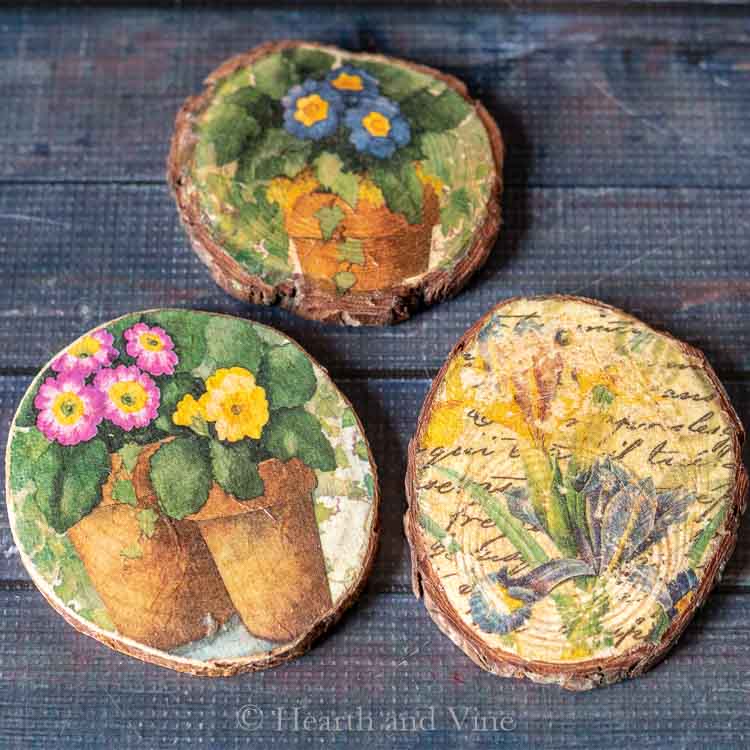
4. Decoupage Photo Coasters
Personalize with family photos or vintage prints for sentimental, giftable keepsakes.
Materials:
- ✿ Plain ceramic tiles (4×4 inches)
- ✿ Printed photos (modular size)
- ✿ Mod Podge (matte or gloss)
- ✿ Acrylic sealer
Steps:
- Cut photos to fit tiles.
- Apply Mod Podge to tile, layer photo, and smooth bubbles.
- Coat with 3-4 layers of Mod Podge, drying between each.
- Add felt backs.
Waterproof and fade-resistant; scan old pics to preserve memories.
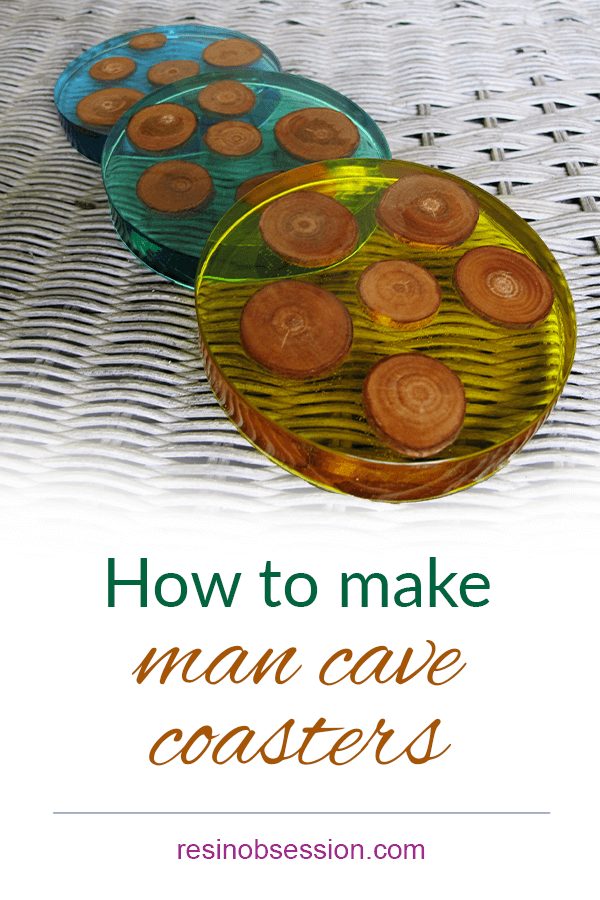
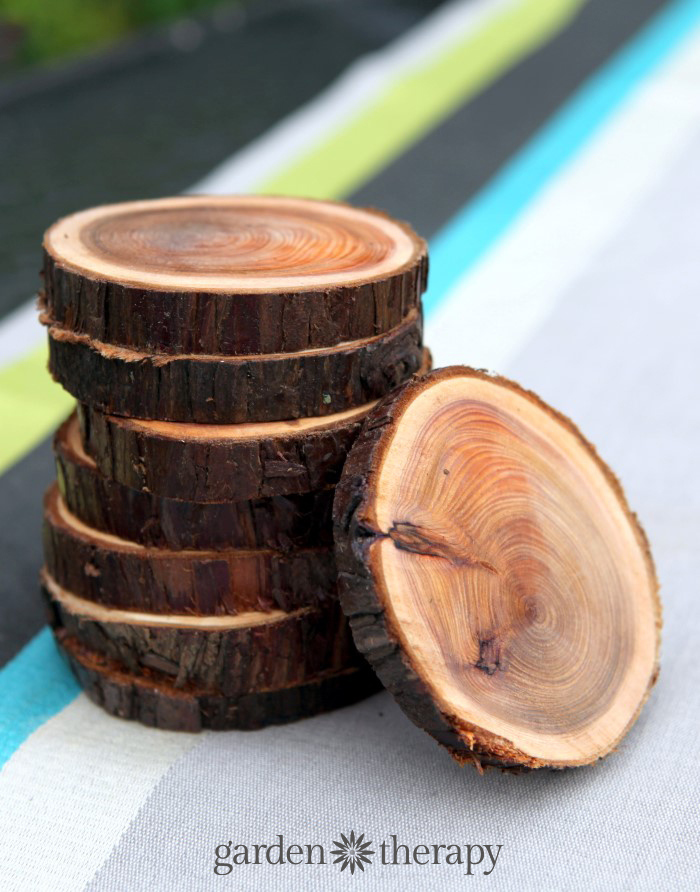
5. Wooden Slice Coasters
Harvest branches for natural, live-edge coasters that bring woodland whimsy indoors.
Materials:
- ✿ Tree branch slices (4-inch diameter)
- ✿ Sandpaper (various grits)
- ✿ Polyurethane sealant
- ✿ Drill (for drainage holes, optional)
Steps:
- Cut even slices with a handsaw.
- Sand top, bottom, and bark edges.
- Wipe clean and apply 2-3 sealant coats.
- Add rubber feet if needed.
Each is unique—no two slices match—perfect for cabins or modern minimalism.
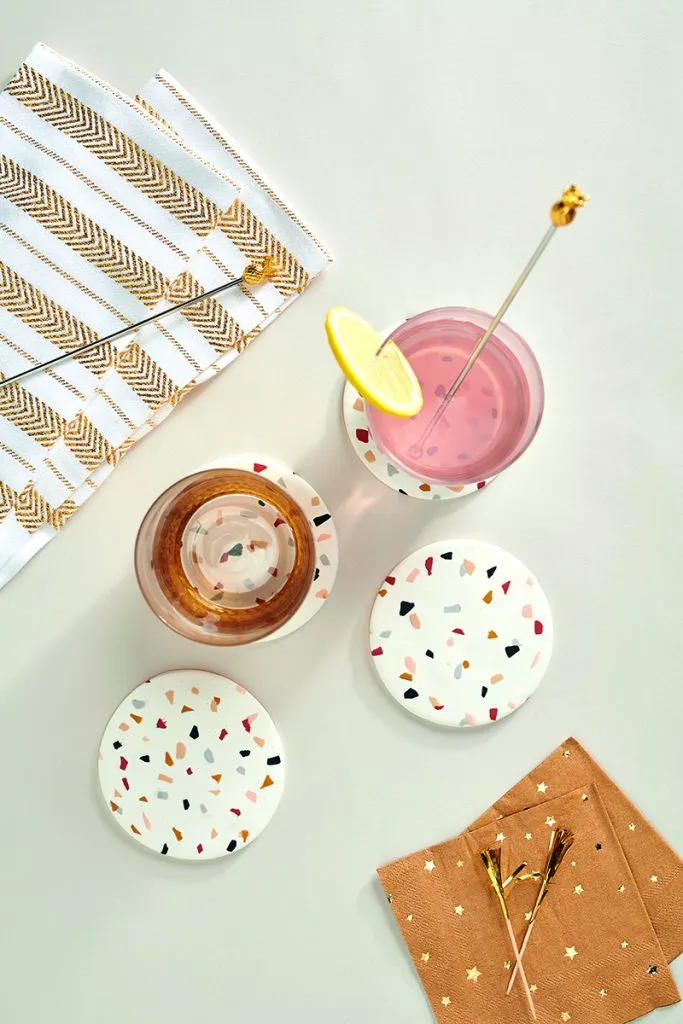
6. Polymer Clay Coasters
Mold colorful clay into terrazzo-style patterns for vibrant, kid-friendly fun.
Materials:
- ✿ Oven-bake polymer clay (assorted colors)
- ✿ Clay roller or pasta machine
- ✿ Baking sheet
- ✿ Clear glaze
Steps:
- Roll clay slabs ¼-inch thick.
- Chop scraps into “chips” and press into base color.
- Cut 4-inch circles and bake at 275°F for 15 minutes.
- Glaze for shine and protection.
Heat-safe up to 350°F; experiment with embeds like glitter or dried flowers.
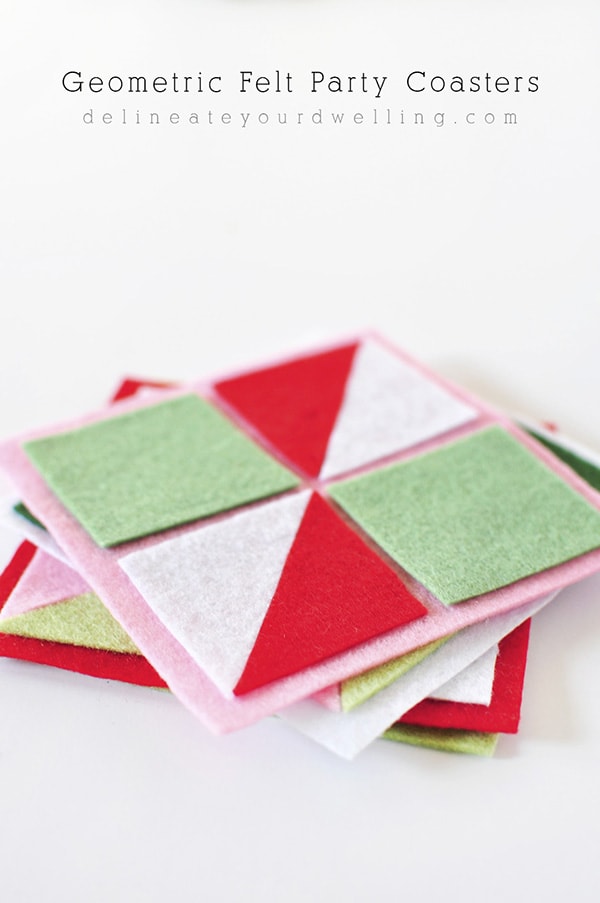
7. Felt Geometric Coasters
Layer colorful felt for bold, modern shapes—no sewing required.
Materials:
- ✿ Felt sheets (wool or craft felt)
- ✿ Sharp scissors
- ✿ Hot glue or fabric glue
- ✿ Patterns (printable online)
Steps:
- Trace and cut geometric shapes (triangles, hexagons).
- Stack layers from largest to smallest, gluing edges.
- Add contrast pops with smaller accents.
- Trim neatly.
Soft, non-slip, and machine-washable—ideal for playful kids’ tables.
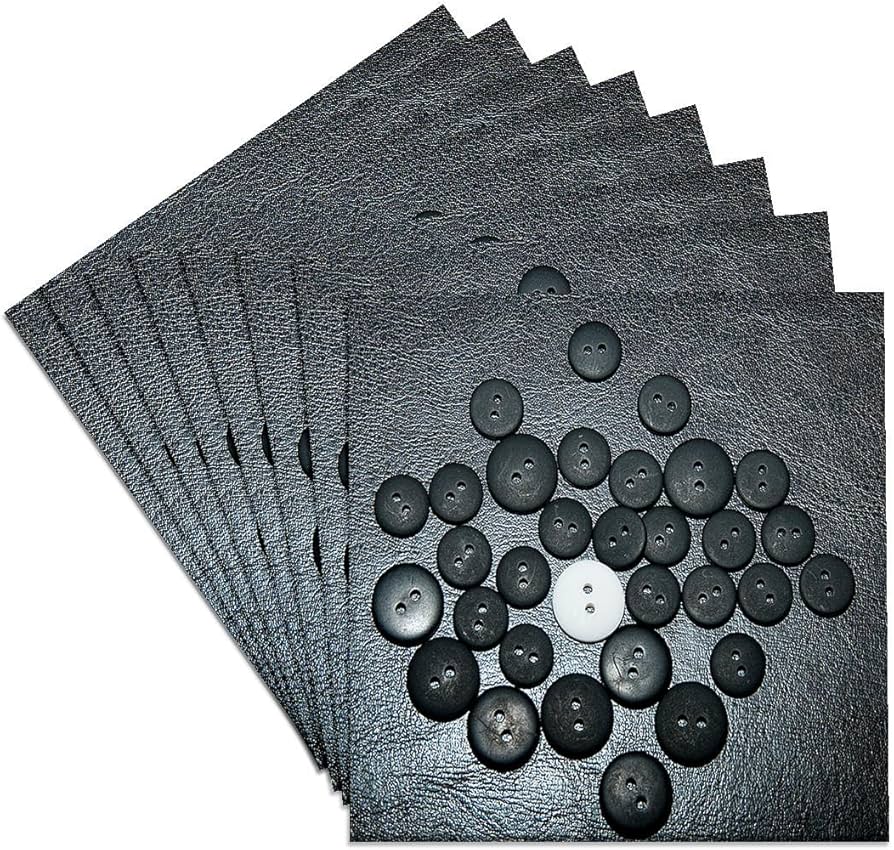
8. Button Mosaic Coasters
Upcycle jars of buttons into sparkling mosaics for eclectic, vintage flair.
Materials:
- ✿ Cardboard circles (4 inches)
- ✿ Assorted buttons
- ✿ PVA glue
- ✿ Resin or Mod Podge topcoat
Steps:
- Glue buttons in patterns on cardboard.
- Fill gaps with smaller buttons or grout-like filler.
- Let dry, then seal heavily.
- Attach cork backs.
Textured and eye-catching; source buttons from thrift stores for free.
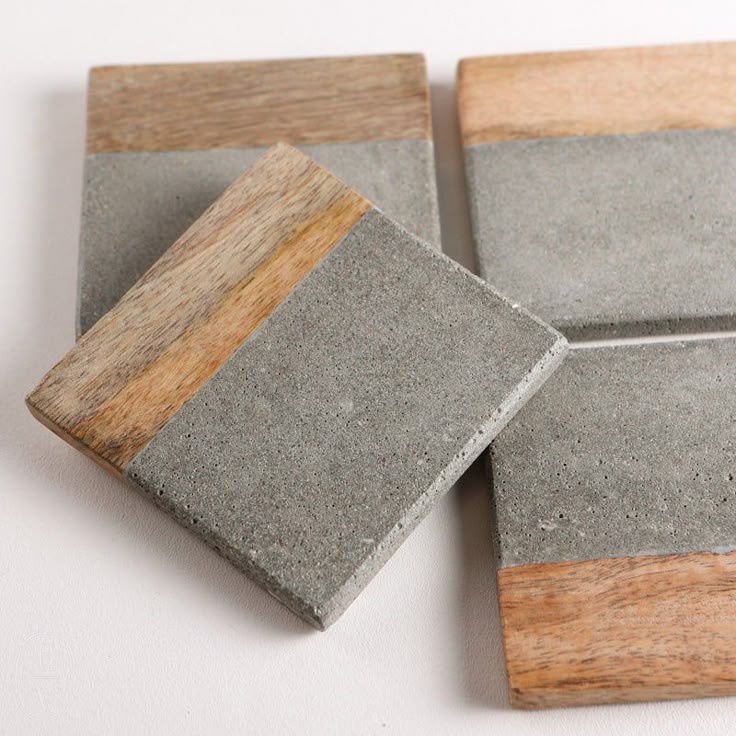
9. Concrete and Wood Coasters
Pour mini concrete slabs into wood frames for industrial loft appeal.
Materials:
- ✿ Quick-set concrete mix
- ✿ Wood strips (1×4 inches)
- ✿ Mold release spray
- ✿ Sandpaper
Steps:
- Assemble 4×4-inch wood frames, sealing joints.
- Spray interior, mix concrete, and pour ¼-inch thick.
- Smooth top, cure 24 hours, then pop out.
- Sand and oil wood.
Super sturdy for heavy pots; add pigments for custom colors.
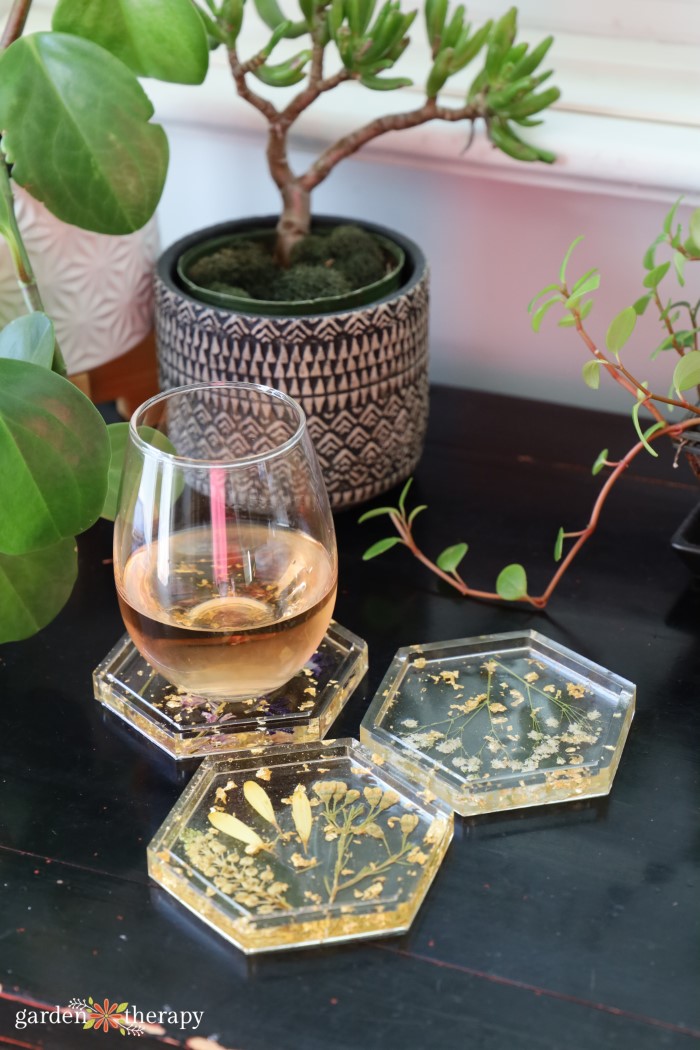
10. Dried Flower Resin Coasters
Embed pressed flowers in epoxy for ethereal, preserved garden beauty.
Materials:
- ✿ Silicone coaster molds (4-inch)
- ✿ Clear epoxy resin
- ✿ Dried flowers/leaves
- ✿ Glitter (optional)
Steps:
- Press and dry flowers.
- Mix resin per instructions, pour thin layer into molds.
- Arrange flowers, add second layer to encase.
- Cure 48 hours, pop out, and buff edges.
Crystal-clear and waterproof; lasts years without wilting.
Tips for Success
Always seal for moisture protection—use food-safe options. Test on scrap materials first.
Customize sizes: Scale up for trivets. Source freebies: Facebook Marketplace for tiles/corks.
FAQ
What materials seal DIY coasters best?
Polyurethane or epoxy resin for waterproofing; Mod Podge for quick paper projects.
Are these coasters heat-resistant?
Most handle mug temps (up to 200°F). Avoid direct stovetop; concrete/resin excel here.
Can I sell these DIY coasters?
Yes! They’re original crafts. Check Etsy guidelines and label “handmade.”
How do I clean them?
Wipe with damp cloth; avoid submersion unless fully sealed. Felt ones are spot-clean only.
What if I don’t have exact materials?
Substitute freely—e.g., yarn for rope, craft foam for felt. Creativity is key!
In conclusion, these 10 DIY coaster projects prove you don’t need a big budget or fancy tools to elevate your home. Whether you’re gifting a set or refreshing your own space, upcycling adds charm and sustainability.
Pick one (or all!) this weekend—your tables (and planet) will thank you. Share your makes on social with #DIYCozies for inspiration!
Leave a Reply