Hello lovely crafters! 🌈✨ If you’re in the mood for some colorful and fun DIY decor, I’ve got the perfect project for you. Let’s make an adorable Air Dry Clay Hanging Rainbow that’s perfect for brightening up any room. This project is super easy and so satisfying to make. Ready to add a splash of color to your life? Let’s get started!
What You’ll Need:
- Air dry clay in various colors (red, orange, yellow, green, blue, purple, white)
- A rolling tool or any round object to roll the clay
- A cutting tool or knife
- A small piece of string or thread
- A work surface (like a cutting board or a piece of cardboard)
- A toothpick or a similar tool
Step-by-Step Instructions:
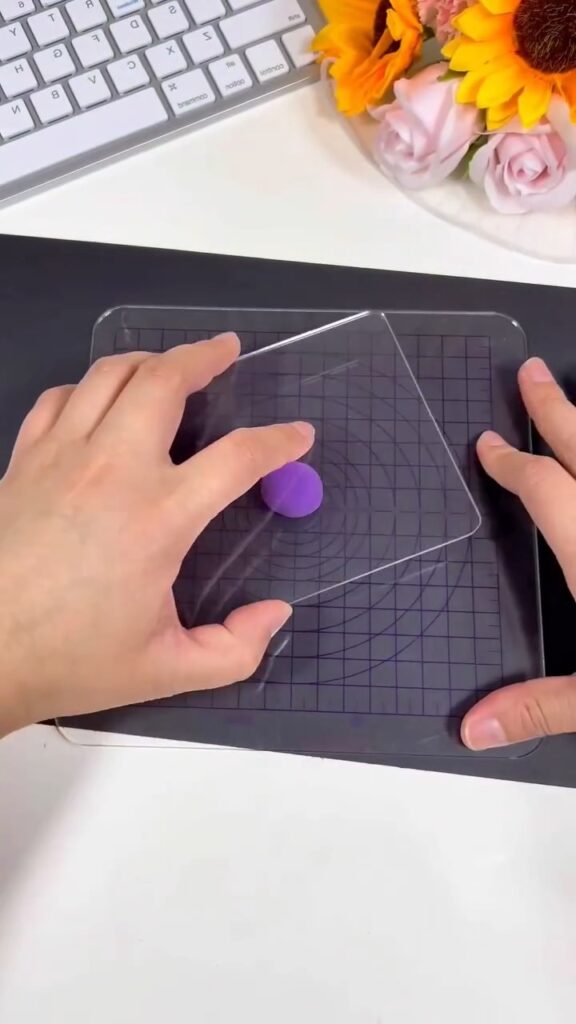
Step 1: Prepare Your Clay
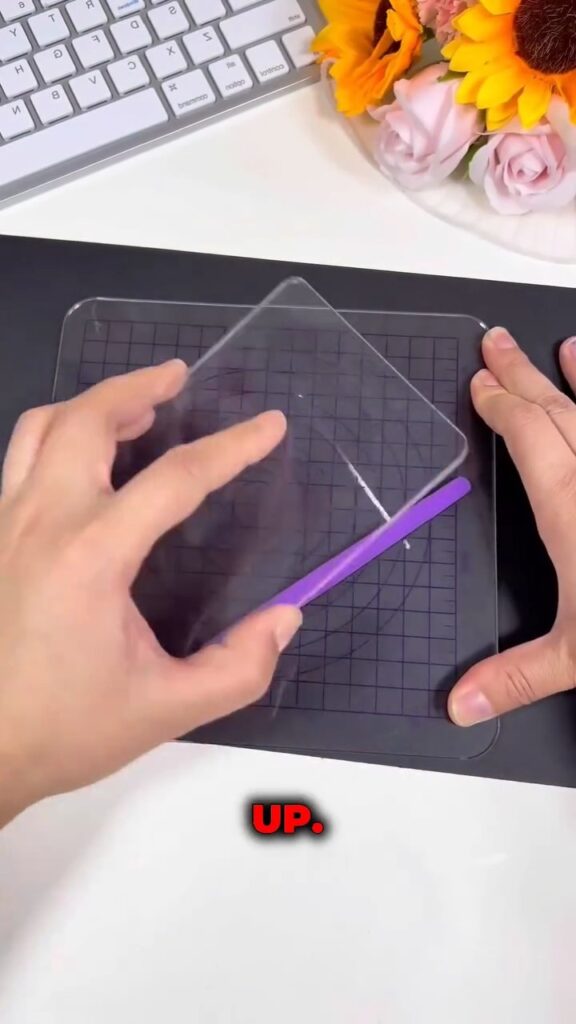
Start by taking a small piece of air dry clay in the color of your choice for the first arch of your rainbow. Roll it into a smooth ball and then into a snake-like shape. Place it on your work surface.
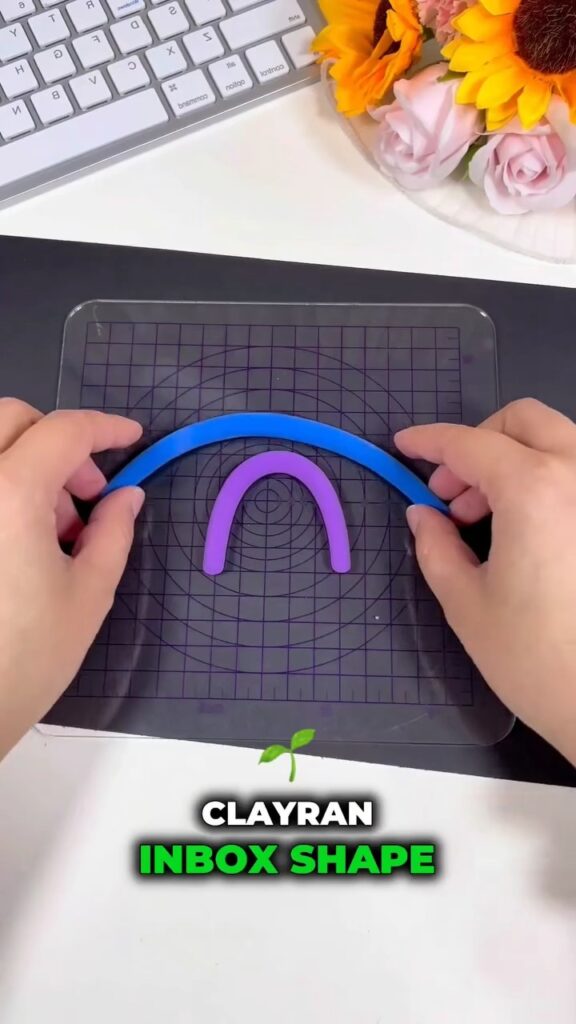
Step 2: Shape the First Arch
Gently curve the rolled clay into an arch shape. This will be the innermost part of your rainbow. If needed, use a cutting tool to trim the ends so that they are even.
Step 3: Repeat for All Colors
Repeat steps 1 and 2 with each color of clay, creating progressively larger arches that fit around the previous one. Ensure each new arch is placed snugly around the last to create a layered rainbow effect.
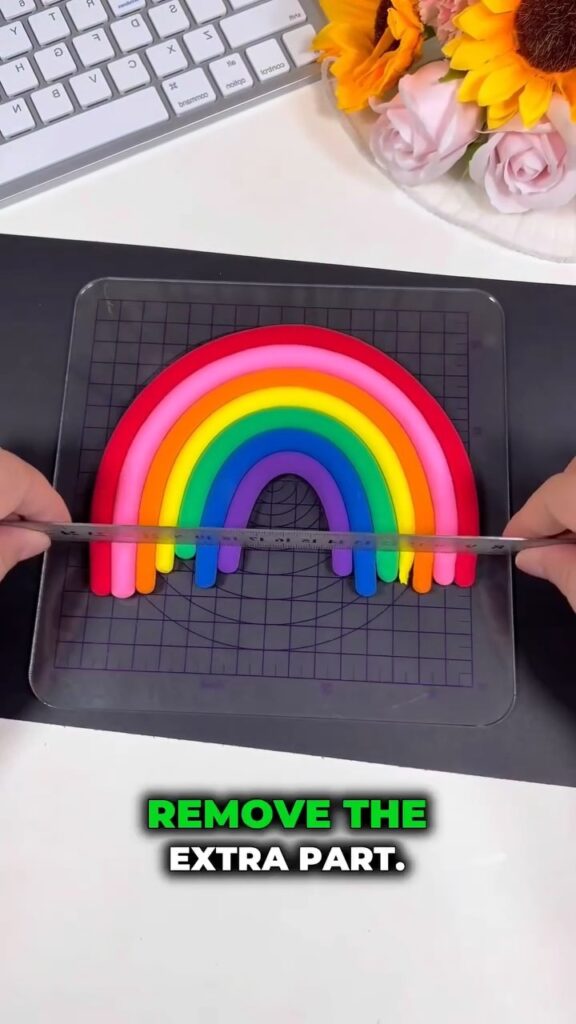
Step 4: Trim the Excess
Once you have all your arches in place, use your cutting tool to trim any excess clay from the ends, making sure the bottom of your rainbow is even and smooth.
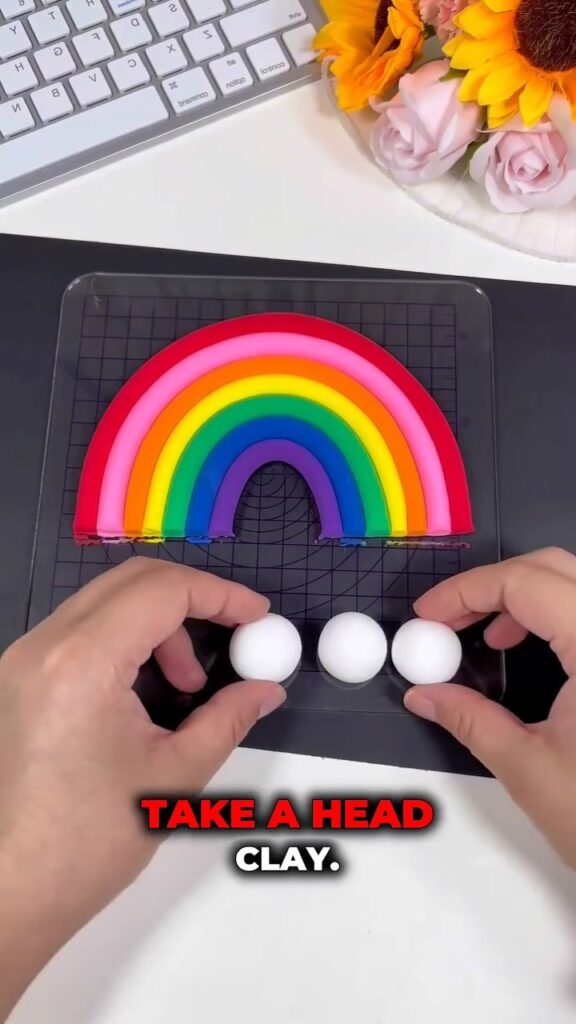
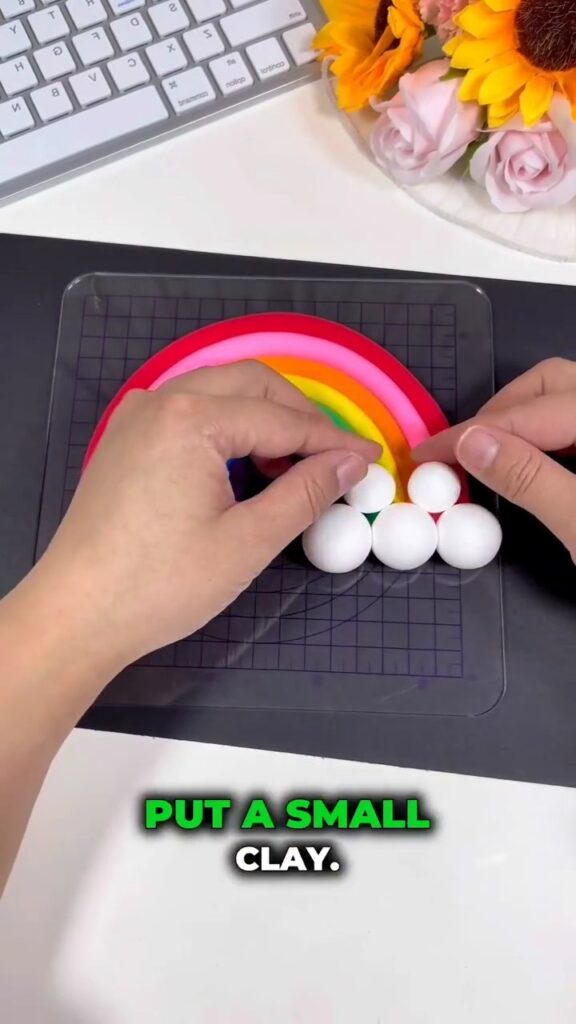
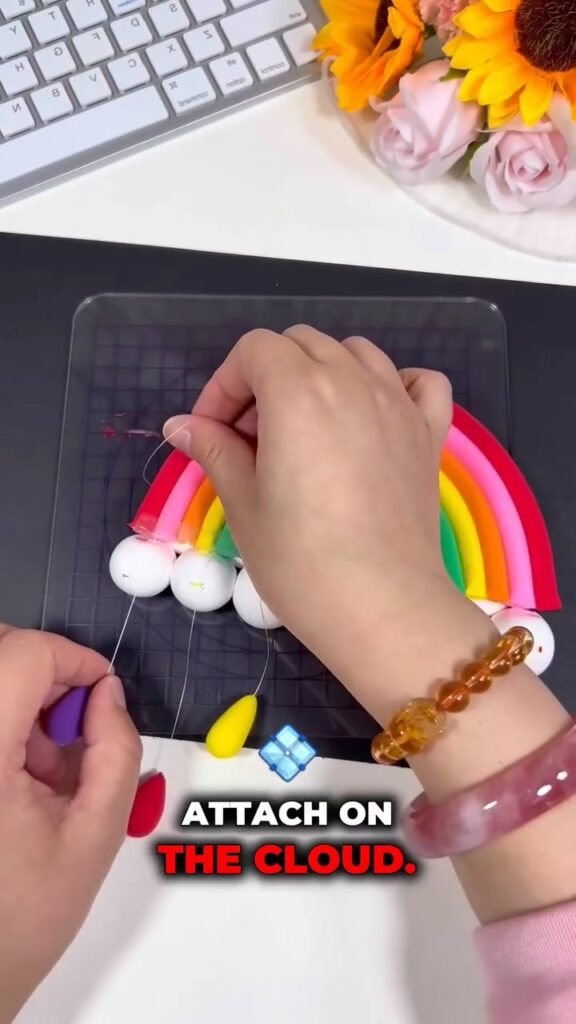
Step 5: Add the Clouds
Take your white clay and roll it into small balls to create the clouds. Place these balls at the base of the rainbow, securing them with a little pressure to make sure they stick well.
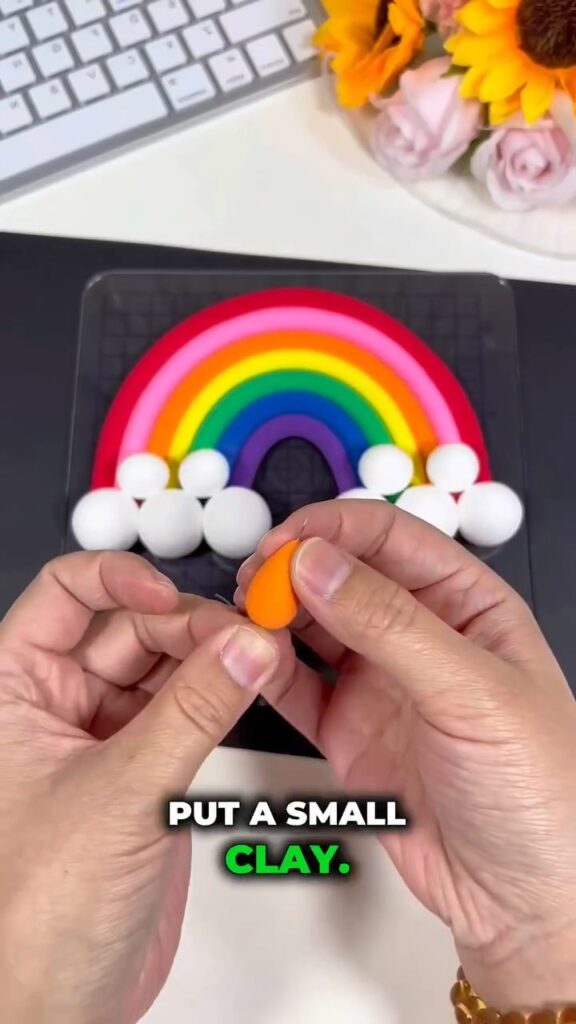
Step 6: Secure with a Small Clay Piece
Take another small piece of white clay and use it to further secure the clouds to the rainbow. This will help ensure everything stays in place.
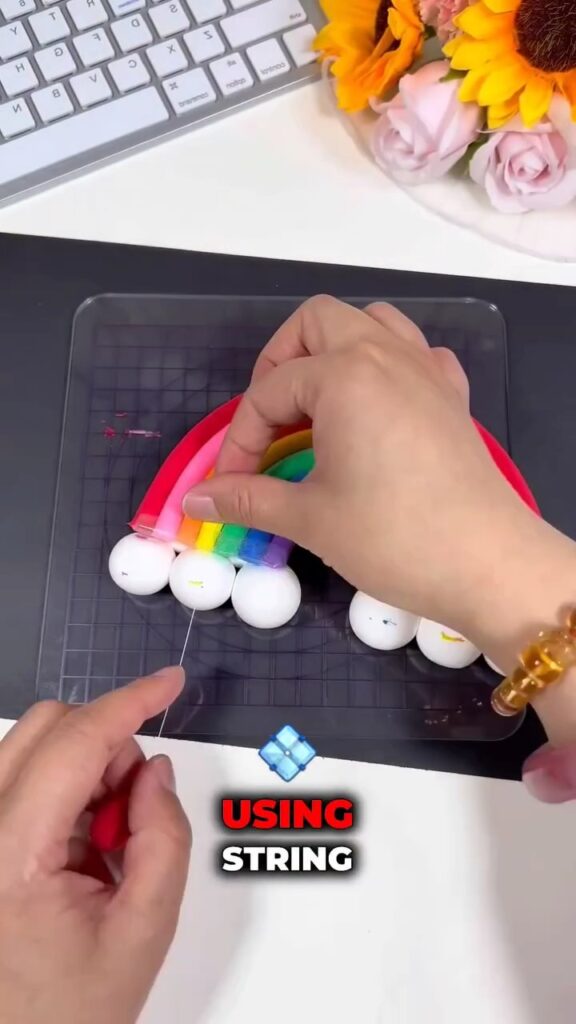
Step 7: Prepare for Hanging
Using a toothpick or a similar tool, make small holes at the top of the rainbow for the string. This will allow you to hang your creation once it’s dry.
Step 8: Attach the String
Cut a piece of string to your desired length and thread it through the holes you made in the previous step. Tie the ends securely so that your rainbow can hang properly.
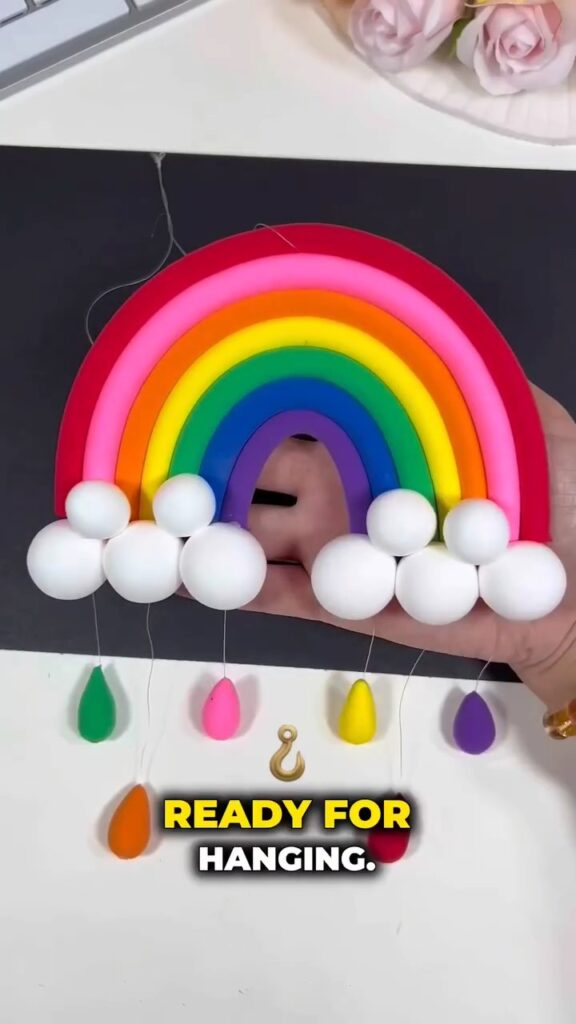
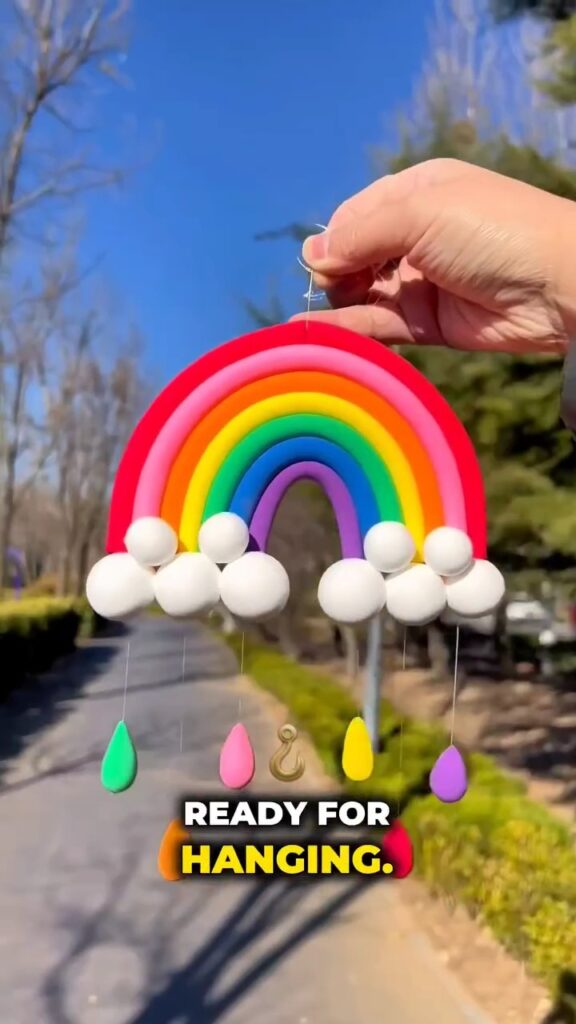
Step 9: Dry and Hang
Allow your rainbow to dry completely. Air dry clay usually takes about 24 hours to fully set, but drying times can vary depending on the brand and thickness of the clay. Once dry, your rainbow is ready to hang and brighten up your space!
Voila! Your Air Dry Clay Hanging Rainbow is ready to dazzle! 🌈✨
Tips & Tricks:
- Mix It Up: Don’t be afraid to mix different shades or add a touch of glitter to your clay for extra sparkle.
- Customize: Add little details like hearts or stars to your rainbow for a personalized touch.
- Get the Kids Involved: This is a great project to do with kids, letting them choose their own colors and shapes.
I hope you enjoyed making this delightful Air Dry Clay Hanging Rainbow as much as I did! 🌟✨ Don’t forget to share your beautiful creations with us and spread the colorful joy. Happy crafting, beauties! 💖


Leave a Reply