This tutorial will guide you through creating an interactive paper monster craft that inflates when you blow into a straw. Perfect for engaging children in a fun and creative activity.


Materials Needed
- Colored paper (blue, white, black)
- Small pink balloon
- Straw
- Scissors
- Glue
- Marker or pen
Instructions
1. Prepare the Base
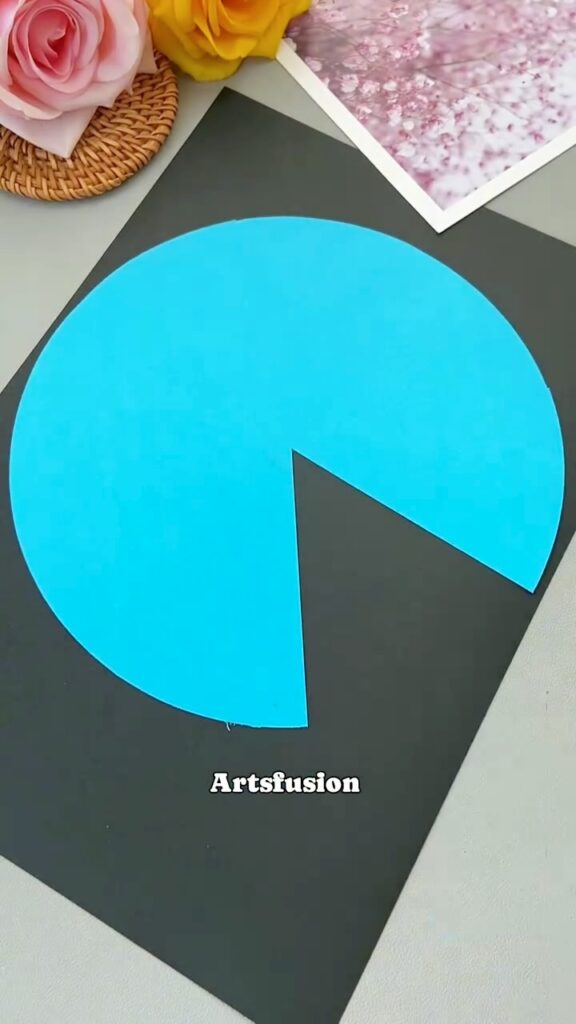
- Cut the Circle: Cut out a large circle from blue paper.
- Draw the Triangle: Draw a triangle shape starting from the edge towards the center of the circle (Image 3).
2. Cut and Fold
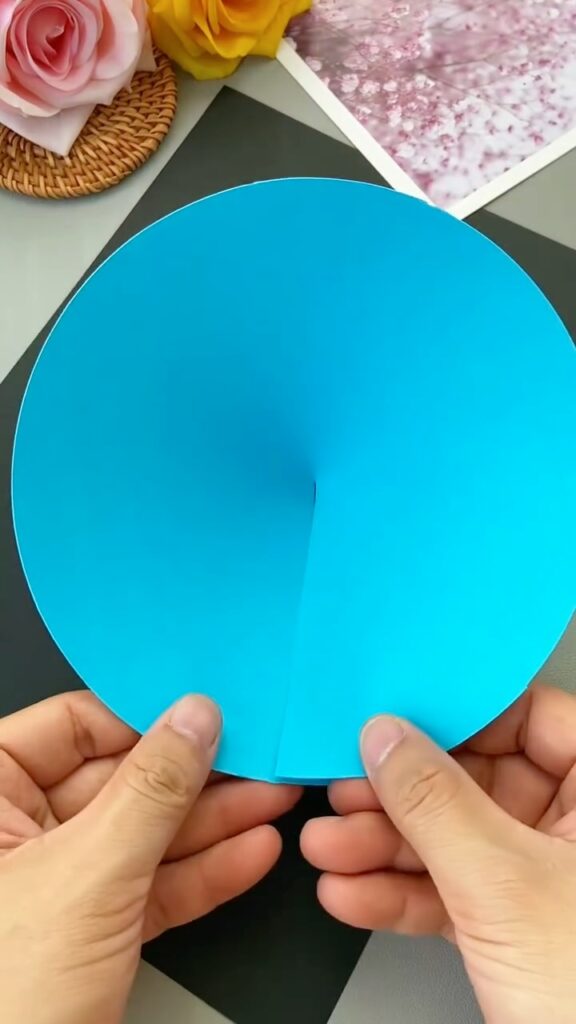
- Make the Cut: Cut along the lines of the triangle to create a flap (Image 4).
- Form the Cone: Fold the circle inward along the triangle cut to form a cone shape (Image 5).
3. Create the Monster’s Mouth
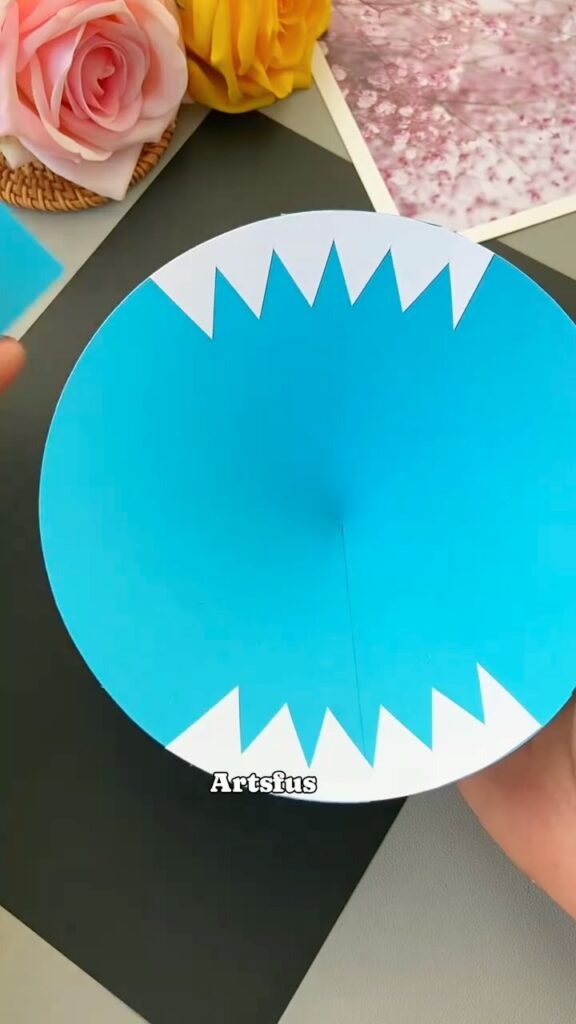
- Cut the Teeth: Cut out jagged teeth shapes from white paper.
- Glue the Teeth: Glue the white teeth onto the edge of the blue cone to form the monster’s mouth (Image 6).
4. Add Eyes and Ears
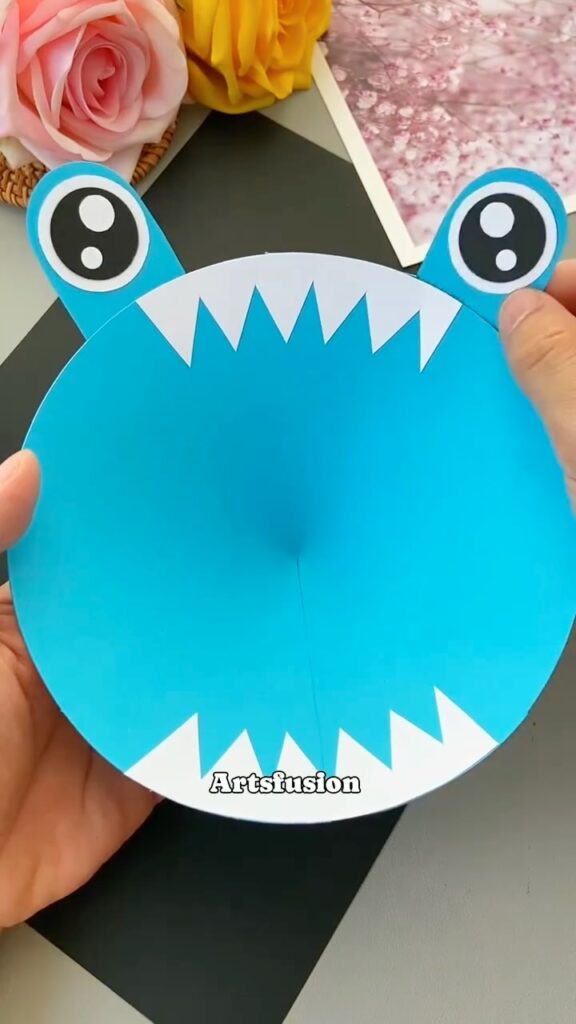
- Cut the Eyes: Cut out two small blue circles and two slightly smaller white circles.
- Draw Pupils: Draw black pupils in the center of the white circles to make eyes.
- Attach Eyes: Glue the eyes onto the top edge of the blue cone.
- Add Ears: Cut out ear shapes from the remaining blue paper and attach them above the eyes (Image 7).
5. Insert the Straw
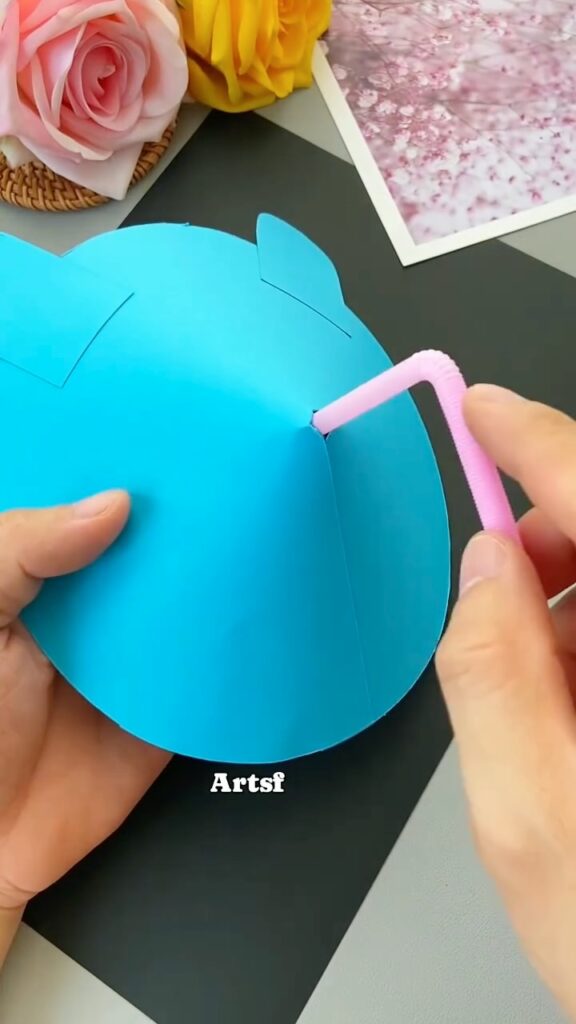
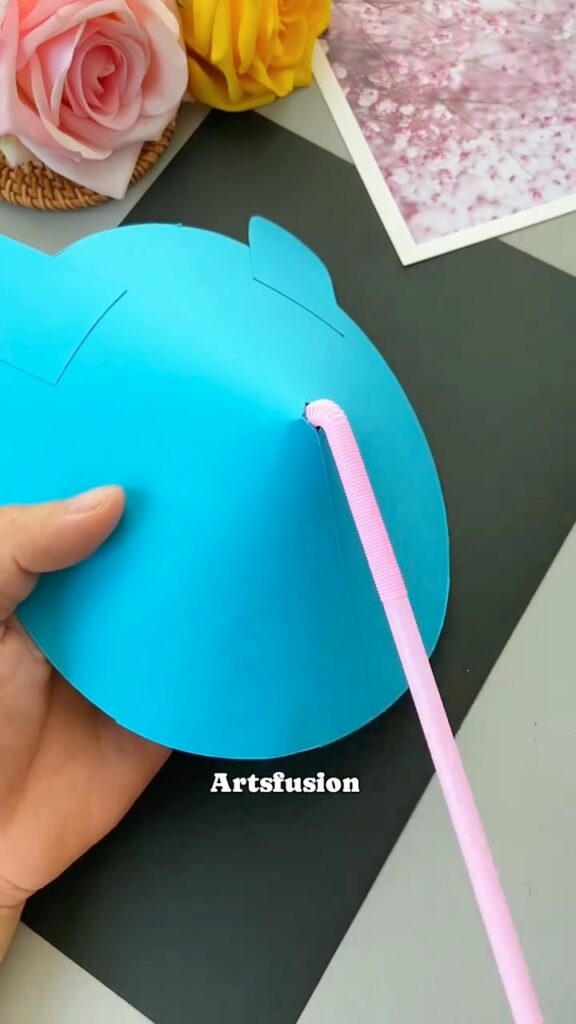
- Make a Hole: Make a small hole at the bottom of the blue cone (Image 8).
- Insert the Straw: Insert a straw through the hole and secure it with glue (Image 9).
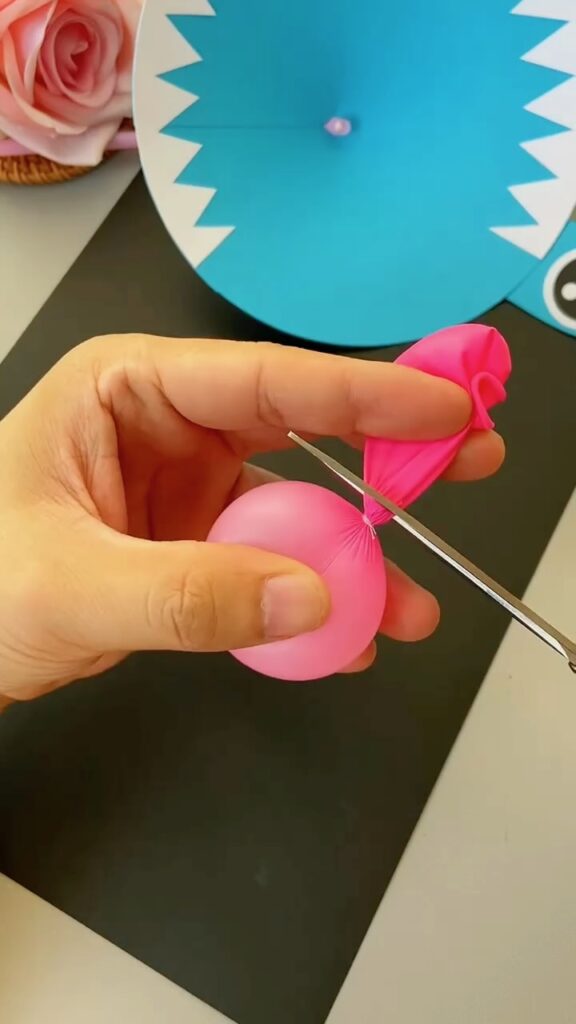
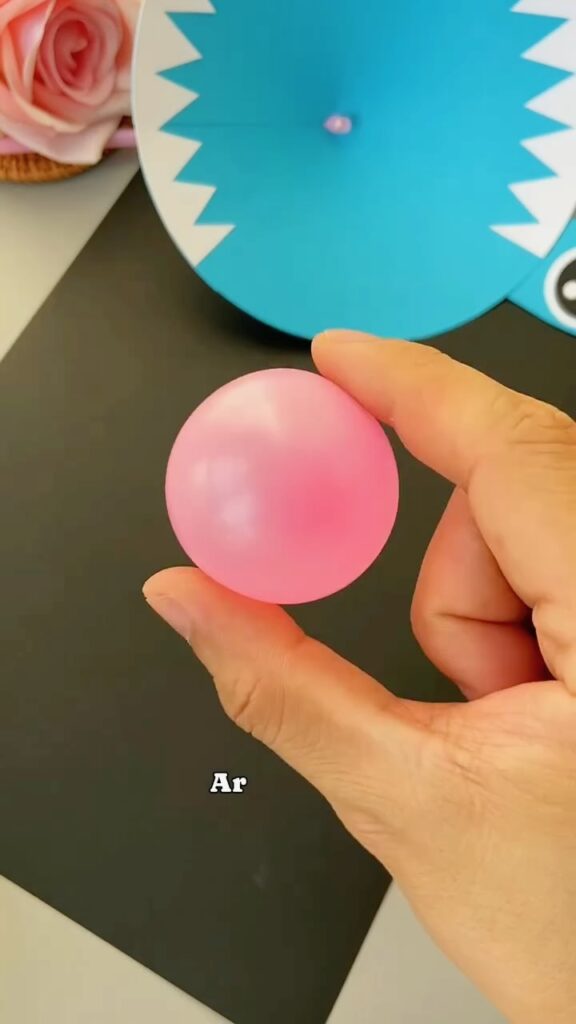
6. Prepare the Balloon
- Test the Balloon: Inflate a small pink balloon slightly to stretch it, then let the air out (Image 10).
7. Assemble the Monster
- Position the Balloon: Place the deflated balloon inside the blue cone, positioning it so that the open end is near the opening of the straw but not tied (Image 11).
8. Inflate the Balloon
- Blow into the Straw: Blow into the straw to inflate the balloon, which will expand inside the cone and make the monster’s nose appear to grow (Image 12).
9. Final Touches
- Adjust Parts: Ensure all parts are securely attached and adjust if necessary.
- Test the Inflation: Blow into the straw to see the balloon inflate and deflate, creating a fun interactive effect (Image 13).
Tips
- Use Different Colors: Experiment with different colors and sizes to create unique monsters.
- Add Details: Add additional details like eyebrows or patterns to give your monster more character.
- Stretch the Balloon: Stretch the balloon a few times before attaching to make inflating easier for kids.
This inflatable paper monster craft is a great way to engage children in a creative and interactive activity. Enjoy crafting and watching your monster come to life!
Leave a Reply