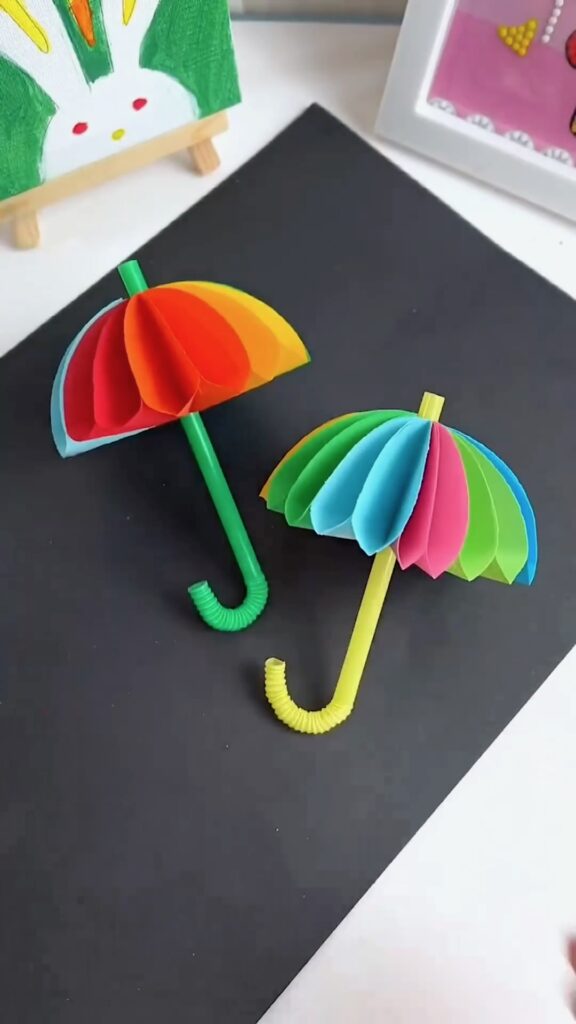
Are you ready to add a pop of color to your crafting sessions? 🎨 This adorable paper umbrella is perfect for adding a touch of charm to your desk or as a cute decoration for any space. Plus, it’s super easy to make! Follow along with this step-by-step guide, and let’s create something beautiful together.
🕒 Time Required
- Preparation Time: 5 minutes
- Crafting Time: 20-25 minutes


✂️ Materials Needed
- Colored paper (in various vibrant shades)
- A pair of scissors
- Glue stick or adhesive tape
- A green straw or stick
- Pencil (optional for tracing)
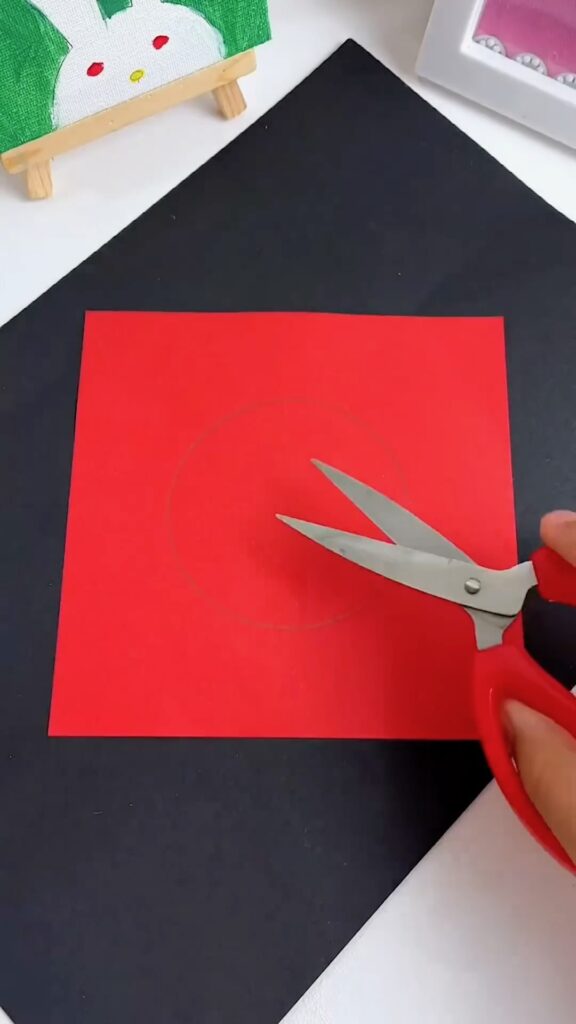
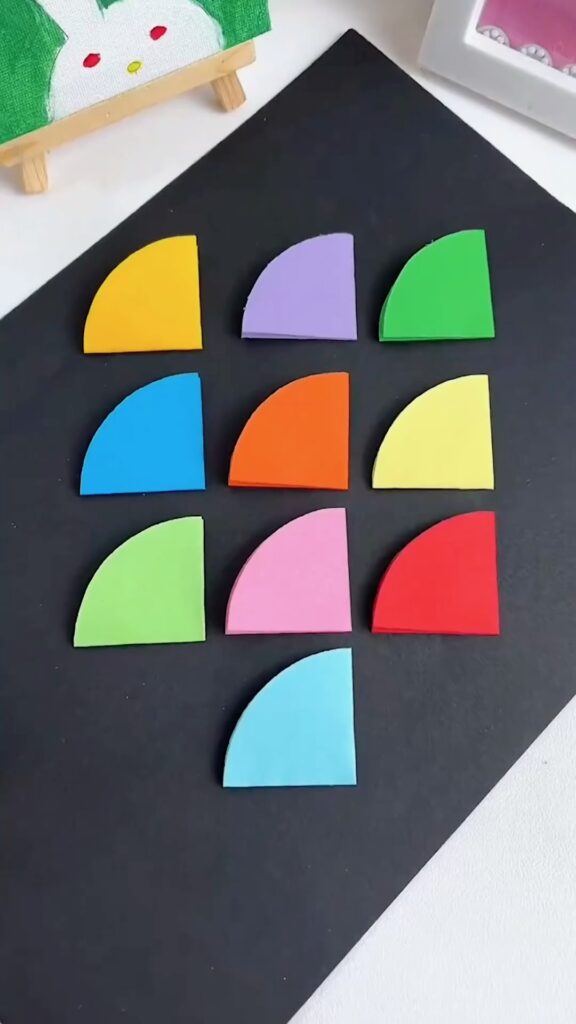
Step 1: Prepare Your Paper Circles 🎯
Start by selecting a few sheets of colored paper. You’ll need a mix of bright colors to make your umbrella eye-catching. Using your scissors, cut out small circles from each sheet. The circles should be uniform in size, approximately 5-6 cm in diameter.
Tip: If you’re not confident in freehand cutting, use a small circular object as a guide and trace around it with a pencil before cutting.
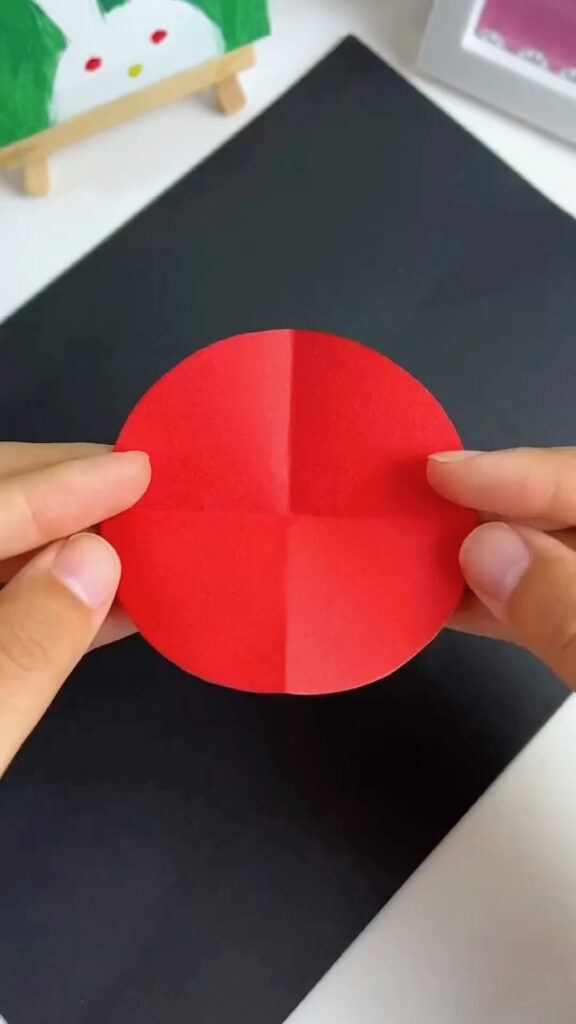
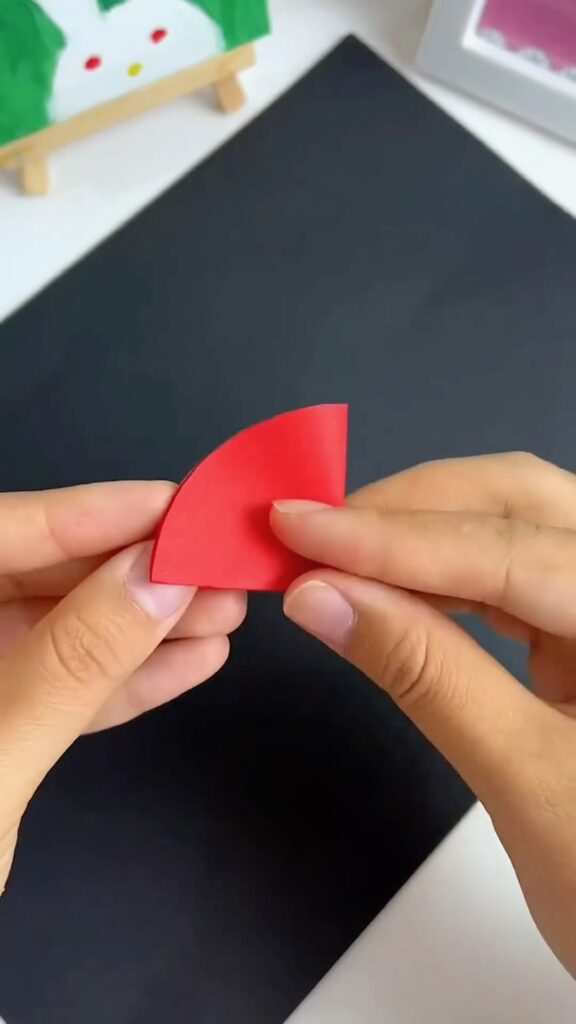
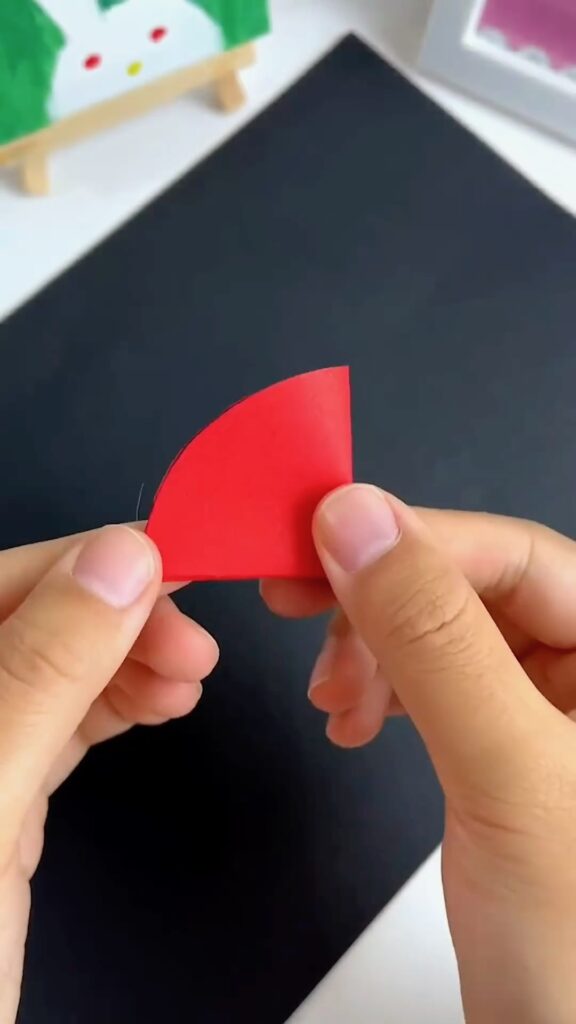
Step 2: Fold the Circles in Half 🌓
Take each circle and fold it precisely in half to form a semi-circle. Make sure the edges are aligned neatly. This step is essential for the umbrella’s structure, so take your time to get a clean fold.
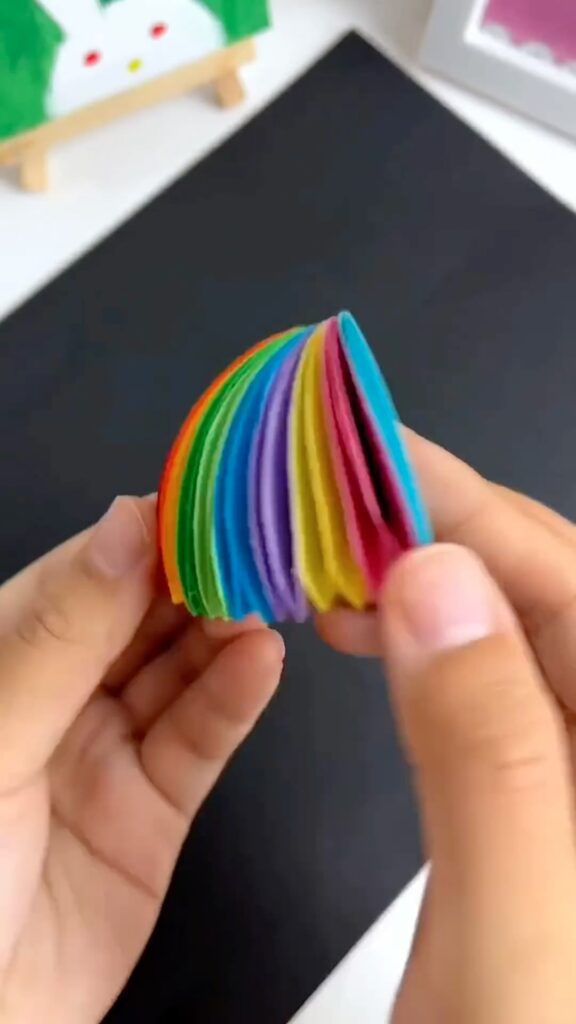
Step 3: Glue the Semi-Circles Together 🌟
Now that you have your folded semi-circles, it’s time to glue them together. Apply a thin line of glue along the straight edge of one semi-circle and attach it to the straight edge of another. Repeat this process until you’ve glued all your semi-circles together, forming a fan-like shape.
Tip: Alternate the colors as you glue the semi-circles for a vibrant, rainbow-like effect.
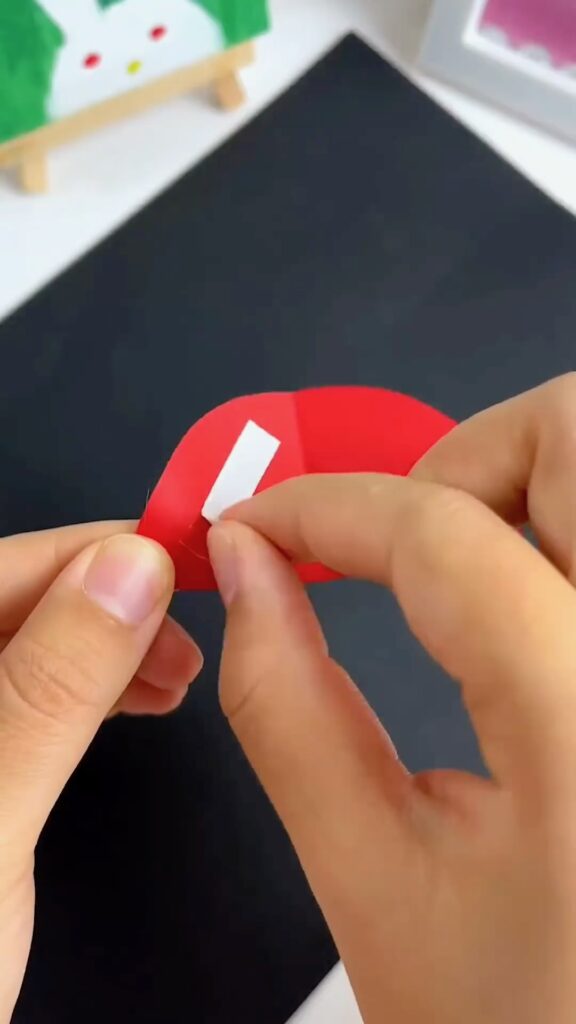
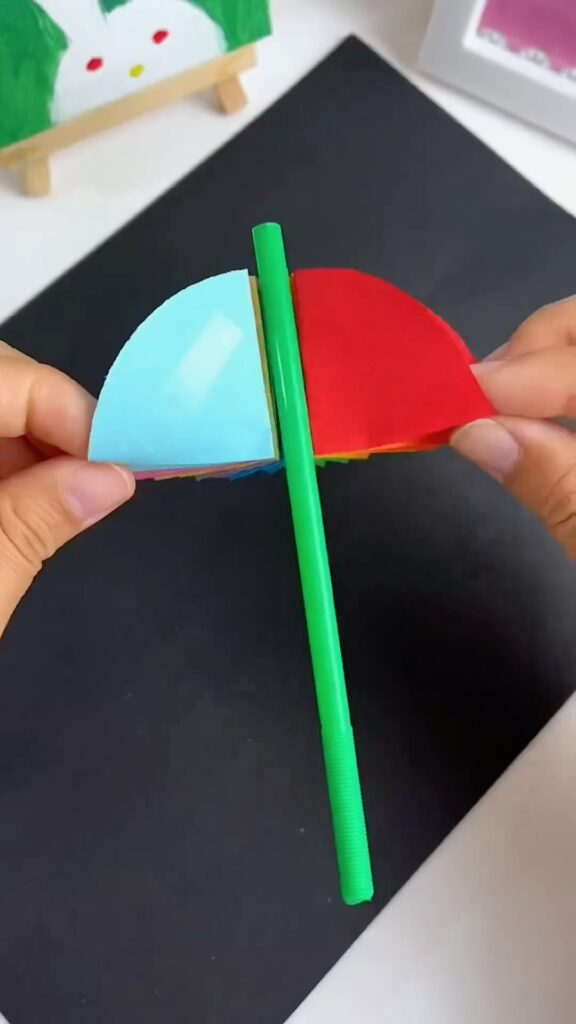
Step 4: Secure the Umbrella Top 🍭
Once all the semi-circles are glued together, you should have a full circular stack that fans out when opened. To keep the umbrella top secure, take a small piece of tape or a dab of glue and stick it to the edge of the last semi-circle, connecting it to the first one.
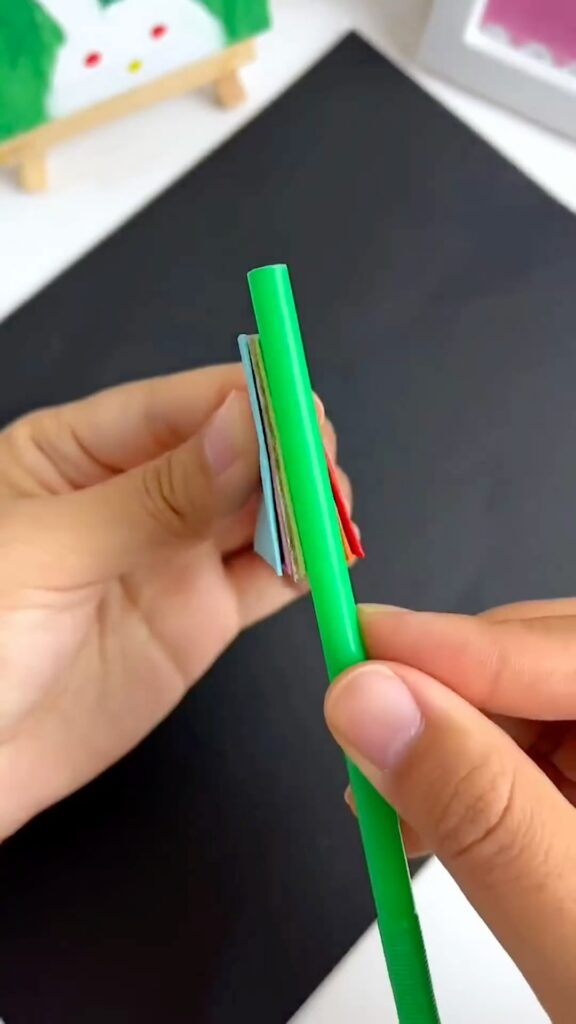
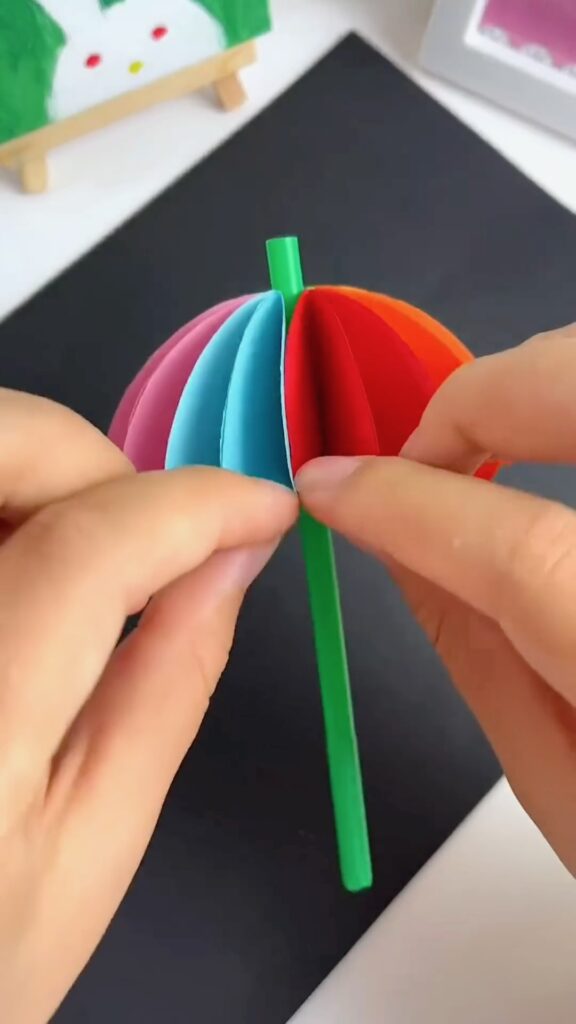
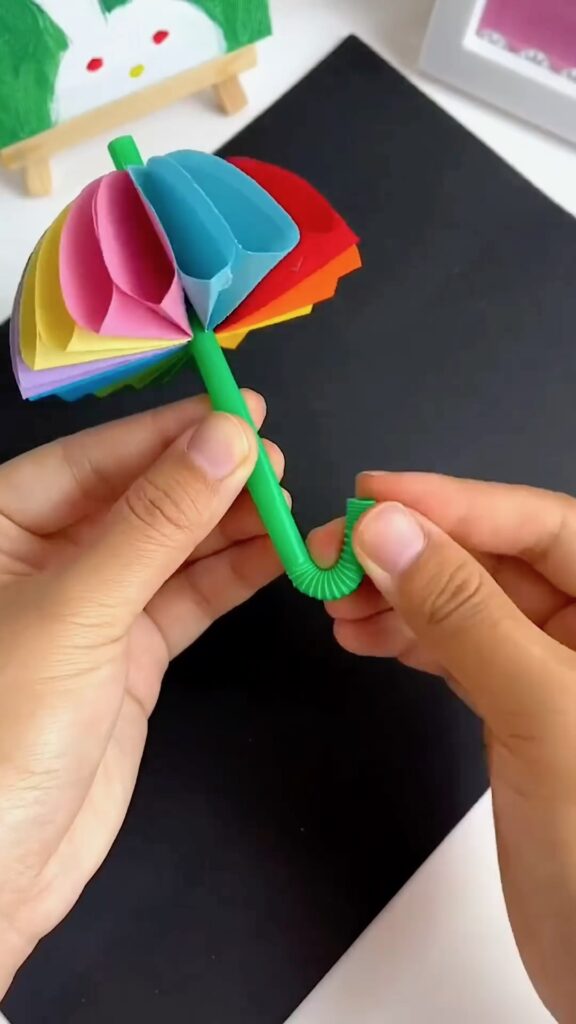
Step 5: Attach the Handle 🌿
For the umbrella handle, take a green straw or stick and gently insert it into the middle of your paper umbrella top. Use a bit of glue to secure it in place. If your straw is too long, you can trim it down to your desired length.
Tip: You can even curl the end of the straw slightly to give it that classic umbrella hook shape!
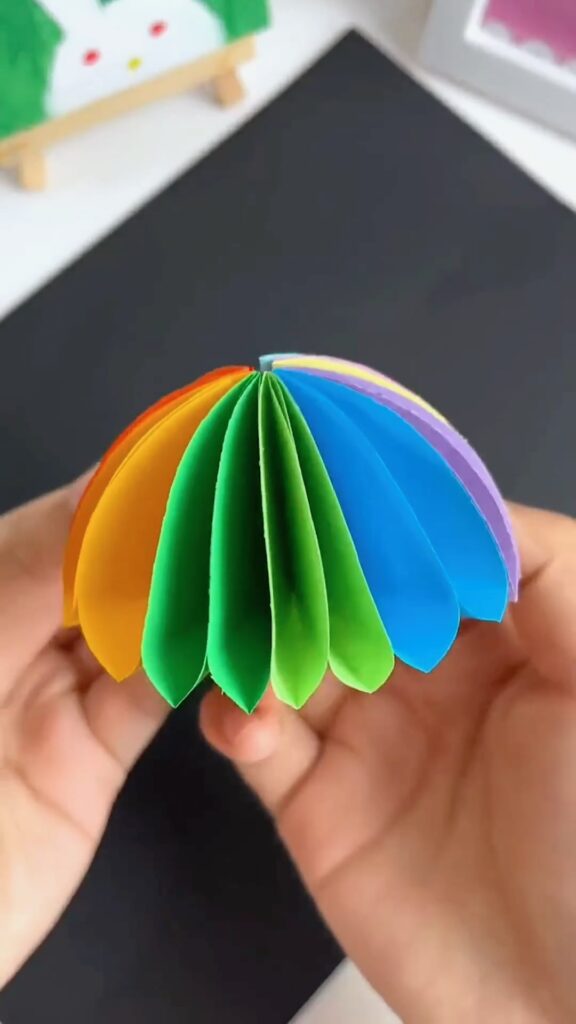
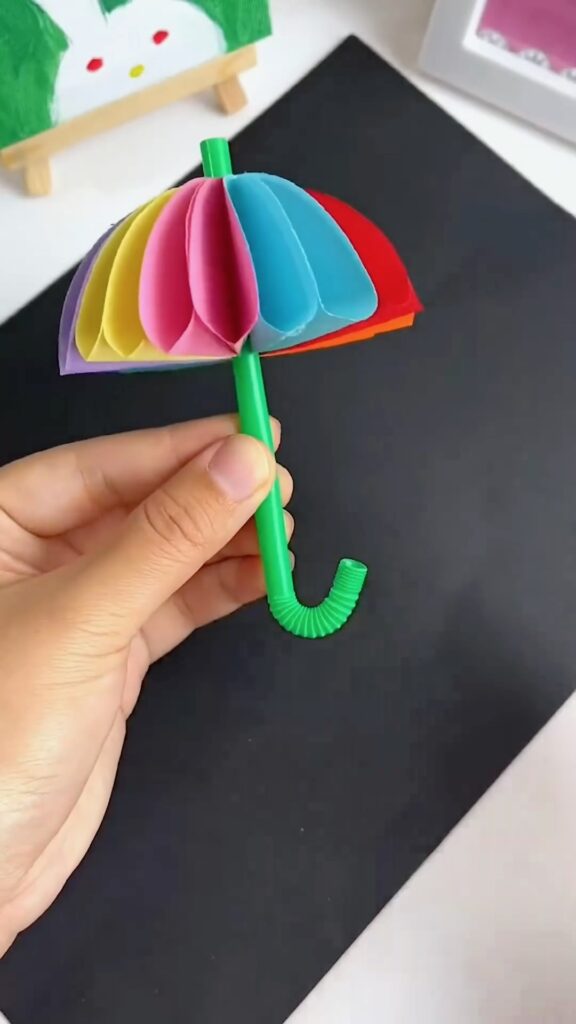
Step 6: Finishing Touches and Display 🎉
Your colorful paper umbrella is now complete! Fluff out the paper top to give it a full, rounded shape. Display it proudly on your desk, or use it as a charming accent in any room.
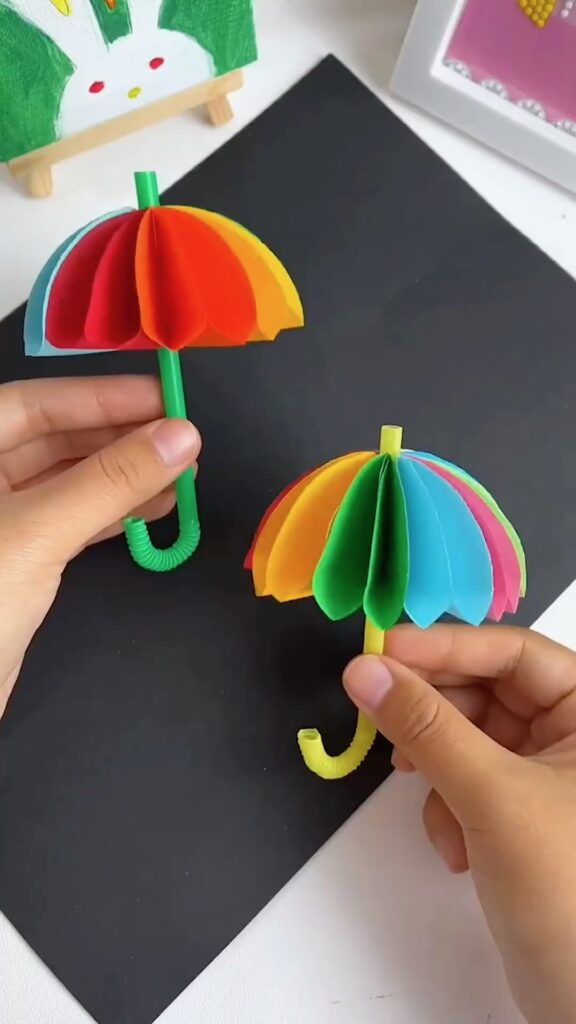
Feeling extra creative? Make a bunch of these in different sizes and colors to create a vibrant umbrella display!
Conclusion
Crafting this cute paper umbrella is not only fun but also a great way to add a splash of color to your space. It’s perfect for a quick craft session and a lovely project to do with kids or friends. So grab your materials, follow the steps, and let your creativity shine! 🌟
There you have it—a fun, simple, and super cute DIY paper umbrella craft that anyone can make. Happy crafting! ✨

Leave a Reply