Are you ready to add a touch of elegance to your home with a beautiful handmade origami lantern? Follow this easy and engaging tutorial to create your own lantern. This project is perfect for crafty girls looking to add a personalized touch to their decor. Let’s get started!


Materials Needed
Before diving into the steps, gather these materials:
- Patterned paper
- Scissors
- Glue
- String or tassel for hanging
Instructions
Step 1: Cutting the Paper
- Cut Circles from the Patterned Paper
- Using your scissors, carefully cut out 12 circles with a radius of 2 cm. Precision in cutting will help maintain the uniformity of your lantern.
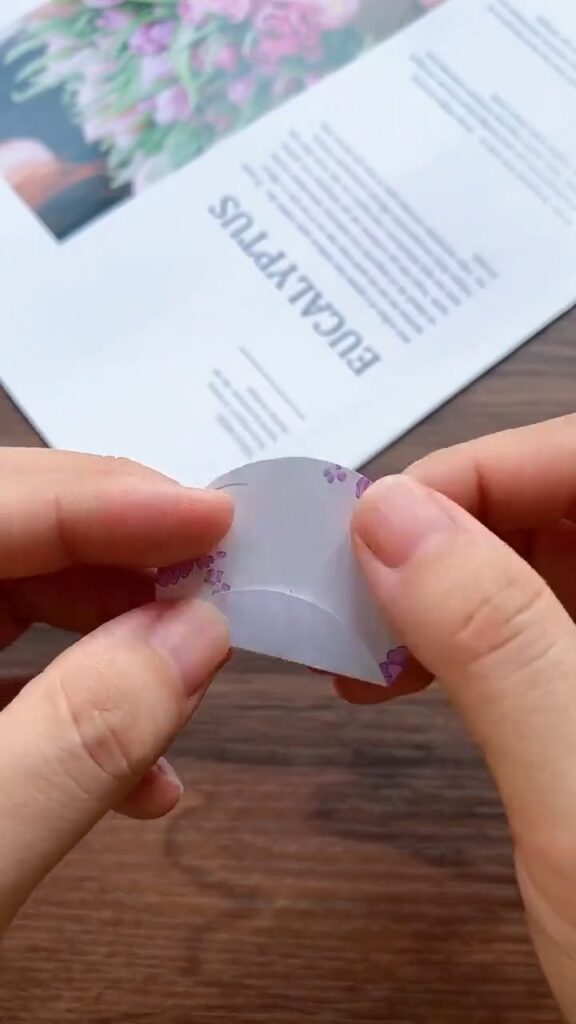
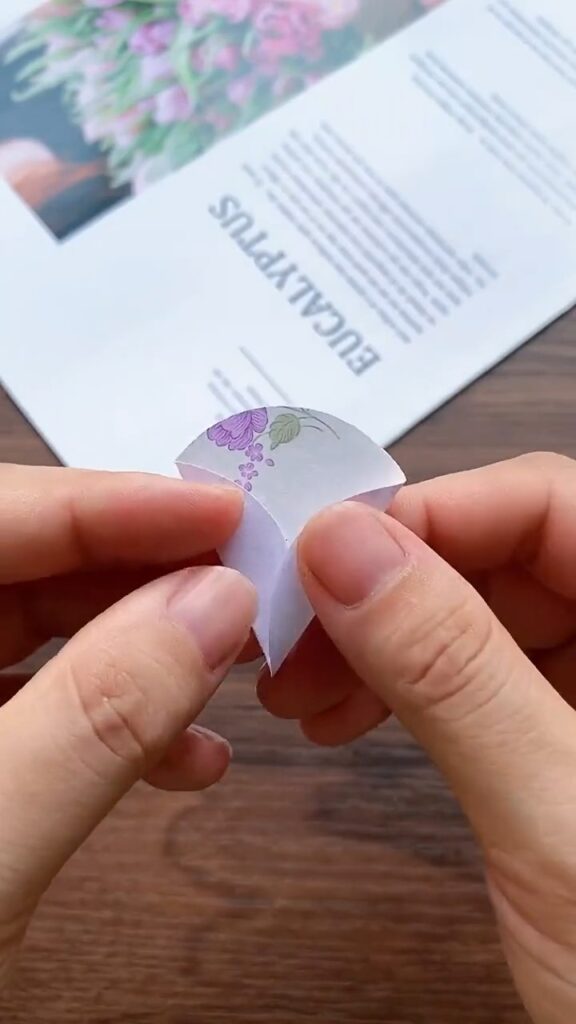
Step 2: Folding the Circles
- Fold Each Circle
- Take each circle and fold it in half to create a semi-circle.
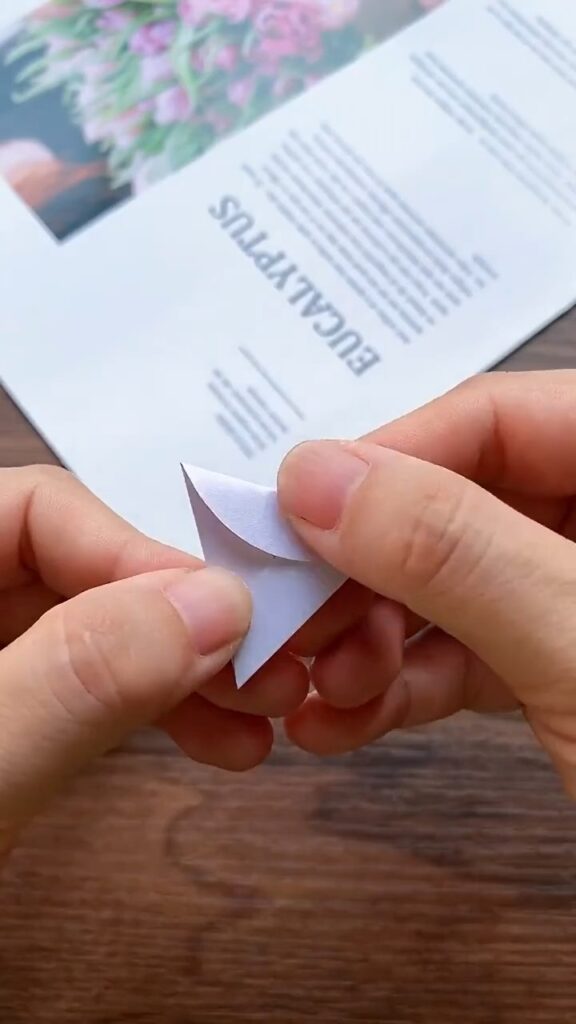
- Fold the semi-circle again to form a quarter circle.
- Ensure the folds are sharp and crisp for better structure.
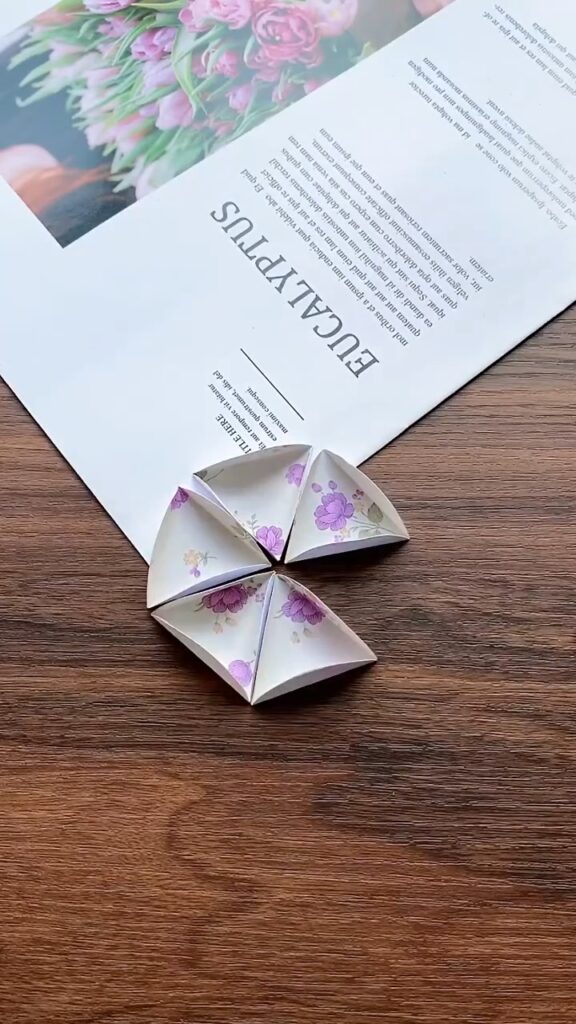
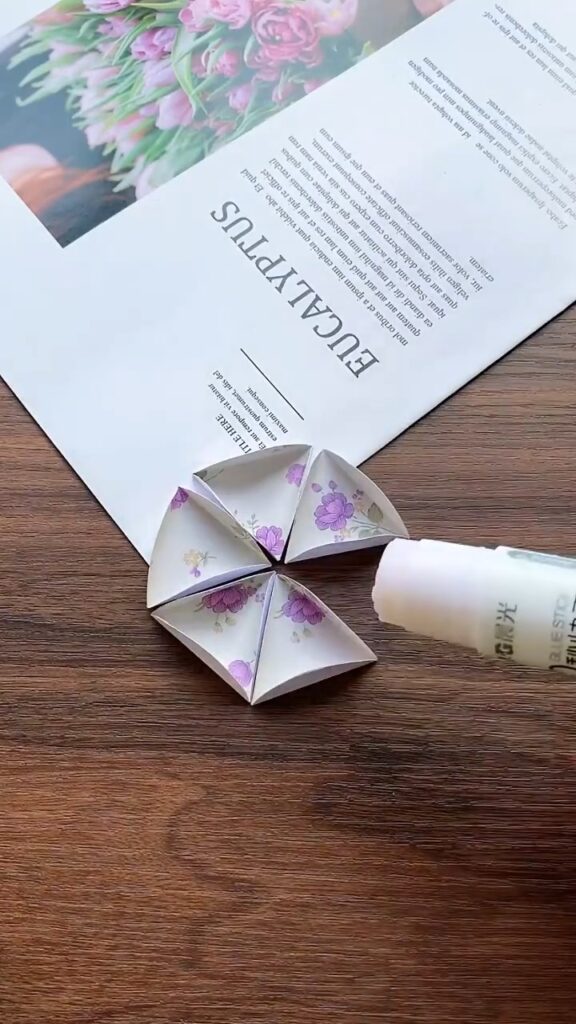
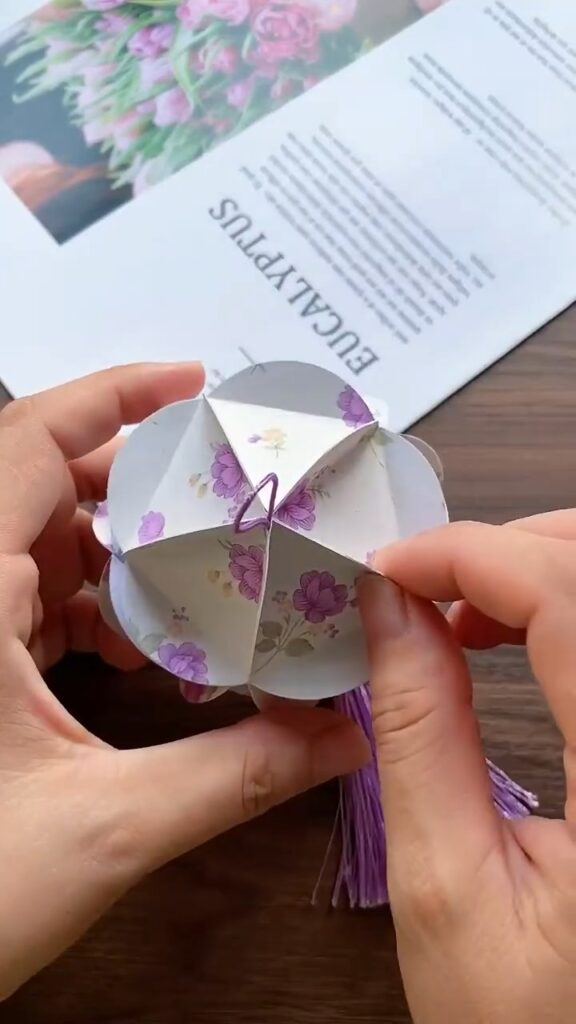
Step 3: Creating the Modules
- Glue the Folds
- Apply a thin layer of glue to one side of the folded circle.
- Attach another folded circle to this glued side, pressing firmly to ensure they stick together.
- Repeat this process until you have connected six folded circles, forming a spherical shape.
- Allow the glue to dry completely before proceeding to the next step.
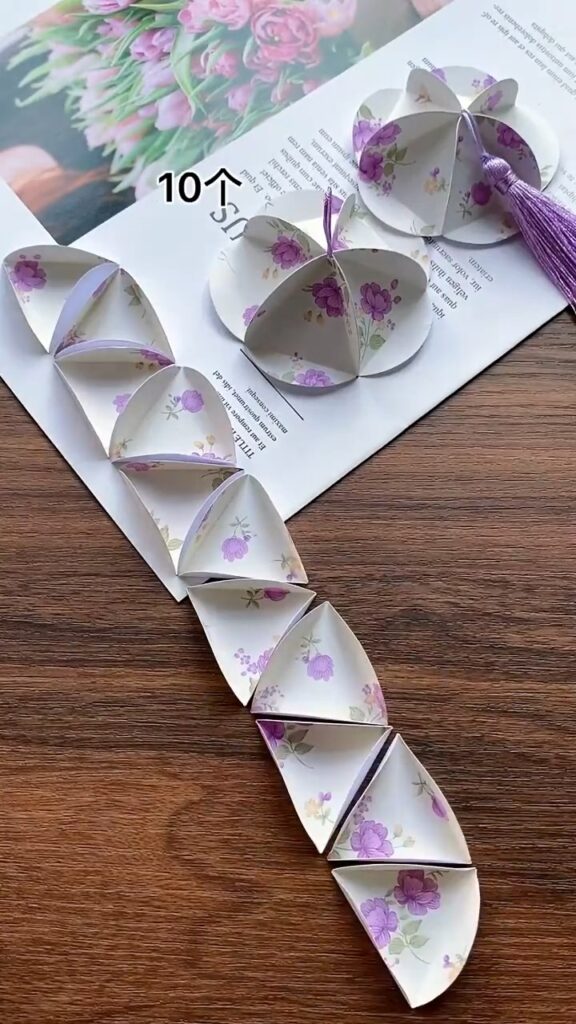
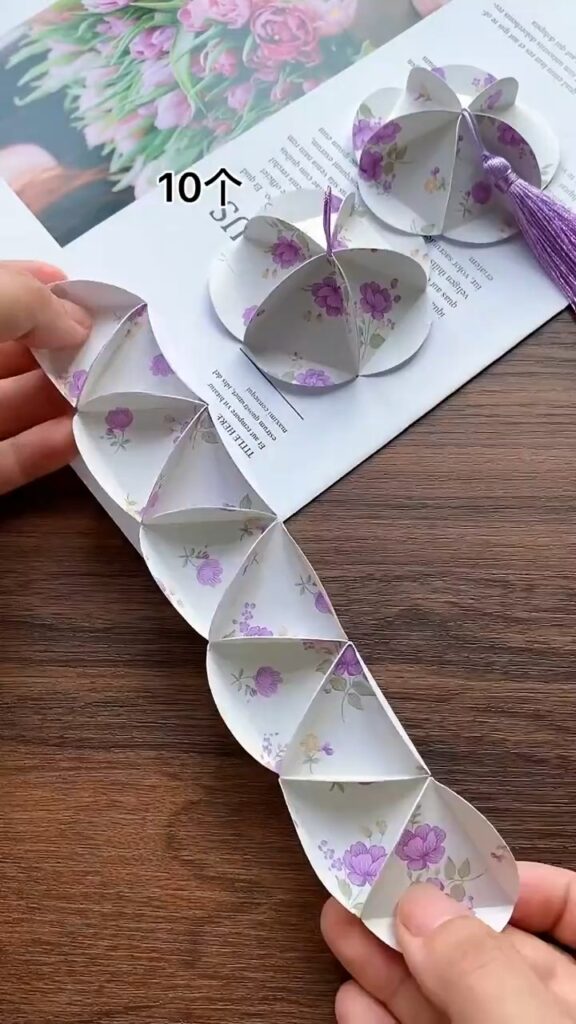
Step 4: Assembling the Lantern
- Create the Second Row
- Take the remaining six folded circles.
- Lay them out in a straight line, overlapping each slightly.
- Apply glue to the edges where they overlap and press them together.
- This will create a flexible, connected strip of folded circles.
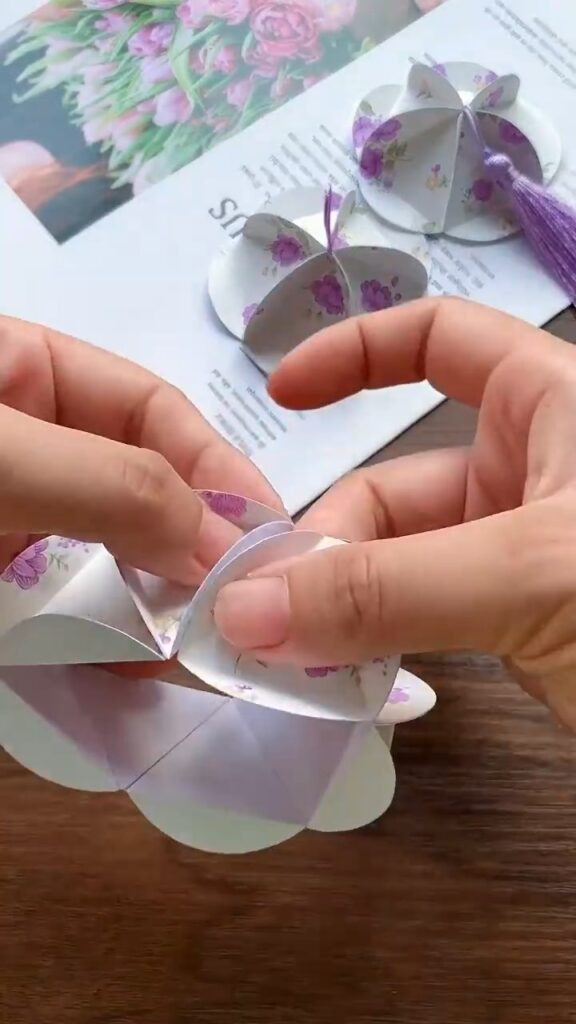
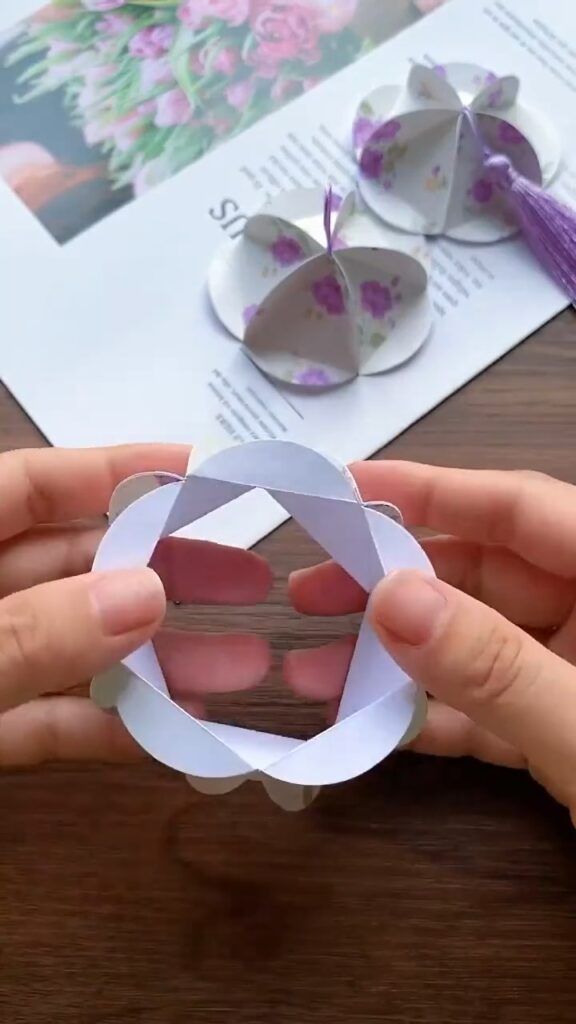
Step 5: Shaping the Lantern
- Form the Lantern Shape
- Gently bend the connected strip into a circular shape.
- Apply glue to the ends and join them together to form a continuous loop.
- Ensure the edges align properly and hold them together until the glue sets.
- You should now have two circular rows, one forming the top and the other the bottom of the lantern.
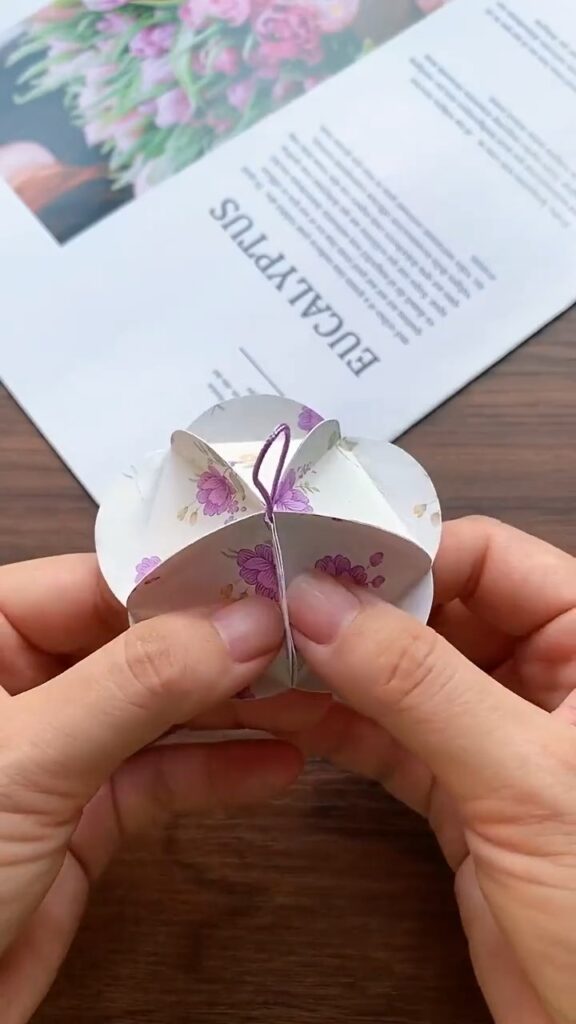
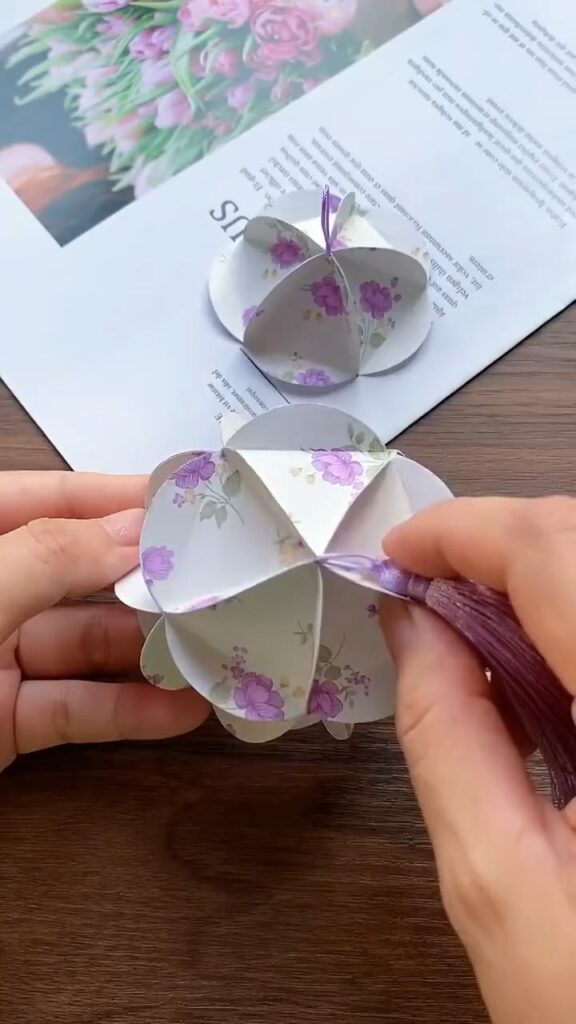
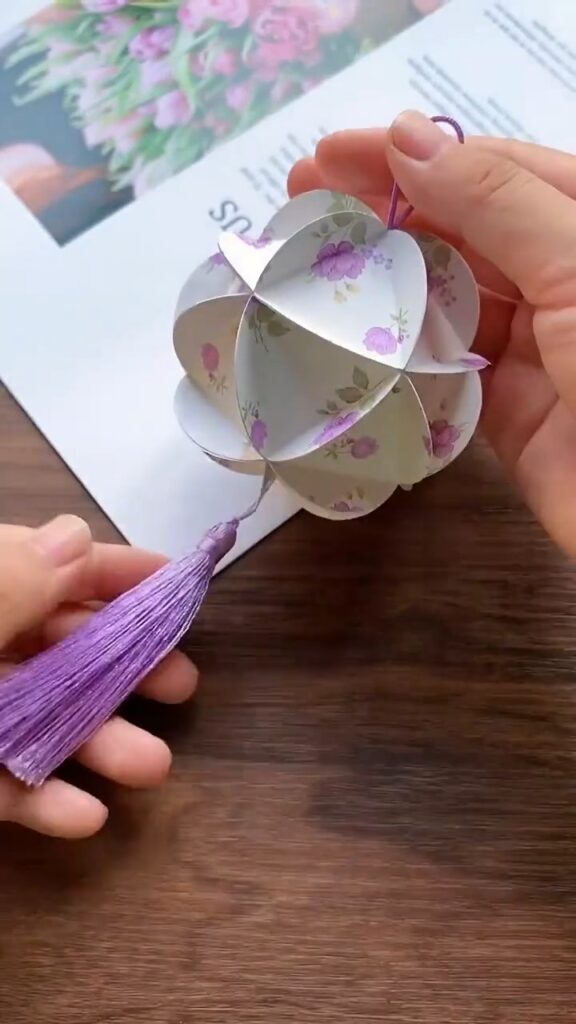
Step 6: Adding Finishing Touches
- Attach the Tassel
- Take a string or tassel and secure it to the bottom of the lantern.
- You can either glue it in place or thread it through a small hole in the bottom circle.
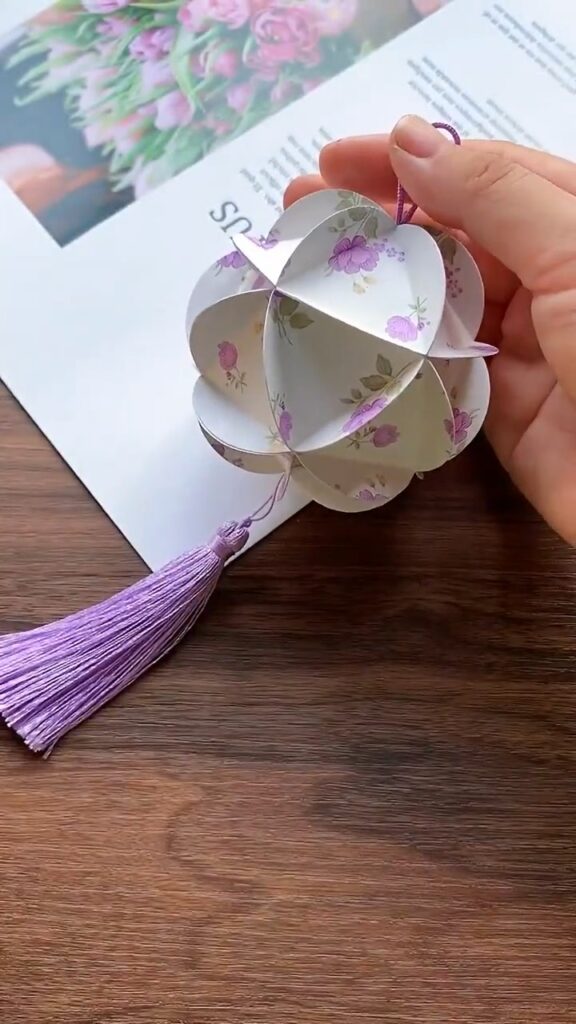
- Secure the Hanging String
- Attach a string to the top of the lantern for hanging.
- Make sure it is centered and secure so the lantern hangs evenly.
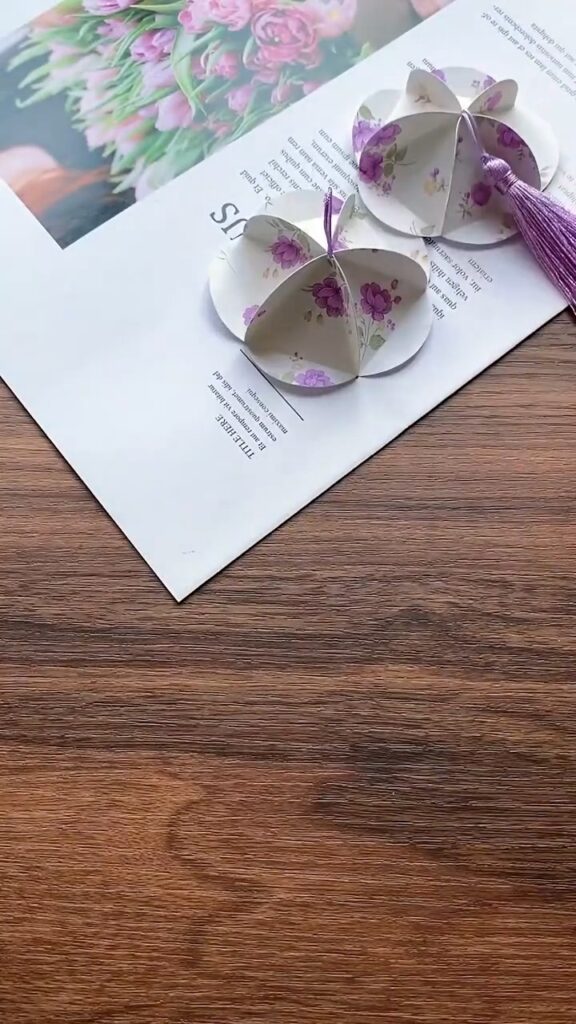
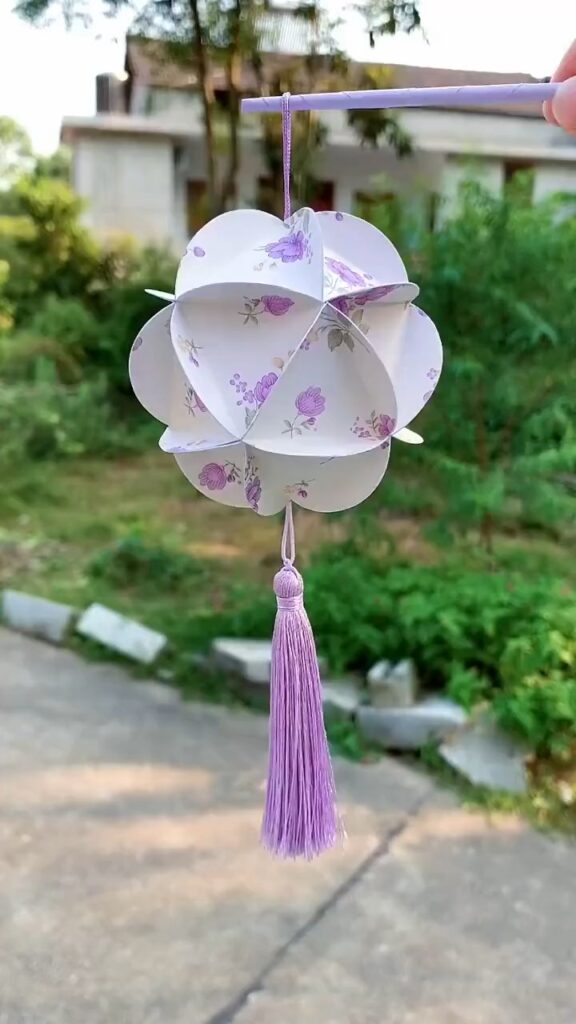
Step 7: Display Your Lantern
- Hang Your Creation
- Find the perfect spot in your home to display your new lantern.
- The gentle, intricate patterns will add a touch of charm and elegance to any room.
Conclusion
Crafting this handmade origami lantern is not only a fun and relaxing activity but also a great way to add a unique touch to your home decor. The delicate patterns and elegant design will surely catch the eye of anyone who visits. So gather your materials and get crafting! Happy decorating!


Leave a Reply