Are you ready to add a touch of creativity to your jewelry collection? This step-by-step guide will show you how to make a charming and colorful bracelet that’s perfect for girls. Follow along with the images to create a beautiful accessory you’ll love to wear.


Materials Needed
Before we begin, gather the following materials:
- Colorful yarn or string
- Two sticks (chopsticks or knitting needles work well)
Step 1: Setting Up
- Prepare your materials.
- Start by setting up your workspace with the colorful yarn and two sticks.
- Create the initial loop.
- Form a loop with the yarn and secure it on one of the sticks.
Step 2: Weaving the Yarn
- Begin weaving the yarn.
- Hold the two sticks parallel and start weaving the yarn around them. The first image shows the yarn looped around one stick, then crossed over to the other.
- Continue weaving.
- Keep weaving the yarn in an over-under pattern, alternating between the two sticks.
- Tighten the weave.
- Pull the yarn tight to secure the pattern. Repeat this process to create a consistent weave.
Step 3: Forming the Bracelet
- Form the bracelet shape.
- As you continue weaving, you’ll notice the bracelet taking shape. Make sure to maintain even tension to keep the pattern uniform.
- Adjust the length.
- Once you’ve reached your desired length, carefully remove the yarn from the sticks.
- Secure the ends.
- Tie off the ends of the yarn to prevent unraveling. You can use a simple knot to secure it.
Step 4: Adding the Final Touches
- Finishing the bracelet.
- The cute finishing touch comes naturally by binding the yarn properly.
- Admire your work.
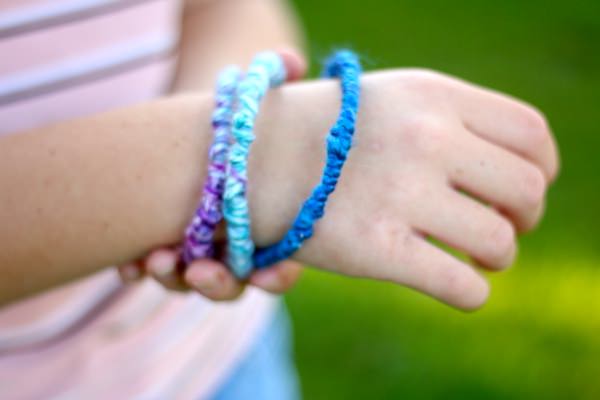
- Your handmade bracelet is now complete and ready to wear! Show it off to your friends or make more in different colors.
Conclusion
Creating your own handmade bracelet is a fun and rewarding project. It’s a great way to personalize your accessories and make unique gifts for friends. Enjoy crafting and wearing your beautiful new bracelet!

Leave a Reply