Painting the serene beauty of a full moon is an enchanting experience, and with the right guidance, you can capture that magic on canvas. This tutorial will walk you through each step to create your very own full moon painting, perfect for a calm evening project. As I guide you through this process, I’ll share some little tips and personal thoughts that might resonate with you. Let’s get started!
Materials You’ll Need 🛠️
Here’s what you’ll need to bring this beautiful moonlit scene to life:
- Acrylic paints: Blue, white, yellow, orange, brown, green, and red.
- Brushes: A flat brush for the background, a round brush for the moon, and a fine detail brush for the branches and leaves.
- Canvas or canvas board: A small square canvas works perfectly for this piece.
- Palette: For mixing your colors.
- Water and paper towels: To clean your brushes between colors.
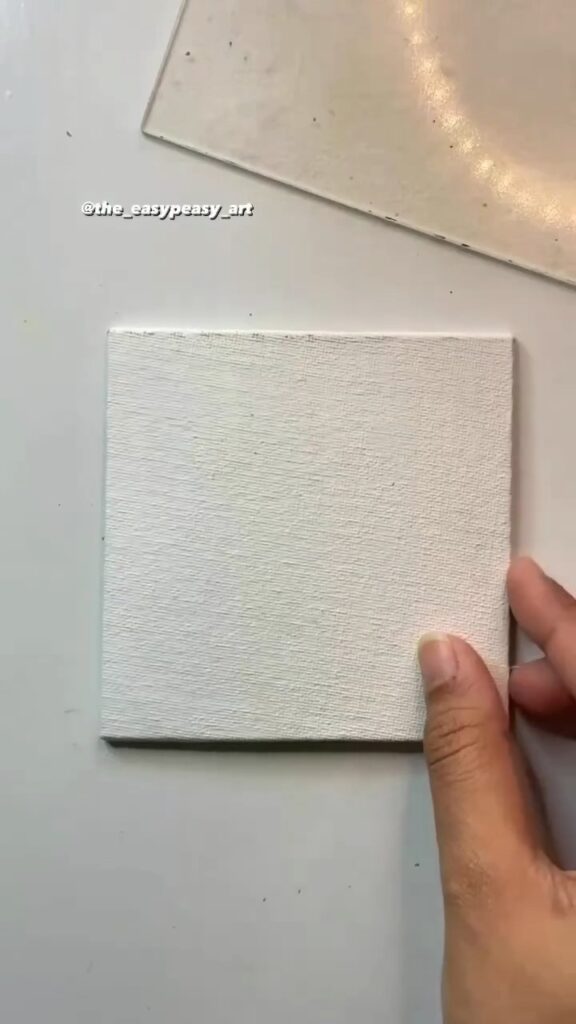
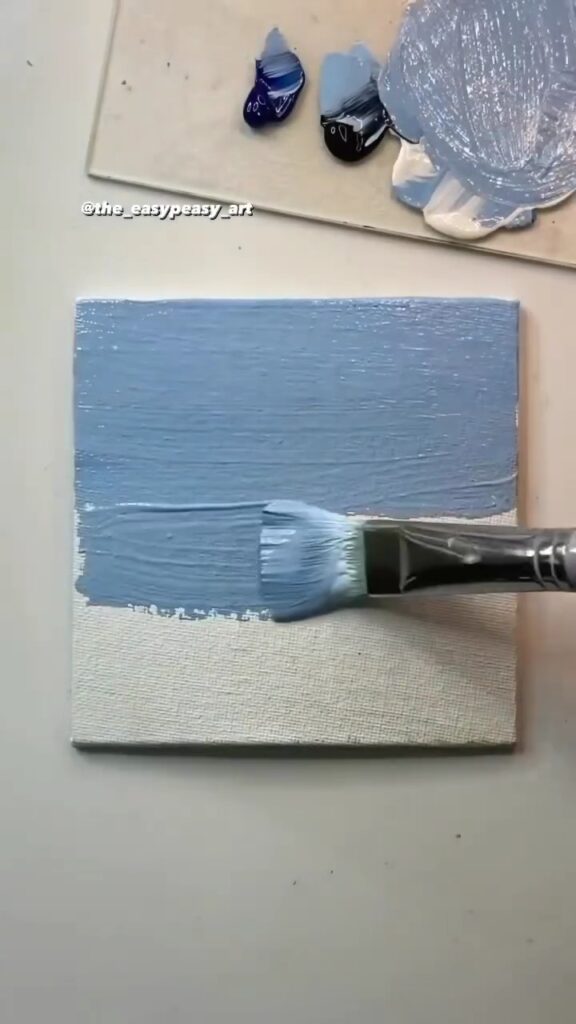
Step 1: Preparing the Background 🌌
Start with your blank canvas and grab your flat brush. Mix a light blue shade by combining blue and white acrylic paint. Apply this color evenly across the entire canvas. This will be the night sky backdrop for your full moon. Remember to let the paint dry before moving on to the next step.
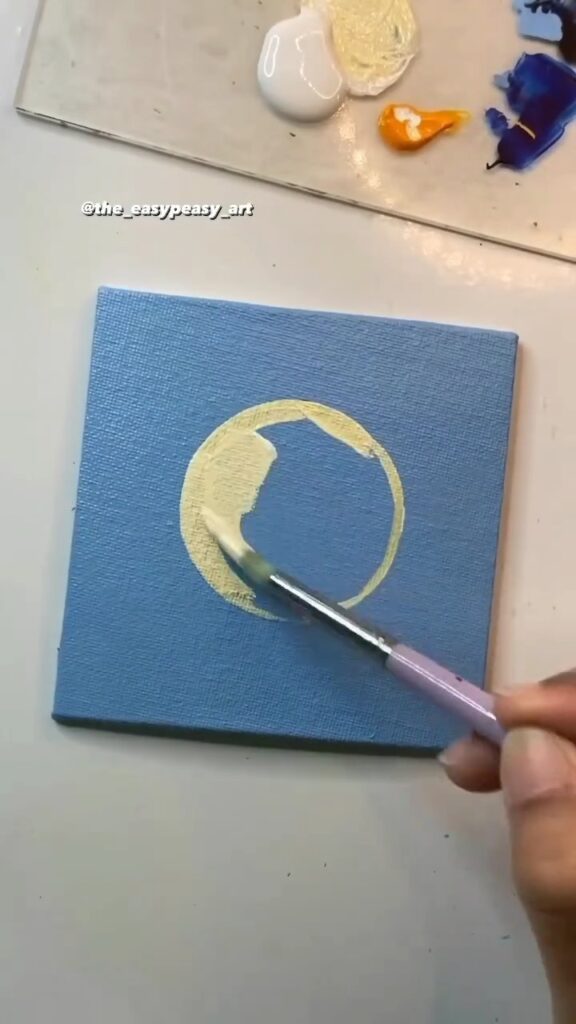
Step 2: Sketching the Moon 🌙
Using a round brush and some white paint, outline a large circle in the middle of the canvas. This will be your moon. Don’t worry if the edges aren’t perfect—nature rarely is! Once you have your circle, fill it in with a light yellow color. You can mix a bit of white and yellow to get a soft, glowing effect.
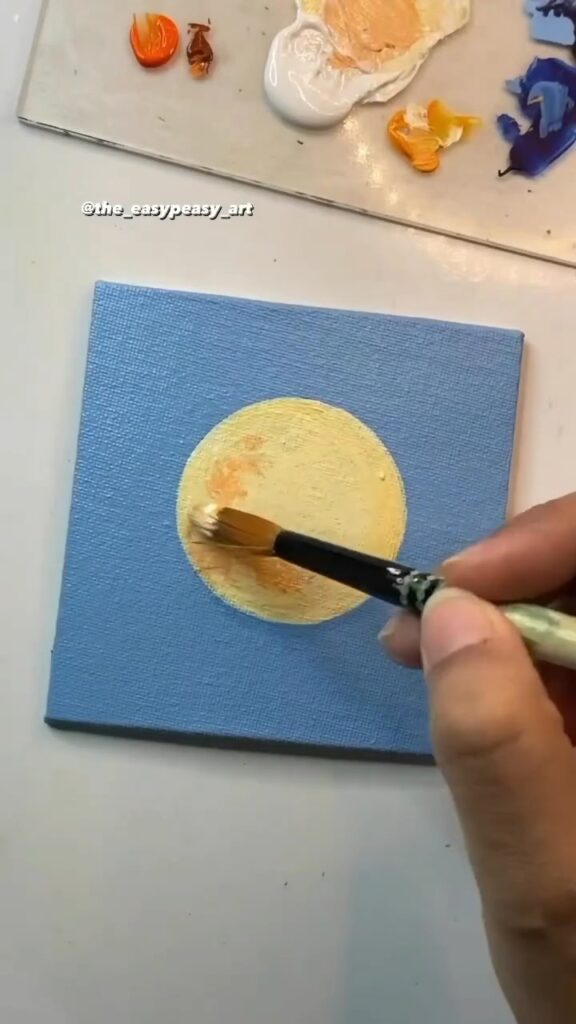
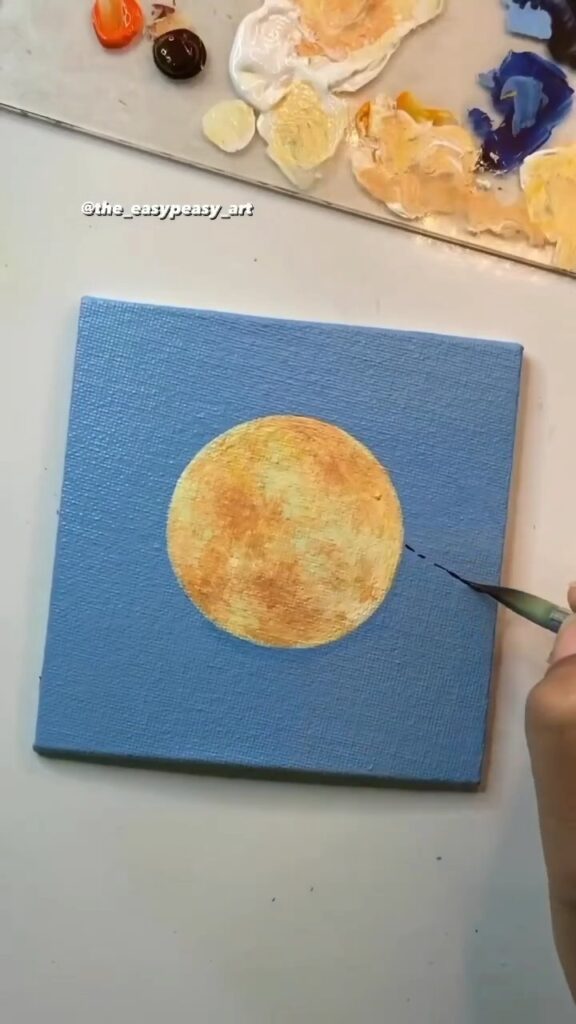
Step 3: Adding Depth to the Moon 🌕
Now it’s time to give your moon some texture. Using the same round brush, dab a mix of yellow and orange onto the moon. This will create the illusion of craters and give your moon a more realistic, three-dimensional look. Lightly blend the colors, but leave some areas darker than others for contrast.
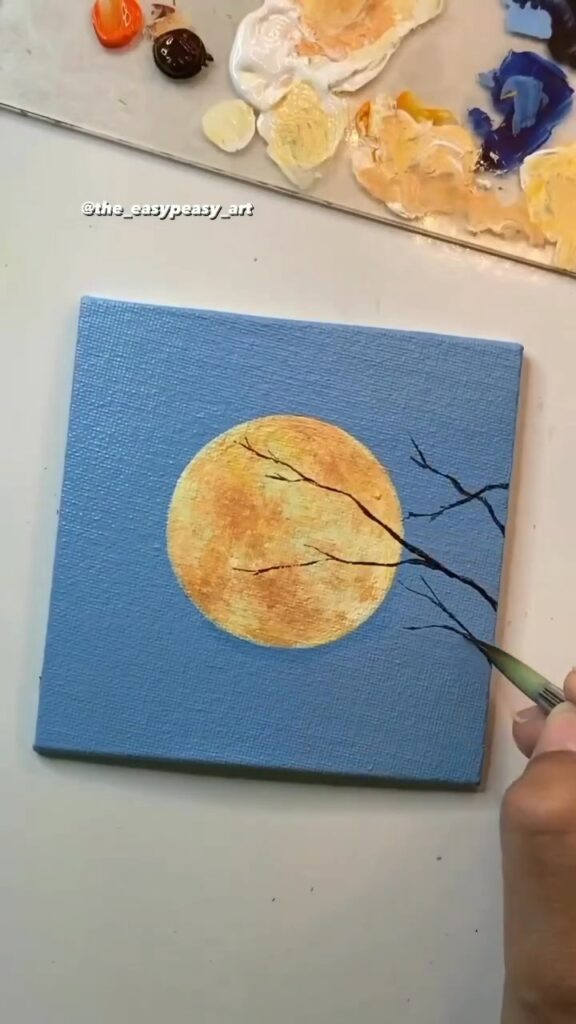
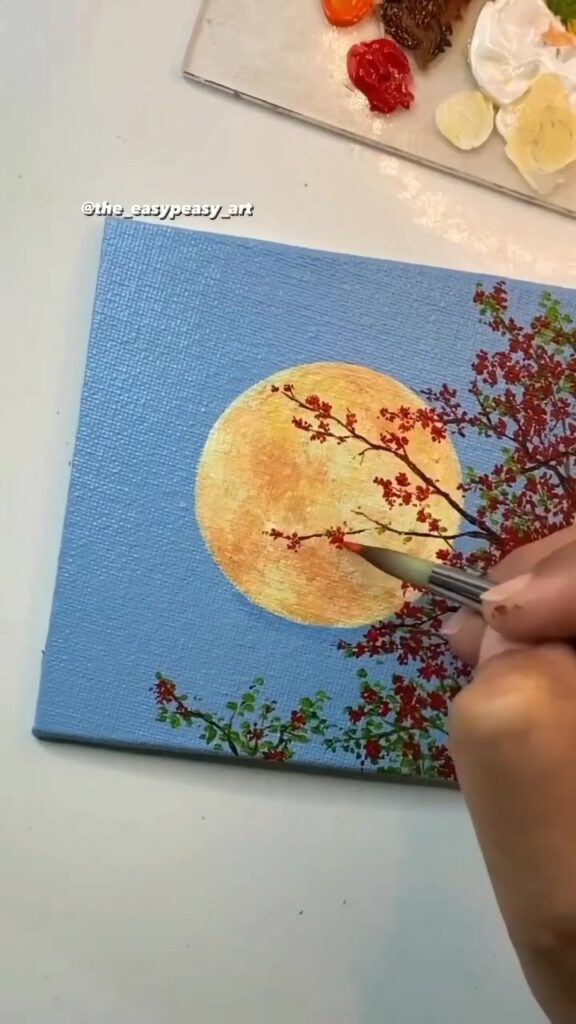
Step 4: Painting the Branches 🌿
Switch to your fine detail brush and mix some brown and black paint together. Starting from the bottom or sides of the canvas, gently paint thin, delicate branches that stretch out across the moon. These branches should be slightly curved and natural-looking, as if they’re reaching towards the moonlight.
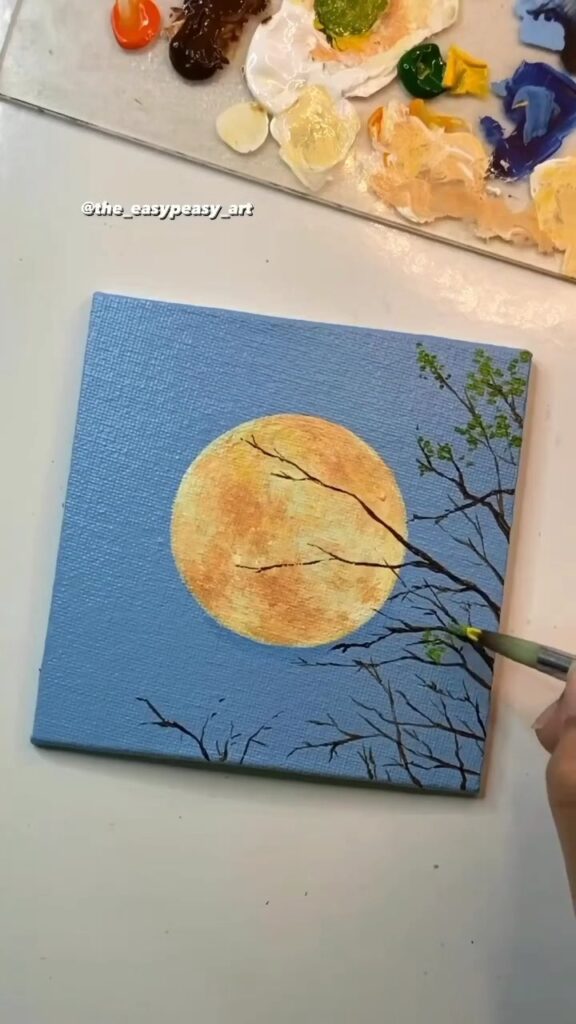
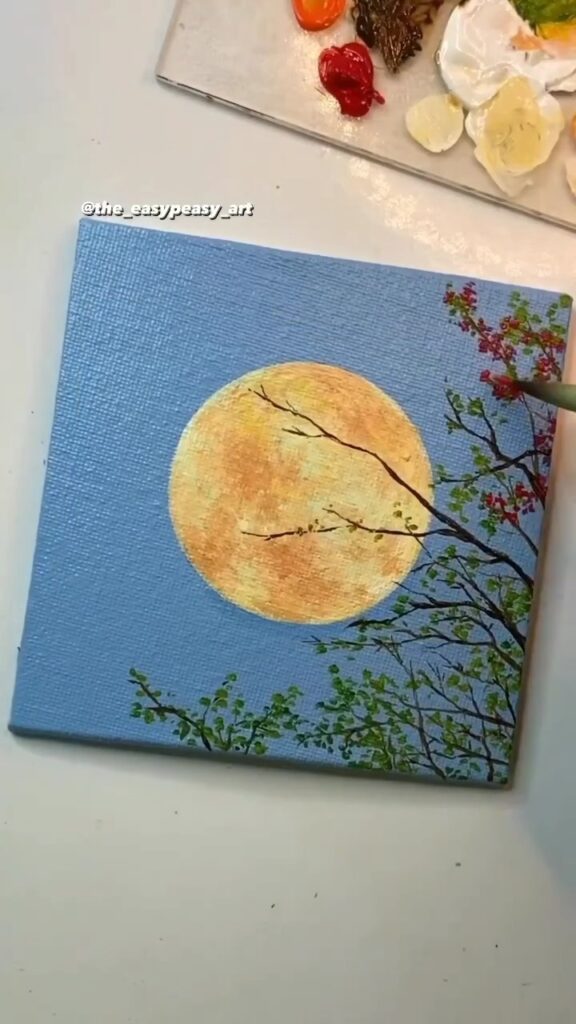
Step 5: Adding Leaves and Blossoms 🍂
Once the branches are complete, it’s time to add some leaves. Mix green paint with a touch of brown for a more muted tone and carefully paint small clusters of leaves along the branches. For an autumnal touch, add a few red or orange leaves using the fine detail brush. These little pops of color will bring your painting to life.
Step 6: Final Touches ✨
Take a step back and assess your painting. Does the moon need more glow? Do the branches look balanced? Feel free to add more color or detail as needed. Sometimes, I like to go back with a bit more white and highlight certain areas of the moon to make it stand out even more.
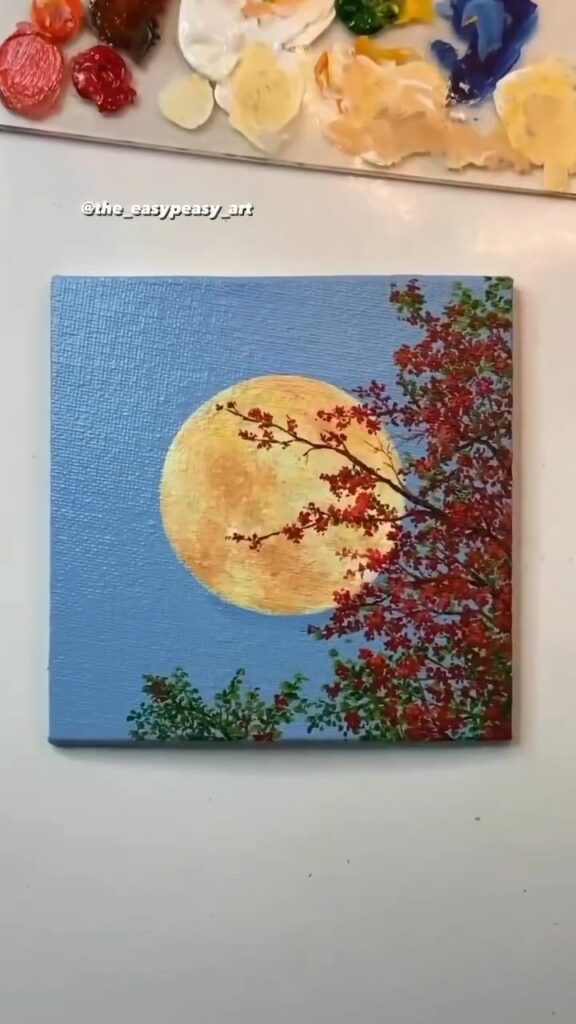
Your Full Moon Painting is Complete! 🎉
And there you have it! A stunning full moon painting that captures the calm and beauty of a moonlit night. This piece can be a lovely addition to your home, a gift for a friend, or simply a testament to your creative journey.
Final Thoughts 💭
There’s something truly magical about painting a full moon. It always brings me back to nights spent gazing up at the sky, feeling that sense of wonder and connection with the universe. I hope this tutorial not only helps you create a beautiful painting but also brings a bit of that magic into your life.
Happy painting! 🌕✨


Leave a Reply