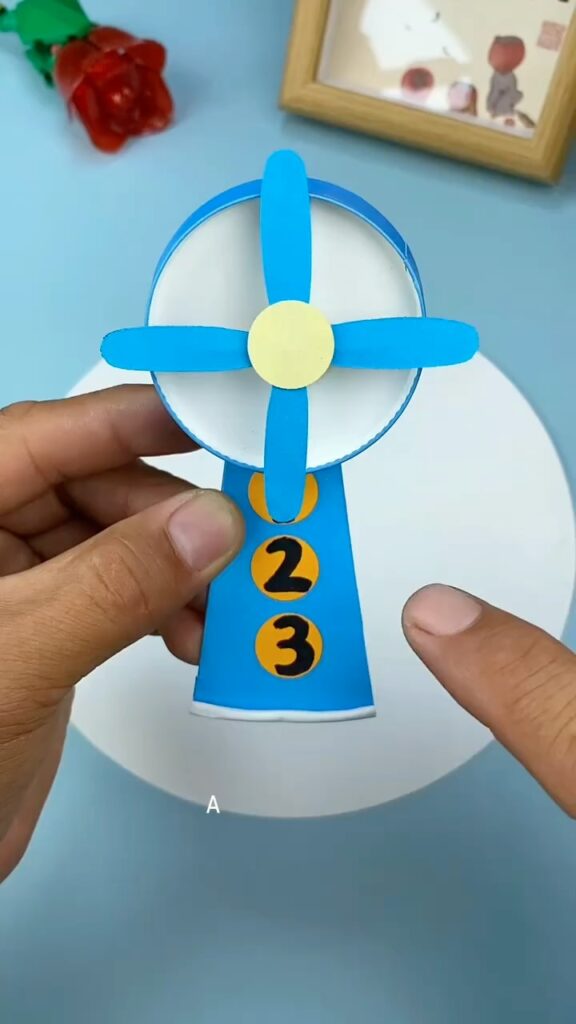
Creating a paper fan is a fun and simple craft activity that can be enjoyed by people of all ages. Follow the steps below to make your very own paper fan as shown in the image.


Materials Needed:
- Blue cardboard cup
- White cardboard or thick paper
- Blue and yellow construction paper
- Scissors
- Glue
- Pen or marker
- Rubber band
- Small skewer or stick
- Two small beads
Step-by-Step Instructions:
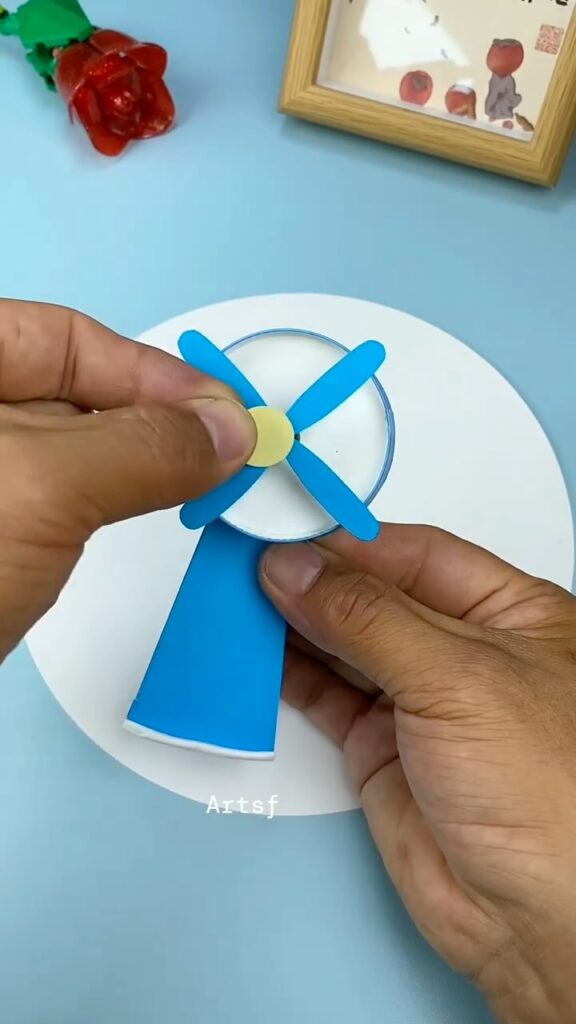
Step 1: Prepare the Fan Blades
- Cut out a propeller shape with four blades from the blue construction paper. Ensure it is symmetric and the blades are evenly spaced.
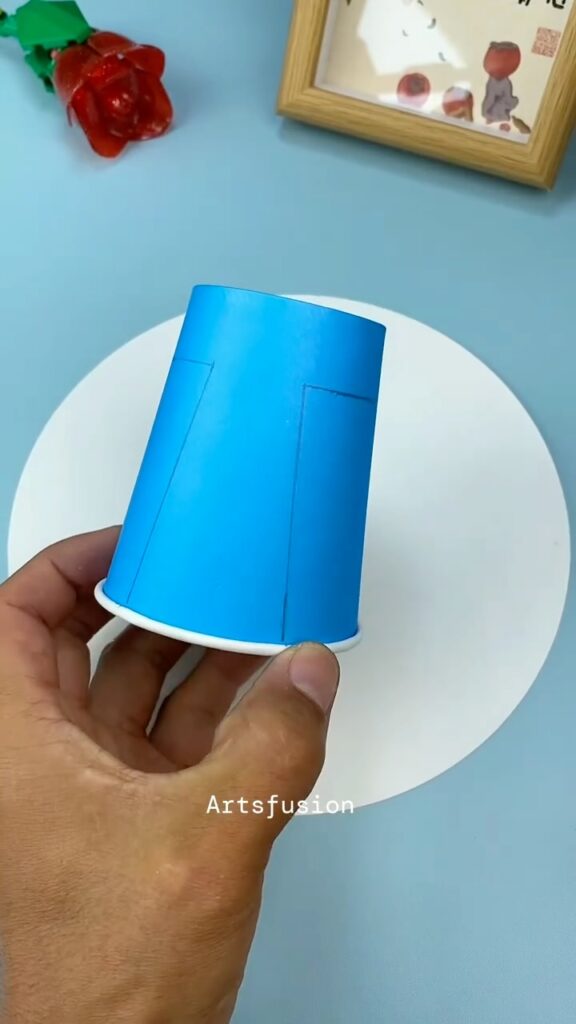
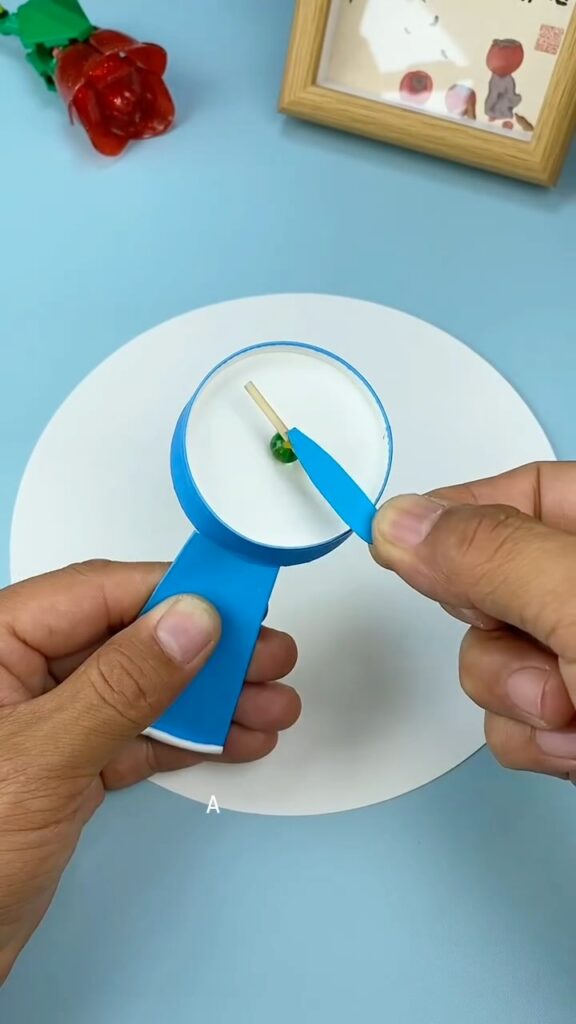
Step 2: Prepare the Base and Handle
- Take a blue cardboard cup and cut out the bottom part, creating a small ring at the base.
- Cut the side of the cup vertically to make a flat strip.
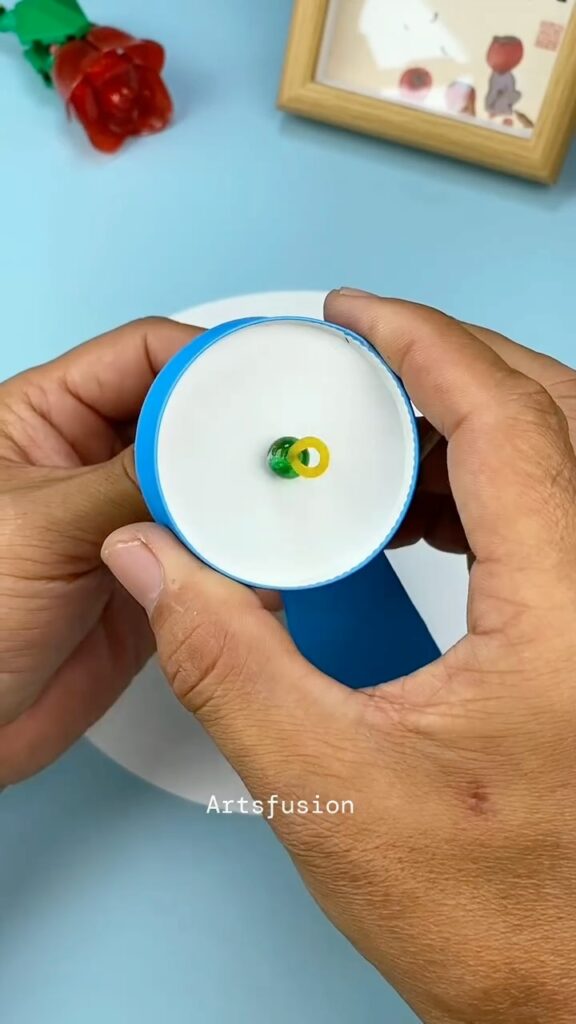
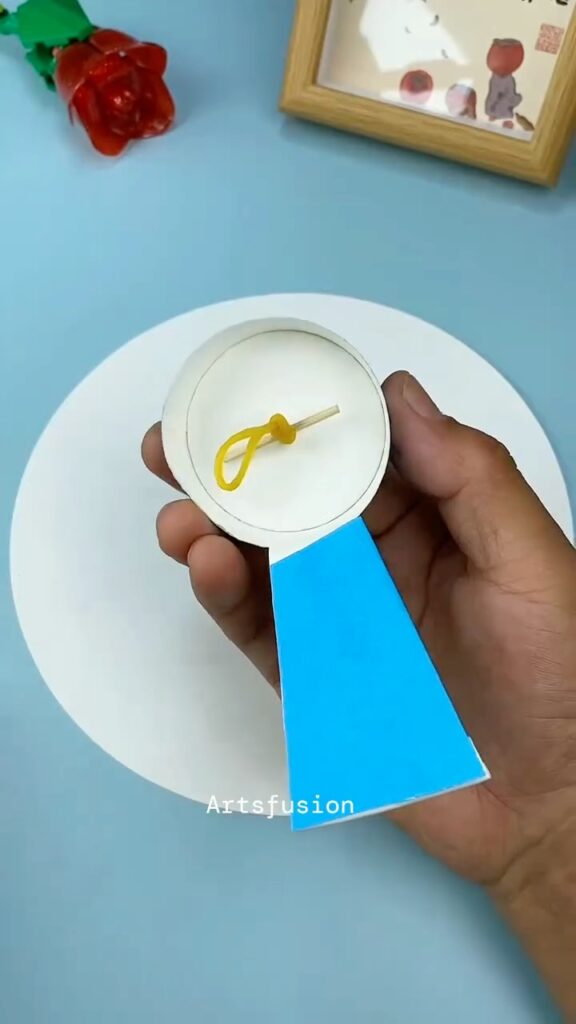
Step 3: Create the Rotating Mechanism
- Punch a small hole in the center of a white circular piece of cardboard. This will serve as the base.
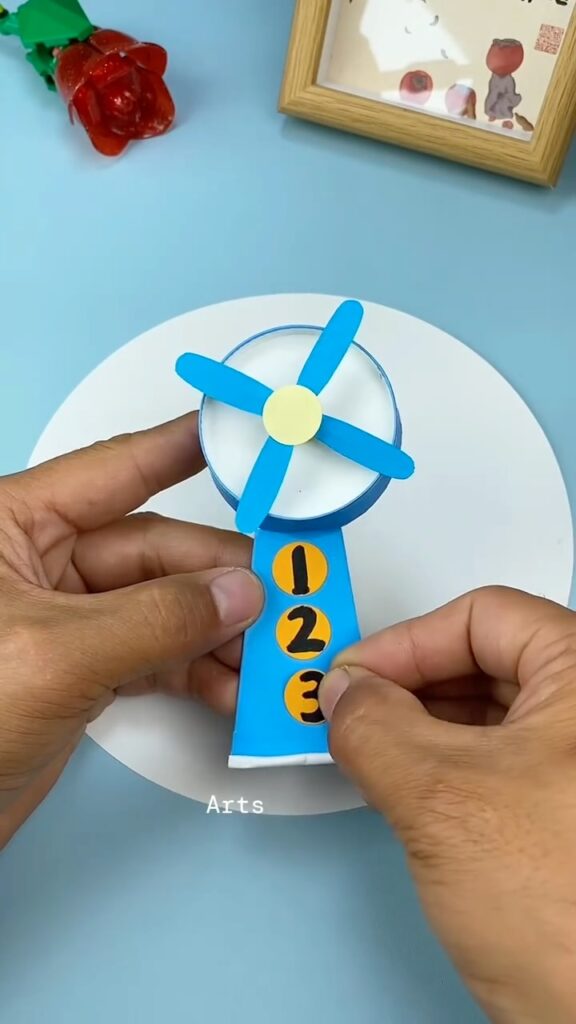
- Cut a small circular piece from yellow construction paper and number it (1, 2, 3).
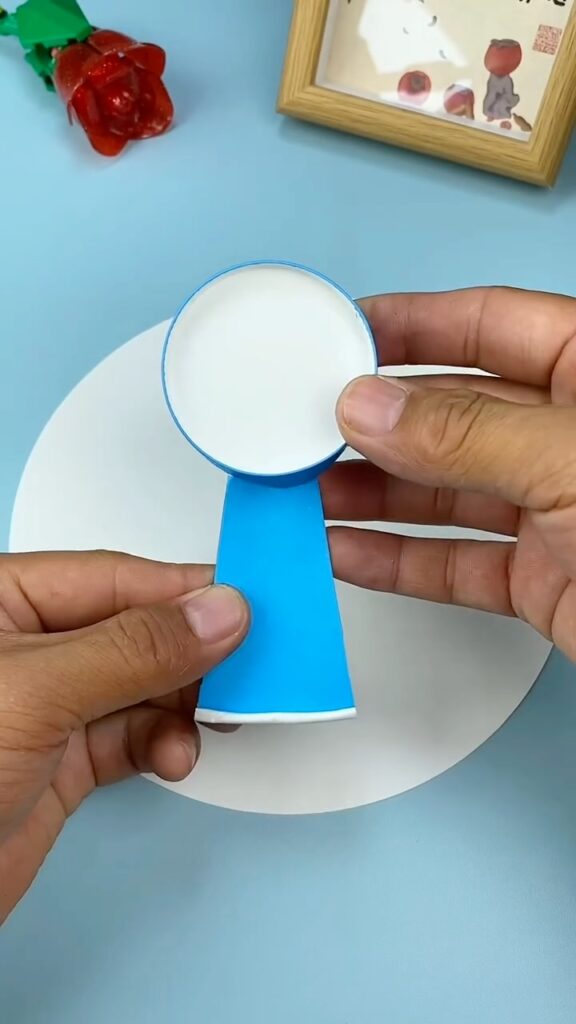
Step 4: Assemble the Fan
- Attach the cut blue strip to the white circular base by gluing one end of the strip to the edge of the circle.
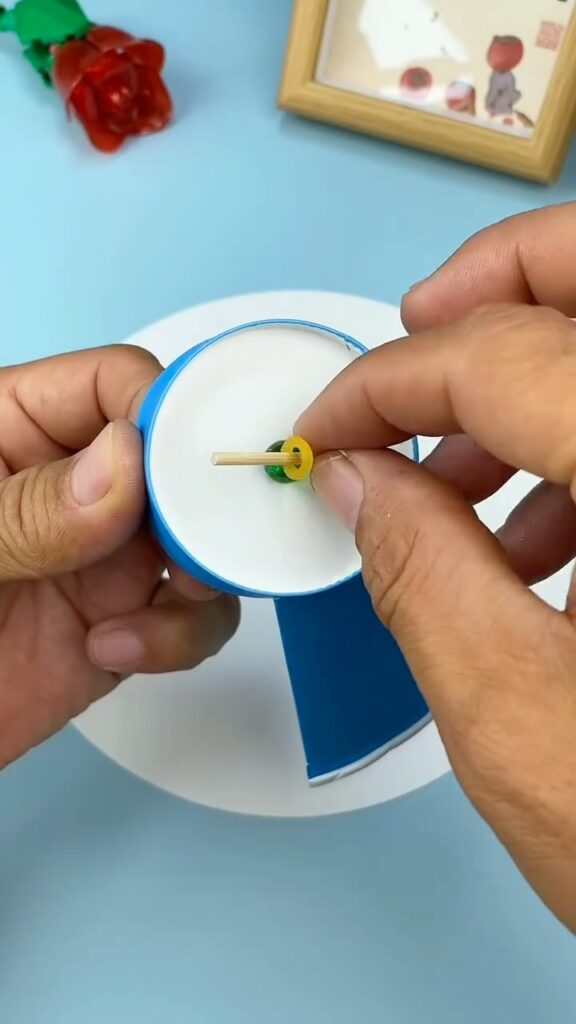
- Insert a small skewer or stick through the hole in the center of the white base.
- Secure the skewer with a bead on the underside and a rubber band around it to keep it in place.
Step 5: Attach the Blades
- Glue the propeller blades to the top of the skewer, ensuring they are securely attached and can spin freely.
Step 6: Final Assembly
- Reinforce the connection between the blades and the skewer with additional glue if necessary.
- Decorate the base and handle using the yellow numbered circle.
- Test the fan by blowing on the blades to ensure they rotate smoothly.
Leave a Reply