Hello, lovely crafters! Ready to bring a touch of sunshine to your space? This DIY paper sunflower is the perfect way to brighten up any room or make a beautiful gift. Follow these simple steps and watch your sunflower bloom! Let’s get crafty! ✂️💛


Materials Needed
Before we dive in, gather these materials:
- Yellow paper (10 cm x 10 cm)
- Green paper
- Brown paper or cardstock
- Scissors
- Glue
- Pencil
- Ruler
- Lace or ribbon for decoration
Step-by-Step Guide to Making a Paper Sunflower
Step 1: Preparing the Petals 🌼
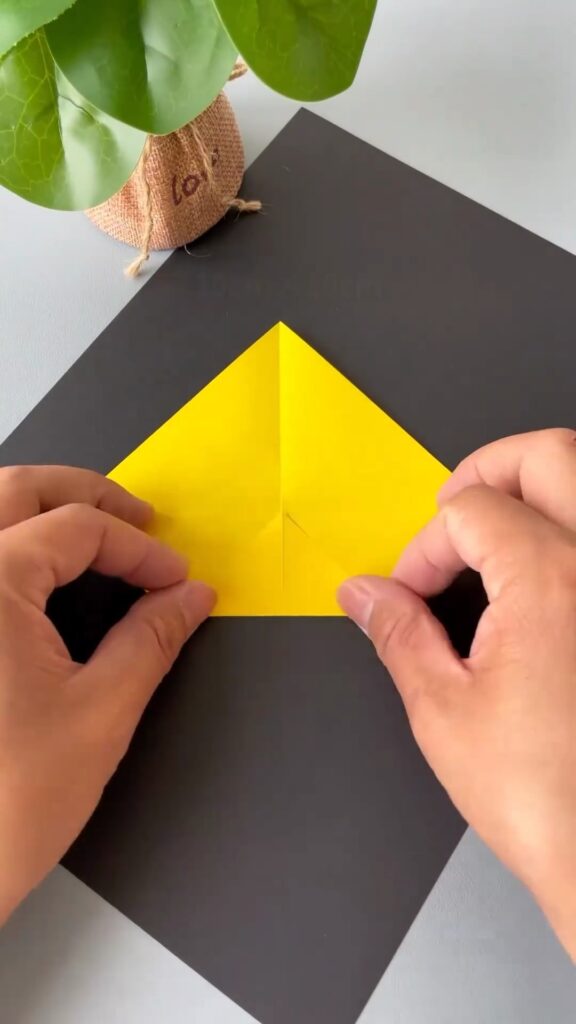
Start with a yellow paper square (10 cm x 10 cm). Fold it in half diagonally to form a triangle.
Image Reference: The first frame shows a yellow square folded into a triangle.
Step 2: Folding the Triangle 📏
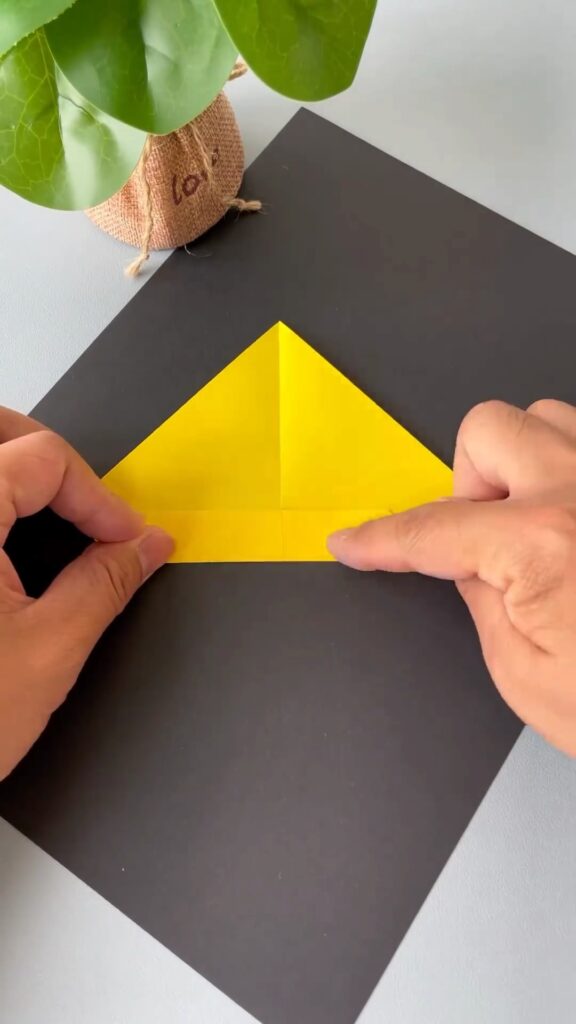
Fold the triangle again to make a smaller triangle, ensuring the edges align perfectly.
Image Reference: The second frame shows the triangle being folded again.
Step 3: Folding the Edges 📐
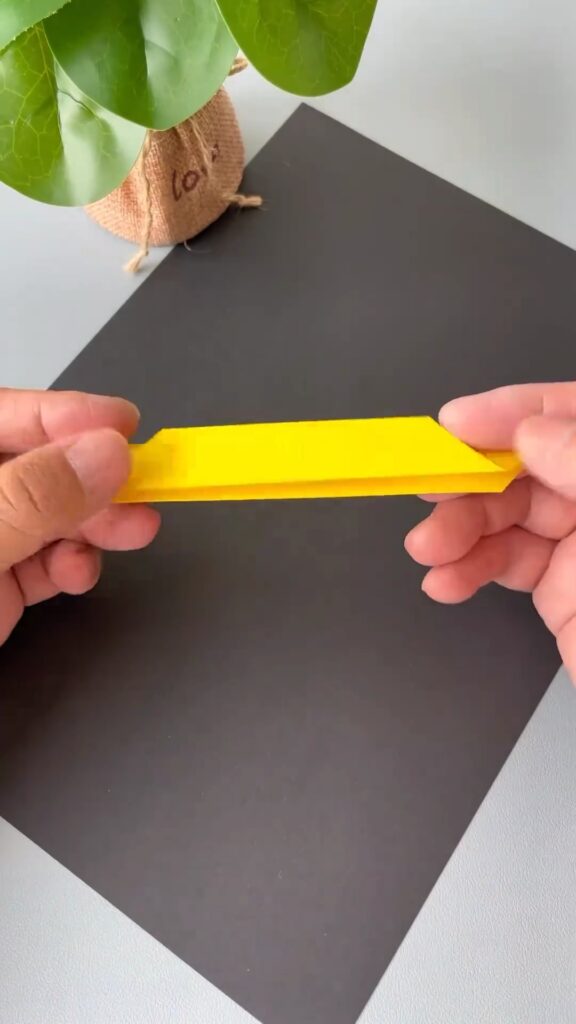
Fold the outer edges of the smaller triangle inward, creating a diamond shape with an overlapping center.
Image Reference: The third frame shows the edges folded inward.
Step 4: Making the Petal Folds ✂️
Fold the diamond shape in half, then unfold. Fold the outer edges back again, creating multiple folds that look like a fan.
Image Reference: The fourth and fifth frames show the process of creating the petal folds.
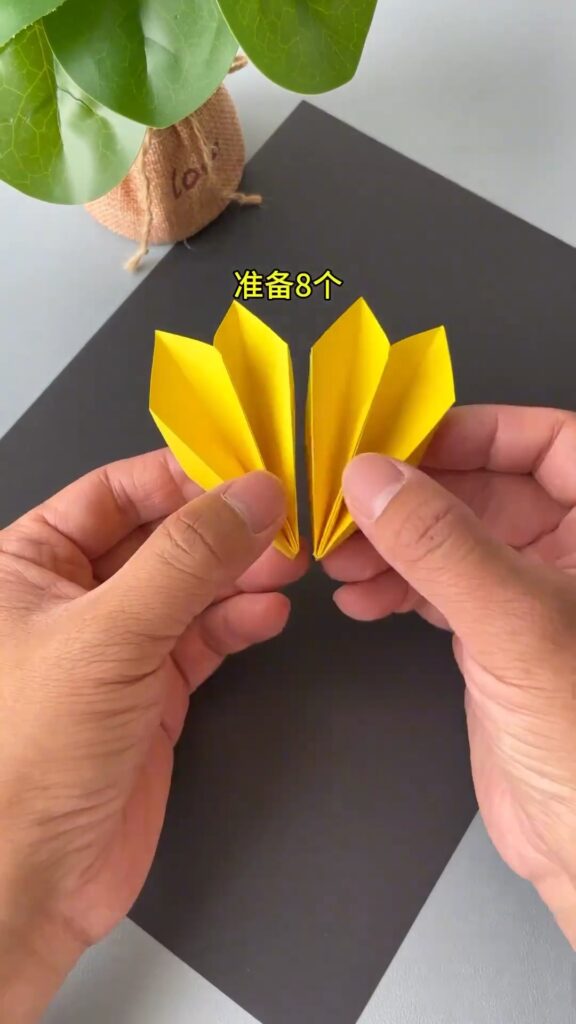
Step 5: Assembling the Petals 🌻
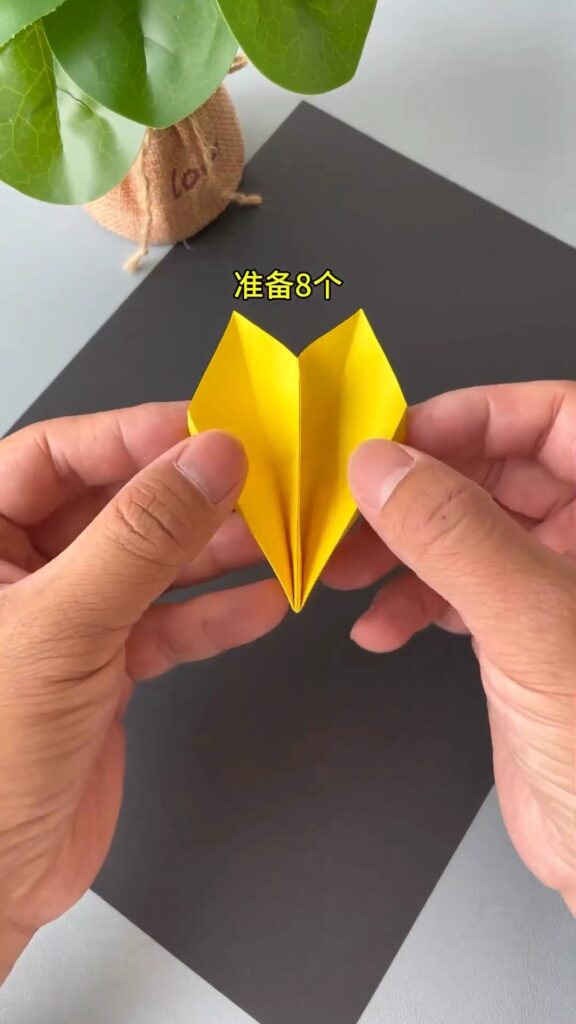
Repeat the folding process for 8 yellow squares. Once you have 8 petal pieces, fold each in half and secure them together at the base with glue.
Image Reference: The sixth frame shows the folded petals being glued together.
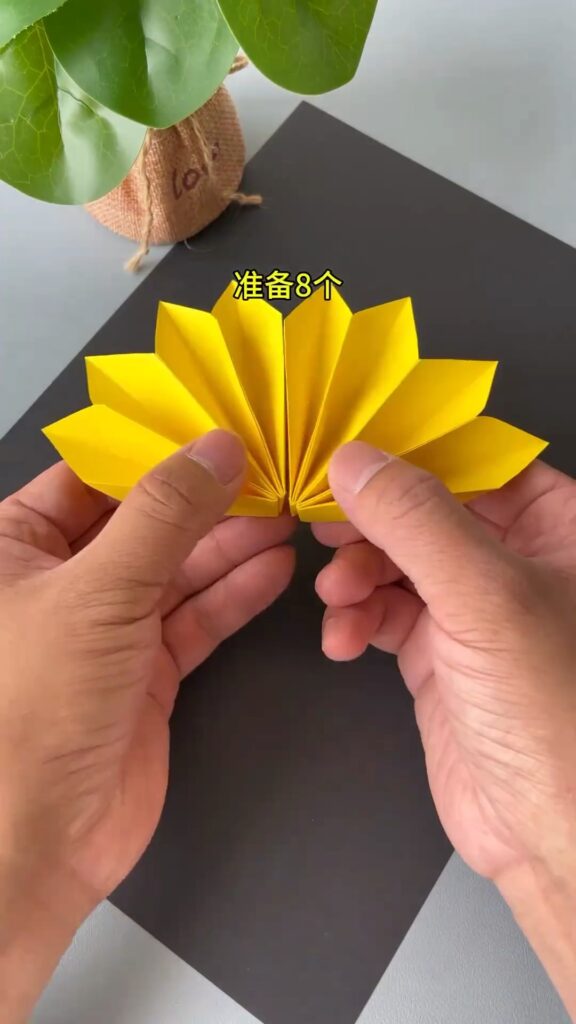
Step 6: Forming the Sunflower 🌼
Glue all the petal pieces together to form a circular shape, resembling a sunflower. Make sure all petals are evenly spaced.
Image Reference: The seventh frame shows the completed petal assembly forming a sunflower.
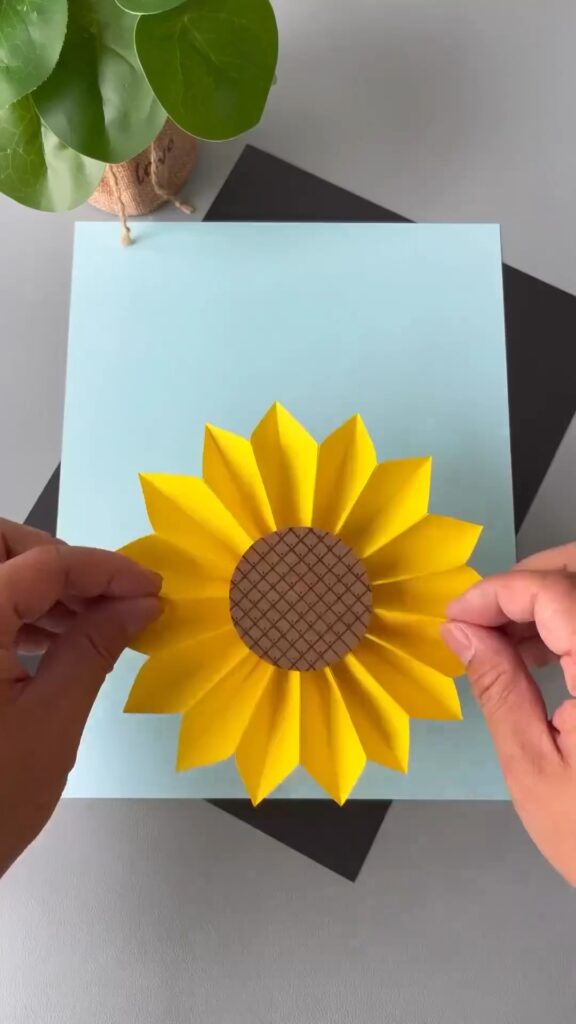
Step 7: Creating the Center 🌾
Cut a circle from the brown paper or cardstock to form the center of the sunflower. Add texture by drawing or cutting out small circles.
Image Reference: The eighth frame shows the brown circle being prepared and attached to the center of the sunflower.
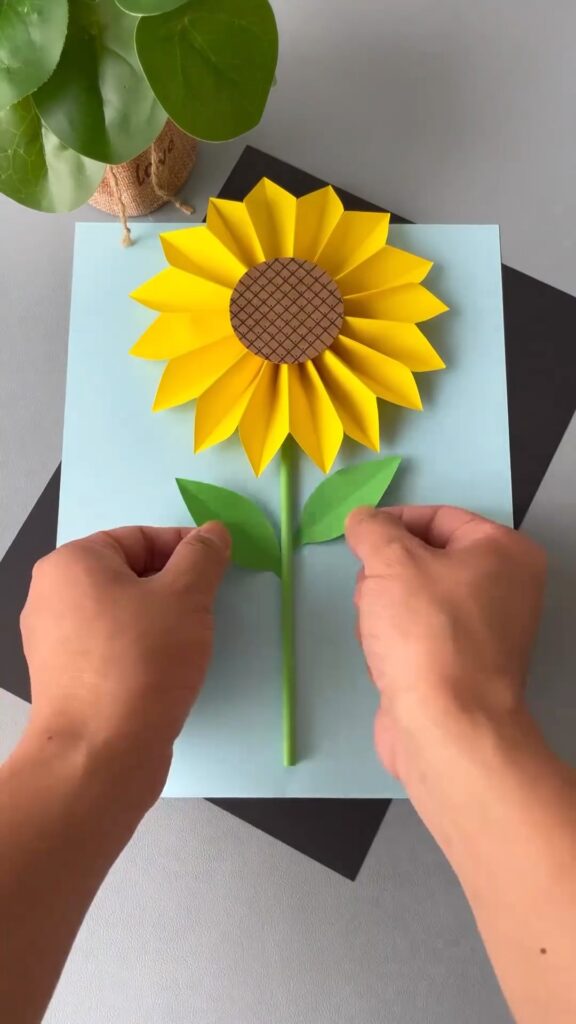
Step 8: Adding the Leaves 🍃
Cut out leaf shapes from the green paper and glue them to the back of the sunflower. Ensure the leaves are evenly spaced.
Image Reference: The ninth frame shows green leaves being attached to the sunflower.
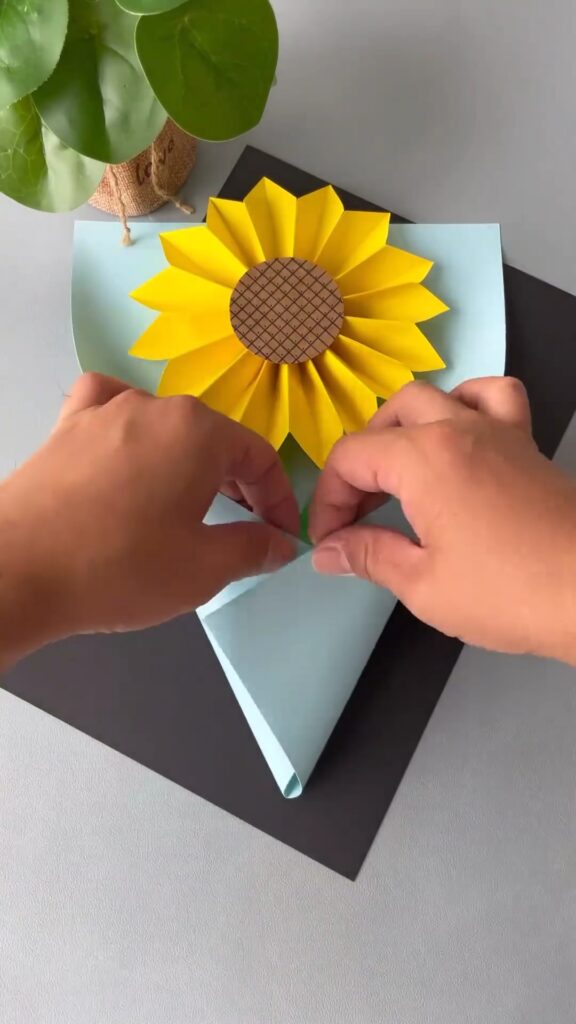
Step 9: Mounting the Sunflower 📌
Mount your sunflower on a piece of colored paper or cardstock. You can create a card or simply display it as wall art.
Image Reference: The tenth frame shows the sunflower mounted on a colored paper background.
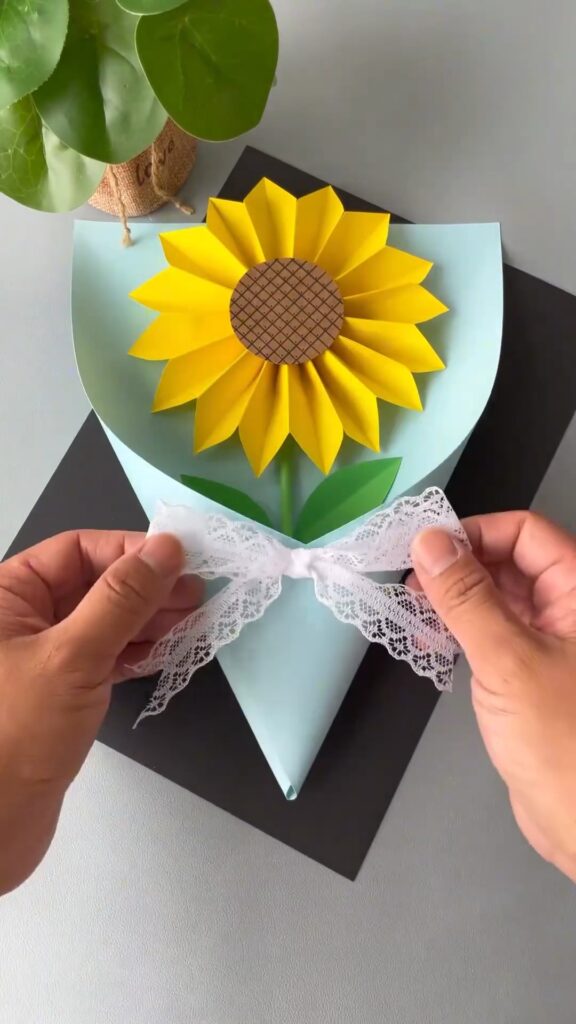
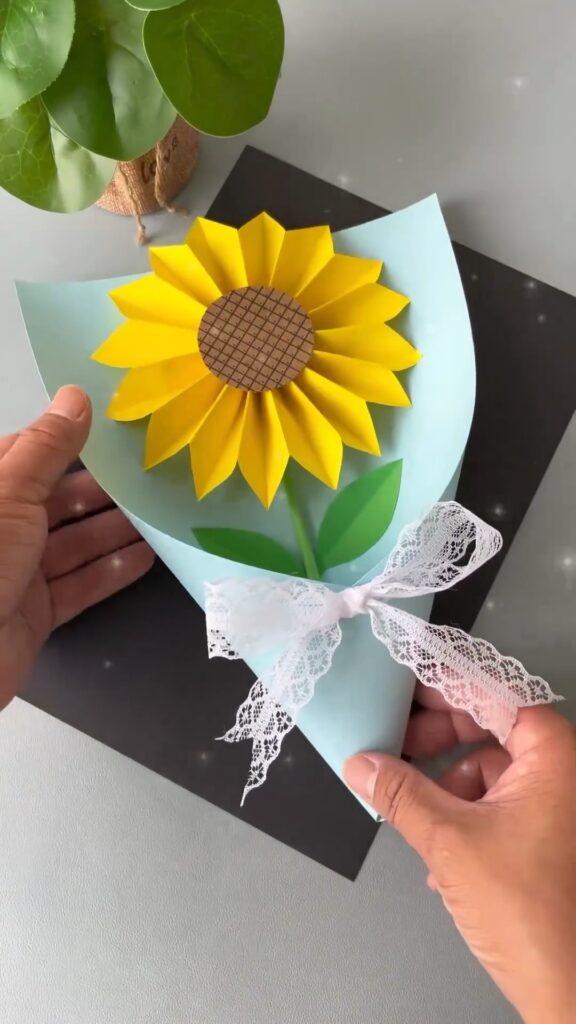
Step 10: Decorating with Lace 🌟
For an extra touch of elegance, add a lace or ribbon bow to the base of your sunflower. This adds a charming and feminine touch to your craft.
Image Reference: The eleventh and twelfth frames show the addition of a lace bow for decoration.
Tips for a Perfect Paper Sunflower
- Precision is Key: Make sure your folds are crisp and precise for a neat final product.
- Get Creative: Experiment with different colors and patterns for a unique look.
- Personal Touch: Add a personalized message if you’re giving the sunflower as a gift.
And there you have it, a beautiful paper sunflower to brighten up your day! 🌻 Whether you use it as a decoration or a thoughtful gift, it’s sure to bring a smile to anyone’s face. Happy crafting, ladies! 🌞💕
Want More?
If you loved this tutorial, be sure to check out our other DIY craft guides! Subscribe to our newsletter for more fun and creative projects. Let’s keep the creativity blooming! 🌷🎉
Feel free to comment below with any questions or share your creations with us! We love to see your art

Leave a Reply