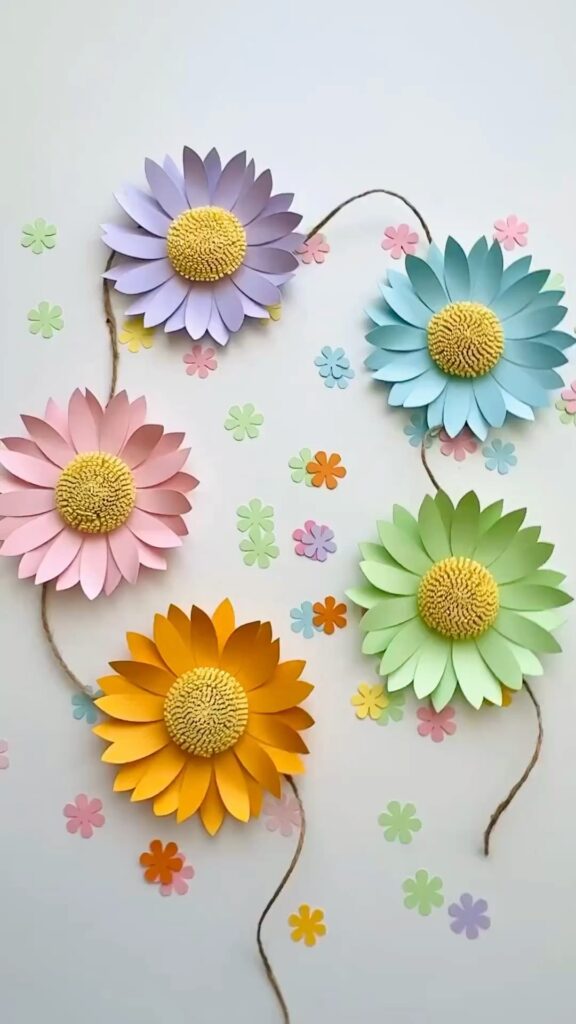
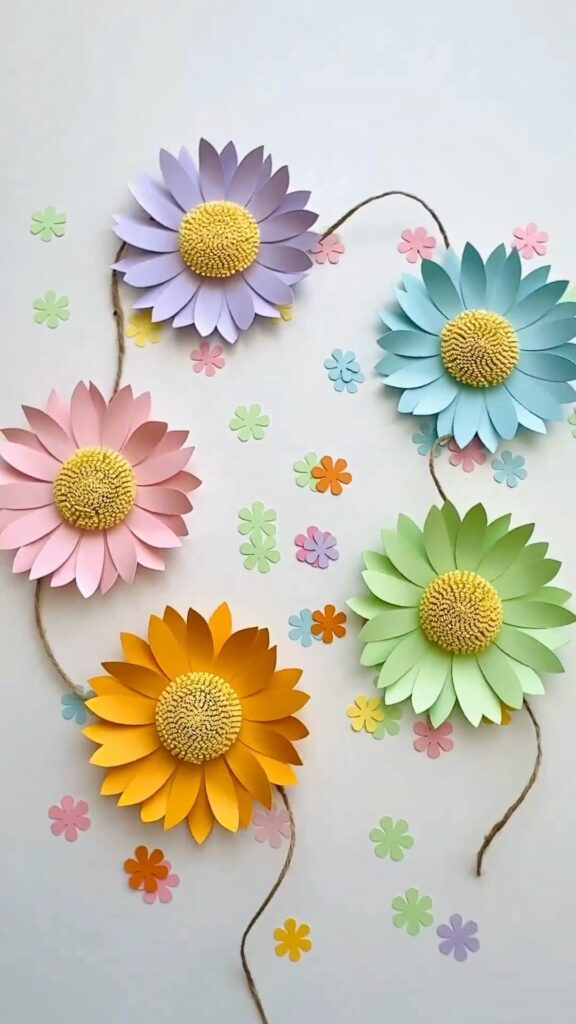
Ready to add a burst of floral charm to your space? This DIY daisy flower garland is not only easy to make but also the perfect way to brighten up any room. Whether you’re planning a spring party or just want to sprinkle some joy into your decor, this garland is the way to go. Let’s get crafting! 🌸
What You’ll Need
- Colored paper sheets (pastel colors work beautifully!)
- Glue stick or craft glue
- Scissors
- Hot glue gun (optional, but helpful)
- Ribbon or string for hanging the garland
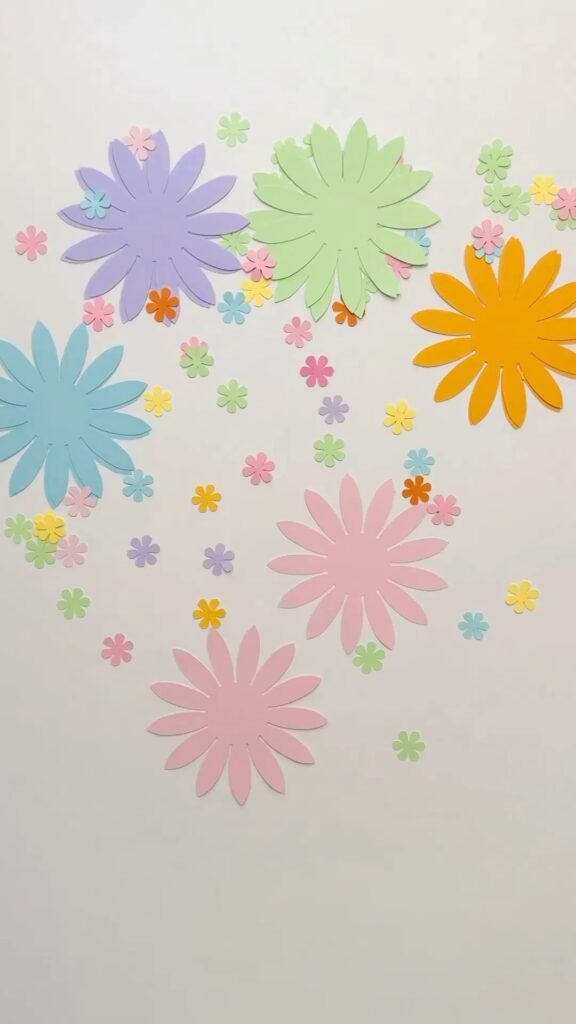


Step 1: Preparing the Petals
Start by cutting out flower shapes from your colored paper. Choose a variety of pastel colors like soft pinks, purples, yellows, and greens to give your garland a lovely, springtime feel.
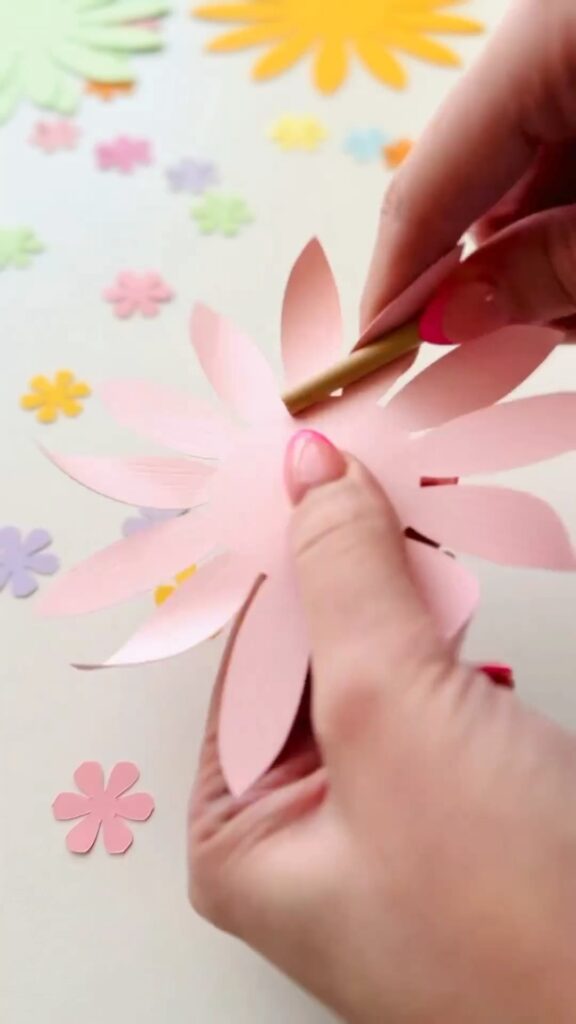
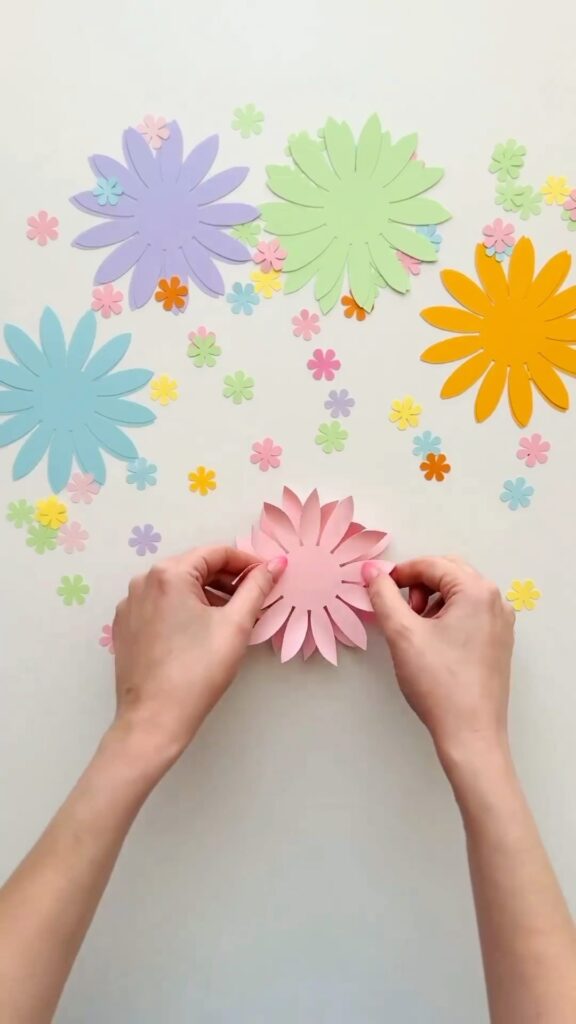
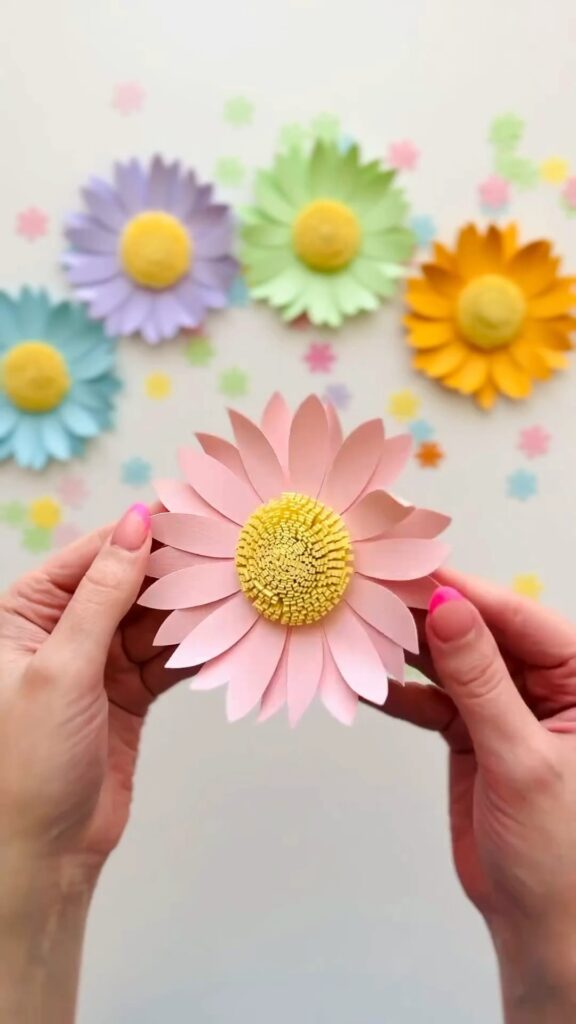
Step 2: Assembling the Daisy
Take one flower cutout and gently fold each petal upward, giving it a 3D effect. Glue the petals together at the center to ensure they hold their shape. Repeat this process with several flowers, depending on how long you want your garland to be.
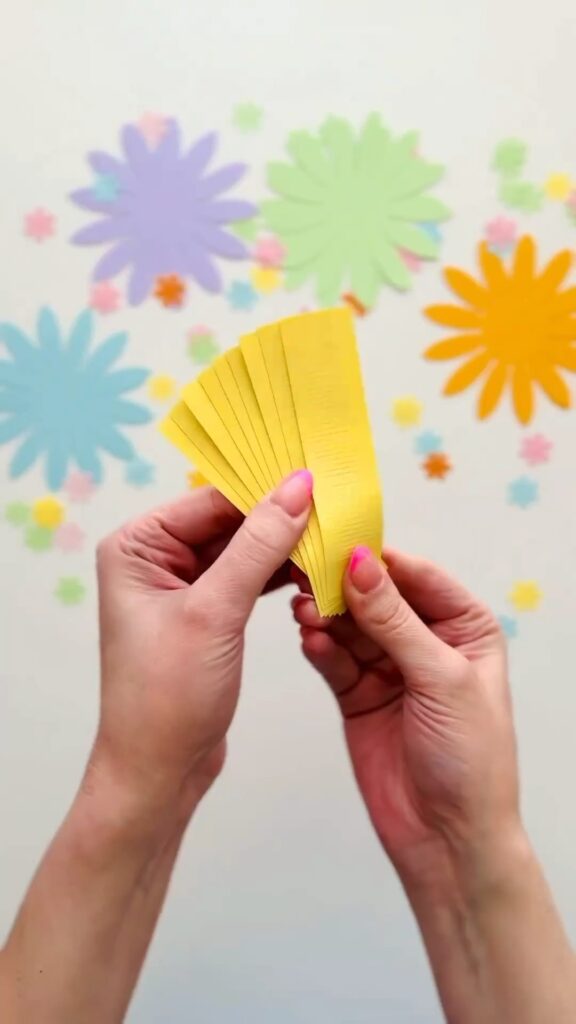
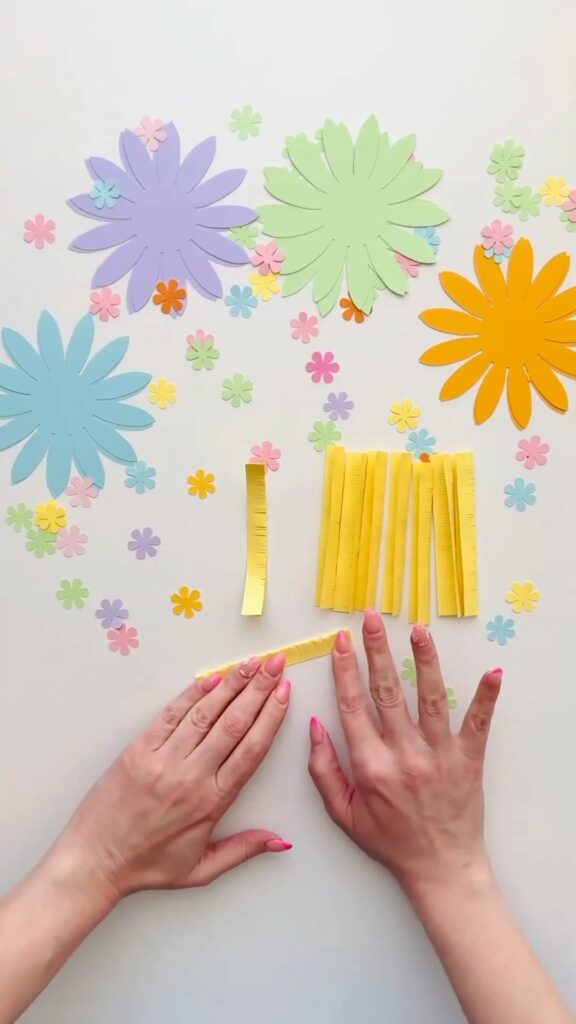
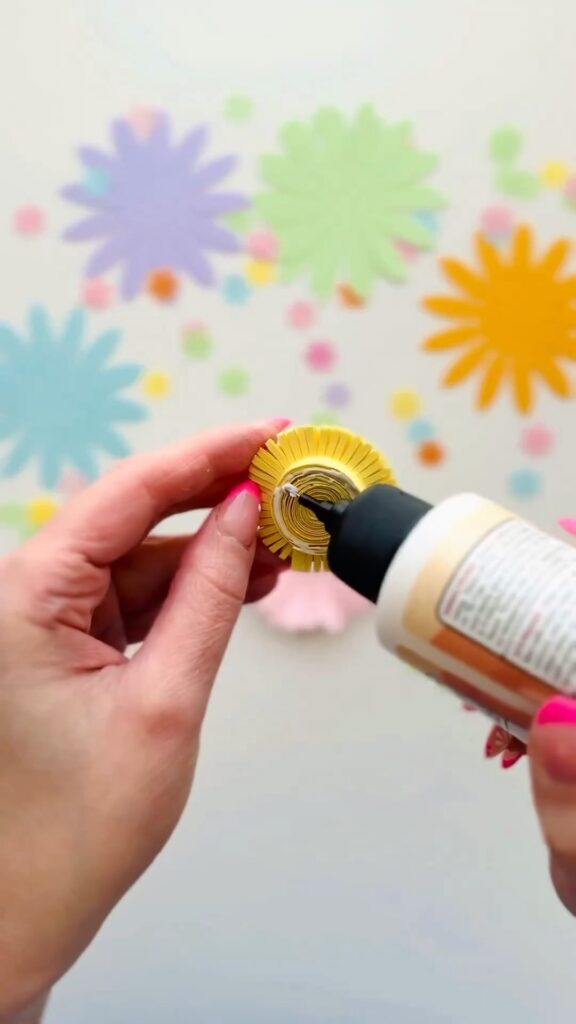
Step 3: Creating the Flower Center
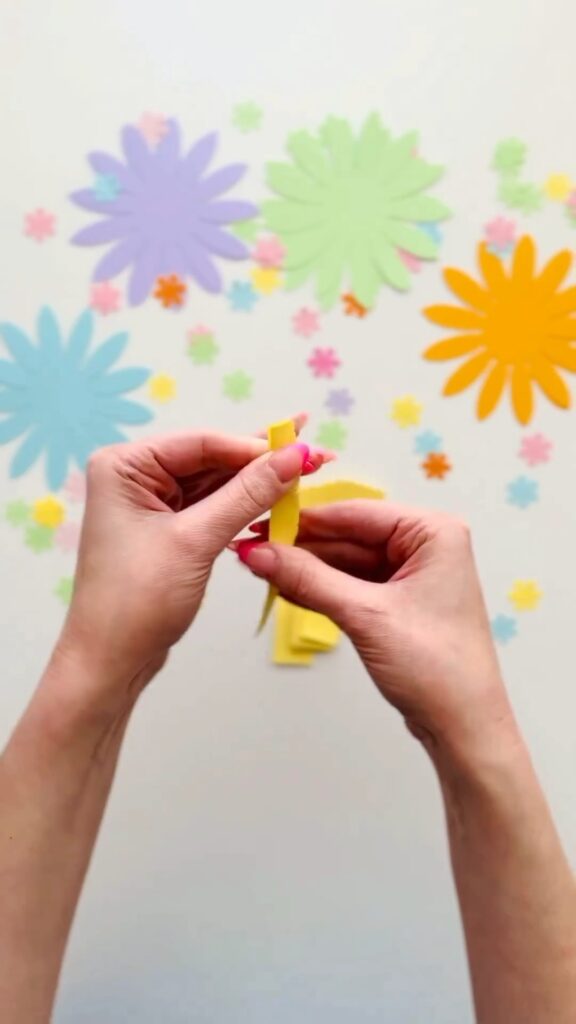
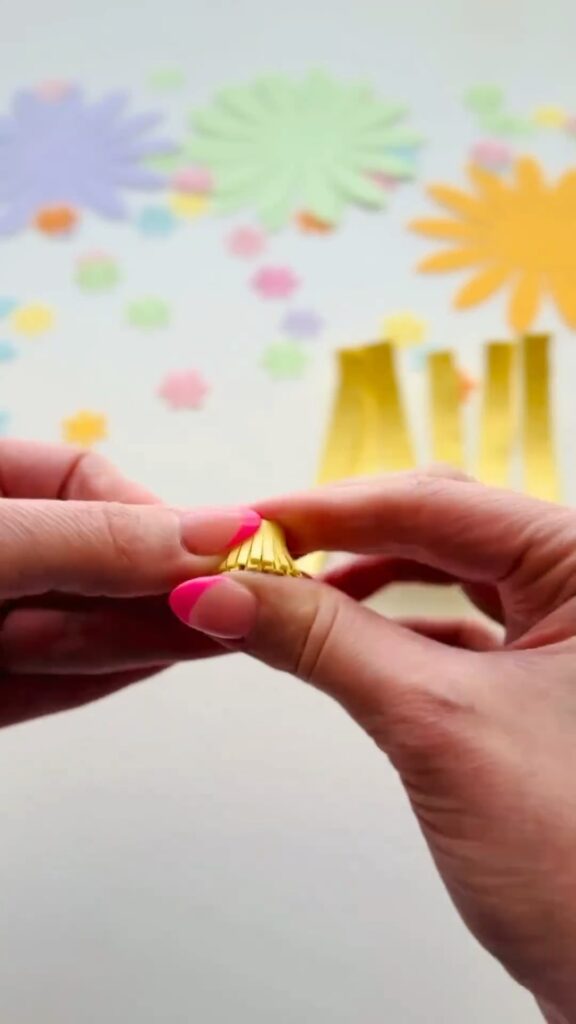
For the center of the daisy, cut out a strip of yellow paper and make small, evenly spaced cuts along one edge—this will create a fringe effect. Roll the fringed strip tightly into a small cylinder, then secure the end with glue.
Step 4: Attaching the Center
Apply glue to the bottom of the yellow fringed cylinder and place it in the center of your folded daisy petals. Press down firmly to ensure it sticks well. The fringe should fan out slightly, mimicking the look of a real daisy’s center.
Step 5: Repeat and Customize
Continue making more daisies in different colors. You can mix and match the petal colors or keep them uniform—totally up to you! Create enough flowers to fill your garland to the desired length.
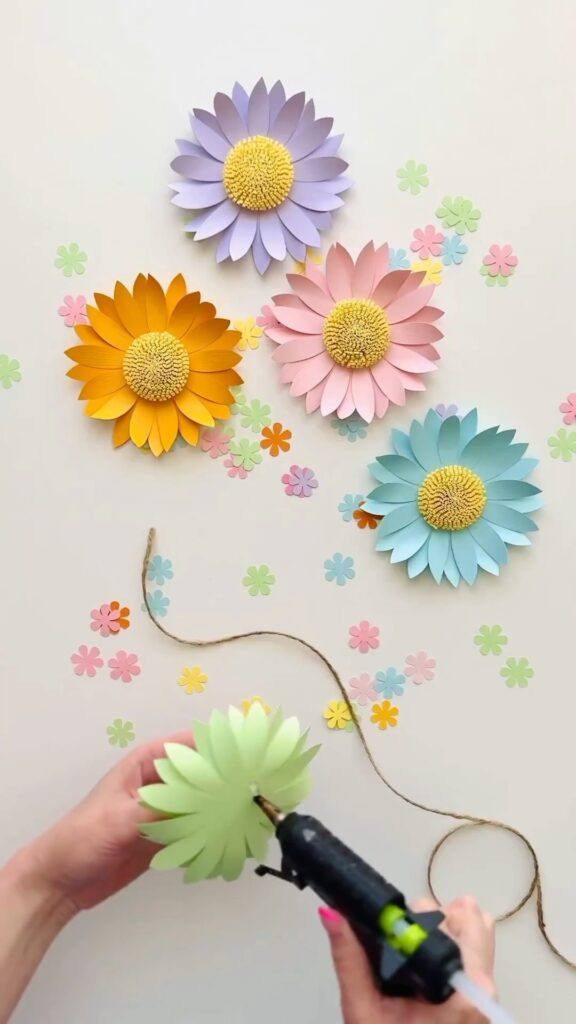
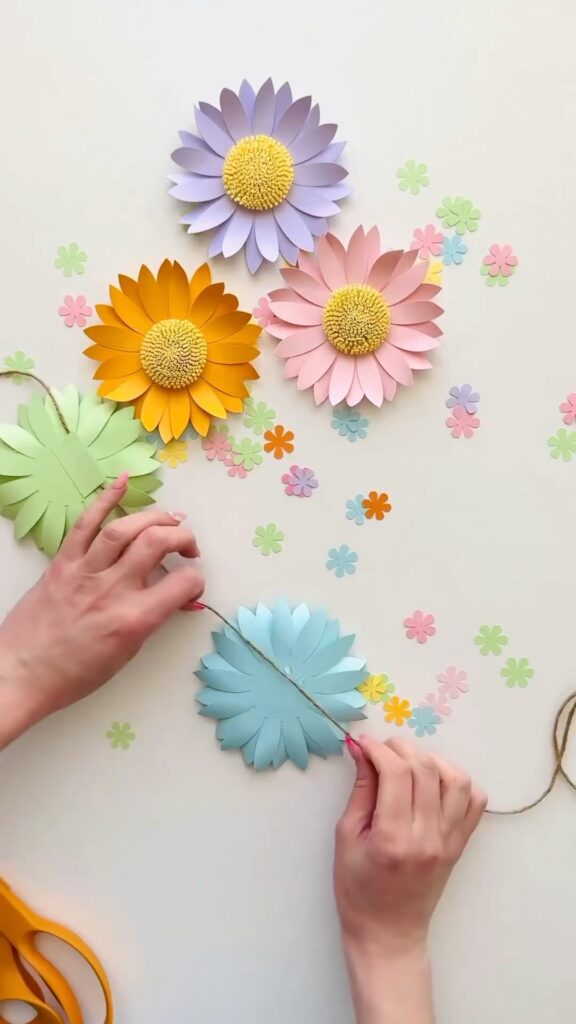
Step 6: Assembling the Garland
Now, take your ribbon or string and arrange the daisies along it. Use a hot glue gun to attach the flowers to the ribbon, spacing them evenly. Be sure to leave extra ribbon on each end for hanging the garland later.
Step 7: Final Touches
Once all the flowers are attached and the glue has dried, your daisy garland is ready to hang! 🌼 You can drape it over a mantel, along a wall, or even across a doorway to instantly brighten up your space.
Why You’ll Love This Craft
Not only is this DIY daisy flower garland super easy to make, but it also brings such a cheerful vibe to any room. Plus, it’s a great project to do with friends or family—perfect for a cozy craft night in! 🌟
FAQs
Q: What type of paper is best for this project?
A: Light cardstock or high-quality craft paper works best, as it holds the shape of the petals nicely.
Q: Can I use different flower shapes?
A: Absolutely! Feel free to experiment with other flower shapes like sunflowers or roses to create a unique garland.
Q: How can I make the garland longer?
A: Simply cut and assemble more flowers, then attach them to a longer piece of ribbon. You can make it as long or as short as you like!
And there you have it—a lovely daisy garland that’s sure to bring a touch of spring into your home. Now, go grab your scissors and start crafting! 🌸✨
Leave a Reply