Get ready to dive into a fun and easy paper craft project! This DIY paper boat is perfect for adding a touch of creativity to your day. Follow these simple steps, and you’ll have a cute little boat to float or display. Let’s get started, ladies! ✂️💖
Materials Needed
Before we begin, make sure you have the following materials:
- Yellow and green paper strips
- Stapler
- Scissors
- Glue
Step-by-Step Guide to Making a Paper Boat
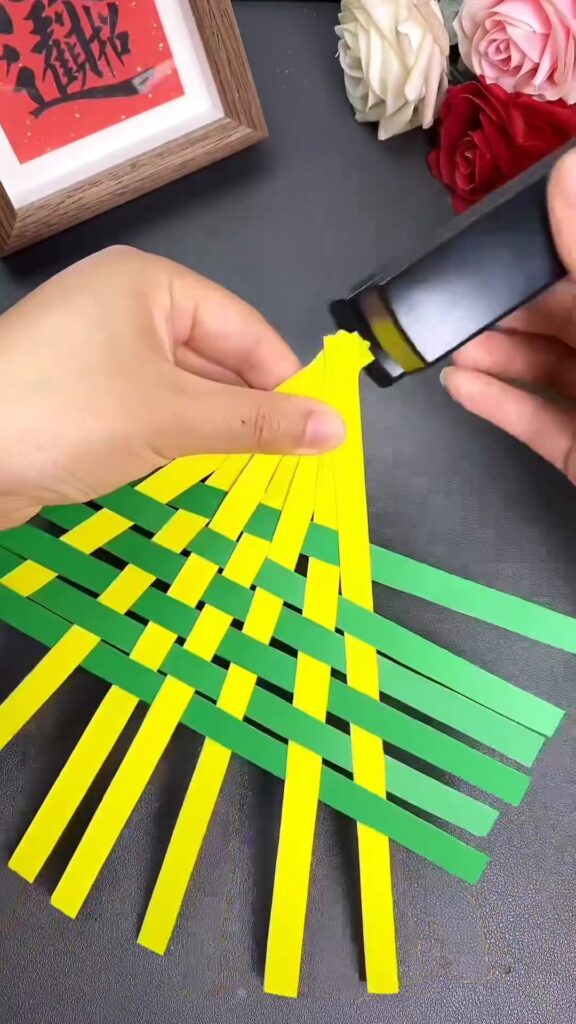
Step 1: Preparing the Strips 📏
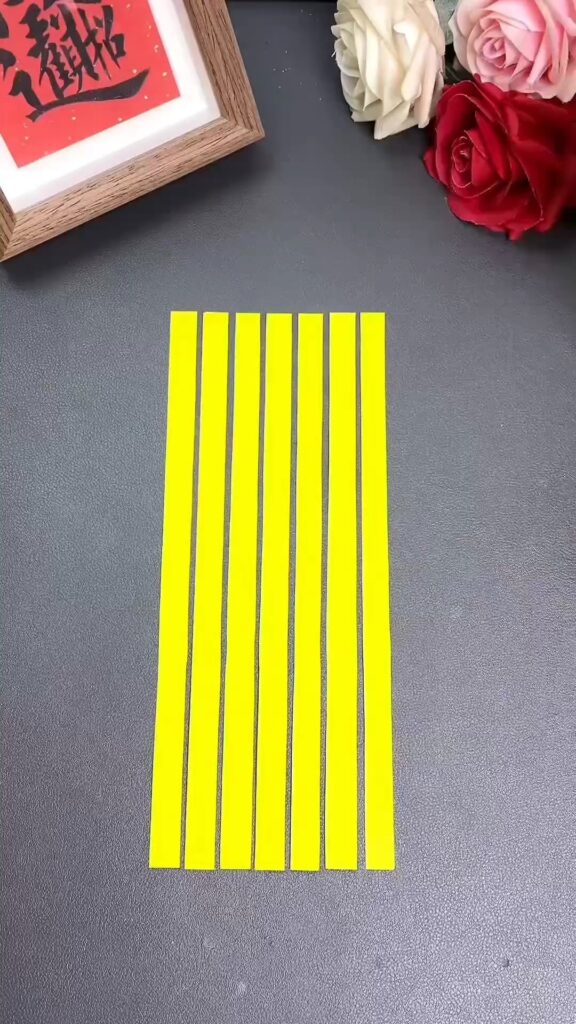
First, gather your paper strips. You’ll need several yellow strips and several green strips. Lay them out neatly on your work surface.
Image Reference: The first frame shows yellow paper strips laid out on a table.
Step 2: Aligning the Strips 📐
Next, align the yellow strips vertically. Make sure they are evenly spaced. This will be the base of your boat.
Image Reference: The second frame shows the yellow strips aligned vertically.
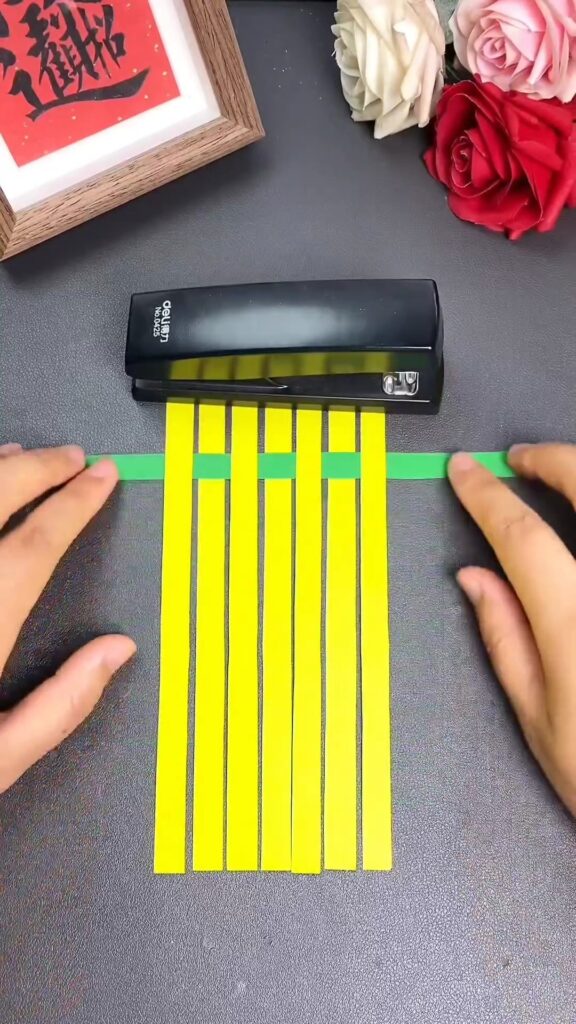
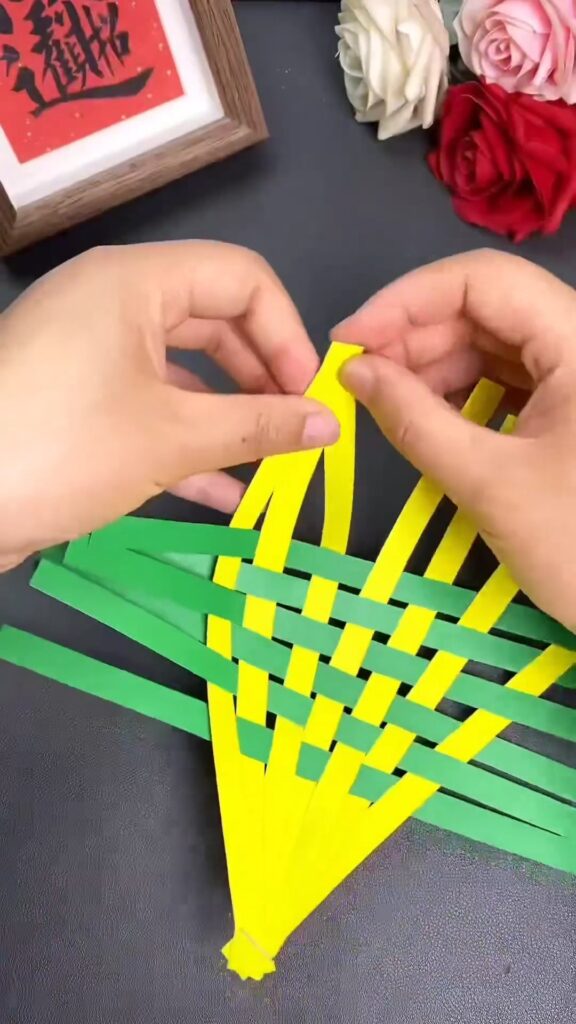
Step 3: Weaving the Strips 🧵
Take the green strips and start weaving them horizontally through the yellow strips. Alternate the over-under pattern to create a woven effect. This step requires some patience, but it’s worth it!
Image Reference: The third frame shows the green strips being woven through the yellow strips.
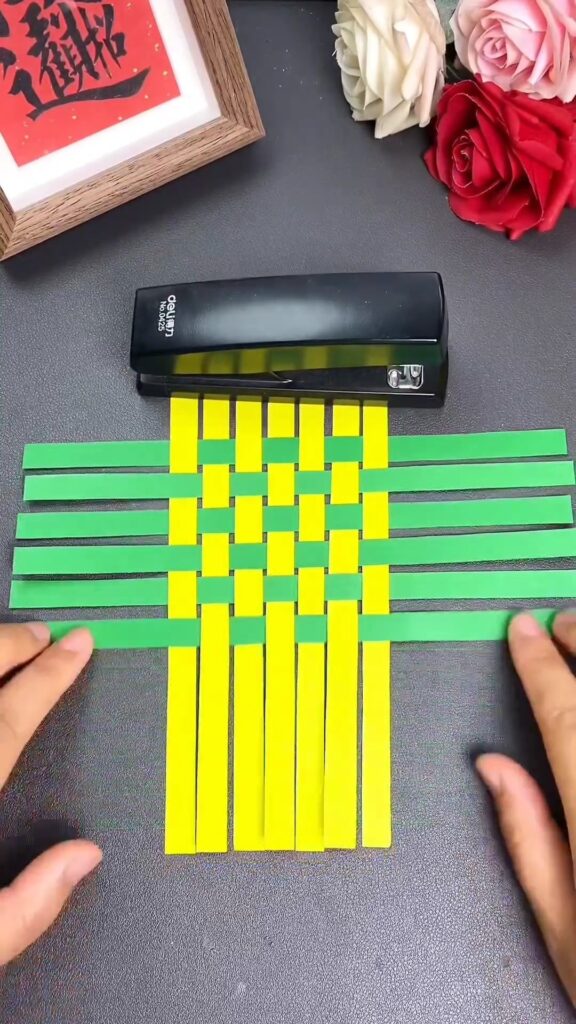
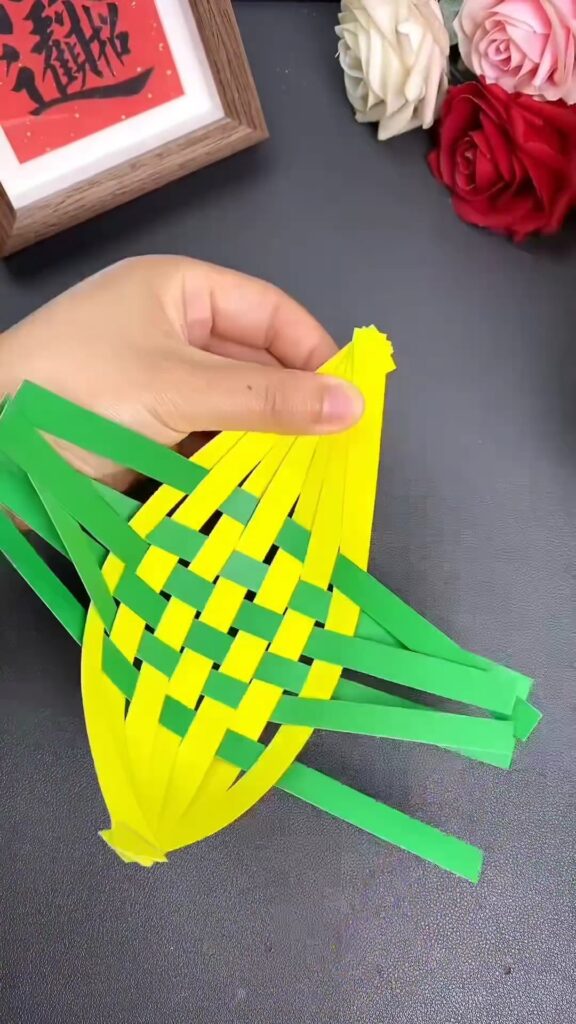
Step 4: Completing the Weaving Pattern 🌟
Continue weaving until you reach the end of the yellow strips. Ensure that the weaving is tight and secure.
Image Reference: The fourth frame shows the weaving pattern completed.
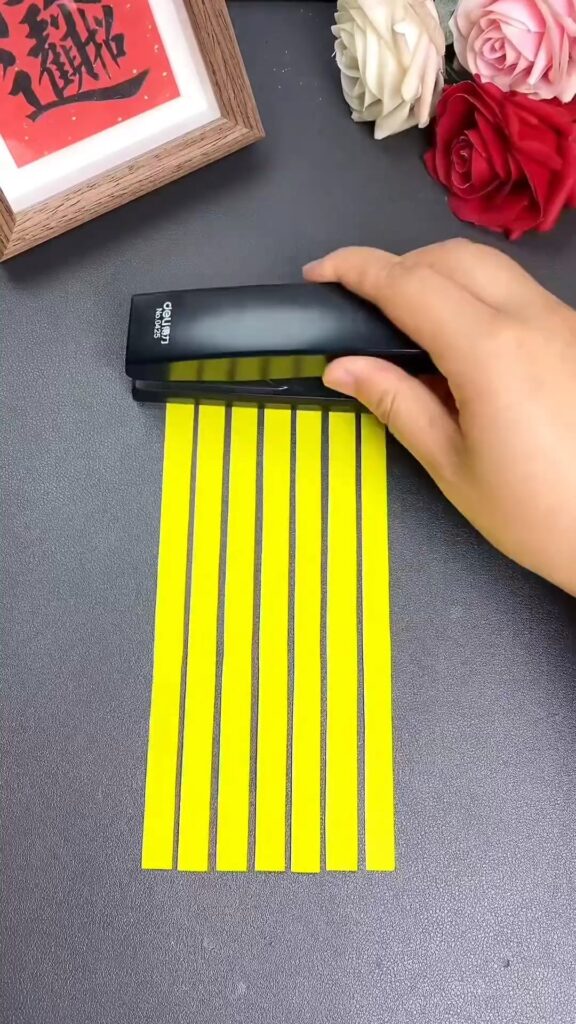
Step 5: Securing the Weave with a Stapler 📌
Once the weaving is complete, use a stapler to secure the ends of the green strips. This will prevent them from coming loose.
Image Reference: The fifth frame shows the ends of the strips being stapled together.
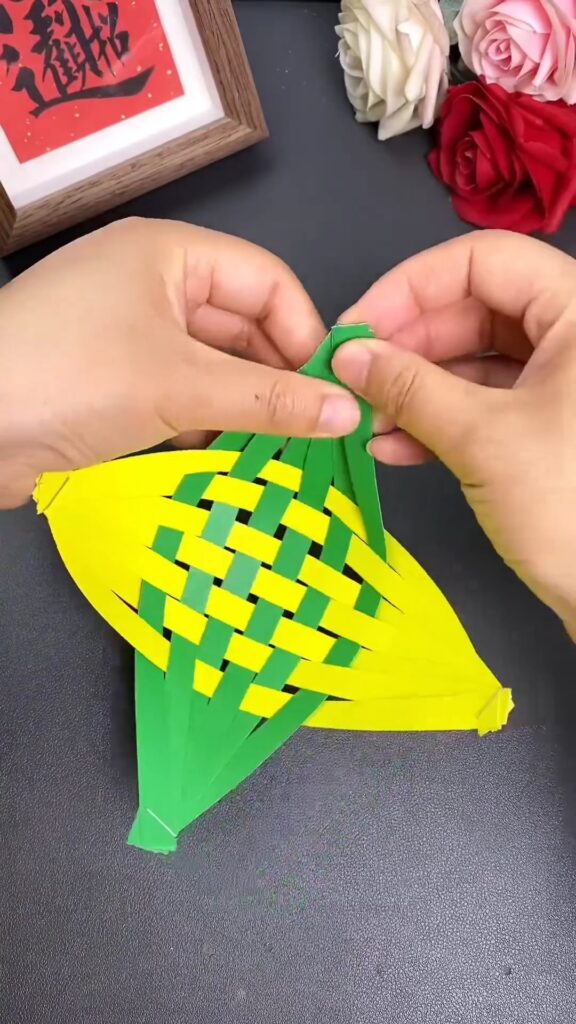
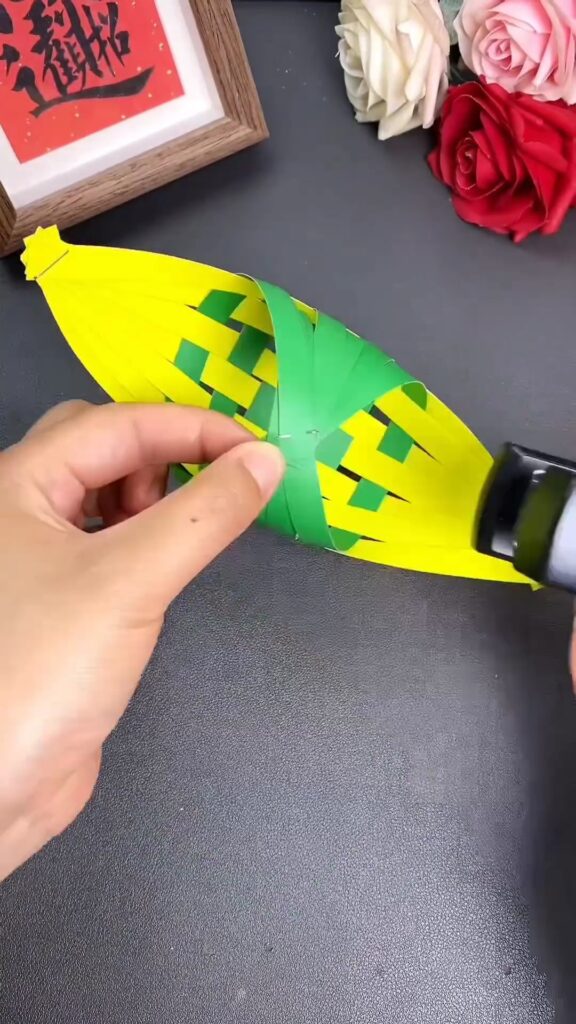
Step 6: Shaping the Boat ⛵
Now it’s time to shape your boat! Fold the ends of the woven paper upwards, creating a boat shape. Secure the ends with glue or another staple if needed.
Image Reference: The sixth frame shows the folded paper forming the shape of a boat.
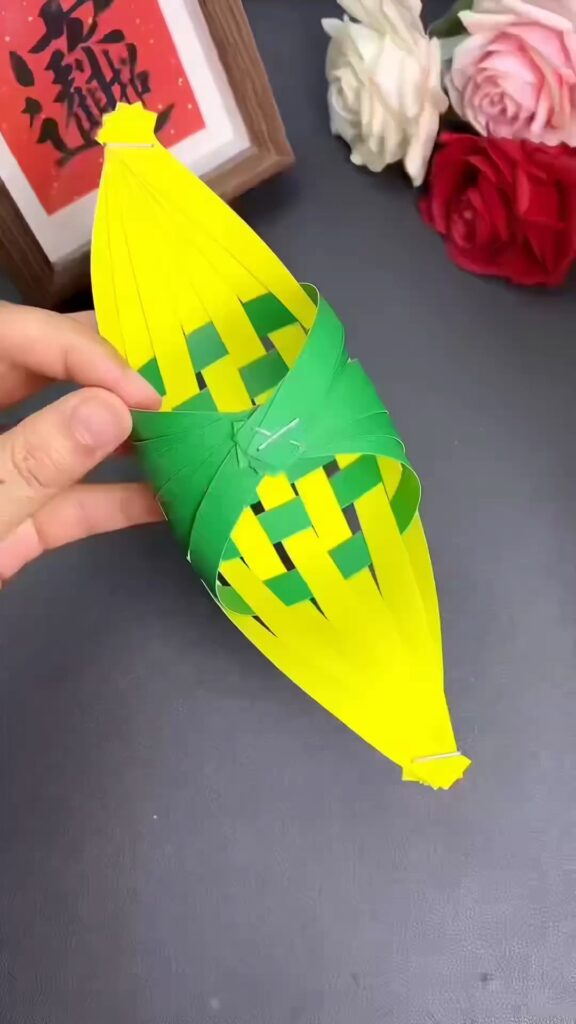
Step 7: Final Adjustments and Fluffing ✂️
Adjust the folds and fluff out the edges to give your boat a fuller appearance. Make sure the boat is symmetrical and stands upright.
Image Reference: The seventh frame shows the boat taking shape with final adjustments.
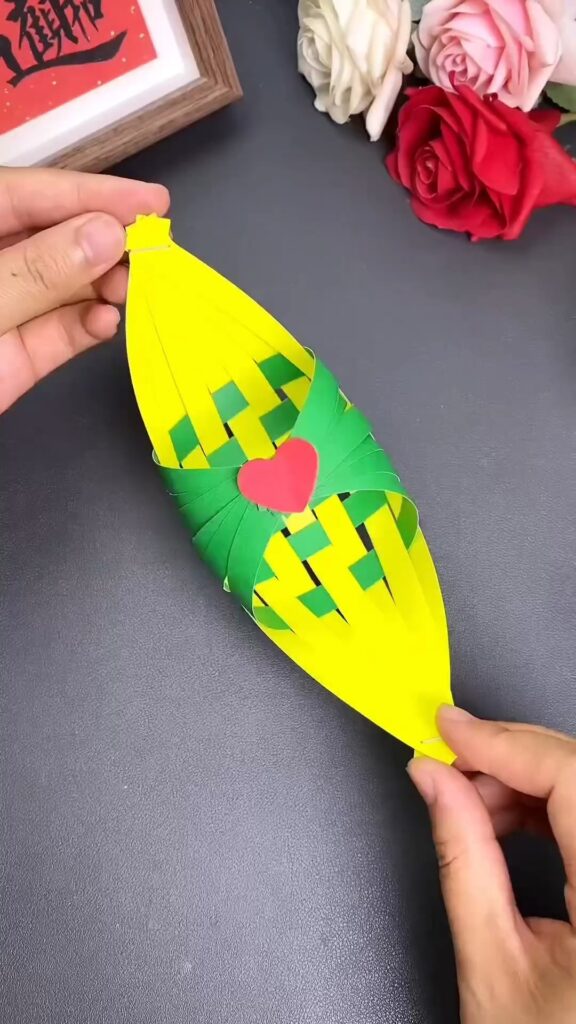
Step 8: Adding the Finishing Touches 🎀
Lastly, add any finishing touches you like! You can draw designs, add stickers, or even personalize it with your name.
Image Reference: The eighth and ninth frames show the finished boat with added details.
Tips for a Perfect Paper Boat
- Be Patient: Take your time while weaving the strips to ensure they are even and tight.
- Experiment with Colors: Try using different colored strips to make your boat more vibrant.
- Personalize It: Add your unique touch with drawings, stickers, or any decorations you like.
And there you have it, your very own DIY paper boat! 🚤 Whether you’re using it as a decoration or a playful craft, it’s sure to bring a smile to your face. Happy crafting! 🌈✨
Want More?
If you enjoyed this tutorial, check out our other DIY craft guides! Subscribe to our newsletter for more fun and creative projects. Let’s keep the creativity sailing, ladies! 🌊🎉
Feel free to comment below with any questions or share your creations with us! We love to see your art!
Leave a Reply