Hey there, crafty queens! 👑 Are you ready to turn your home into a chic, organized space with a touch of handmade magic? Today, we’re diving into a super fun and eco-friendly DIY project: a Multipurpose Hanging Basket. Whether you need a cute planter, a stylish fruit basket, or just some extra storage, this basket has got you covered! Let’s get started! 🌸


What You’ll Need 🛠️
Before we jump into the steps, gather these materials:
- An empty plastic container (preferably a large one like a milk jug)
- A marker
- Scissors
- A utility knife
- A hole puncher
- String or rope
Step-by-Step Guide 📝
Step 1: Prepare Your Container
First things first, take your empty plastic container and remove any labels. Clean it thoroughly to ensure it’s spotless and ready for crafting.
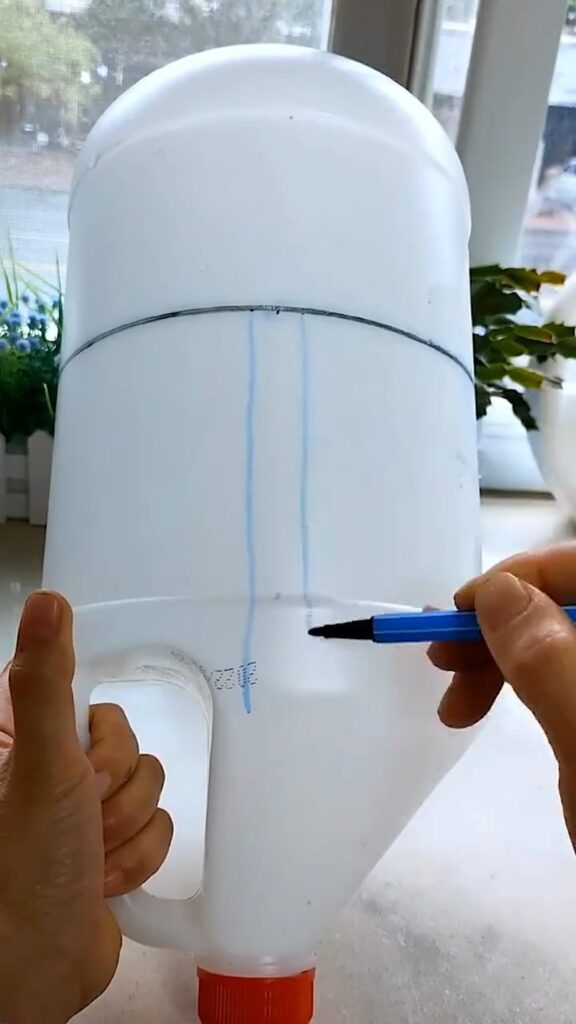
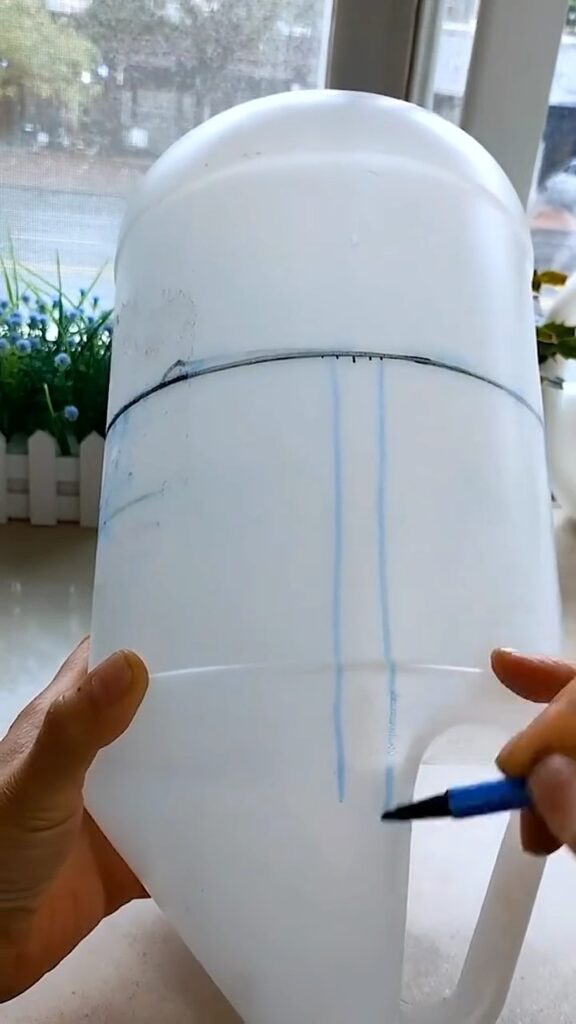
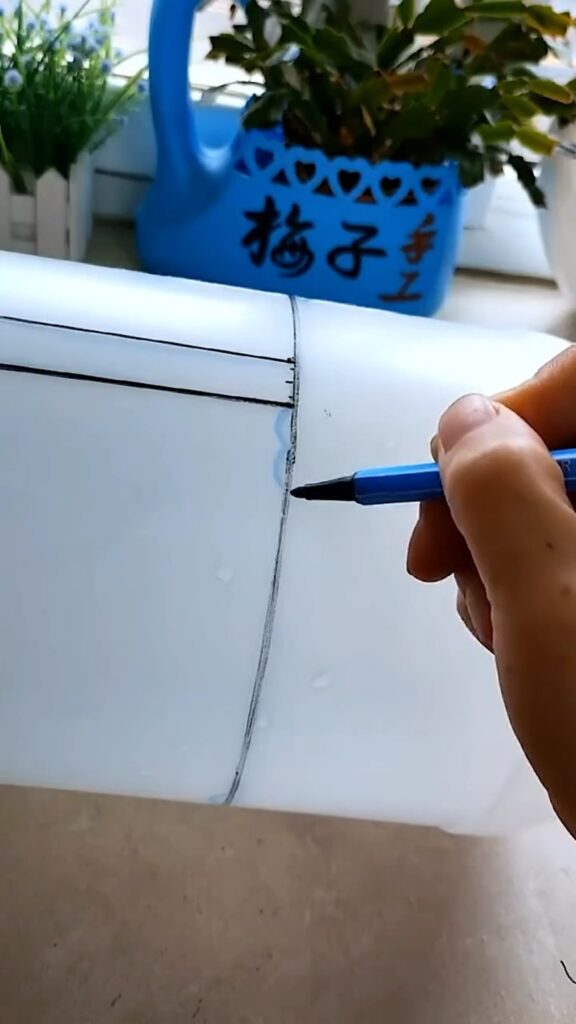
Step 2: Mark Your Cutting Lines
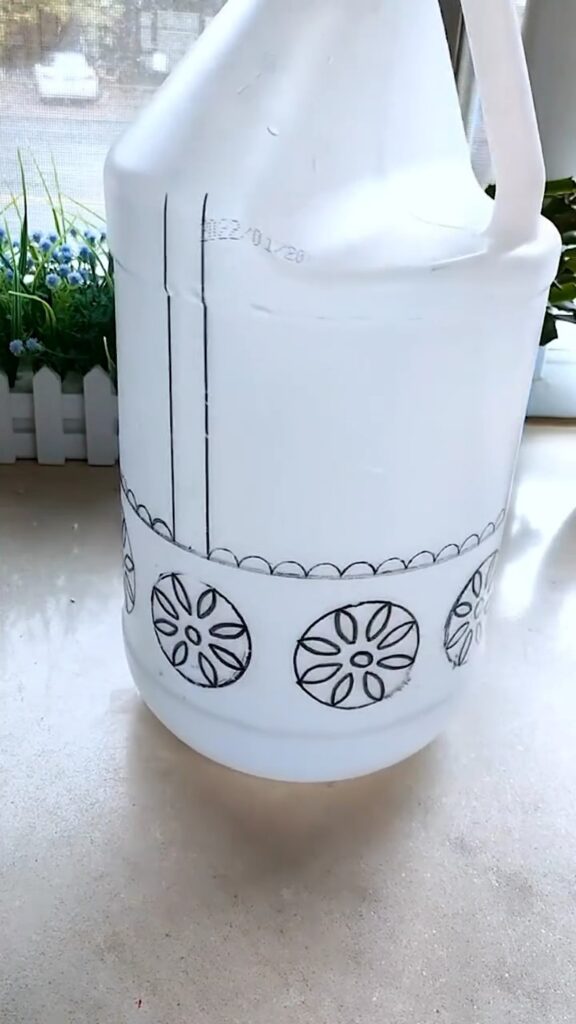
Using a marker, draw horizontal lines around the middle of the container. This will be where you cut to form the base of your basket. Draw a vertical line down one side to create an opening.
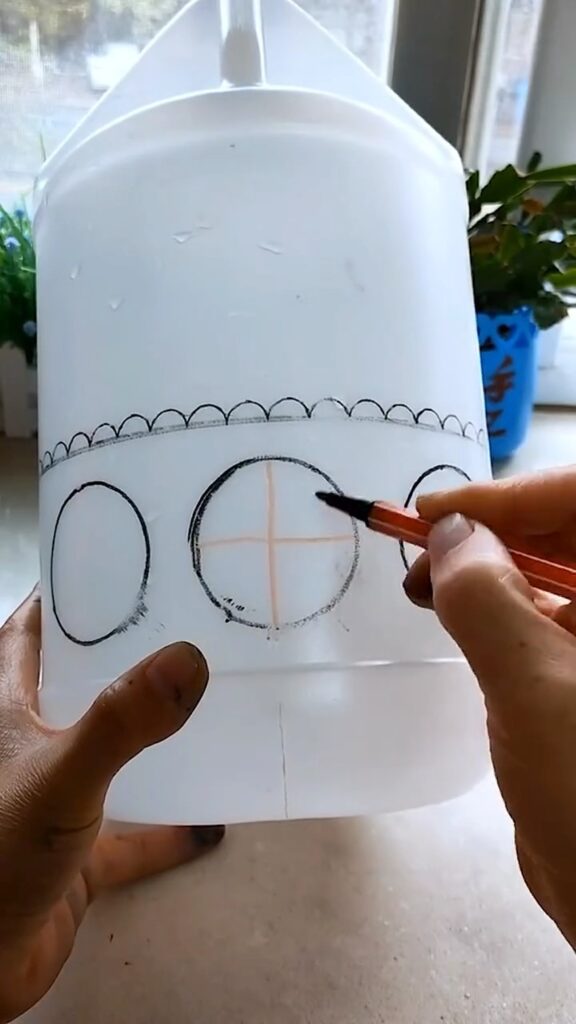
Step 3: Design the Pattern
Next, sketch out a decorative pattern on the bottom half of the container. You can draw circles, flowers, or any design that tickles your fancy! This will add a beautiful touch to your basket.
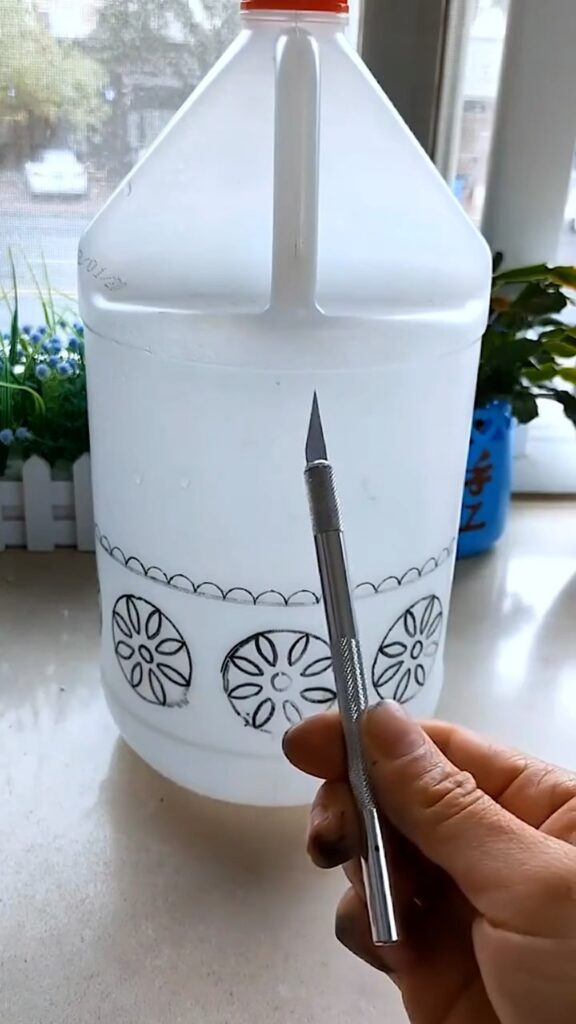
Step 4: Start Cutting
Carefully cut along the lines you’ve drawn using scissors and a utility knife. Begin with the horizontal line to separate the top and bottom of the container. Then, cut out the patterns you’ve drawn. Take your time to ensure clean and precise cuts. ✂️
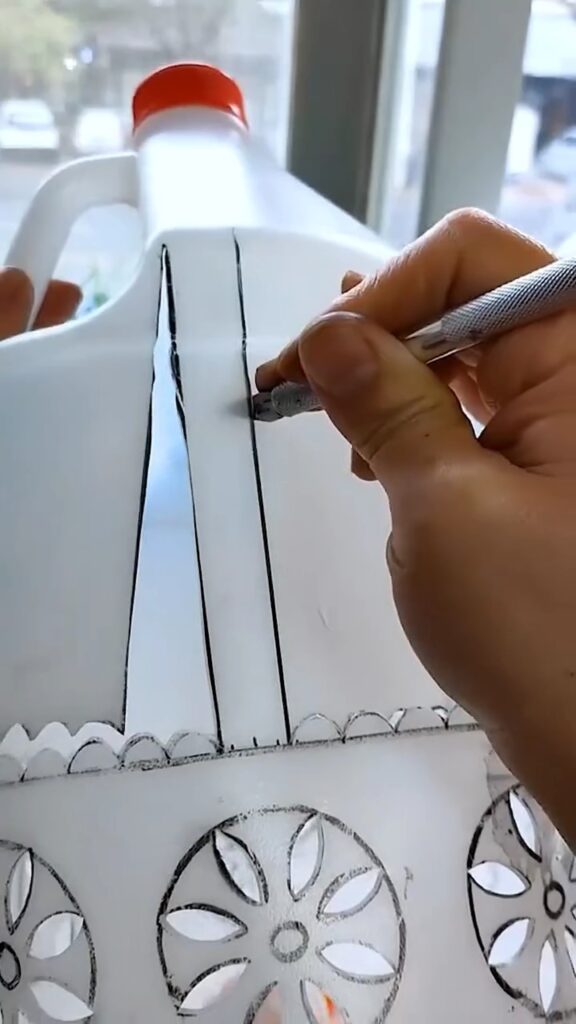
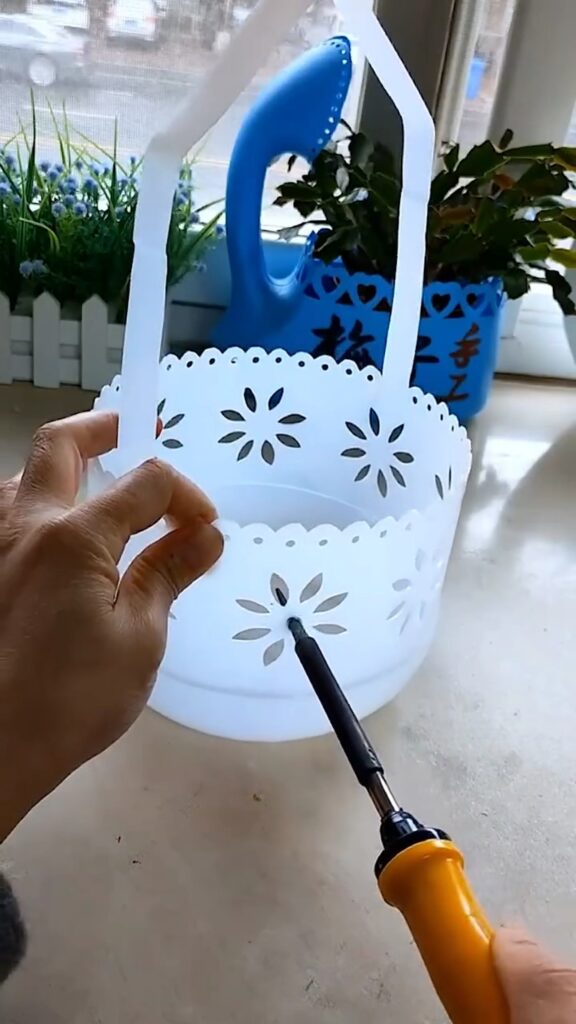
Step 5: Create the Handle
Now, let’s make it functional and stylish! Cut two vertical strips from the top part of the container to form the handle. Ensure the strips are even and sturdy enough to support the basket.
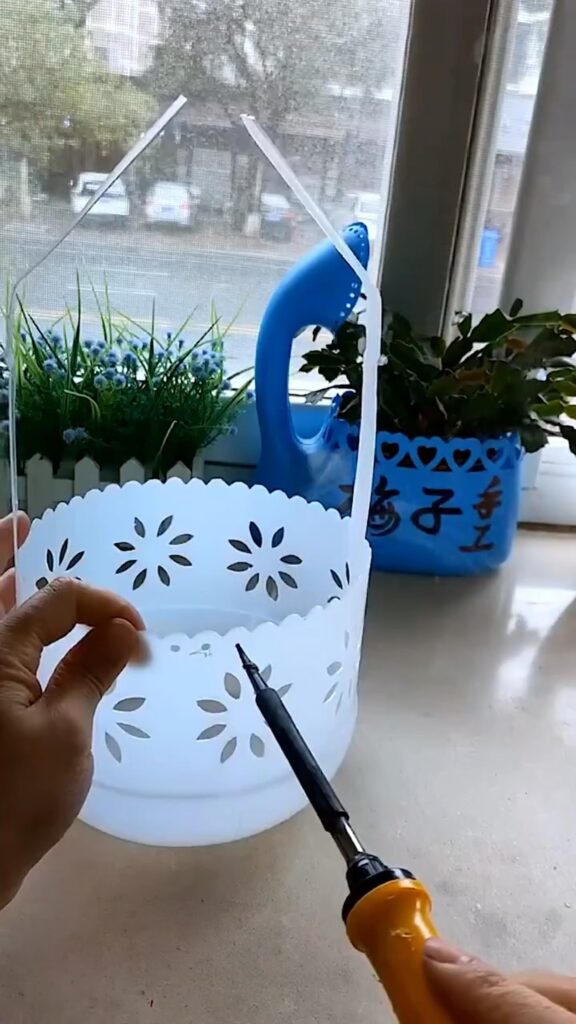
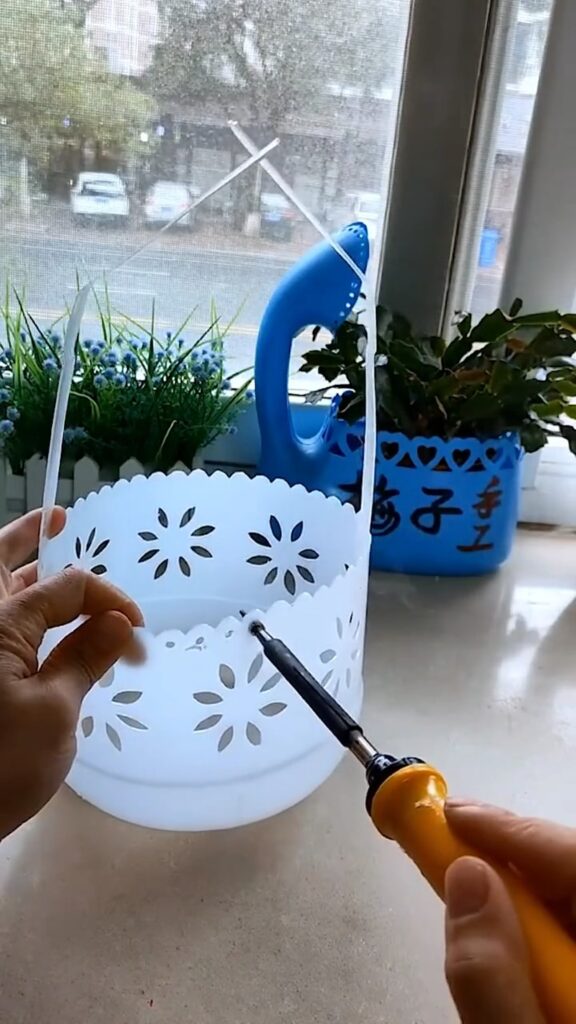
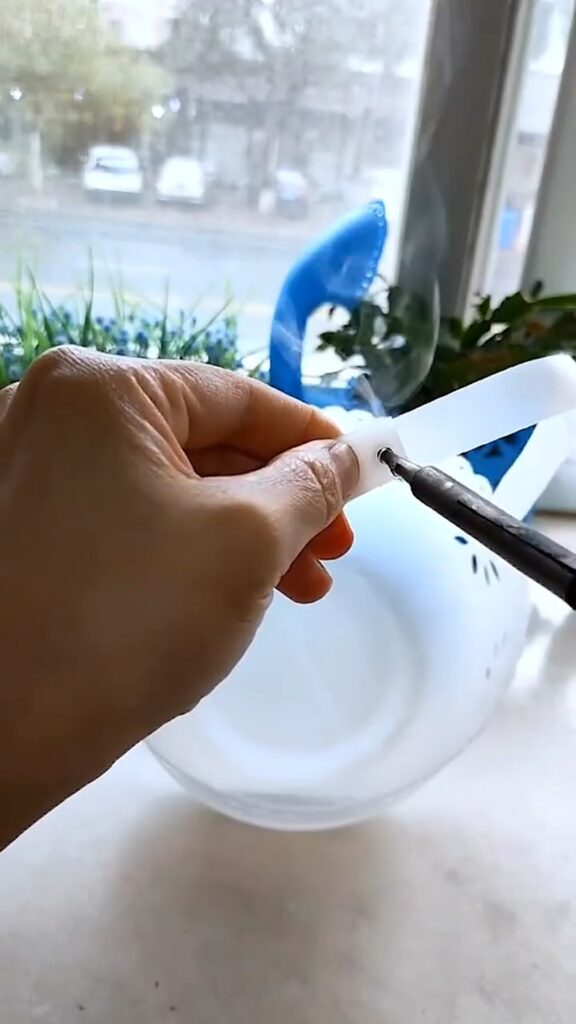
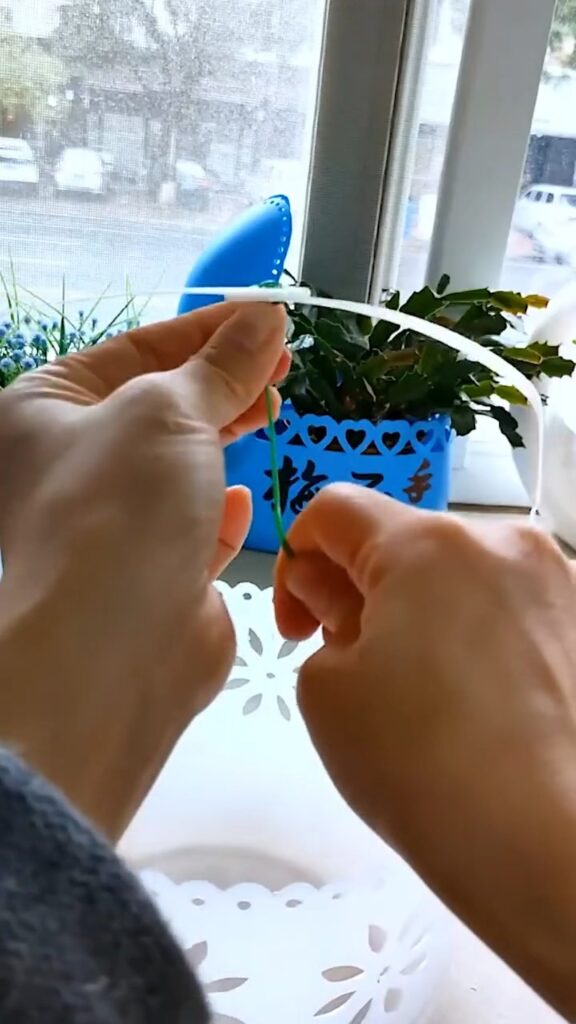
Step 6: Punch Holes
Using a hole puncher, create holes around the top edge of the basket. These holes will be used to thread the string or rope through, allowing you to hang your basket wherever you like.
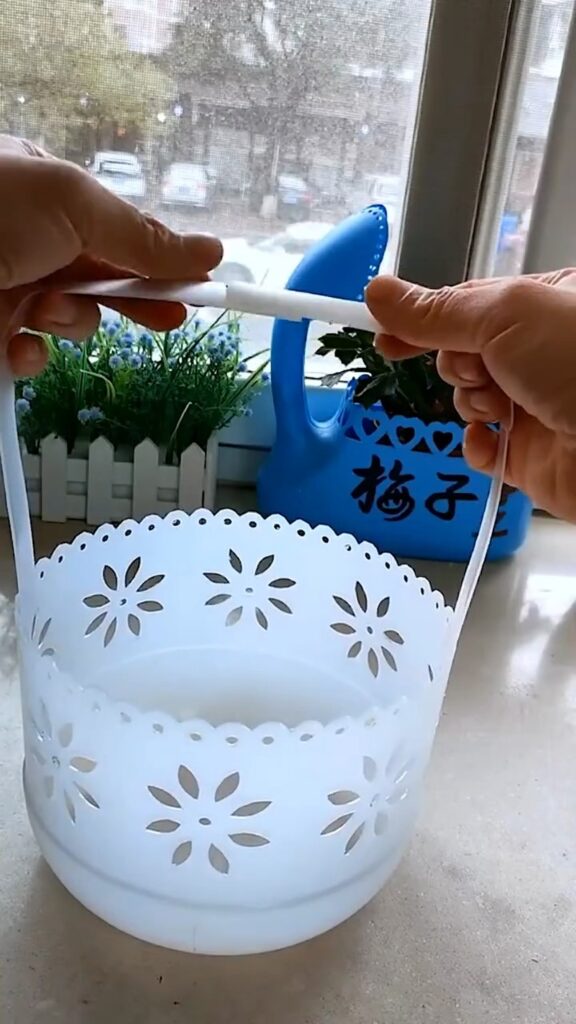
Step 7: Assemble and Decorate
Thread the string or rope through the holes and tie knots to secure it. You can also decorate your basket with paint, ribbons, or stickers to give it a personalized touch. 🎀
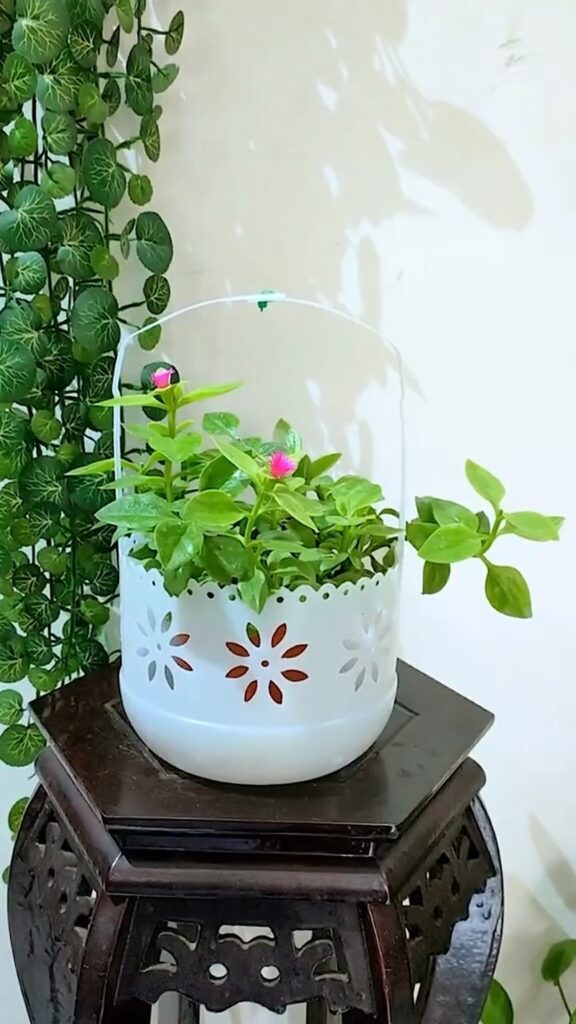
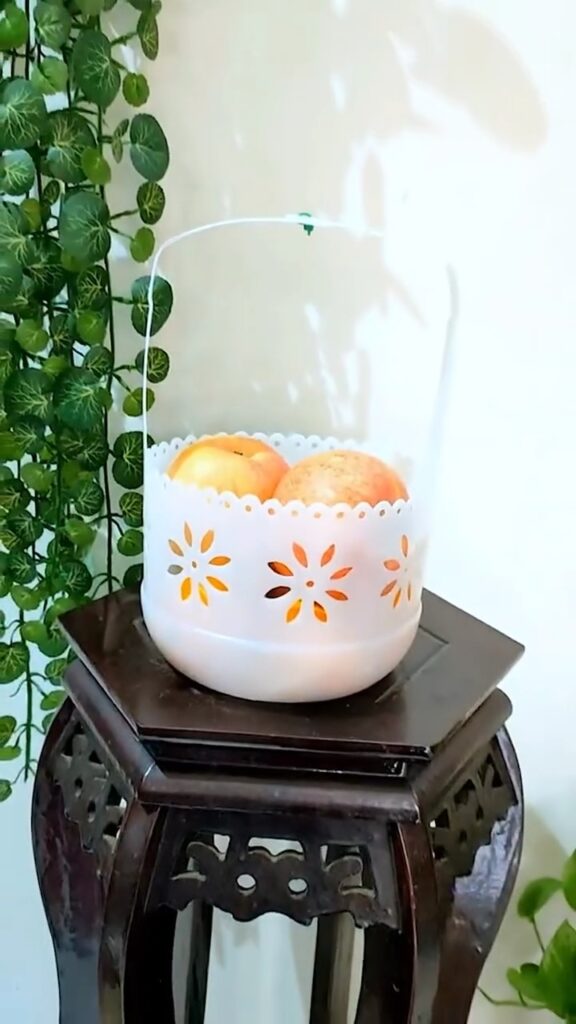
Step 8: Hang and Enjoy!
Find the perfect spot to hang your new basket. It could be in your kitchen for fruits, in the living room with plants, or even in the bathroom for toiletries. Get creative and enjoy your handiwork! 🌟
Tips and Tricks 💡
- Be patient: Cutting plastic can be tricky. Take your time to avoid any mishaps.
- Customize: Don’t be afraid to add your personal flair. Use different colors and patterns to match your home decor.
- Recycle: This project is a great way to recycle old containers and reduce waste.
Conclusion
And there you have it, ladies! A fabulous Multipurpose Hanging Basket made with love and creativity. This DIY project is not only practical but also a wonderful way to add a personal touch to your home decor. So, gather your materials and get crafting! We’d love to see your creations, so don’t forget to share pictures of your beautiful baskets in the comments below. Happy crafting! 🥰


Leave a Reply