Creating your own hair accessories can be a fun and rewarding DIY project. This guide will walk you through the process of making a unique hairband with a floral twist.
Materials Needed
- Four hairbands (two small-sized and two larger-sized)
- Scissors
- Needle and thread
- Decorative stone or pearl
- Additional hairband for the base
Instructions
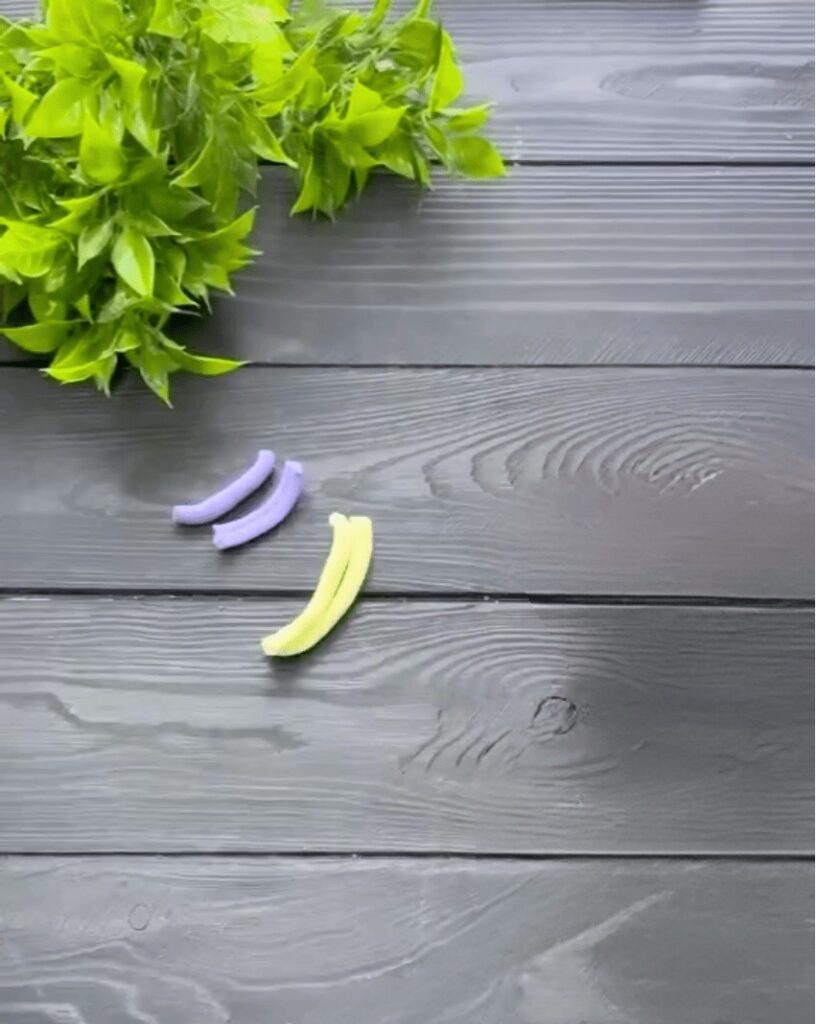
Prepare the Bands
Begin by taking four hairbands—two small and two large. Cut each band into two equal parts using scissors, resulting in four large and four small pieces.
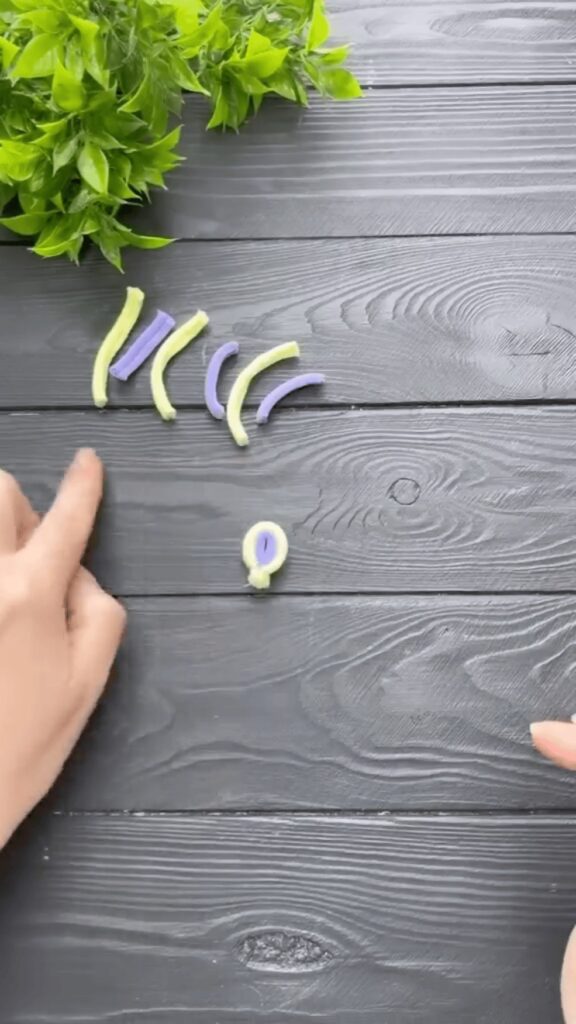
Sewing the Petals
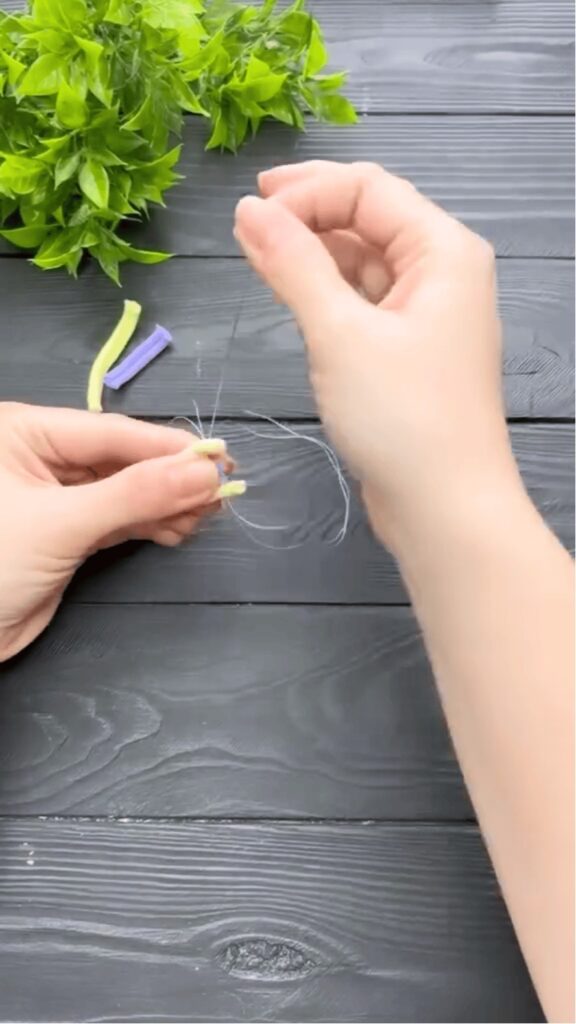
Take one large piece and attach a small piece to it. Sew the ends together to form a petal-like shape. Repeat this step for all the pieces until you have four petals.
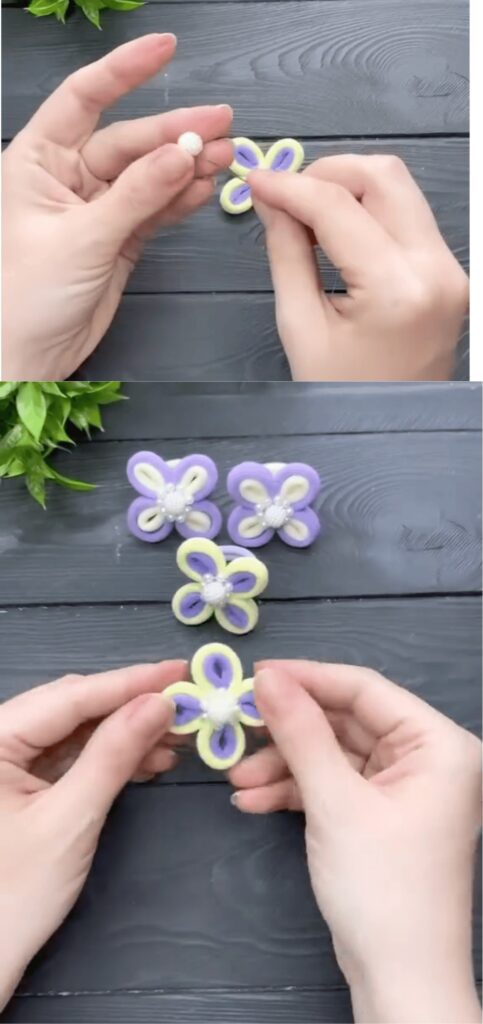
Assembling the Flower
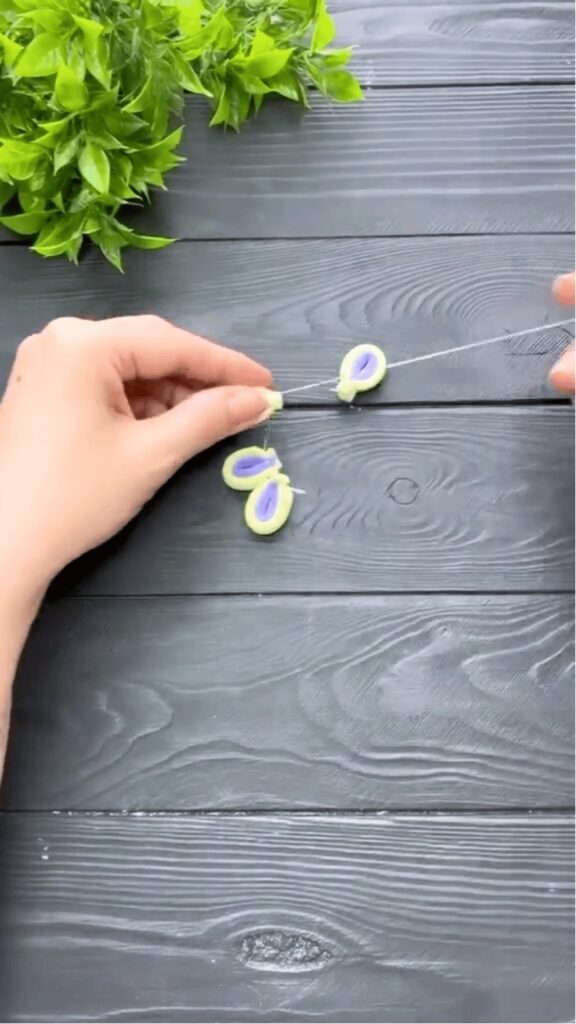
Sew the tip of each petal to one another sequentially, ensuring the ends meet at one point. Once you’ve attached the last petal to the first, a flower-like shape will emerge.

Adding the Centerpiece
At the center of the upper middle section, sew in a decorative stone or pearl to mimic the core of the flower.
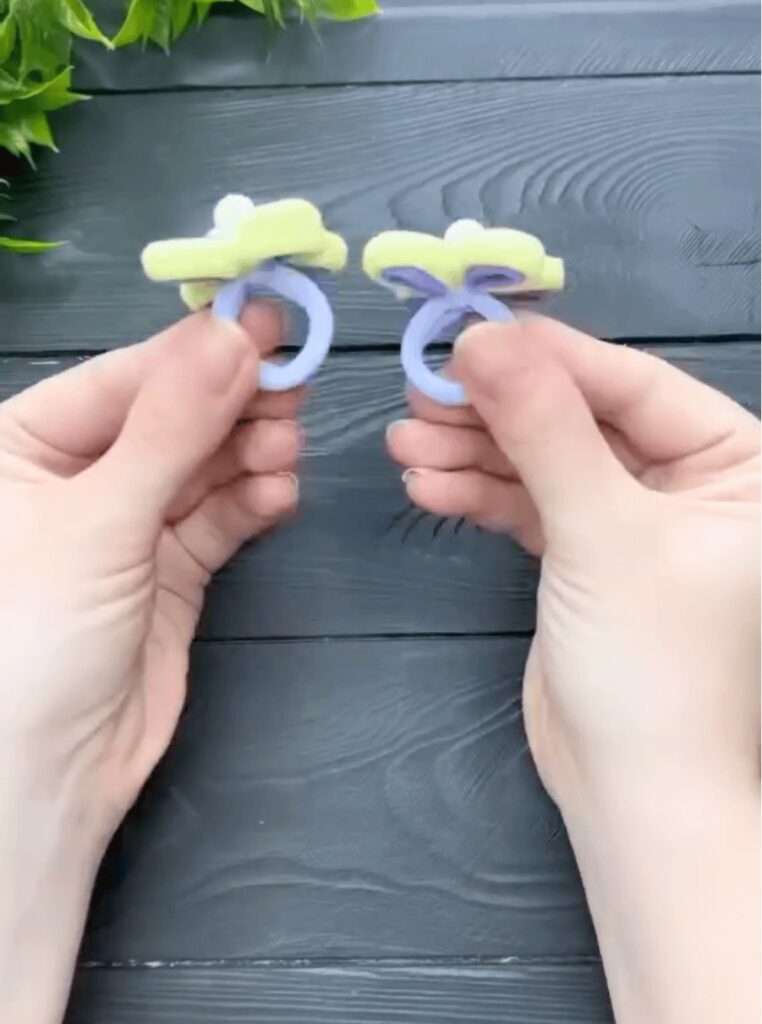
Attaching the Band
Finally, take an additional hairband and sew it to the bottom part of the flower. This band will serve as the actual hairband that will hold the accessory in place.
And there you have it—a charming, handcrafted hairband that’s sure to add a touch of personality to any hairstyle.
Feel free to embellish your hairband further with additional decorations or by using bands of different colors and textures. Enjoy your crafting.
Leave a Reply