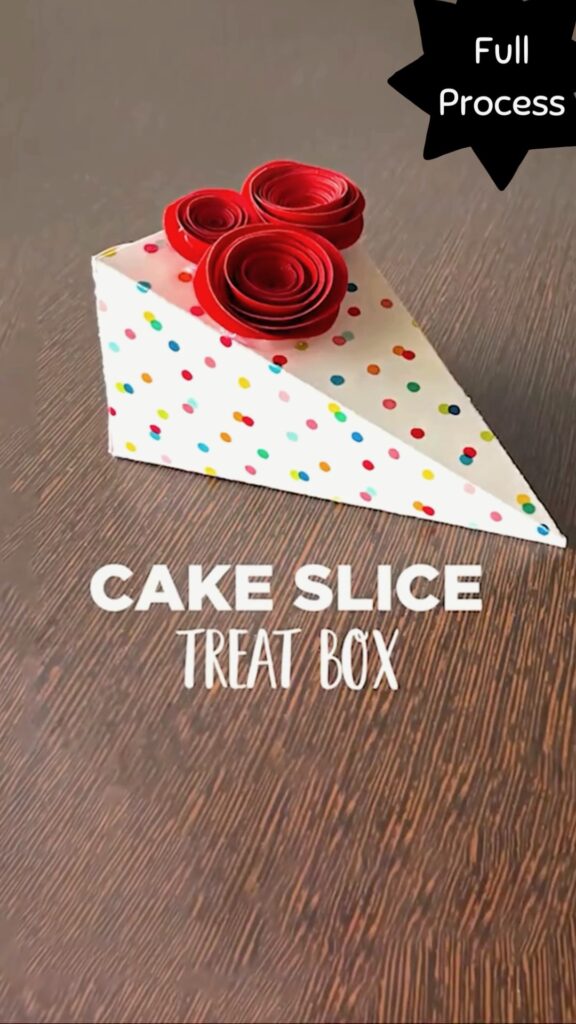
Have you ever found yourself searching for a cute and unique way to gift treats? Whether it’s for a birthday party, a girls’ get-together, or just to make a regular day extra special, I love finding creative ways to package little goodies. Recently, I made these cake slice treat boxes, and I couldn’t wait to share the full process with you all! It’s such a fun craft, and believe me, the end result is totally adorable!
These treat boxes look like a delicious slice of cake 🍰 and can hold a small surprise inside—like candy, tiny gifts, or even a sweet note! It’s a great DIY project for moms, party planners, or anyone who just loves crafting cute things (like me 😉). Let’s get started!
Materials You’ll Need 📋
Before we jump into the steps, here’s a quick list of what you’ll need:
- Decorative craft paper (preferably a pattern with dots or something playful)
- Plain cardstock (for the inner support and structure)
- Glue stick or craft glue
- Scissors
- Pencil and ruler for accurate markings
- Small treats (candies, chocolates, or even little notes to put inside)
- Red quilling paper (for the cute “roses” on top of the cake slice)
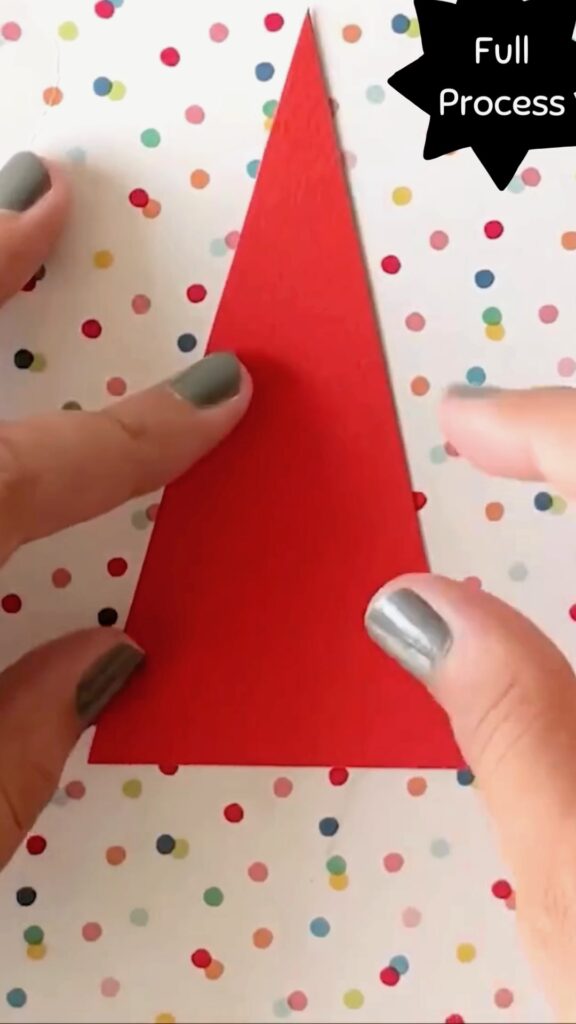
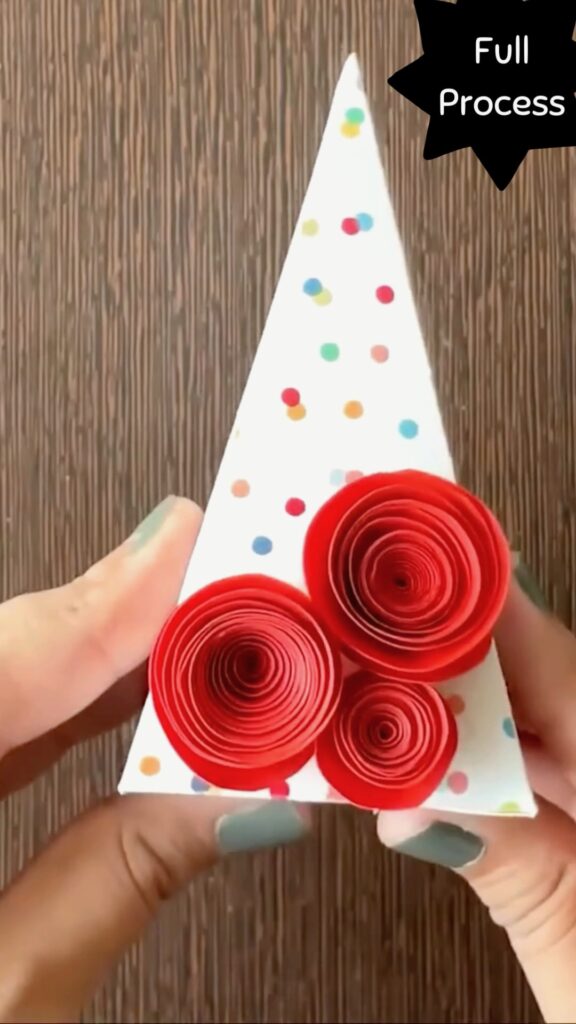
Step 1: Creating the Cake Slice Base
I always get excited at this part—it’s where the magic begins! Start by selecting your patterned paper (the one with those cute colorful dots really speaks to me). Measure and mark out a triangle on the paper, making sure it’s big enough to fold into a box that can hold a few treats. Cut it out carefully. ✂️
Next, fold the triangle in half, making a clear crease along the line. This will form the main shape of the cake slice box.
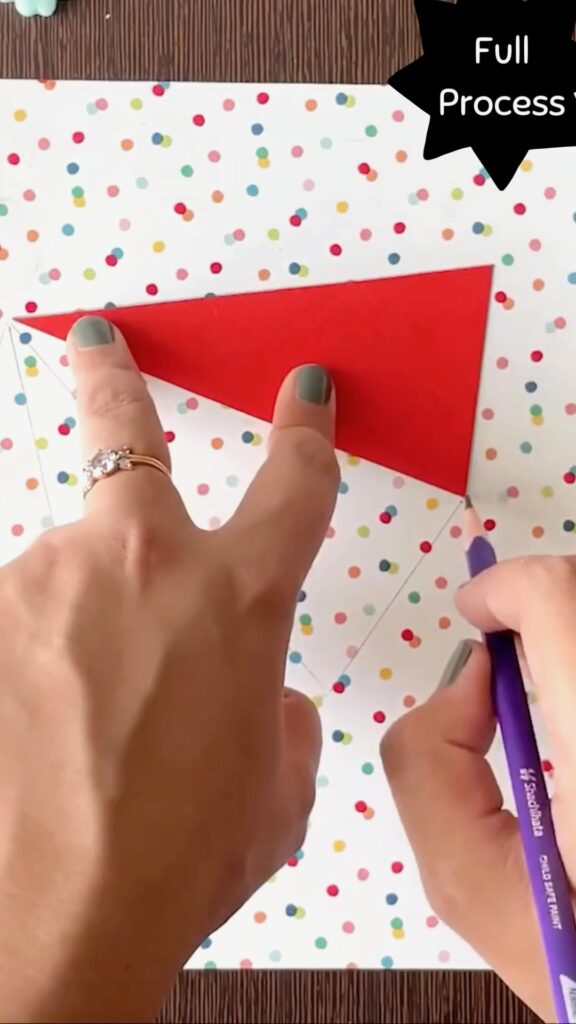
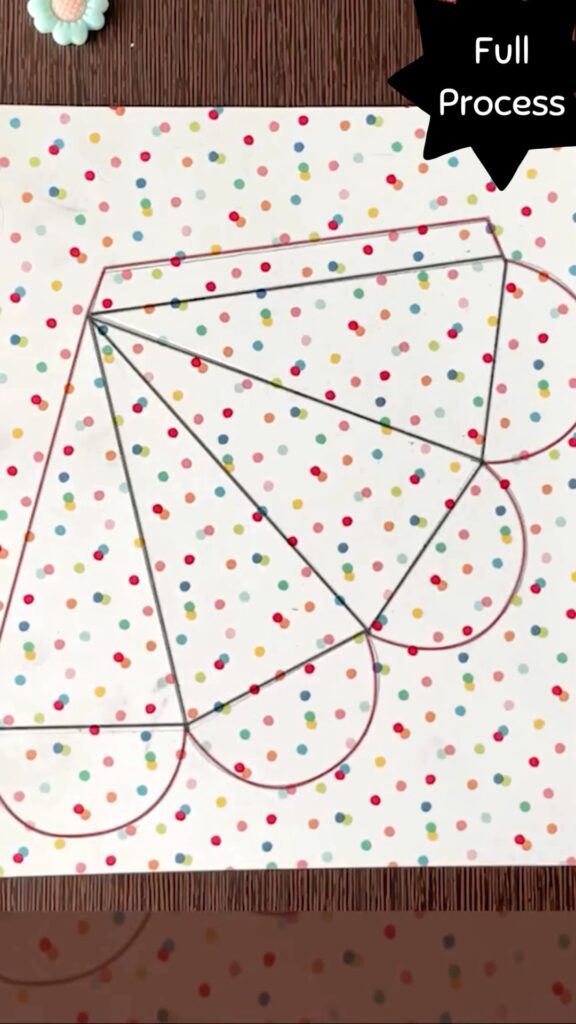
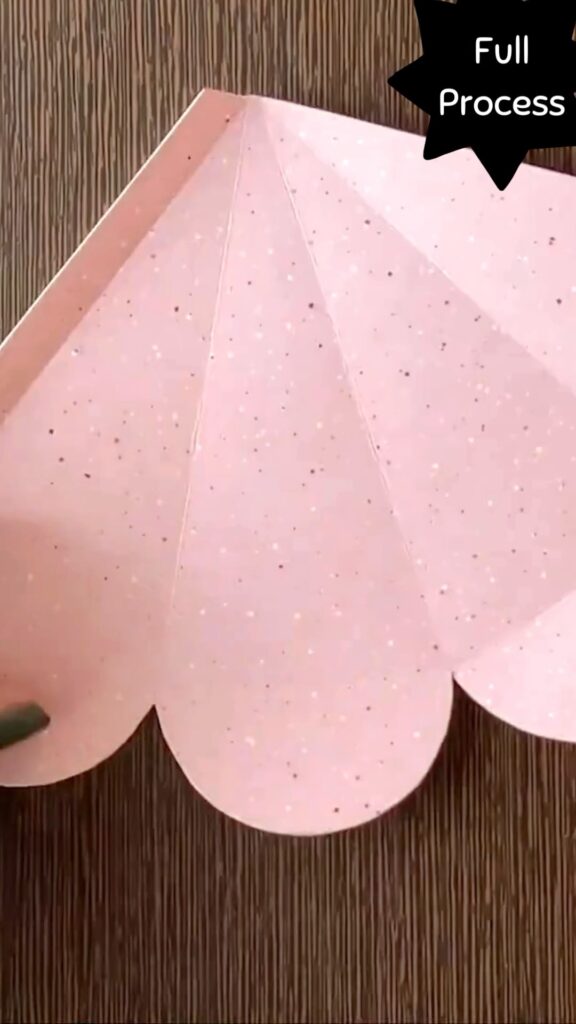
Step 2: Drawing the Scalloped Edge 🖍️
Using a pencil, lightly trace the scalloped edge design along one side of the triangle. If you’re like me and struggle with free-hand drawing, don’t worry—using a round object to trace those curves will make it easier! Once your scallops are drawn, cut along the edges smoothly. This scalloped part will create the base of the cake that opens and closes like a charming surprise.
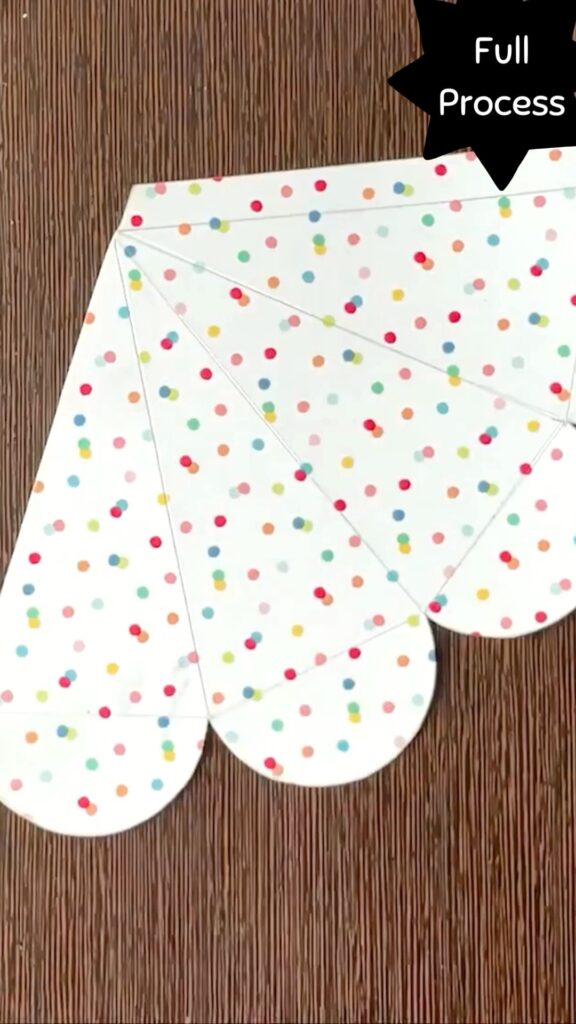
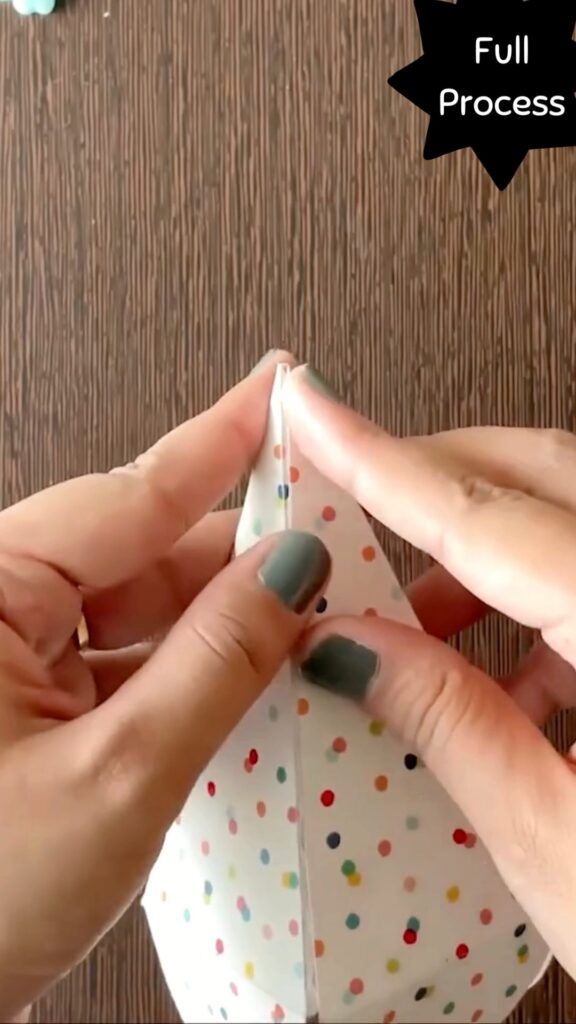
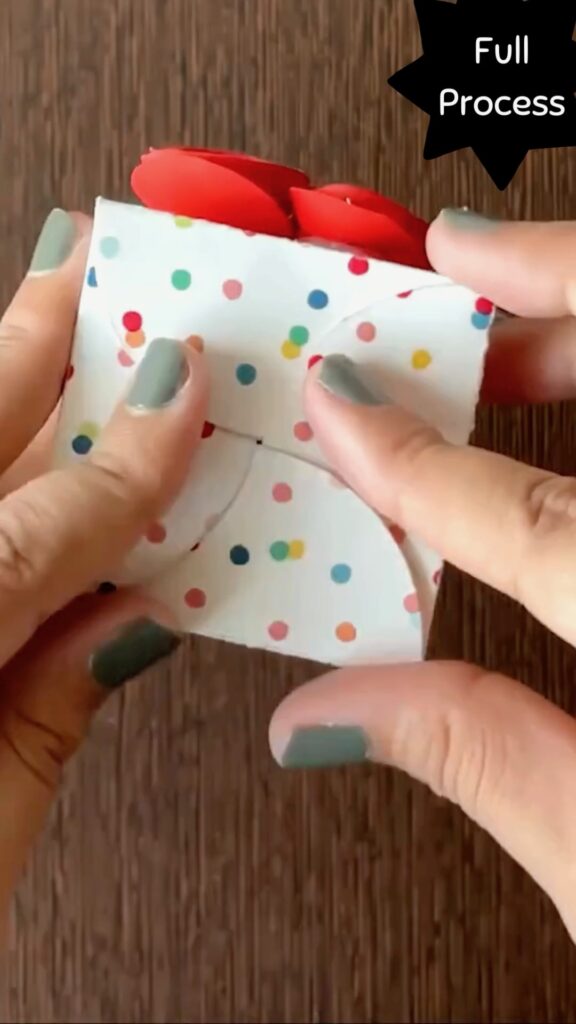
Step 3: Folding to Shape the Box
Now comes the satisfying part: folding it all into place! Gently fold along the lines to bring the triangle together into a 3D shape. As you fold, use your glue to secure the edges, ensuring the base is firm enough to hold your treats later.
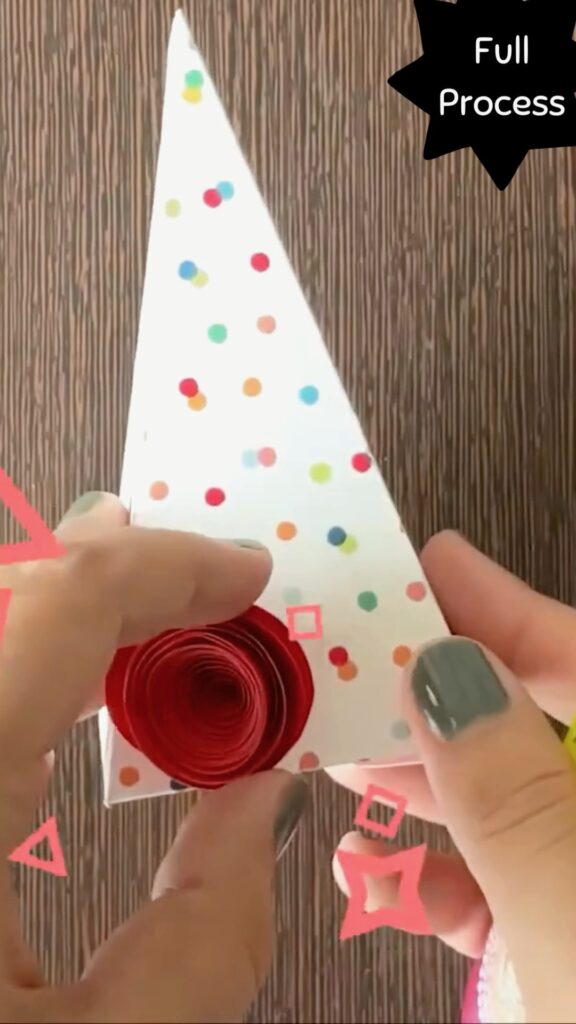
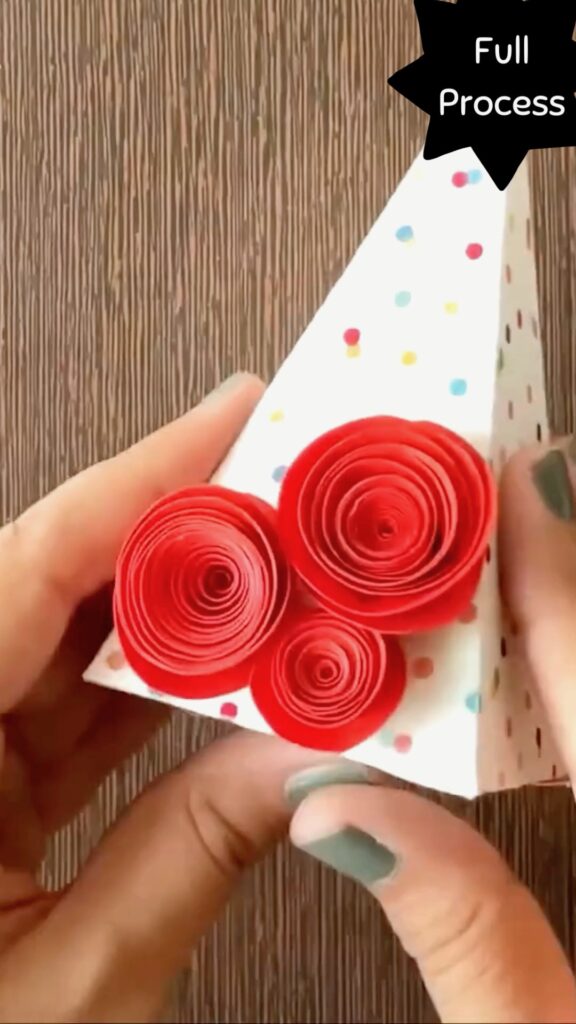
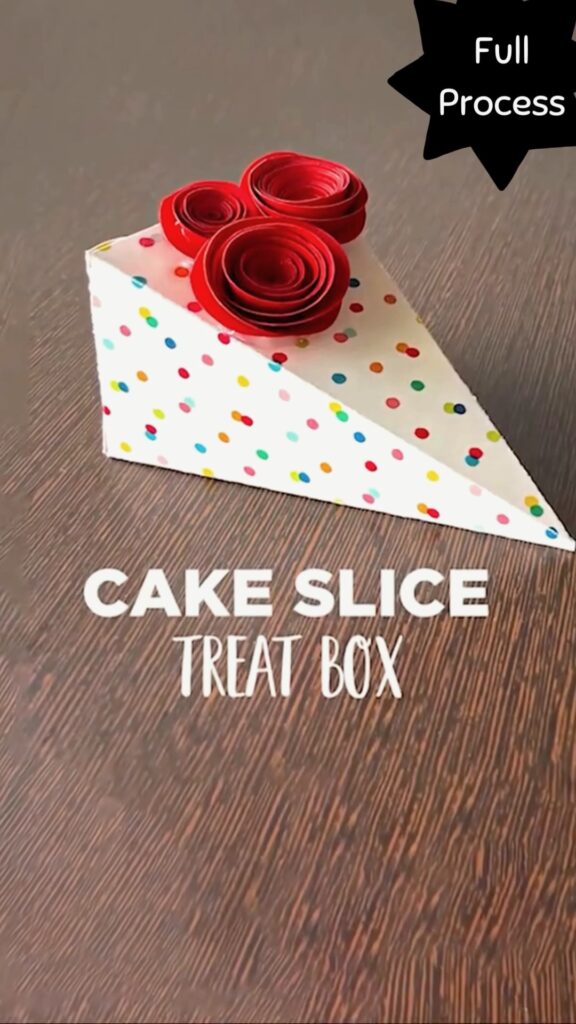
Step 4: Adding the Cake “Icing” and Toppings 🍥
This step is all about decorating! Take a few pieces of red quilling paper and start rolling them into tight spirals. These will become the roses that go on top of your cake slice. I absolutely LOVE this part because it’s like watching something simple transform into something delicate and beautiful. 💖 Once you have a few roses ready, glue them to the top corner of your cake slice box to mimic icing and give it that fun, crafty flair.
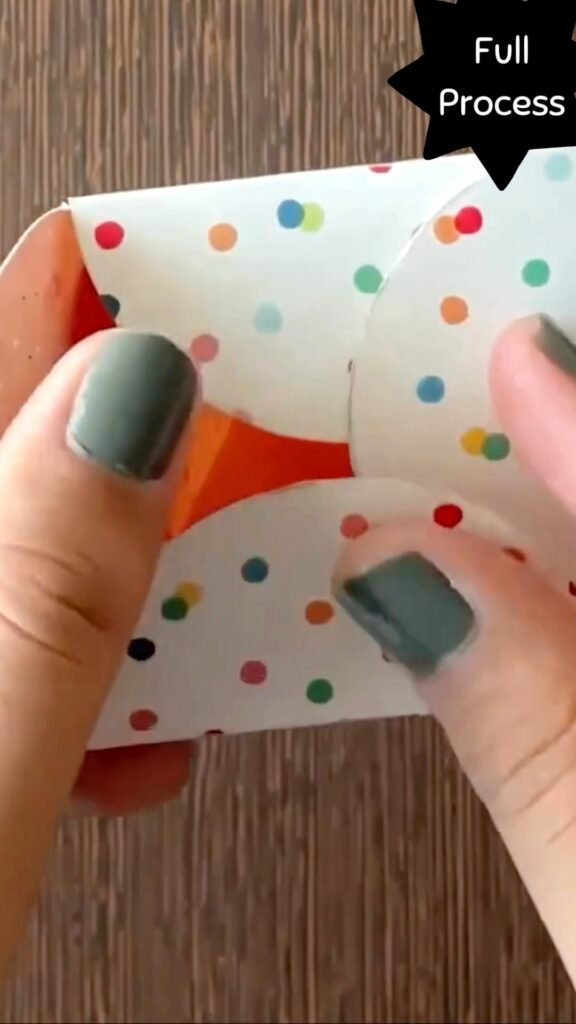
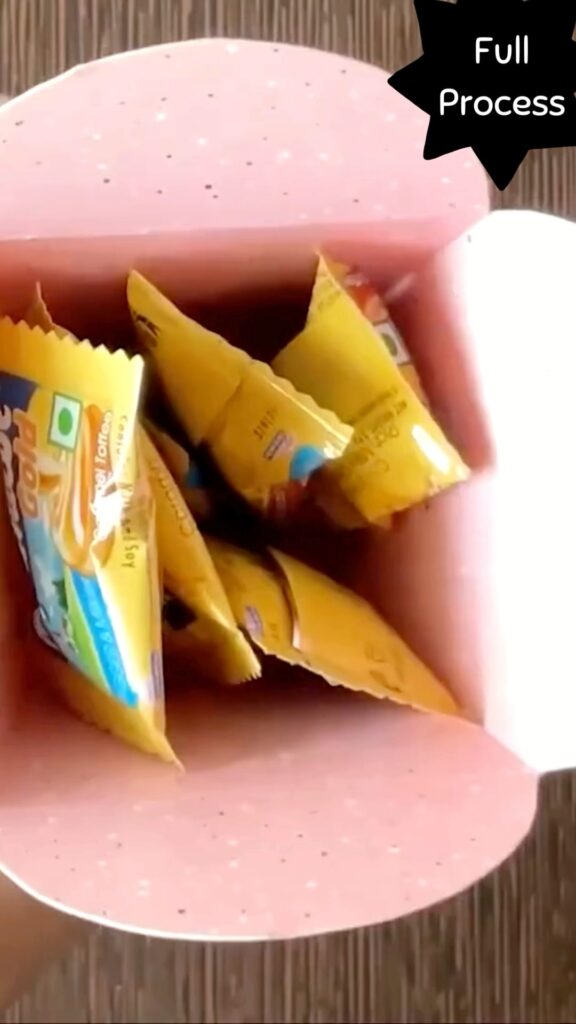
Step 5: Assembling the Box with Love 💕
Before you close the treat box, don’t forget to pop in your goodies! I like to add a mixture of small candies and a personal note, just to make it extra special. You could even add tiny toys or a little trinket depending on who it’s for. Once the inside is filled, fold over the scalloped edge, and there you go—a perfect little treat box ready to surprise someone!
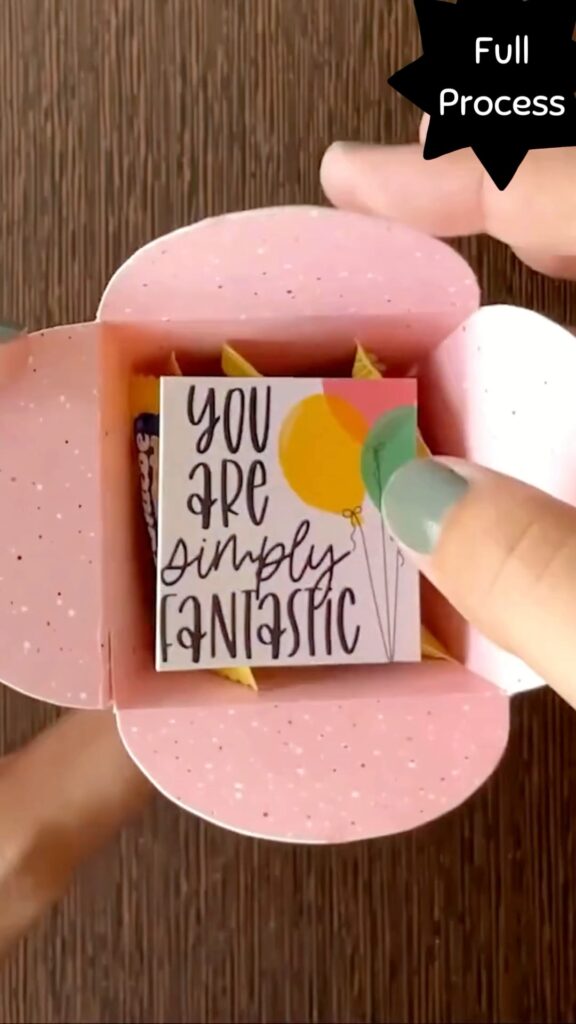
Step 6: The Final Touch: Personalization 🎀
I always add a personal touch to my crafts. For these cake slice boxes, adding a small tag that says something cute like, “You are super fantastic!” adds that final wow factor! You can attach a ribbon, a little sticker, or whatever makes it yours.
Why I Love Making These Treat Boxes 🎨
As a mom and a lover of all things crafty, finding simple and sweet DIY projects like this is my happy place. It’s not just about the end result, but the process itself—crafting brings me joy, and it’s something I love doing with my little ones on the weekend. These cake slice boxes are perfect for any occasion, and the best part? They’re customizable! Whether you need them for a birthday party, a small gathering, or just to make someone’s day a little brighter, they fit the bill.
Tips for a Perfect Cake Slice Box
- Use sturdy paper: It helps the box hold its shape.
- Personalize it! Add a handwritten note or a small gift inside for an extra thoughtful touch.
- Experiment with colors and designs: You can create different cake slice “flavors” by using various patterned papers!
Summary Table:
| Item | Details |
|---|---|
| Difficulty Level | Easy to moderate |
| Time | 20-30 minutes |
| Materials | Craft paper, cardstock, scissors, glue, quilling paper, ruler, pencil |
| Occasion | Perfect for birthdays, celebrations, or just a little surprise! |
| Personal Touch | Add a sweet message or a treat inside for an extra special touch! |
People Also Asked:
Q: What size should the cake slice box be?
A: The size can vary depending on your needs, but generally, a triangle with a base of around 6 inches works well for a small treat box.
Q: Can I use different paper designs?
A: Absolutely! Have fun with it! You can use polka dots, stripes, or even glitter paper to give your cake slice box a different “flavor.”
Q: What else can I put inside the treat box?
A: Tiny candies, a personal note, small toys, or even small jewelry would be perfect!

Leave a Reply