Are you ready to dive into a fun and colorful DIY project? Let’s make these adorable paper fish that are not only easy to create but also a fantastic way to add a splash of color to any room or event! Whether you’re looking to decorate a child’s bedroom or planning a sea-themed party, these paper fish are a perfect choice. 🎨✨
What You’ll Need 🛠️
- Colorful Paper Sheets (Pick your favorite shades!)
- Scissors ✂️
- Glue 🧴
- Googly Eyes 👀 (optional but oh-so-cute!)
- A Marker (for additional details)
Step-by-Step Instructions 🐟
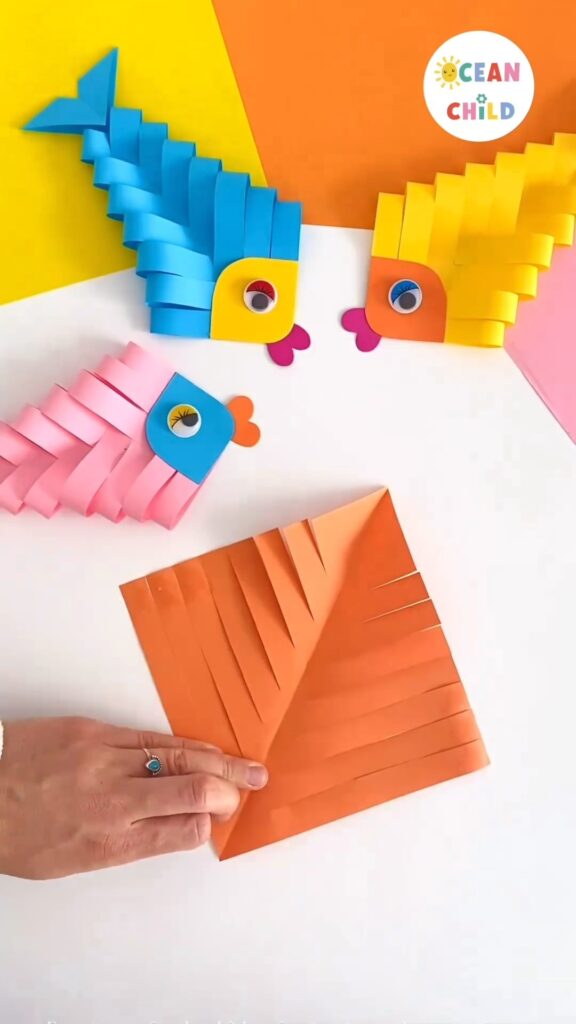
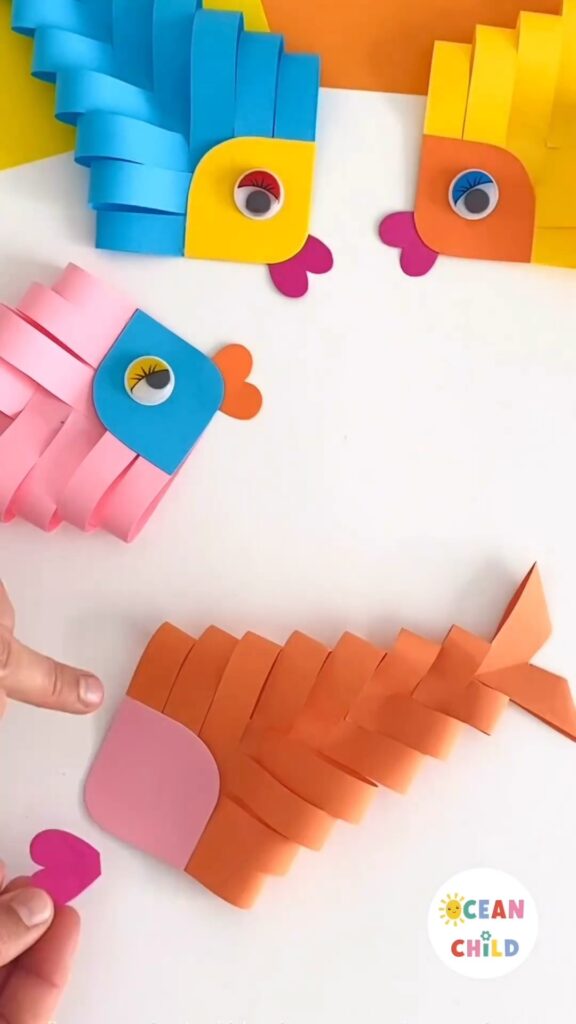
Step 1: Preparing the Paper Strips
Start by selecting a vibrant sheet of paper. This will be the body of your fish. Fold the paper in half and use your scissors to cut evenly spaced strips along the folded edge, leaving about an inch uncut at the top. This part is crucial as it gives the fish its beautiful layered look!
Pro Tip: Don’t worry about being too precise with your cuts. The slight variations add to the charm of the fish!
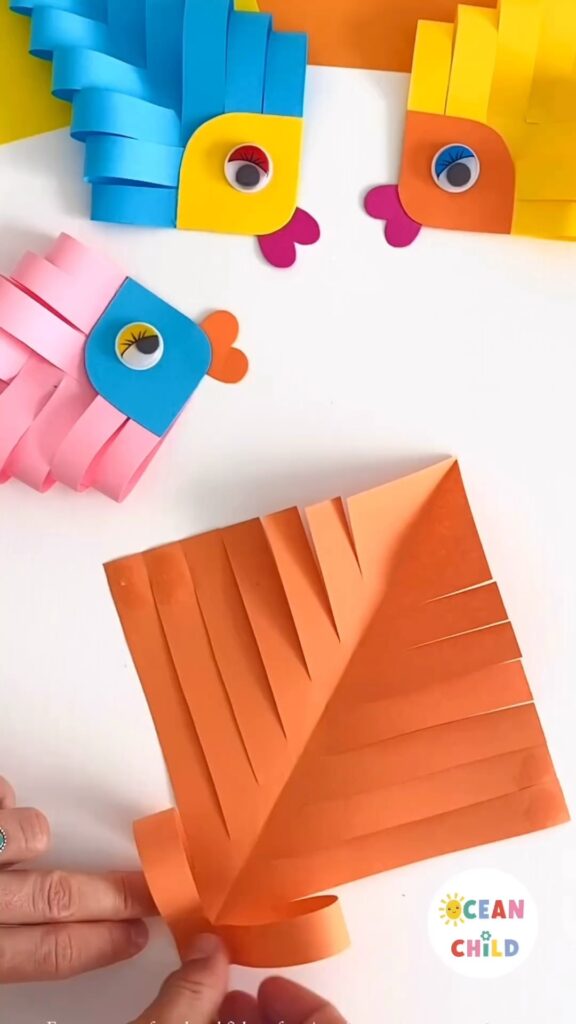
Step 2: Forming the Fish Body 🐠
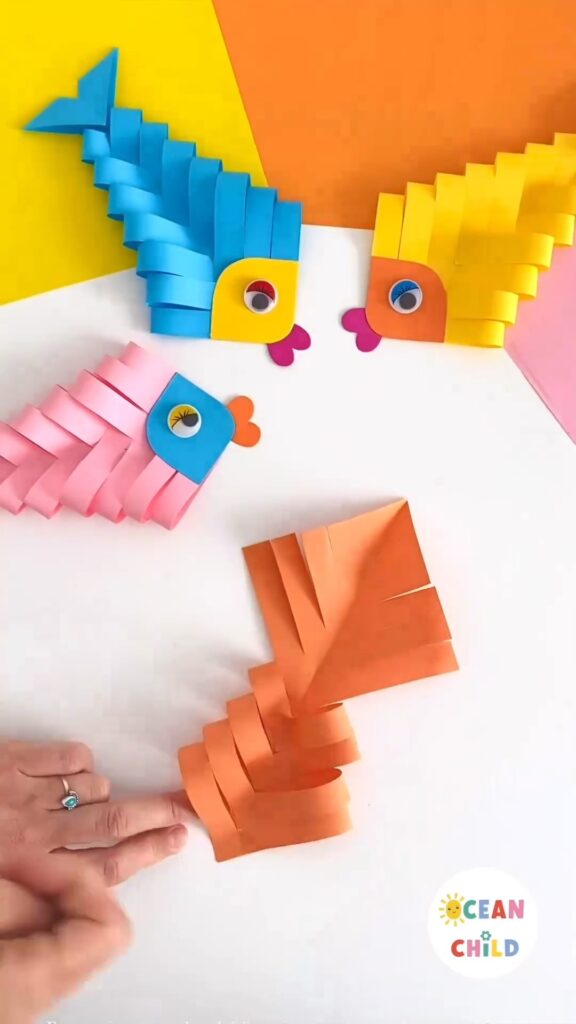
Unfold the paper and start rolling it from one corner to the opposite side. You’ll notice how the strips begin to overlap, creating that fabulous fish scale effect. Secure the end with a dab of glue to keep everything in place.
Why This Works: The overlapping strips mimic the natural scales of a fish, making it look more realistic and textured.
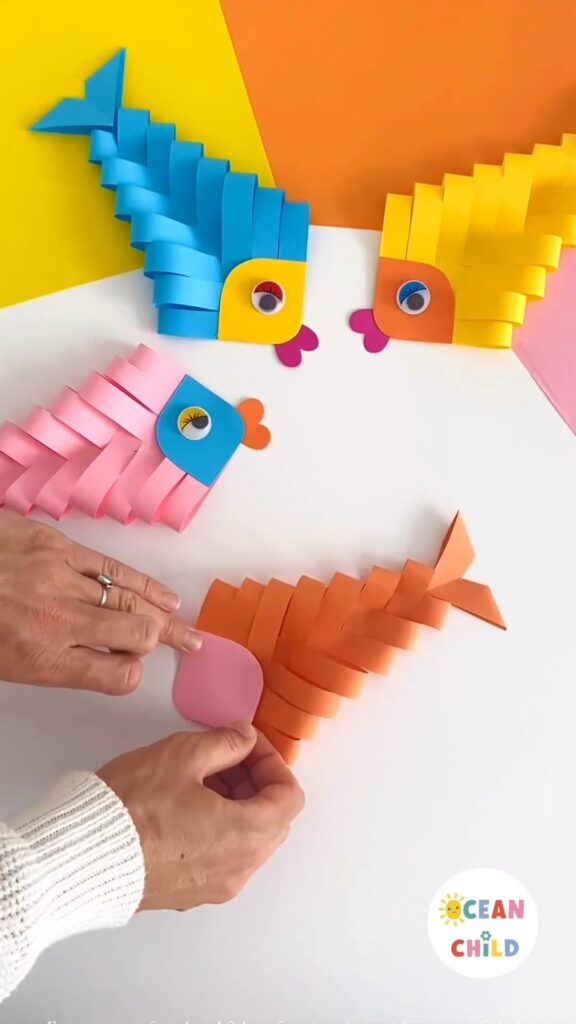
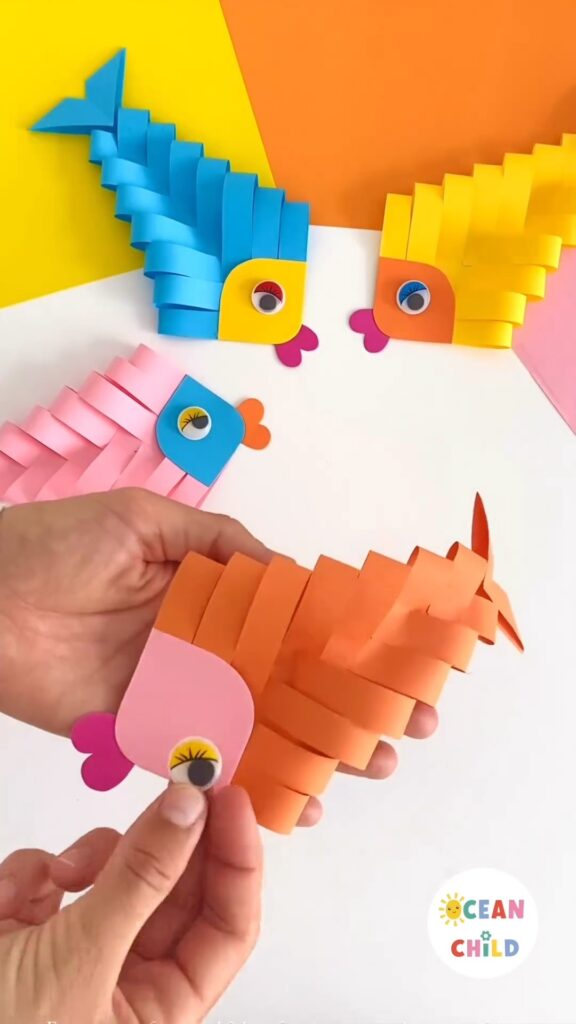
Step 3: Crafting the Fish Head
Now, grab another piece of paper in a contrasting color and cut out a small oval shape for the fish’s head. Glue this to the narrower end of the fish body. Add a googly eye for a cute, playful touch, and draw a little smile if you’re feeling creative! 😊
Make it Personal: Experiment with different head shapes or add other fun details like fins or patterns!
Step 4: Adding the Final Touches 🎀
Lastly, cut out a small fin shape and glue it to the opposite end of the fish. This will serve as the tail. Feel free to add any extra embellishments like glitter, stickers, or markers to give your fish a bit more personality.
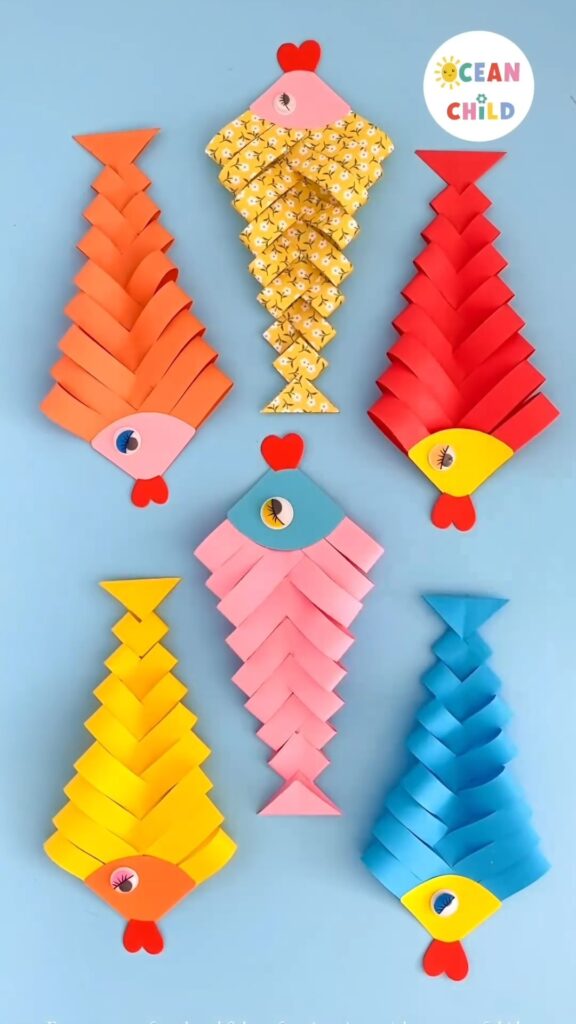
And voila! You now have a beautiful paper fish that’s ready to swim into any decorative scene you have in mind!
Display Ideas 🌈
These paper fish look amazing hung up as a garland, scattered across a table as centerpieces, or even framed in a shadow box. You can mix and match different colors and sizes to create a whole school of fish that’s uniquely yours.
Conclusion
This DIY paper fish project is a fabulous way to flex your creative muscles while also crafting something delightful. It’s perfect for kids, adults, and anyone in between who enjoys a bit of hands-on fun. Plus, these little guys are just too cute to resist! 🥰
So, gather your supplies, and let’s make some waves with these DIY paper fish! 🌊
Leave a Reply