Creating a serene village landscape with watercolors is one of the most peaceful and fulfilling activities. This guide will walk you through the steps to create your very own beautiful village scene, perfect for a quiet afternoon of creativity. If you’re anything like me, painting is a way to escape into a tranquil world where worries melt away—just like the gentle flow of watercolors on paper. Let’s dive in together and create something truly special!

🖌️ Materials You’ll Need 🖌️
Before we get started, gather the following materials:
- Watercolor paper (preferably 300gsm for better water absorption)
- Watercolor paints (a basic set will do, but make sure you have greens, blues, browns, and yellows)
- Paintbrushes (medium flat brush and small round brush for details)
- Masking tape (to secure your paper and create clean edges)
- Pencil and eraser (for sketching the basic outline)
- Water jar and palette (for mixing colors)
- Paper towels (for blotting and correcting mistakes)
Step 1: Preparing Your Workspace
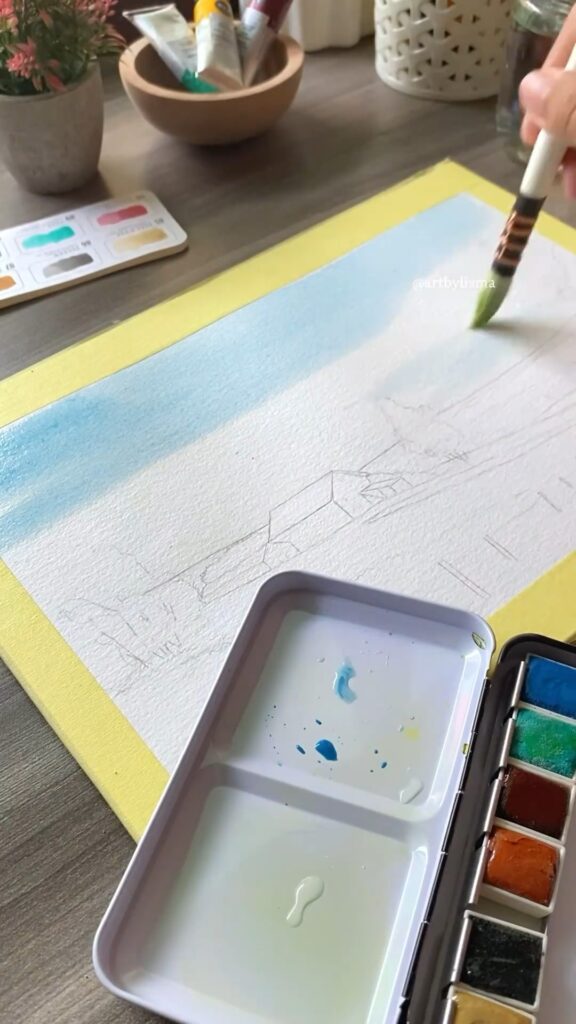
Start by securing your watercolor paper on a flat surface using masking tape. This will help prevent the paper from warping when wet. Trust me, this little step makes a world of difference! Next, lightly sketch the outline of your village scene. In the provided image, you can see the artist has drawn simple shapes for the houses, trees, and the horizon line. No need to be overly detailed—just a basic guide to help you place your colors.
Step 2: Painting the Sky ☁️
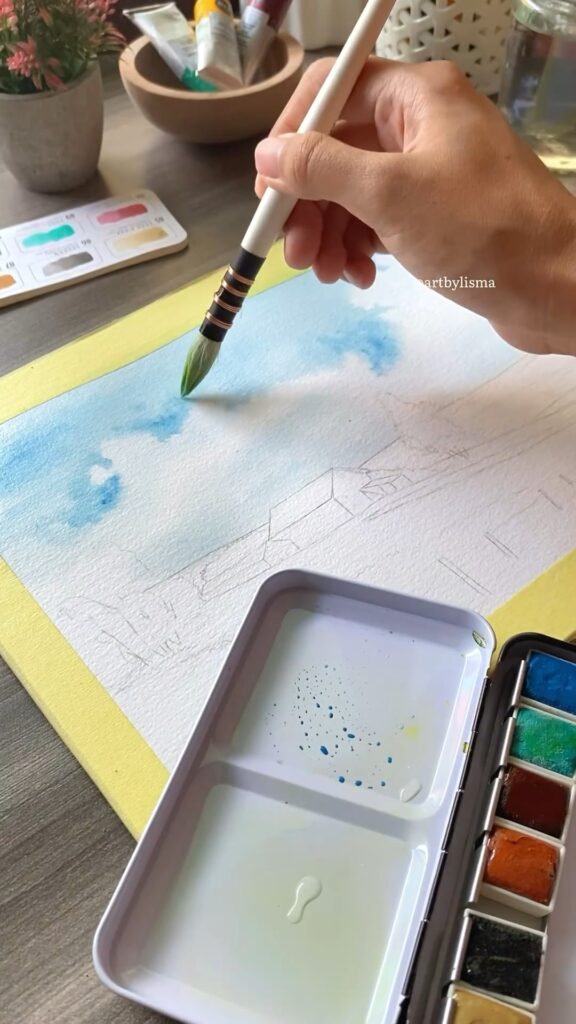
The sky sets the mood for your entire piece, so let’s start here. Using a medium flat brush, mix a light blue watercolor on your palette. In the first few frames, the artist gently sweeps the brush across the top portion of the paper, creating a soft, gradient sky. Add a touch of water to lighten the color as you move downward, mimicking the natural fading of the sky towards the horizon.
Tip: Keep your brushstrokes light and even. The goal is to create a seamless blend of color, giving the illusion of an endless, peaceful sky. 🌤️
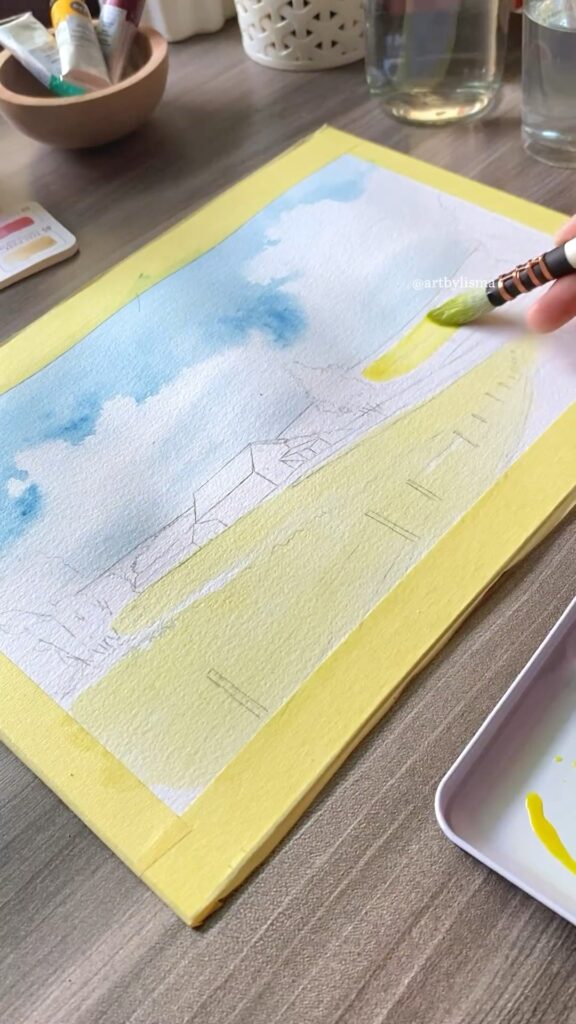
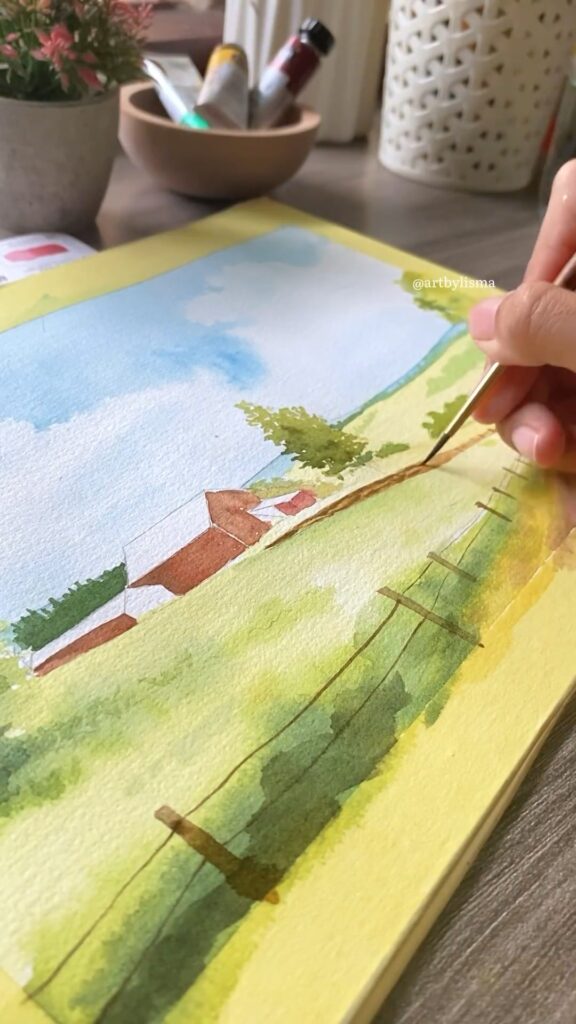
Step 3: Creating the Lush Green Fields 🌱
Once the sky is dry, move on to the foreground—the lush green fields. Mix a few shades of green, ranging from light to dark. Begin with a wash of light green over the bottom half of the paper. You can see in the second set of frames that the artist has added more pigment to the areas closer to the horizon to create depth.
Tip: Allow the greens to bleed into each other slightly for a more natural look. You can even sprinkle a few drops of clean water onto the wet paint to create interesting textures and patterns. 🌾
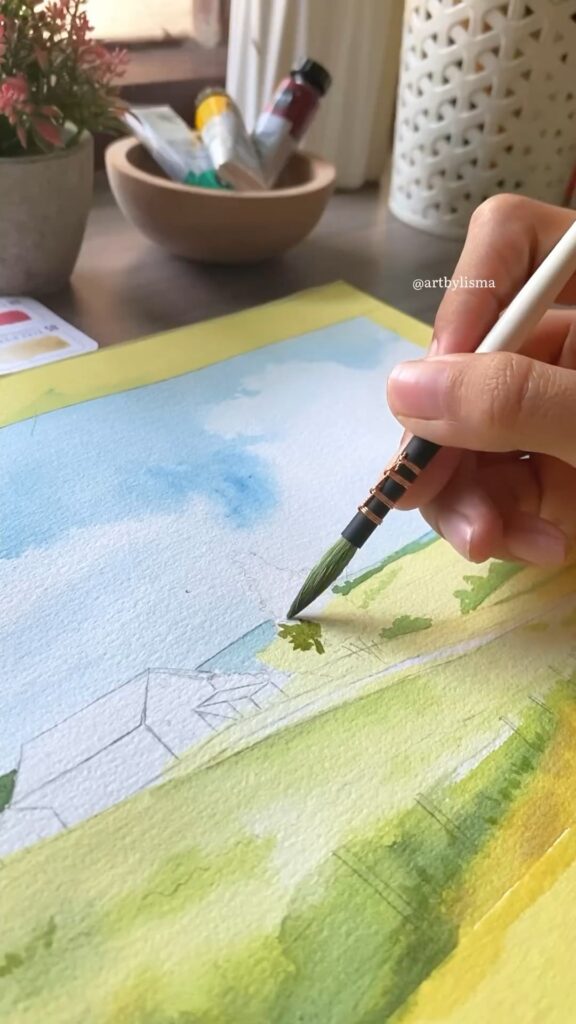
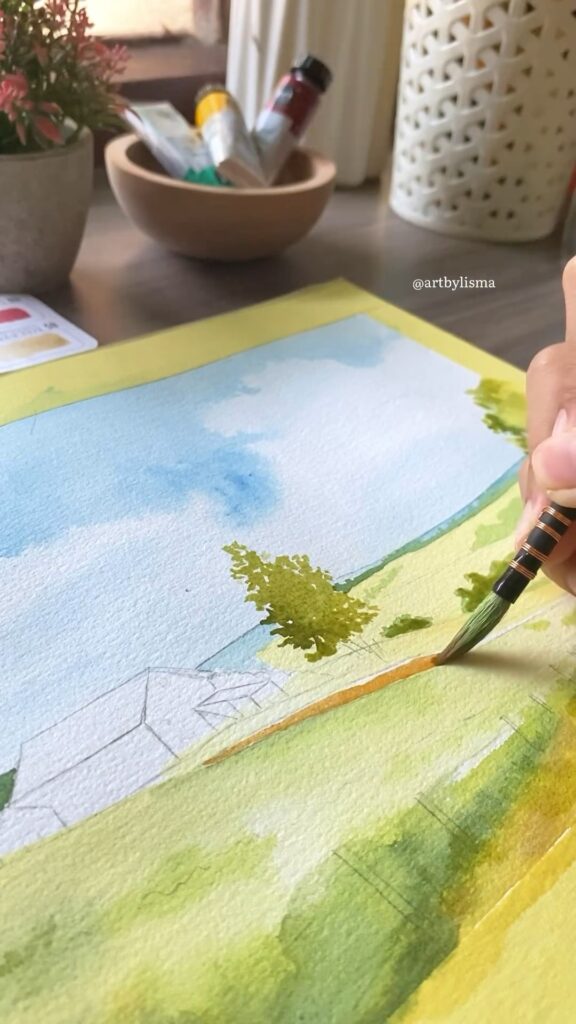
Step 4: Adding Trees and Details 🌳
Now that the base layers are in place, it’s time to bring your village to life with some trees and other details. In the next frames, the artist uses a smaller round brush to paint the trees. Start with the tree trunks, using a mix of brown and green, then add the foliage by dabbing the brush with varying shades of green.
Notice how the artist adds a few trees in the distance with lighter colors to create a sense of depth. Don’t worry about making every tree perfect—nature is beautifully imperfect, and so is art! 🌲
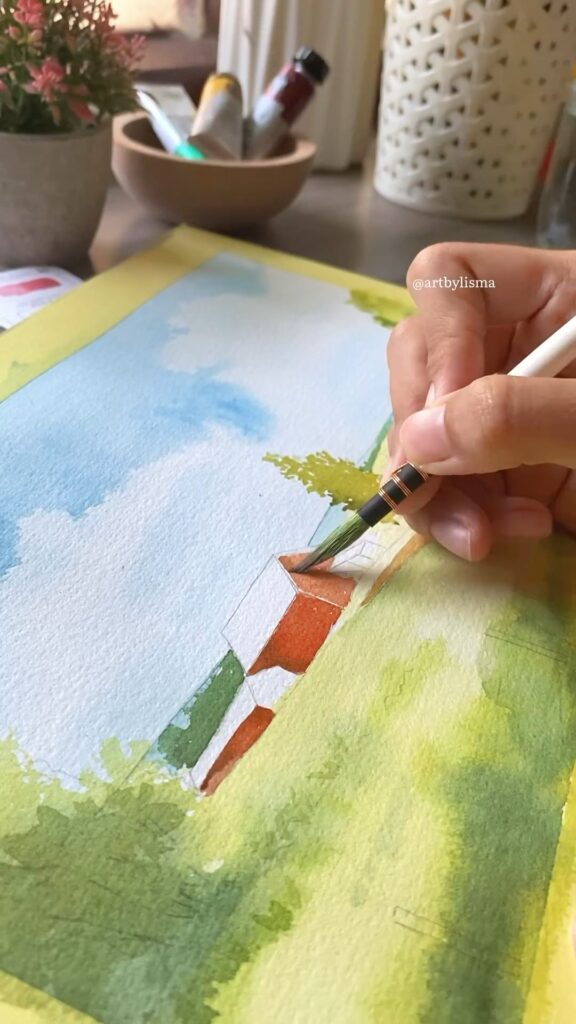
Step 5: Bringing the Village to Life 🏠
Now for the most charming part—the village houses. Use a small brush to carefully paint the houses in the scene. The artist in the image uses earthy tones like browns and reds for the roofs, which pop beautifully against the green landscape. Add details like windows, doors, and shadows to give the houses a three-dimensional feel.
Tip: Don’t rush this step. Take your time to carefully paint each element, adding little touches that will make your village unique and inviting. 🏡
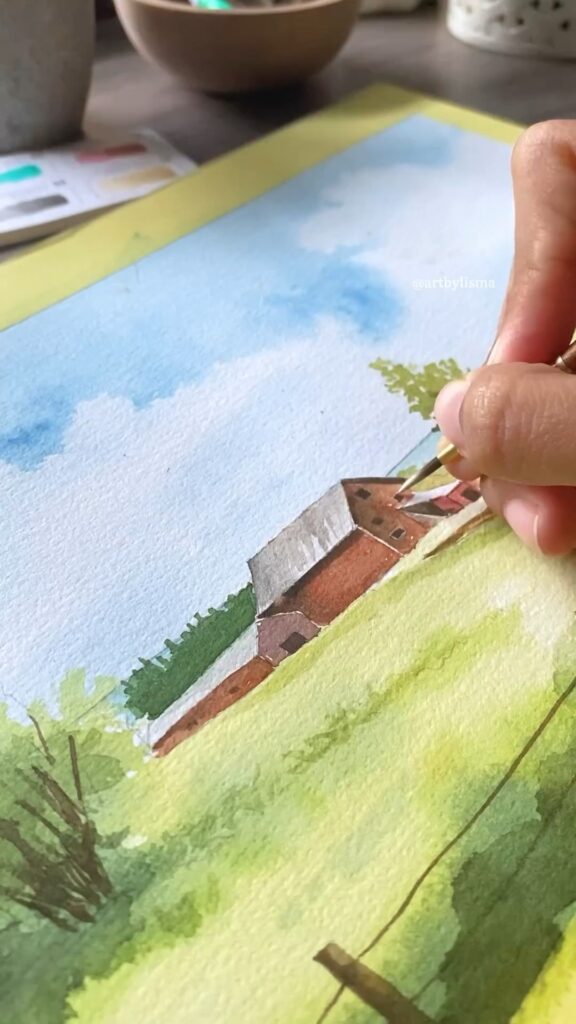
Step 6: Final Touches and Refinements ✨
In the final frames, the artist adds the finishing touches—darkening some areas, adding shadows, and refining the details. This is where your painting will truly come to life. Look at your piece and decide if any areas need a bit more attention. Maybe the sky could use a few clouds, or the fields a bit more texture? The beauty of watercolor is that you can always add more layers to build richness and depth.
Once you’re happy with your work, carefully remove the masking tape to reveal clean, crisp edges. And voila! You’ve just created a stunning village landscape that you can proudly display.
Conclusion: Embrace the Journey 🎨
Creating art is about more than just the final product—it’s about the process, the relaxation, and the joy of seeing your vision come to life. Whether you’re an experienced artist or just starting out, I hope this tutorial has inspired you to pick up your brushes and create something beautiful. Remember, every brushstroke is a step closer to mastering your craft, so embrace the journey and have fun with it!
Happy painting! 🌸


Leave a Reply