Art is all about creativity and expression, and sometimes, the simplest techniques yield the most breathtaking results. Today, I’m thrilled to share a tutorial that’s both relaxing and stunning: Water Drop Art. 🌊✨
This technique is perfect for those moments when you want to unwind, let your mind wander, and create something beautiful without needing tons of supplies. Plus, the final product is so captivating that you might just want to frame it!
🌟 What You’ll Need
Before we dive in, let’s gather the essentials. Don’t worry, you don’t need much:
- Watercolor Paper: The texture is perfect for holding the water droplets.
- Water: Just regular tap water works fine, but feel free to get fancy with filtered or distilled if you prefer!
- A Fine Brush: The smaller and more precise, the better.
- Watercolors or Ink: Soft, pastel shades work wonderfully for a subtle effect, but you can go bold if that’s your style.
🌈 Step-by-Step Water Drop Art Tutorial
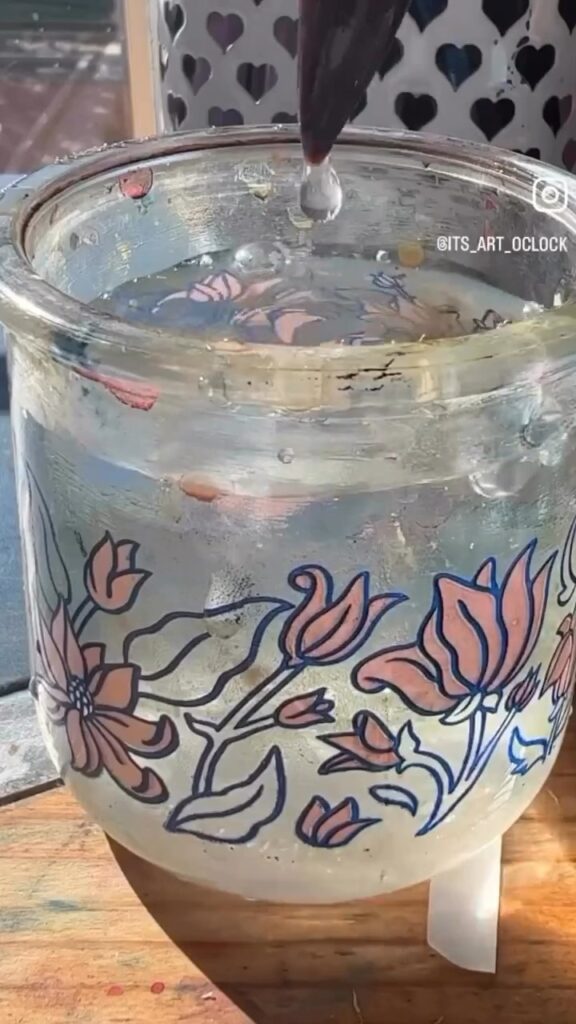
1. Prepare Your Water and Brush
Start by filling a small cup with water. Make sure your brush is clean and ready to go. I love using a cup that has a bit of personality—mine’s decorated with hand-painted flowers. It just adds a touch of joy to the process! 🌺
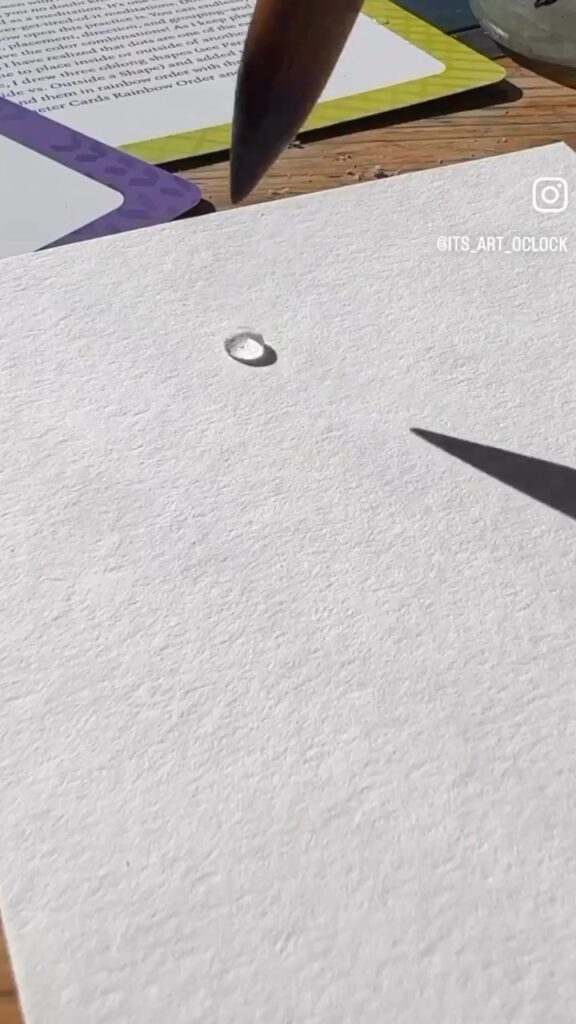
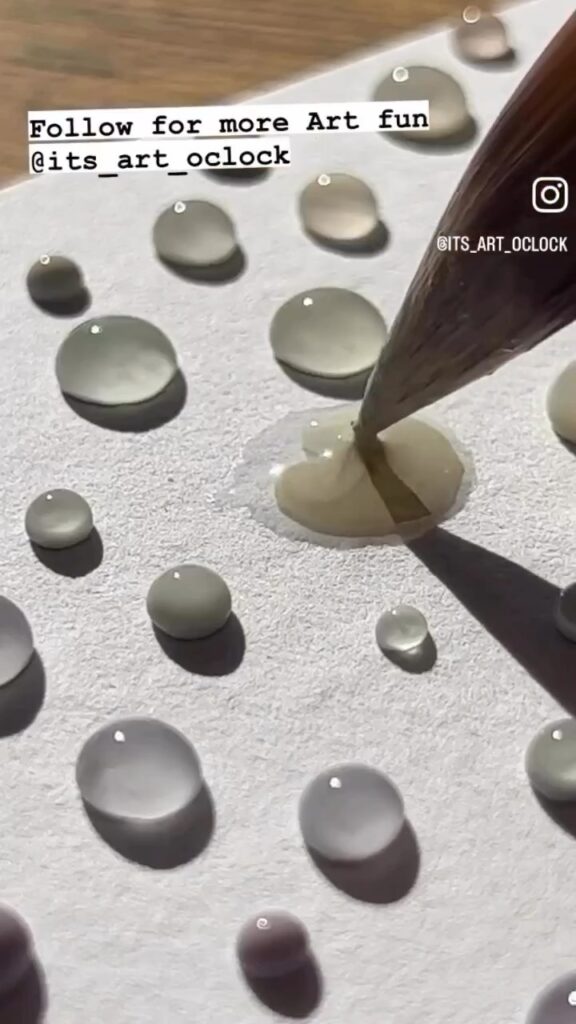
2. Create the First Droplet
Dip your brush into the water and gently let a drop fall onto your watercolor paper. The key here is to not rush. Let the droplet settle naturally on the paper. The first drop is always the most exciting! 🌟
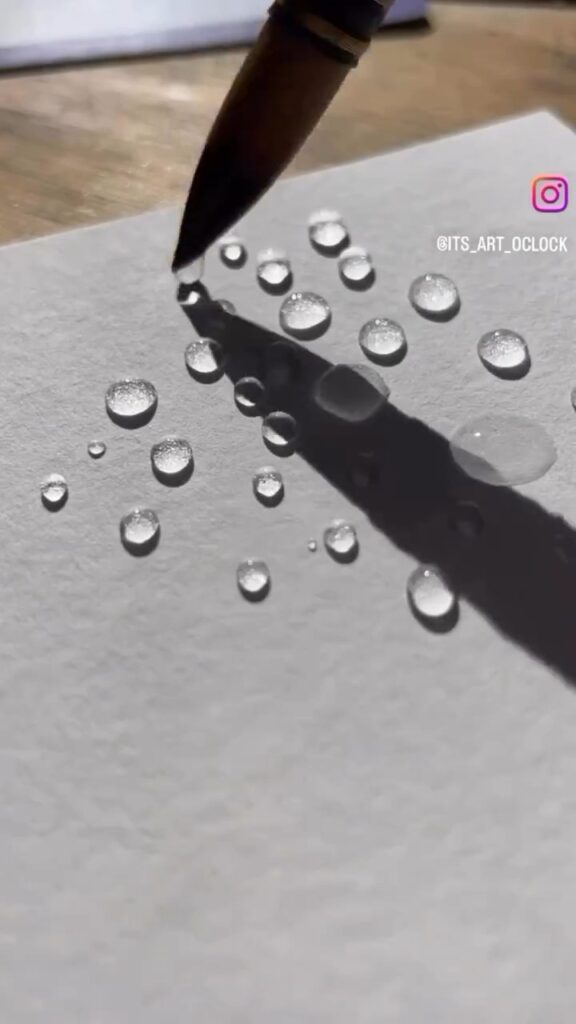
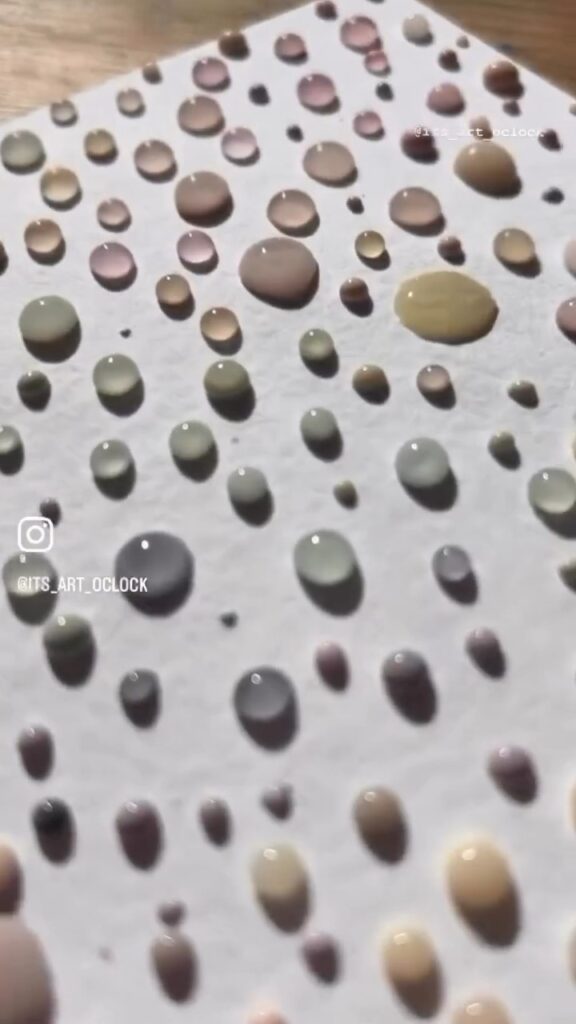
3. Add More Drops
Now, this is where the magic happens. Continue adding droplets to your paper, spacing them out in a way that feels right to you. The beauty of this art is that it’s all about randomness and imperfection. Each droplet should be its own little universe.
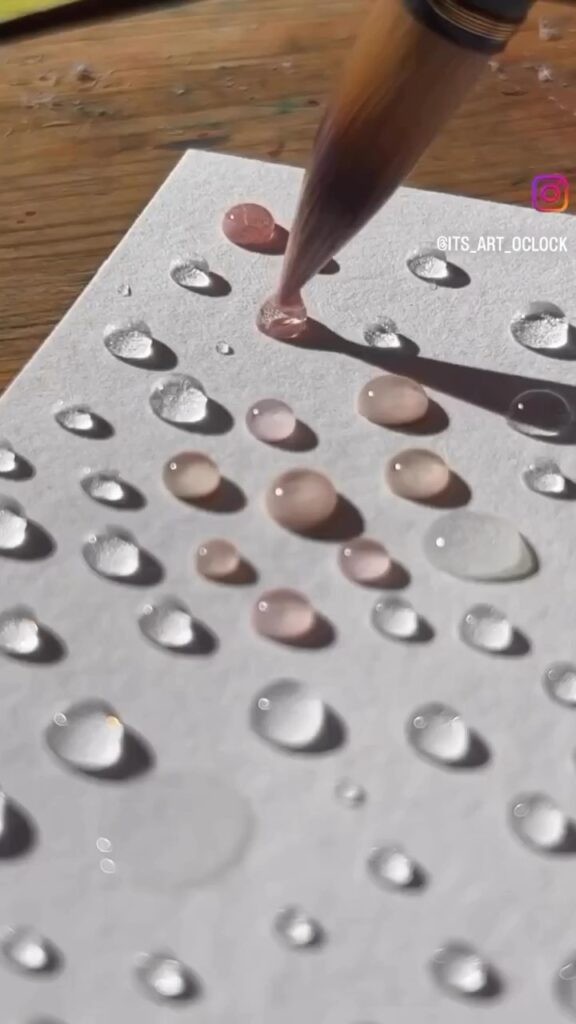
4. Introduce Color
Once you’re happy with your water droplets, it’s time to add some color! Dip your brush into the watercolor of your choice and gently touch the edge of a droplet. Watch as the color spreads, creating a beautiful gradient. You can experiment with different colors on each droplet or keep it uniform for a more cohesive look. 🎨
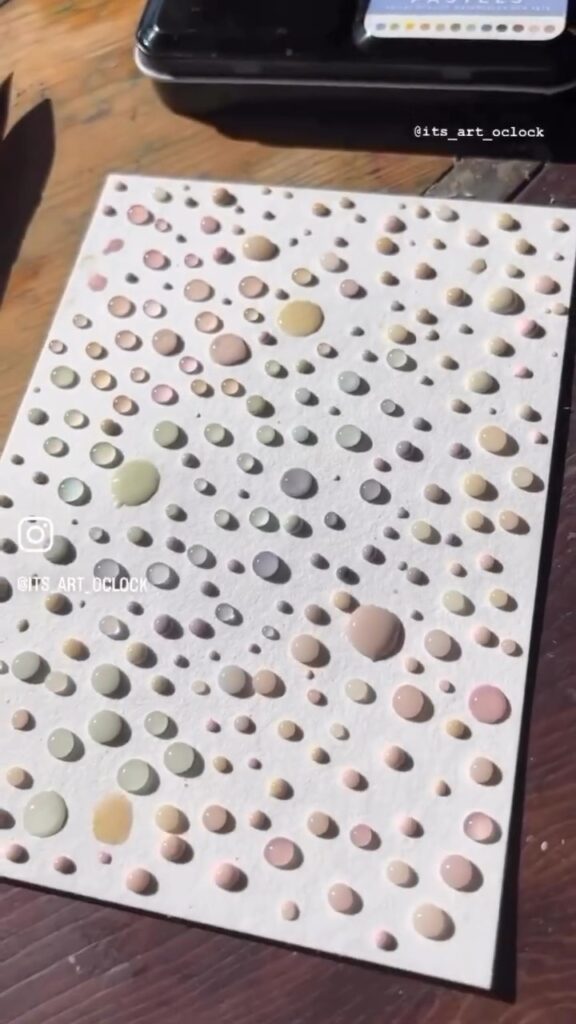
5. Layer and Build
The next step is all about building up the texture and depth. Once the initial layer is dry, you can add more droplets on top, repeating the process. This layering gives the art a 3D effect, making the droplets look even more realistic.
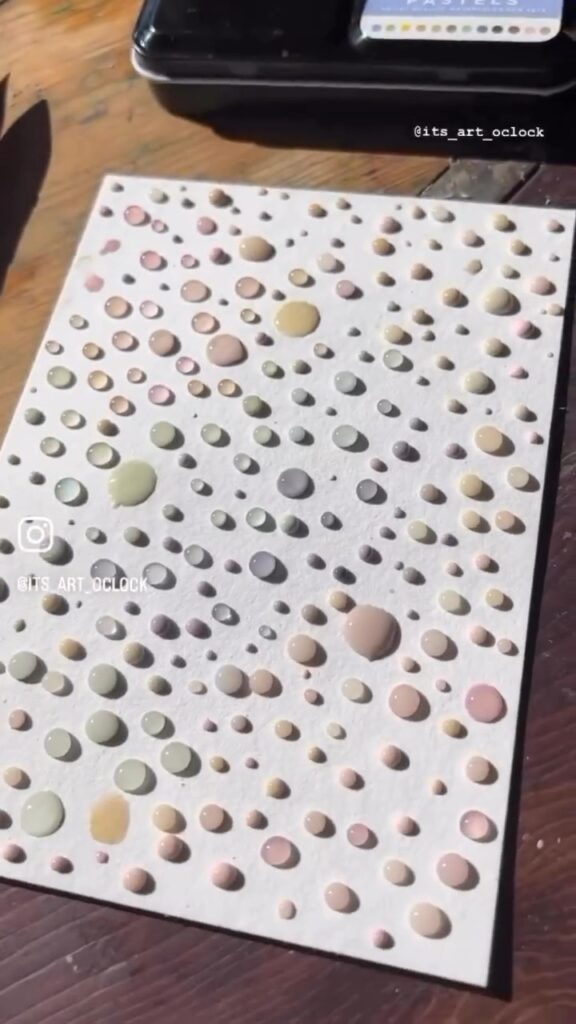
6. Final Touches
After your droplets are dry, take a step back and admire your work! If you feel like it, you can add a few more drops here and there for balance. Remember, art isn’t about perfection—it’s about how it makes you feel. 🌟
🖼️ Display Your Art with Pride
Once your masterpiece is complete, consider framing it or turning it into a set of greeting cards. There’s something so satisfying about sharing your creativity with others, and this water drop art is sure to impress. Whether it’s hanging on your wall or gifted to a friend, it’s a piece that speaks of tranquility and beauty.
🌺 A Few Personal Touches
Art has always been my go-to way to relax and reconnect with myself. There’s something incredibly soothing about the rhythm of creating, especially with a technique as gentle as this. I remember spending afternoons with my grandmother, who taught me the joy of simple, mindful art. This water drop technique reminds me of those moments—quiet, focused, and full of love.
✨ Final Thoughts
Whether you’re a seasoned artist or just looking for a fun way to pass the time, this water drop art technique is perfect for everyone. It’s simple, therapeutic, and yields such beautiful results. So, grab your supplies, find a cozy spot, and let your creativity flow. 🌸💧
I hope this tutorial inspires you to try your hand at water drop art. Remember, it’s not about the outcome but the joy of creating. Happy painting! 🎨✨
Leave a Reply