Creating a moving bunny cup toy is a delightful and engaging craft project perfect for kids. Follow these detailed instructions to make your own.

Materials Needed:
- Paper cup (preferably white)
- Pink and black markers
- Pink and white construction paper
- Scissors
- Glue stick
- Hole punch
- Rubber band
- Two plastic bottle caps
- String
Instructions:
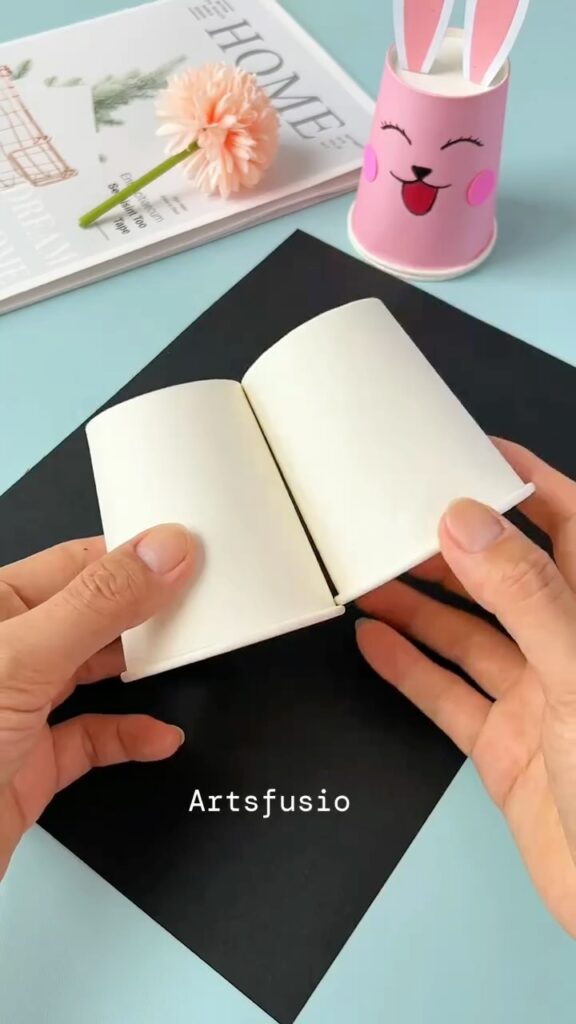
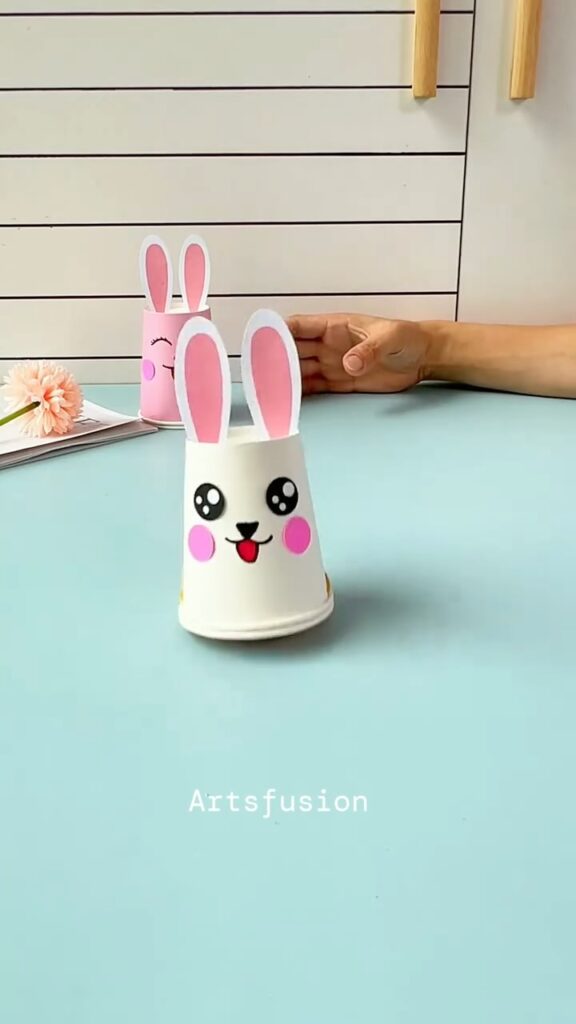
- Prepare the Paper Cup:
- Start with a white paper cup. This will form the body of the bunny.
- Draw the Bunny Face:
- Use a black marker to draw eyes and a nose on the front of the cup.
- Add details like eyelashes and whiskers to give the bunny a cute expression.
- Add the Bunny Ears:
- Cut two long ear shapes from white construction paper.
- Cut two smaller ear shapes from pink construction paper to form the inner ears.
- Glue the pink inner ears onto the white outer ears.
- Attach the completed ears to the top inside edge of the cup using glue.
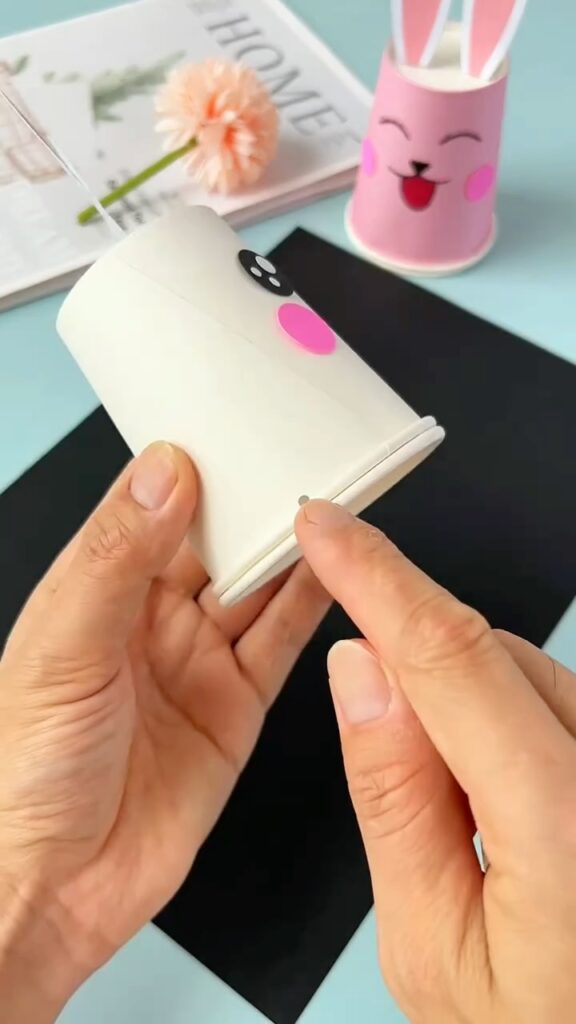
- Add the Bunny Cheeks:
- Cut two small circles from pink construction paper for the cheeks.
- Glue these circles onto the face below the eyes.
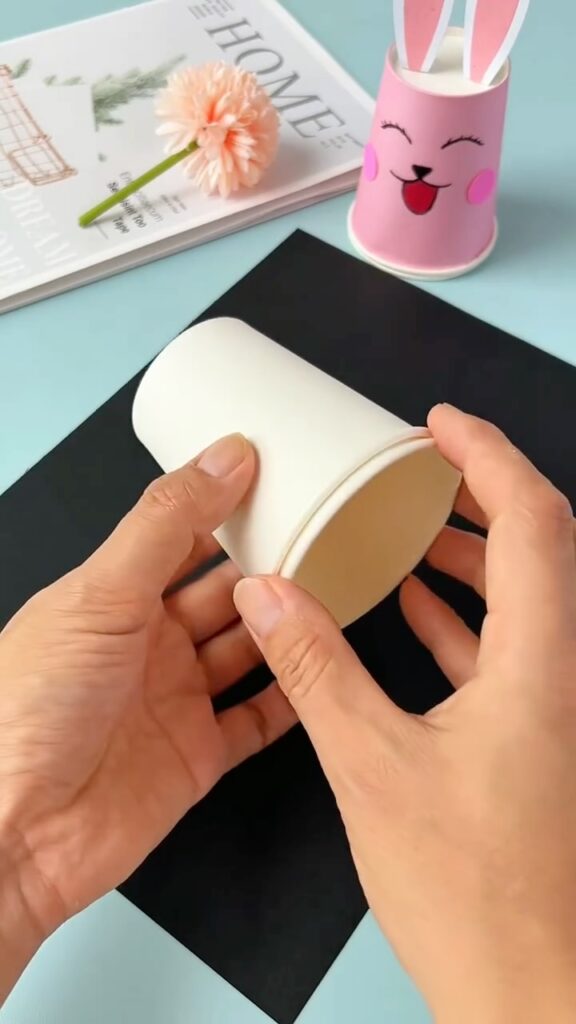
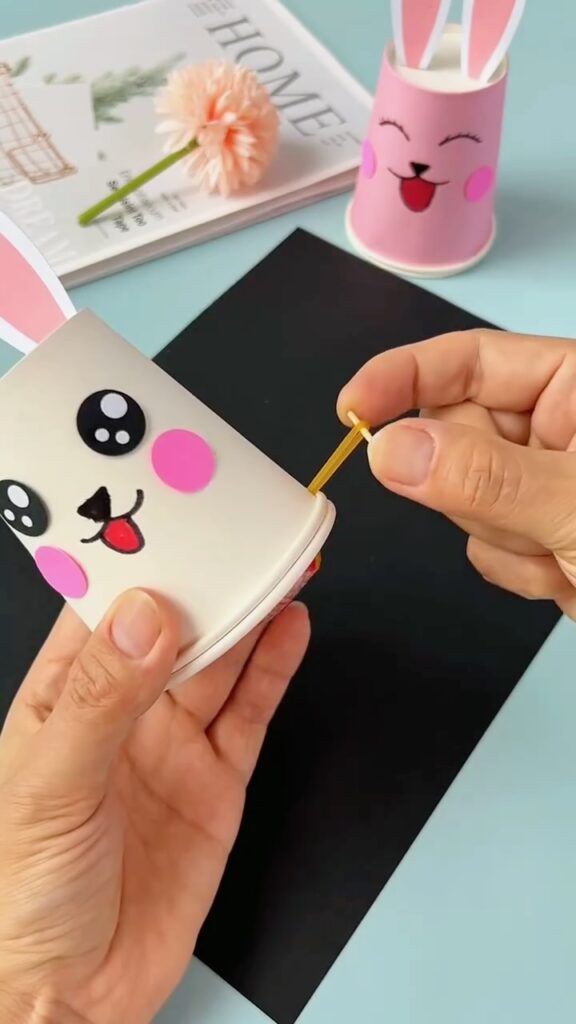
- Prepare the Hole for the Rubber Band:
- Use a hole punch to make two holes opposite each other near the open edge of the cup.
- Prepare the Bottle Caps:
- Take two plastic bottle caps and make a small hole in the center of each cap using scissors or a nail.
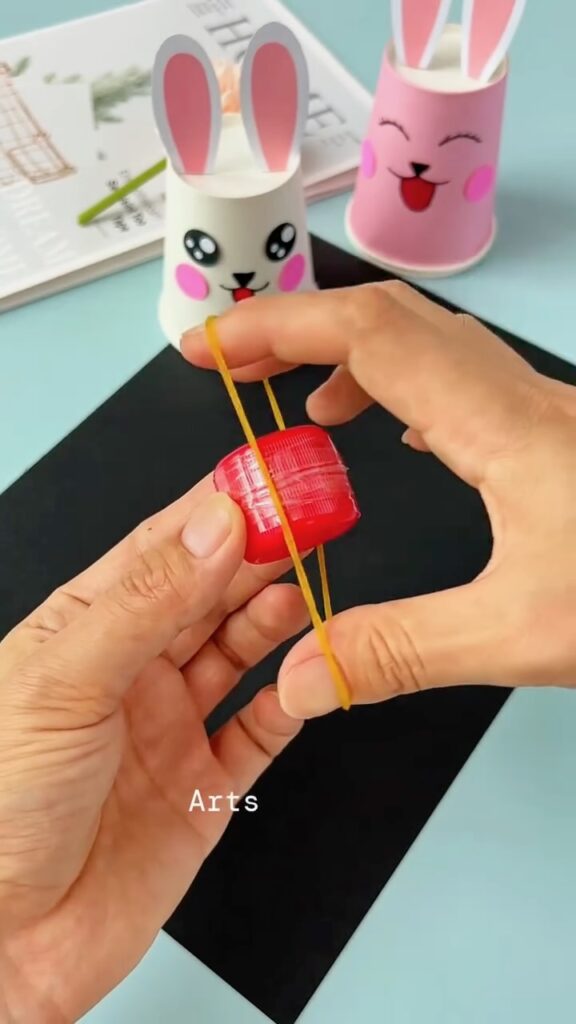
- Attach the Rubber Band:
- Insert one end of the rubber band through one hole in the cup and secure it with one bottle cap by threading the rubber band through the hole in the cap and tying a knot.
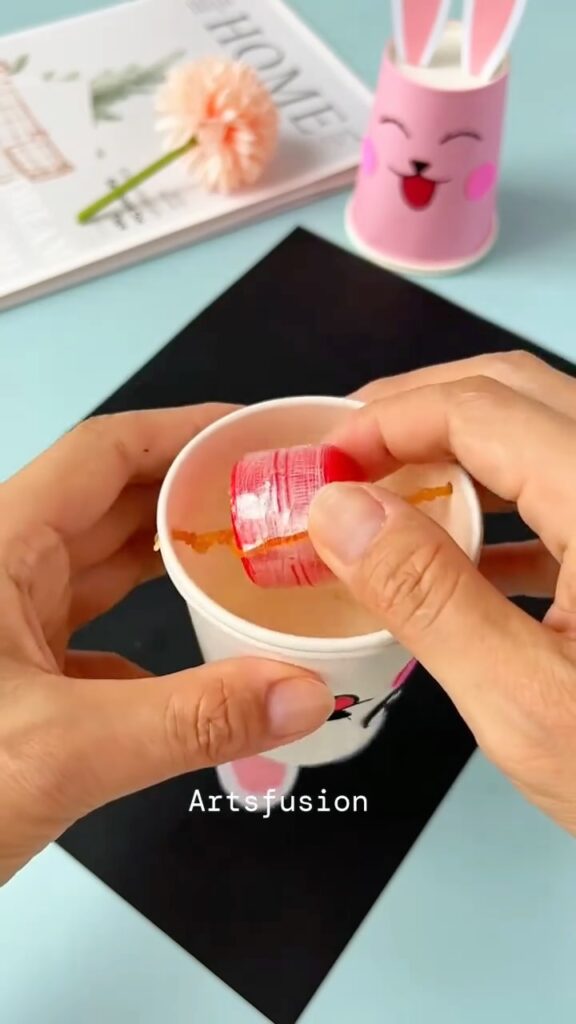
- Stretch the rubber band across the inside of the cup and insert the other end through the opposite hole in the cup.
- Secure it with the second bottle cap in the same manner.
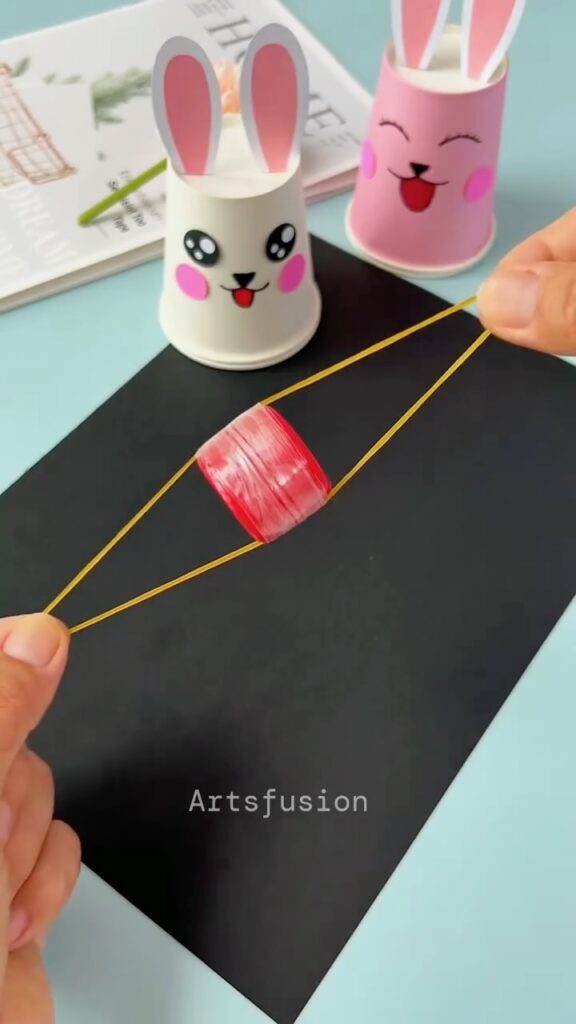
- Wind the String:
- Tie a piece of string around the middle of the rubber band inside the cup. This will be used to wind the rubber band to make the bunny move.
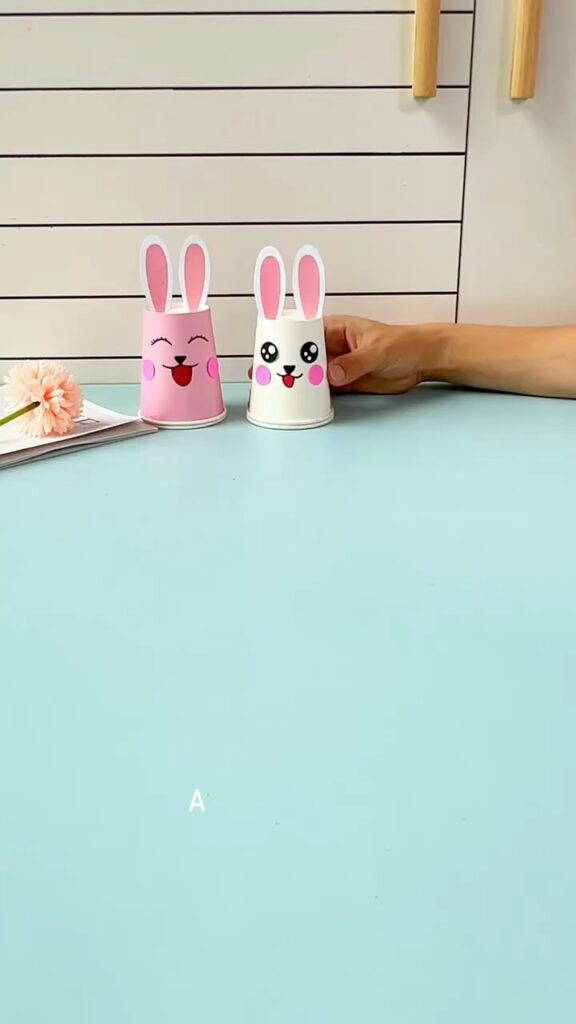
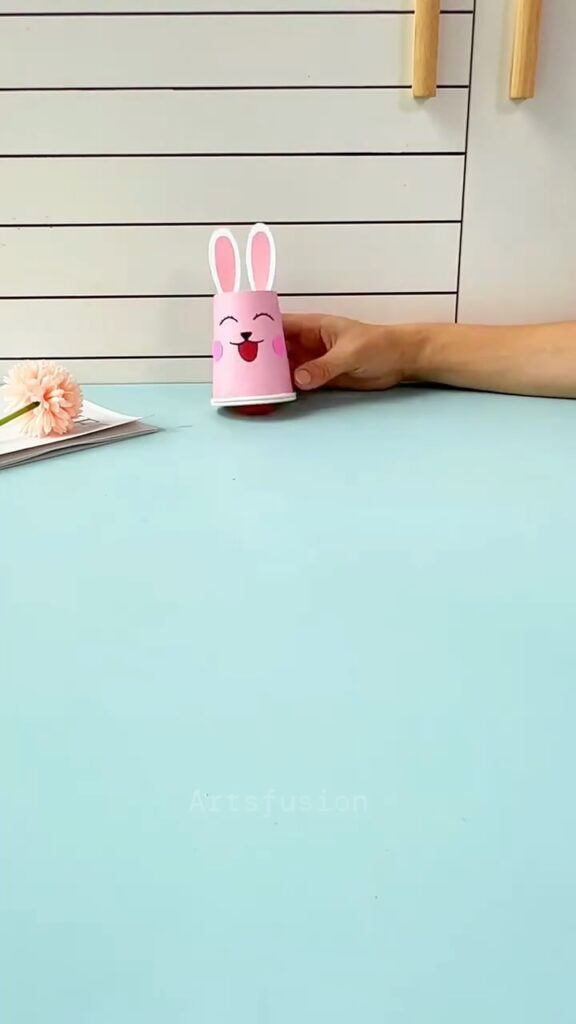
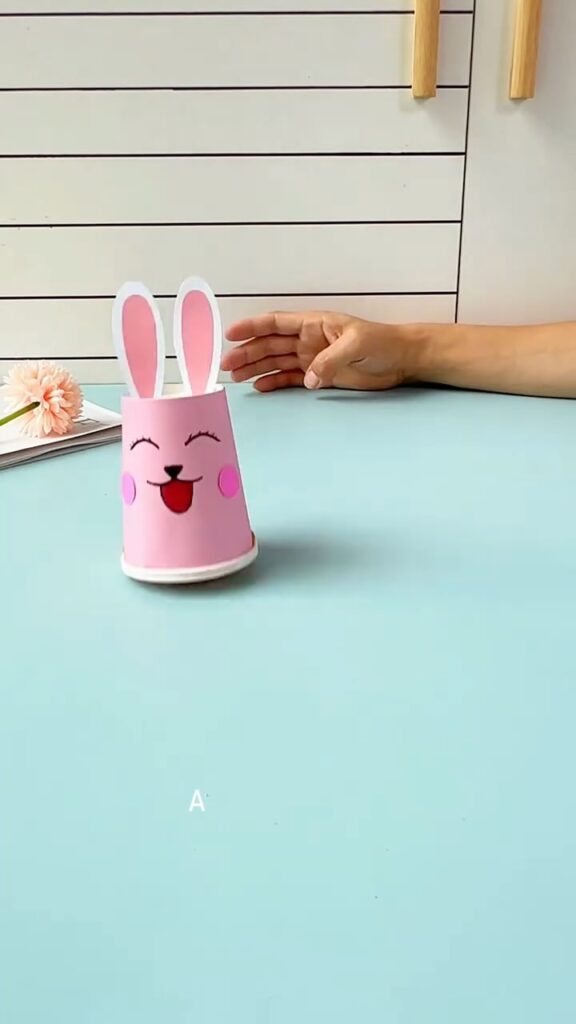
- Test the Movement:
- Wind the string around the rubber band by turning the bottle caps. Once the rubber band is sufficiently wound, place the cup on a flat surface and release the string. The bunny cup should move forward as the rubber band unwinds.
Your moving bunny cup toy is now ready to hop around! This fun and interactive toy can provide hours of entertainment.
Tips:
- Be careful when using scissors or a hole punch. Adult supervision is recommended for younger children.
- Use different colors and decorations to personalize your bunny.
- Make sure the rubber band is tight enough to create sufficient tension for the toy to move.
Enjoy playing with your handmade moving bunny cup toy! 🐰

Leave a Reply