Starting a creative journey often begins with selecting just the right size canvas for your vision.
In this tutorial, I explore how to craft an abstract botanical acrylic painting that can add vibrancy to any room or serve as a thoughtful handmade gift.
Materials Needed
- Canvas (size of your choice)
- Acrylic paints (various colors)
- Brushes
- Palette
- Water cup
- Paper towels
Step 1: Canvas Preparation
Choose a canvas size that resonates with your artistic intent. For this tutorial, let’s assume you’ve selected a square canvas.
Position the canvas so that one corner is at the top left. This corner will be your starting point.
Step 2: Color Application
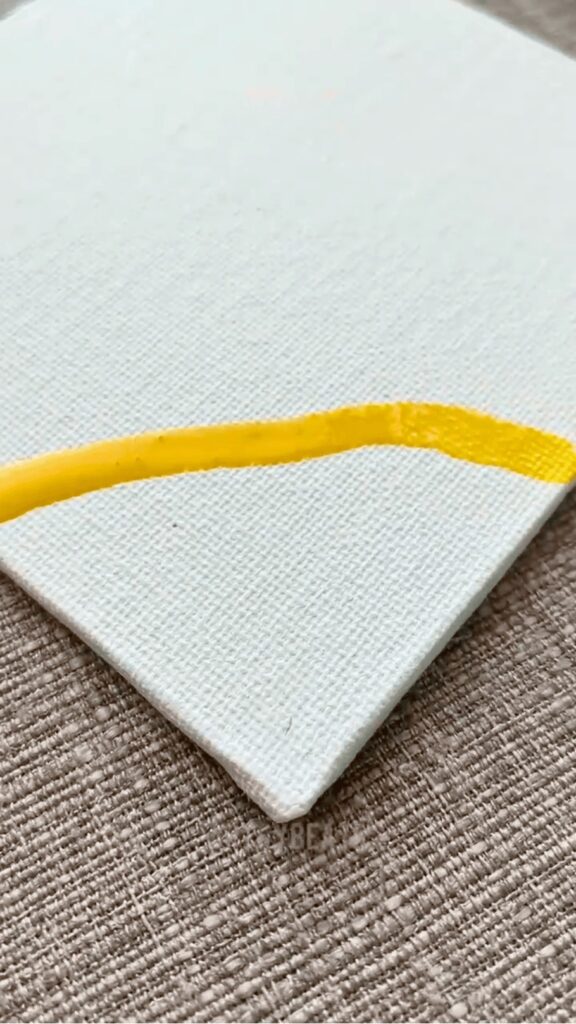
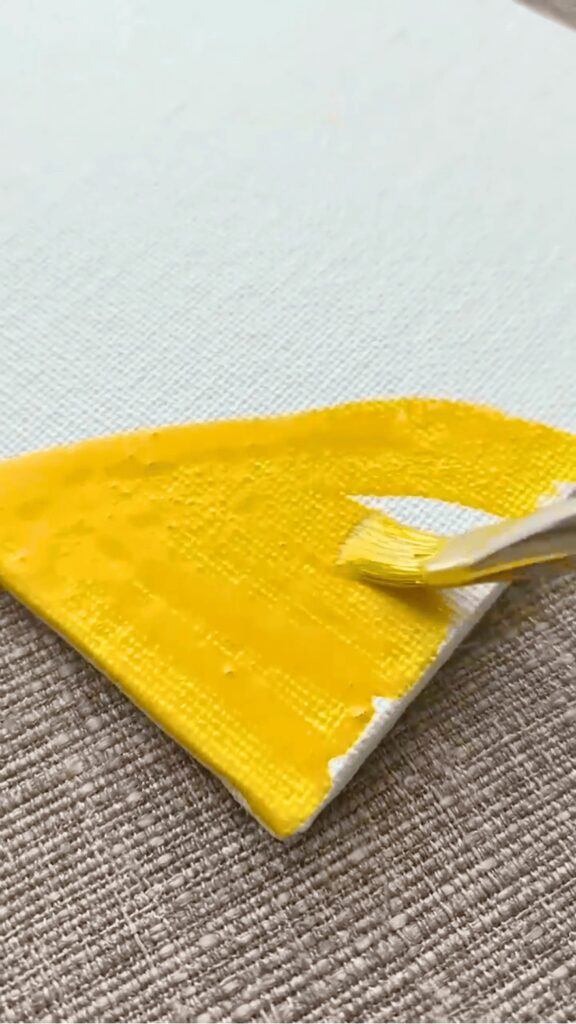
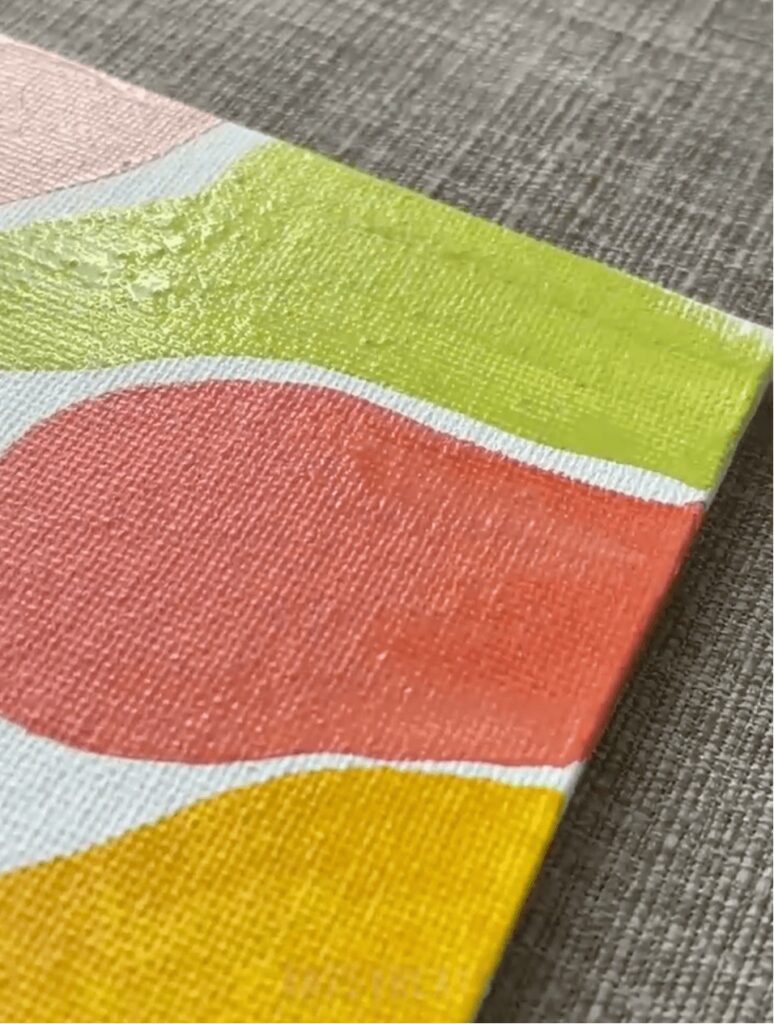
Apply your first color—here, we’ll use a bright yellow. Fill in the designated area completely.
Adjacent to the yellow, introduce red paint on the right side. Follow the same process: outline and then fill.
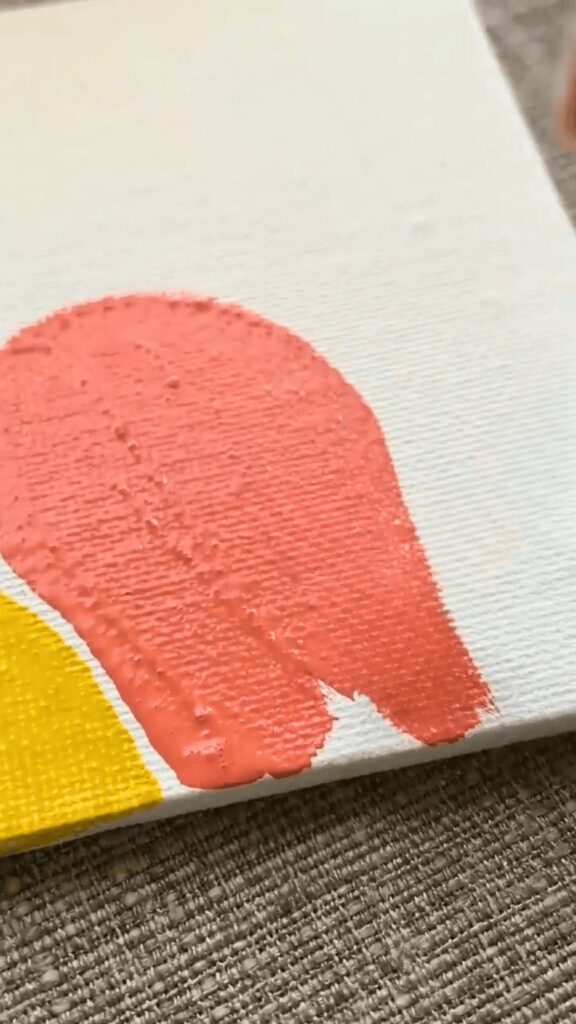
Leave some space untouched where you plan to expand your artwork later.
Step 3: Expanding the Design
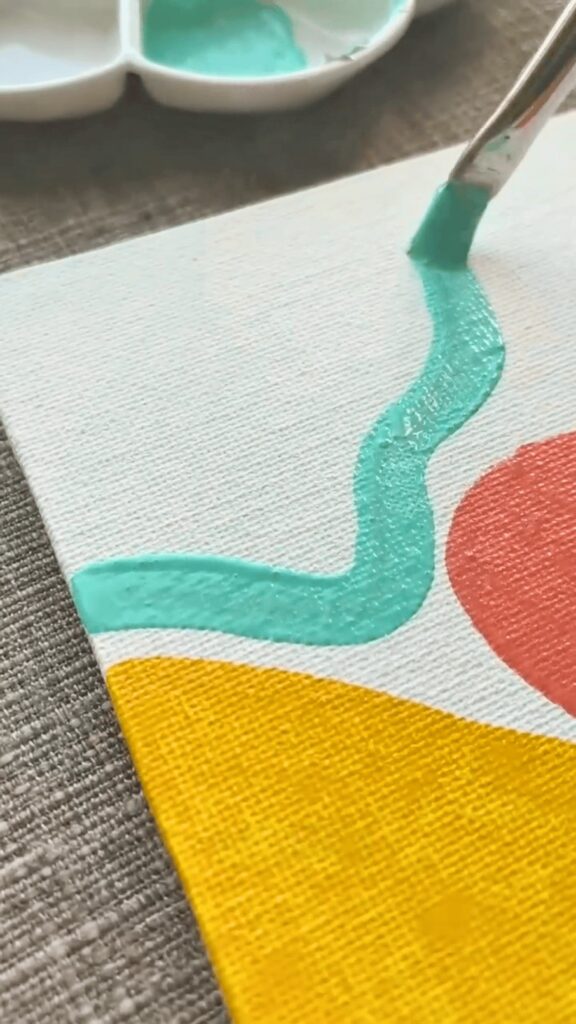
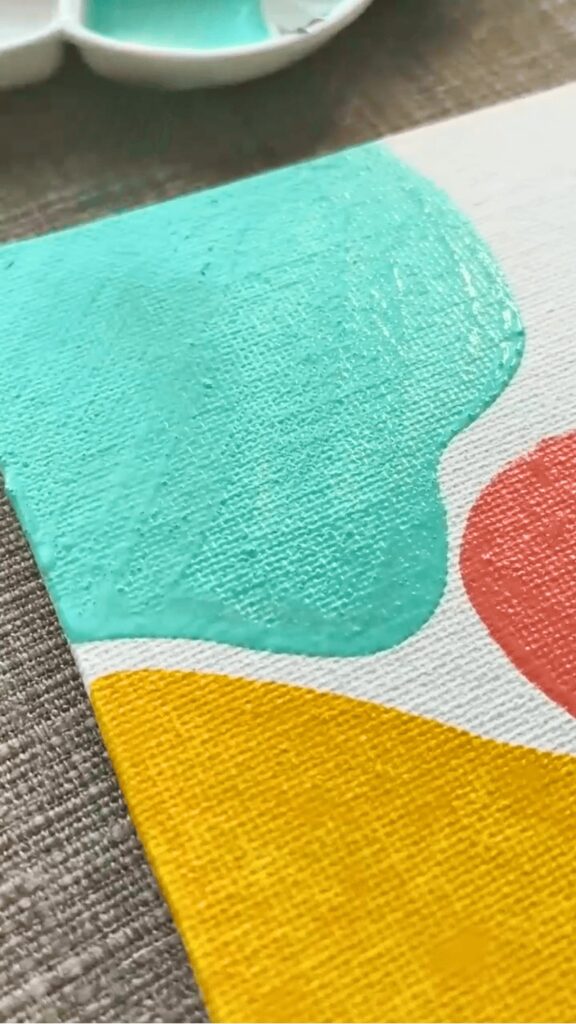
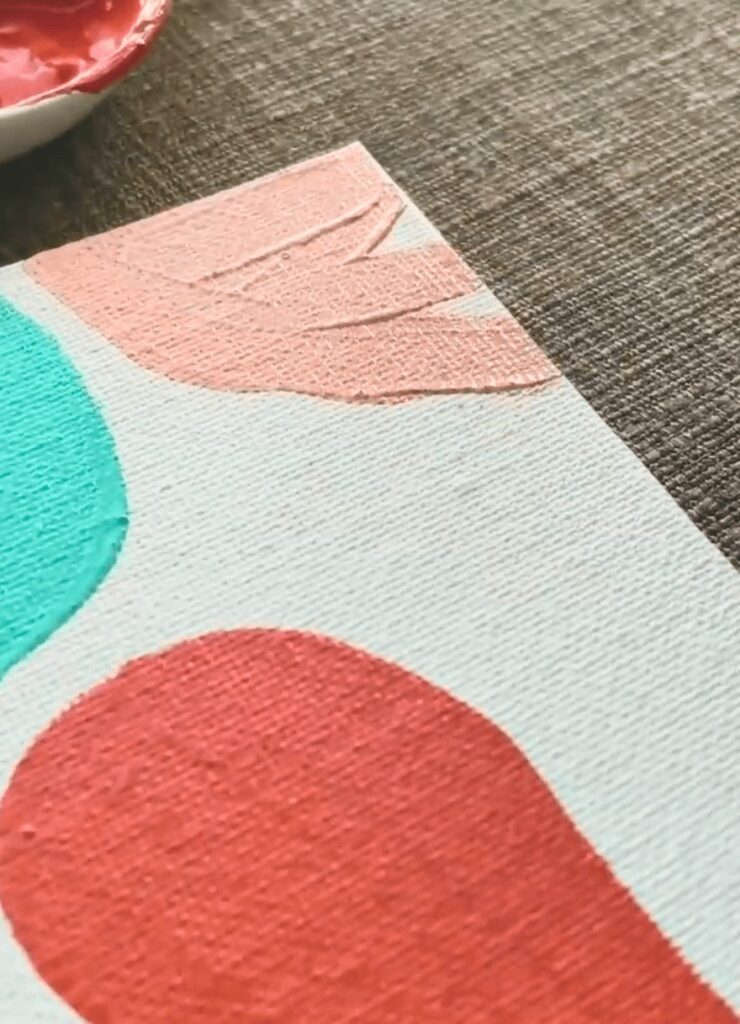
Move over to the upper left corner and introduce a pastel hue into your palette. This area will be larger than previous sections. Again, outline and fill.
Atop the pastel base, add pink paint in the upper right-hand side of your canvas. Maintain consistency in your technique for a cohesive look.
Step 4: Reserved Space
Return to the reserved space you left earlier. Infuse it with light green for contrast against the other vibrant colors used so far.
Step 5: Adding Botanical Elements
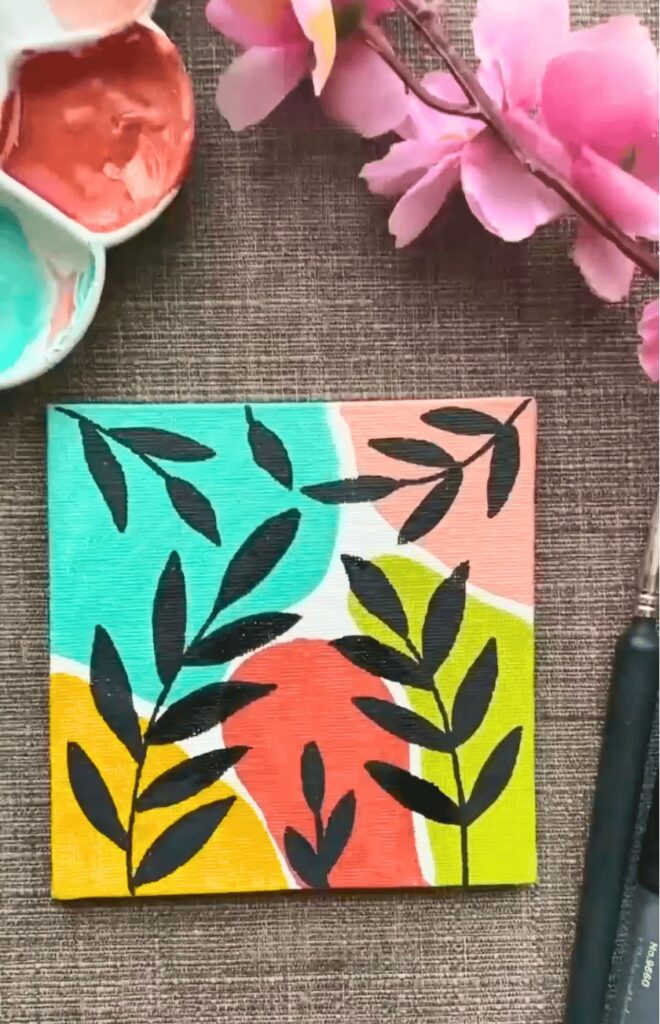
Now that your colorful background is complete, it’s time to bring life to your piece.
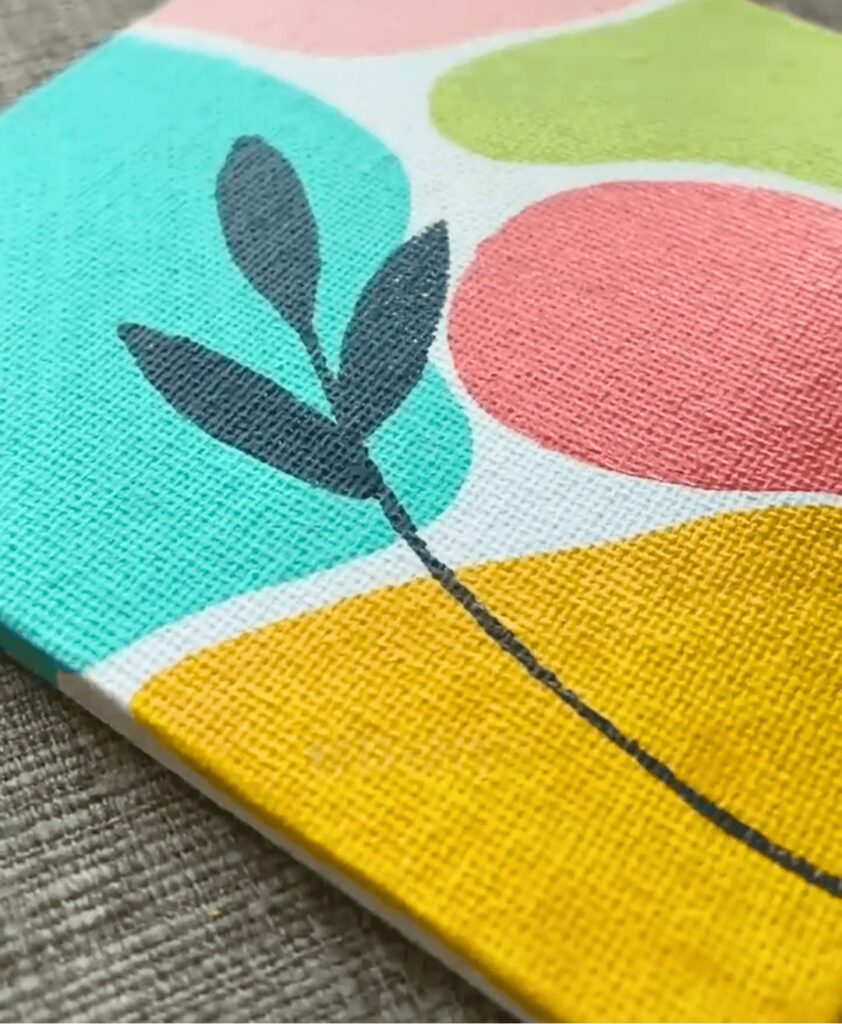
Add black silhouetted branches and leaves sprawling across different areas of the color blocks.
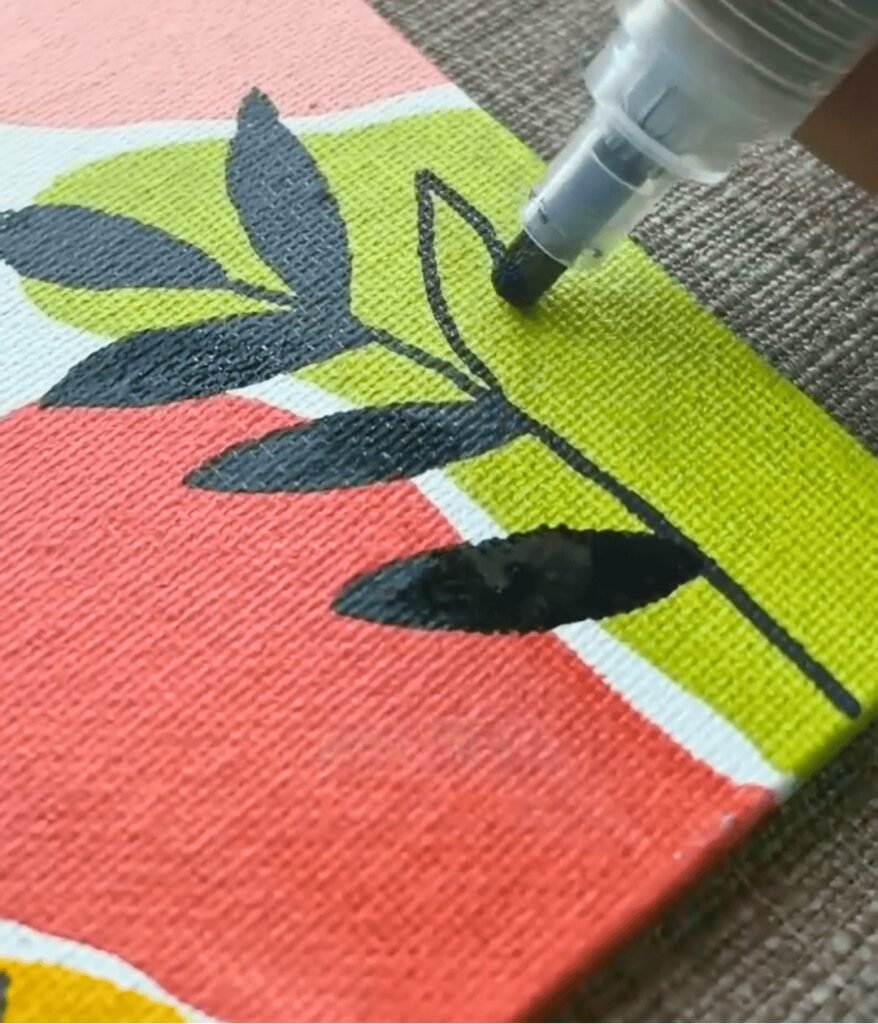
These botanical elements tie together all parts of our composition harmoniously.
Final Touches
Allow time for drying.
Decide where this versatile piece will find its home—whether adorning a wall or wrapped up as someone’s special present.
Remember, art is about expression, so feel free to adapt and modify this process to suit your unique vision. Happy painting! 🎨🌿


Leave a Reply