
We’ve all been there. You reach into the back of the pantry, ready to whip up some baking magic, only to discover that forgotten bag of flour has long passed its “best by” date. The good news? While it might not be ideal for your next batch of cookies, expired flour is a hidden gem for a whole host of fantastic craft projects! Before you sadly relegate it to the bin, let’s unlock its potential. Think of it as giving that humble ingredient a second, colorful life in your creative endeavors.
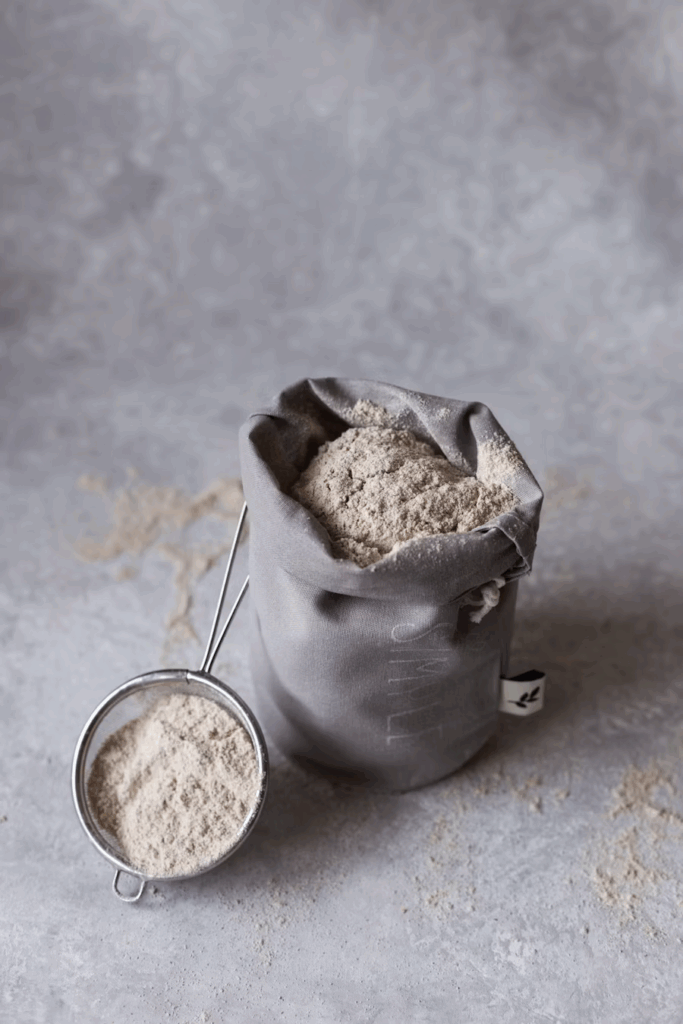
As a fellow craft enthusiast, I know how satisfying it is to repurpose something that might otherwise go to waste. It feels good for the planet and even better for your crafting budget! I still remember the first time I experimented with using old flour for a craft project – it felt a little unconventional, but the results were surprisingly wonderful. Since then, I’ve been hooked on finding clever ways to use up those lingering bags of “past prime” flour.
Ready to transform that expired flour into something amazing? Grab your apron and let’s get crafty!
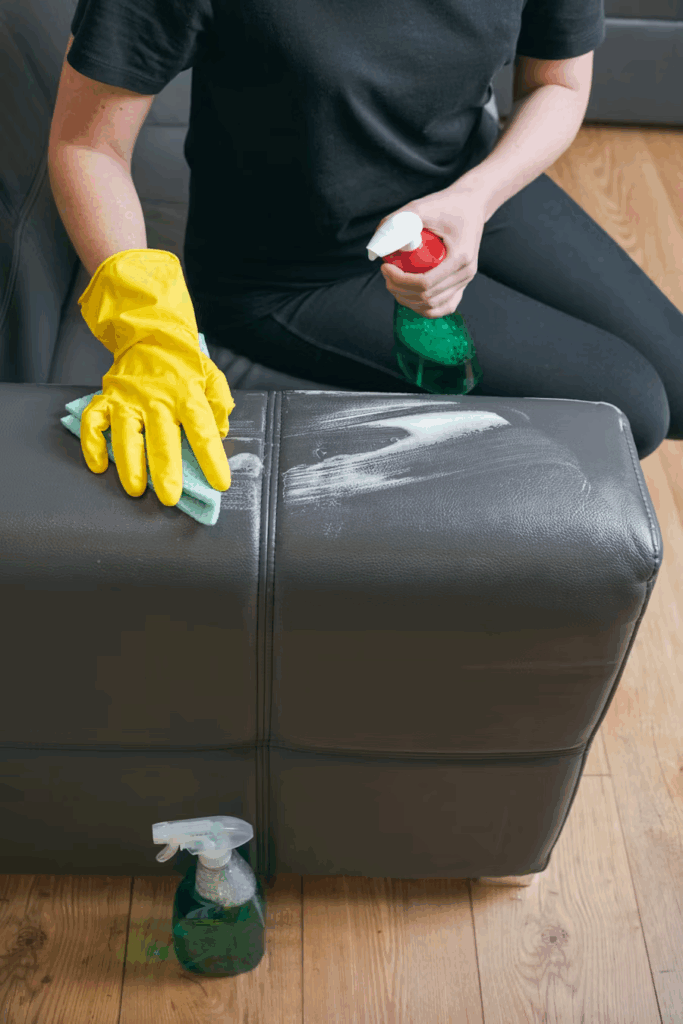
Cleaning Metal with Expired Flour
Who knew that something as simple as expired flour could be a secret weapon for cleaning metals? It sounds a bit like an old-timey hack, and honestly, it works wonders! This is perfect for cleaning up those tarnished brass craft supplies or even giving your metal tools a little refresh. It’s a simple, natural paste that can bring back the sparkle to your well-used items by helping to degrease and shine them.
Here’s my go-to recipe for a natural metal cleaner that uses equal parts of a few common household ingredients:
| Ingredient | Quantity |
| Expired Flour | 1 part |
| Coarse Salt | 1 part |
| White Vinegar | Equal parts to flour and salt |
Simply mix these ingredients into a paste. I usually start with a few tablespoons of flour and salt and add vinegar until I get a spreadable consistency that’s thick enough to stick to the metal but not so dry it crumbles. I recently used this on some old brass stencils that had seen better days. I applied the paste, let it sit for about 10-15 minutes while I prepped other craft supplies, and then rinsed it off. The difference was remarkable! They looked so much brighter and cleaner. Just be sure to rinse thoroughly with clean water and dry completely to prevent any water spots.
Degreasing with Expired Flour
Deep frying isn’t a common craft activity, but sometimes our creative projects involve materials that leave behind a greasy residue, like working with certain waxes or oil-based mediums. Or perhaps you have some tools in your crafting space that have accumulated a bit of grime over time. Expired flour can be a surprisingly effective, natural degreaser, especially for absorbing oil.
To use it, simply sprinkle a generous amount of the expired flour over the greasy area. Let it sit and work its magic for about 15-20 minutes, or even longer for tougher grease. The flour will absorb the grease, turning into clumps. Then, simply scrape or wipe away the flour and the absorbed grease with a cloth. I used this technique successfully after working with a particularly waxy and slightly greasy medium for a mixed-media piece. Instead of reaching for harsh chemical cleaners, I dusted the area with flour, let it sit, and was impressed by how much of the residue it lifted. It made the final cleanup so much easier! Follow up with a quick wash with soapy water if needed.
Using Expired Flour for Stain Removal
Accidents are practically a rite of passage in the craft room! Spills of oil-based paints, wax, or other stubborn substances can feel like a disaster. Before you panic, grab that expired flour. Similar to how it handles grease, flour can help absorb liquid stains from surfaces and even some textiles that are tricky to wash, like upholstery or carpets.
For liquid stains, especially on porous surfaces like unsealed wood or even carpets (always patch test in an inconspicuous area first!), cover the fresh stain completely with a pile of expired flour. Let it sit for several hours, or even overnight, to really draw out the moisture and pigment through absorption. I had a minor mishap with some art oil on my wooden craft table a while back. I immediately covered it with a mound of expired flour, and the next morning, I carefully swept it up. It significantly lightened the stain, making it much less noticeable after a little extra cleaning. Sweep or vacuum up the dried flour once it has absorbed the stain.
Making Natural Flour Glue
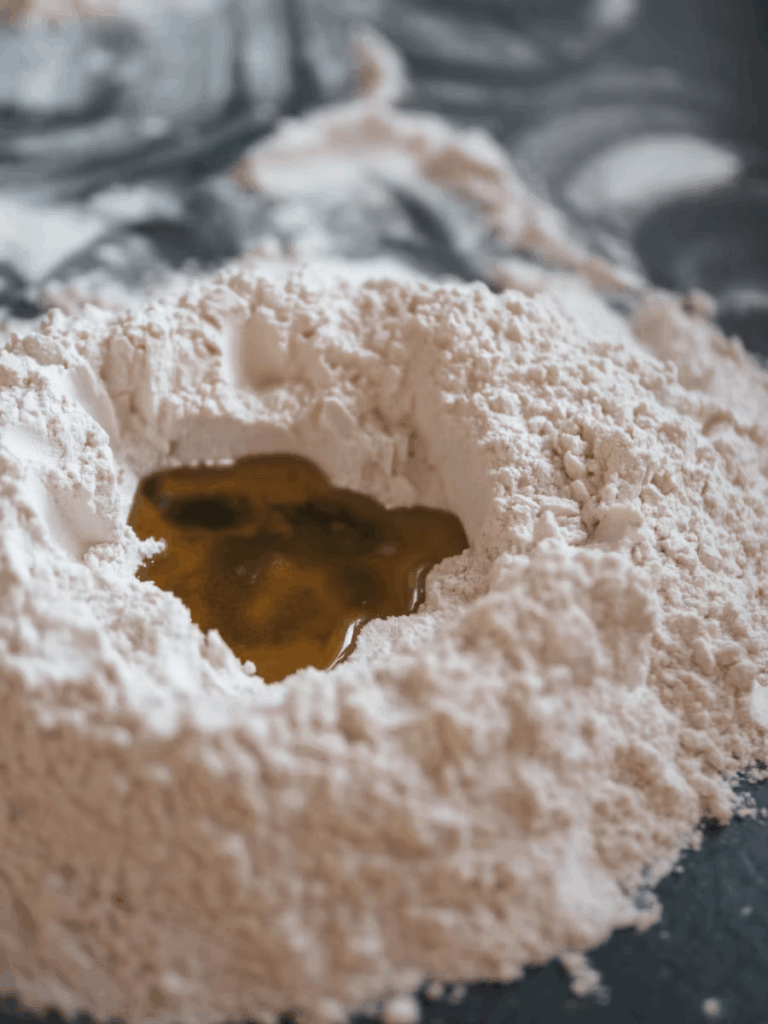
This is a fantastic project, especially if you have little helpers in your craft space! Making your own non-toxic glue from expired flour is simple, cost-effective, and perfect for paper, cardboard, and light wood projects. It’s also a great option for those who are mindful of the chemicals sometimes found in store-bought adhesives. Plus, there’s a certain satisfaction in using a homemade paste for your creative endeavors.
Here’s a basic recipe for a simple, effective flour paste glue that’s great for various craft applications:
- Combine 1 part expired flour with 2 parts cold water in a saucepan.
- Stir constantly over low heat with a whisk to avoid lumps.
- As the mixture heats, it will start to thicken slowly. Keep stirring until it reaches a smooth, homogeneous paste-like consistency (think slightly thicker than pancake batter).
- Once a good consistency is achieved, remove from heat.
- Let it cool completely before transferring to a jar or container. Label it with the current date.
I absolutely love making this glue for collage projects. It has a slightly different texture than commercial glues, which can add an interesting element to mixed-media art. Plus, the peace of mind knowing it’s all-natural is a huge bonus when crafting with kids. This glue is best used within about 4 days and should be stored in the refrigerator. It’s ideal for things like papier-mâché or scrapbooking.
DIY Modeling Clay from Expired Flour
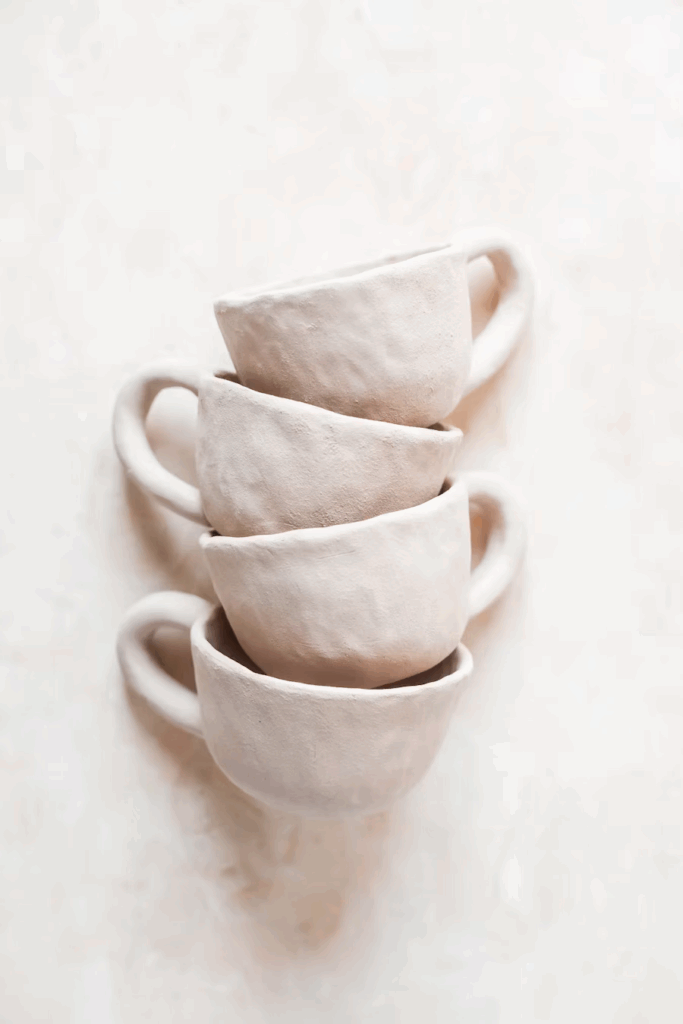
Ran out of store-bought modeling clay mid-project? Or perhaps you’re looking for a more natural, homemade alternative? Expired flour comes to the rescue again! You can create a pliable, homemade modeling clay that’s great for sculpting, making ornaments, or just general creative fun with a wonderfully soft texture. This is also a fantastic activity for a rainy craft day.
Here’s a simple recipe to get you started on your own batch of play dough:
| Ingredient | Quantity |
| Expired Flour | 1 cup |
| Salt | ½ cup |
| Cream of Tartar | 2 teaspoons |
| Hot Water | 1 cup |
| Vegetable Oil | 1 teaspoon |
Instructions:
- Combine the expired flour, salt, and cream of tartar in a saucepan.
- Add the hot water and vegetable oil to the dry ingredients.
- Stir continuously over low heat. The mixture will start to come together and form a coarse, doughy ball that pulls away from the sides of the pan.
- Once a cohesive dough forms, remove from heat and let it cool slightly.
- Turn the mixture out onto a work surface dusted with a little more expired flour (to prevent sticking) and knead by hand until smooth and pliable.
My kids and I recently made a batch of this modeling clay to create some fun, quirky figures. We divided the dough and added a few drops of food coloring to each section to make different colors. It was surprisingly soft and easy to work with, and the creations dried into sturdy shapes that we could then paint. Store this clay in airtight containers in the refrigerator; it can keep for several weeks or even months. It’s a great base for ornaments or small sculptures.
Crafting with Flour-Based Paint
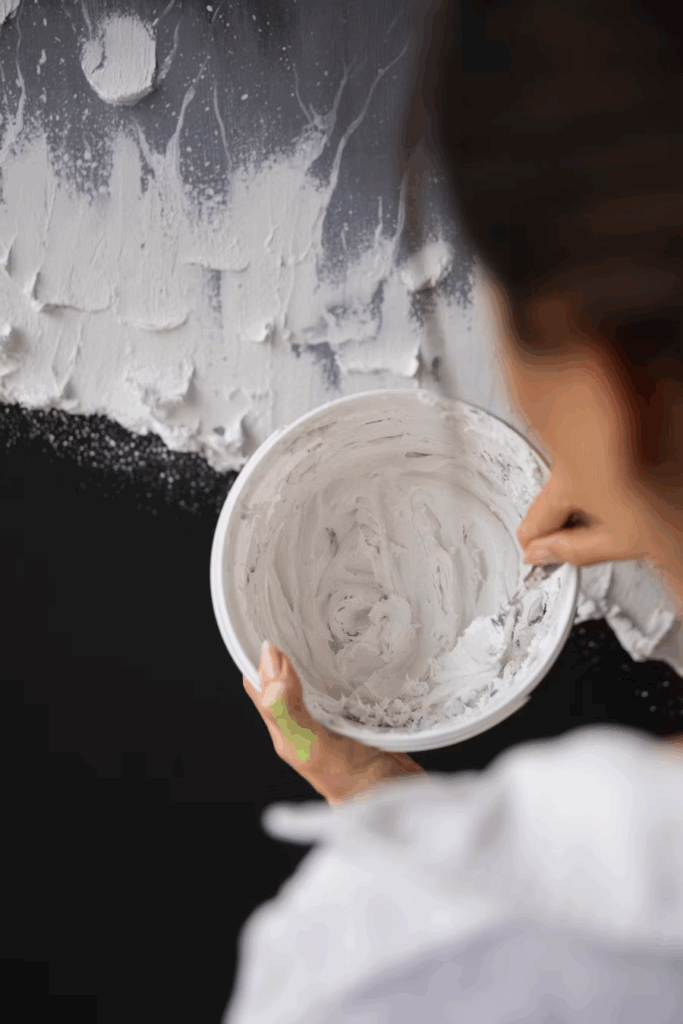
Looking for a unique, natural paint option for craft projects, especially on wood? Flour-based paint, sometimes known as “Falu Red” or Swedish paint (though this version is a simplified craft-friendly take), is an old technique that offers a durable and environmentally conscious alternative to some commercial paints. Your expired flour can be the base for this interesting medium, allowing you to create unique, matte finishes.
While a traditional Falu Red recipe involves specific pigments and cooking for exterior use, you can experiment with a simpler version for interior craft purposes by combining expired flour, water, and natural pigments (like earth pigments, or even spices like turmeric or paprika for color). The consistency will be different from acrylics or watercolors, more of a wash or stain depending on how much water you use. It can create beautiful, matte finishes. I haven’t tackled a large-scale project with this type of paint yet, but I did try a small test batch using flour and some natural oxide pigments I had on hand. It created a lovely, matte finish on a piece of scrap wood. It’s definitely a project that requires some experimentation to get the right consistency and color intensity, but the potential for creating unique, natural finishes is exciting! You might need additional ingredients like iron sulfate, linseed oil, and liquid soap for more durable versions suitable for exterior wood, but for simple craft pieces, a basic flour and pigment mix is a great starting point.
Using Expired Flour in a Face Mask
Okay, this one isn’t strictly a craft for objects, but it’s a wonderful act of self-care using an ingredient found in many craft-friendly kitchens! Expired flour can be used to create a simple, soothing face mask. Flour can have absorbent properties, which can be beneficial for oily or combination skin, helping to draw out excess oil and impurities.
A basic mask involves mixing expired flour with enough water or milk to form a smooth paste that’s easy to apply. You can also customize it by adding other natural ingredients you might have on hand, like a drizzle of honey (for moisture and potential antibacterial properties) or a pinch of turmeric (known for its potential anti-inflammatory benefits and a lovely color!). I was a little hesitant to put expired flour on my face at first, but after reading about its absorbent qualities, I decided to try a simple mask of flour and milk one evening after a long crafting session. It felt quite soothing and left my skin feeling soft. As with any new skincare product, it’s always a good idea to do a patch test on a small area of skin first to ensure you don’t have any adverse reactions.1
Expired Flour for Hair Conditioning
Similar to its use in a dry shampoo capacity (which some people find helpful for absorbing excess oil at the roots), expired flour can potentially be incorporated into natural hair conditioning treatments. The idea is that the fine texture of the flour can help absorb excess oil and potentially add some texture and body to hair, making it feel softer and more manageable when used as a mask that is then rinsed out.
Some natural hair enthusiasts experiment with mixing expired flour with water or other ingredients like yogurt or honey to create a hair mask. These masks are typically applied to the hair and scalp, left on for a period to allow the ingredients to work, and then rinsed out thoroughly. I’ve only briefly dabbled in homemade hair masks, but the concept of using flour is intriguing. I imagine a very finely milled all-purpose flour would be best for this application to minimize any potential residue. While I haven’t personally perfected a flour-based hair conditioner recipe yet, it’s definitely on my list of expired-flour experiments to try in the future, exploring different ratios and additives to see what works best for a natural conditioning boost!
So there you have it! Eight creative and useful ways to give that expired bag of flour a new lease on life in your crafting space. From cleaning and degreasing to creating art supplies and even a little self-care, there are so many possibilities waiting to be explored. Don’t let that past-its-prime flour go to waste – turn it into something wonderful and get crafting! Happy making!


Leave a Reply