
We’ve all been there. You reach for the milk jug, planning your morning coffee or a batch of pancakes, only to discover the dreaded expiry date has passed. That slightly-off smell fills the air, and your first instinct might be to sadly pour it down the drain. But wait! Before you bid farewell to that carton, consider this: “expired” milk, often just a little sour, still holds incredible potential beyond the breakfast table.
Far from being waste, this soured milk can be a secret weapon in your home, especially for those of us who love a good craft or a clever life hack. Think of it as milk with a tangy twist, ready to be transformed into something new and useful. Drawing inspiration from smart hacks and age-old wisdom, we’ve compiled seven fantastic ways to repurpose that past-its-prime dairy. Not only will you reduce food waste, but you might just discover a few new favorite tricks along the way!
Let’s dive into how you can turn that seemingly spoiled milk into a resource for cooking, cleaning, and even a little bit of self-care.
Marinating Meat: The Secret to Tender Bites

Expired milk, particularly when it’s just starting to sour, is remarkably similar to buttermilk. This acidity is a fantastic natural tenderizer for meat. The lactic acid in the milk helps to break down muscle fibers, resulting in meat that is incredibly tender, moist, and flavorful.
I remember the first time I tried this. I had a batch of chicken breasts that were destined for dinner, and a carton of milk that had just turned. A quick search led me to the idea of a milk marinade. Skeptical but willing to try anything to avoid waste, I whisked together the soured milk with some garlic powder, onion powder, paprika, salt, and pepper. I submerged the chicken breasts and let them marinate in the refrigerator for a few hours.
When I cooked them, the difference was astounding! The chicken was noticeably more tender and juicy than usual, with a subtle tang that enhanced the other seasonings. It was a simple trick that felt like pure culinary magic.
Creating Your Milk Marinade:
Making a milk marinade is incredibly easy. The basic ratio is simple, and you can customize the flavors based on the type of meat you’re using and your desired outcome.
Basic Milk Marinade Recipe
| Ingredient | Quantity | Notes |
| Expired Milk | 1 cup | Ensure it’s only slightly sour, not rancid |
| Acid (Lemon Juice or Vinegar) | 1 tablespoon | Enhances the tenderizing effect |
| Herbs and Spices | To taste | Get creative with your favorites! |
| Salt | 1/2 teaspoon | |
| Pepper | 1/4 teaspoon |
Instructions:
- In a bowl or resealable bag, combine the expired milk and acid.
- Whisk in your desired herbs, spices, salt, and pepper.
- Add the meat, ensuring it is fully submerged in the marinade.
- Marinate in the refrigerator for at least 2-4 hours. For tougher cuts of meat, you can marinate overnight.
- Remove the meat from the marinade and cook as desired. Discard the used marinade.
This method works wonders for chicken, pork, and even tougher cuts of beef. The enzymes in the milk work their magic, leaving you with perfectly tender and flavorful results every time.
Crafting Homemade Cheese: From Carton to Curd

Transforming expired milk into cheese might sound intimidating, but it’s surprisingly simple and incredibly rewarding. Certain types of fresh cheese, like paneer or ricotta, are easily made by separating the milk solids (curds) from the liquid (whey) using heat and an acid. Expired milk, with its slightly higher acidity, is actually well-suited for this process.
My grandmother used to make fresh cheese regularly, and I was always fascinated by how she could turn a simple pot of milk into something so different. She’d use milk that was just on the verge of turning, a practice that felt like alchemy to my young eyes. The process was slow and gentle, a true labor of love that resulted in a fresh, mild cheese perfect for crumbling into dishes or enjoying on its own.
Making Simple Fresh Cheese:
You only need a few basic tools and ingredients to embark on your cheese-making adventure.
Simple Fresh Cheese (Paneer/Ricotta Style)
| Equipment | Ingredients |
| Large Pot | Expired Milk (approx. 4-6 cups) |
| Cheesecloth | Lemon Juice or Vinegar (2-3 tablespoons) |
| Colander or Sieve | Salt (optional, to taste) |
| Spoon or Spatula |
Instructions:
- Pour the expired milk into a large pot and heat it gently over medium heat. Stir occasionally to prevent sticking.
- Bring the milk to a gentle simmer. You’ll start to see some steam rising.
- Once simmering, reduce the heat to low and gradually add the lemon juice or vinegar, stirring gently. You should see the milk begin to curdle immediately, separating into white clumps (curds) and yellowish liquid (whey).
- If the milk doesn’t fully separate, add a little more acid, a teaspoon at a time, stirring gently until clear separation occurs. Avoid adding too much acid, as it can make the cheese tough.
- Remove the pot from the heat and let it sit for 5-10 minutes to allow the curds to fully form.
- Line a colander or sieve with cheesecloth and place it over a bowl to catch the whey.
- Carefully pour the curds and whey into the cheesecloth-lined colander.
- Gather the edges of the cheesecloth and gently squeeze out the excess whey. You can save the whey for other uses, like baking or adding to soups.
- For a firmer cheese like paneer, you can press the curds by placing a weight on top of the cheesecloth bundle for an hour or two. For a softer cheese like ricotta, simply drain off the excess whey.
- Season with salt if desired. Your fresh cheese is ready to use!
This homemade cheese is a wonderful addition to salads, curries, or as a simple spread. It’s a rewarding way to transform milk that might otherwise have been discarded.
Whipping Up Homemade Yogurt: A Cultured Creation
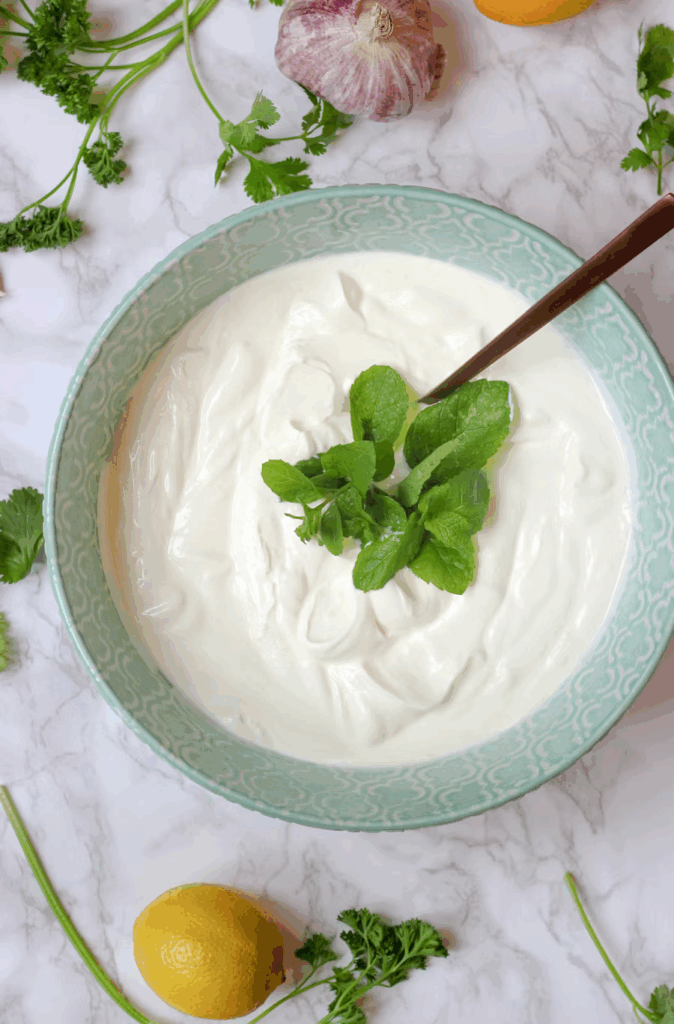
Even expired milk can be used to create delicious homemade yogurt. The key here is to ensure the milk is heated to a high enough temperature to kill off any undesirable bacteria before introducing live yogurt cultures. This process essentially gives the milk a fresh start, allowing the good bacteria to thrive and transform it into creamy yogurt.
I first learned about making yogurt at home from a friend who was passionate about fermentation. She showed me how a little bit of existing yogurt could magically turn a whole batch of milk into something entirely new. It felt like a science experiment, and the satisfaction of spooning into that first batch of homemade yogurt was immense. Using expired milk for this felt like an extension of that, a way to coax new life from something old.
Crafting Your Own Yogurt:
Making yogurt requires a bit of patience and temperature control, but the process is quite straightforward.
Homemade Yogurt from Expired Milk
| Equipment | Ingredients |
| Large Pot | Expired Milk (approx. 4-6 cups) |
| Thermometer | Plain Yogurt with Live Cultures (2-3 tablespoons) |
| Jars or Containers | |
| Warm Place (e.g., oven with light on, or a cooler) |
Instructions:
- Pour the expired milk into a large pot and heat it over medium heat.
- Heat the milk to 180°F (82°C). This step is crucial for killing off any competing bacteria. Stir occasionally to prevent scorching.
- Remove the milk from the heat and let it cool down to between 110-115°F (43-46°C). This is the ideal temperature for the yogurt cultures to thrive. You can speed up the cooling by placing the pot in an ice bath.
- Once the milk has cooled to the target temperature, scoop out about half a cup of the warm milk and whisk it thoroughly with the plain yogurt that contains live cultures. This tempers the yogurt and helps it mix smoothly into the larger batch of milk.
- Pour the inoculated milk into the pot of warm milk and stir gently to combine.
- Pour the inoculated milk into clean jars or containers.
- Place the jars in a warm environment to incubate. A turned-off oven with the light on or a cooler filled with warm water can work well. The goal is to maintain a consistent temperature of around 110-115°F (43-46°C).
- Allow the yogurt to incubate for at least 4-8 hours, or until it has thickened to your desired consistency. The longer it incubates, the tangier it will become.
- Once thickened, remove the yogurt from the warm environment and refrigerate for a few hours to chill and set further.
Enjoy your homemade yogurt! You can use it plain, sweeten it with honey or fruit, or use it in recipes.
Conditioning Leather: A Nourishing Treatment

Expired milk can be a surprising ally in caring for your leather goods. The natural fats and lactic acid in milk can help to moisturize and condition leather, keeping it supple and preventing it from drying out and cracking. This is a simple, natural way to maintain the appearance and extend the lifespan of your leather items.
I learned this trick from an old cobbler. I had brought in a pair of well-loved leather boots that were looking a bit tired and scuffed. He recommended using a little milk to clean and condition them, explaining how the natural components of the milk could nourish the leather. I was hesitant at first, but after seeing the results on my boots – they looked renewed and the leather felt softer – I was a convert.
Using Milk to Condition Leather:
This method is incredibly easy and requires minimal effort.
Leather Conditioning with Expired Milk
| Equipment | Ingredients |
| Soft Cloth | Expired Milk |
| Clean Cloth |
Instructions:
- Dip a soft cloth into expired milk, ensuring it’s damp but not dripping wet.
- Gently rub the milk onto the surface of your leather item in a circular motion. Pay attention to any dry or scuffed areas.
- Allow the milk to sit on the leather for a few minutes to allow it to penetrate.
- Walk away for a few minutes, perhaps to gather your other leather items or simply admire your handiwork so far.
- Return and wipe off any excess milk with a clean cloth.
- Buff the leather gently with the clean cloth to bring out a shine.
This technique is suitable for various leather items, including shoes, bags, wallets, and even furniture. Always test on a small, inconspicuous area first to ensure it doesn’t discolor the leather.
Creating Natural Fertilizer: Feeding Your Plants
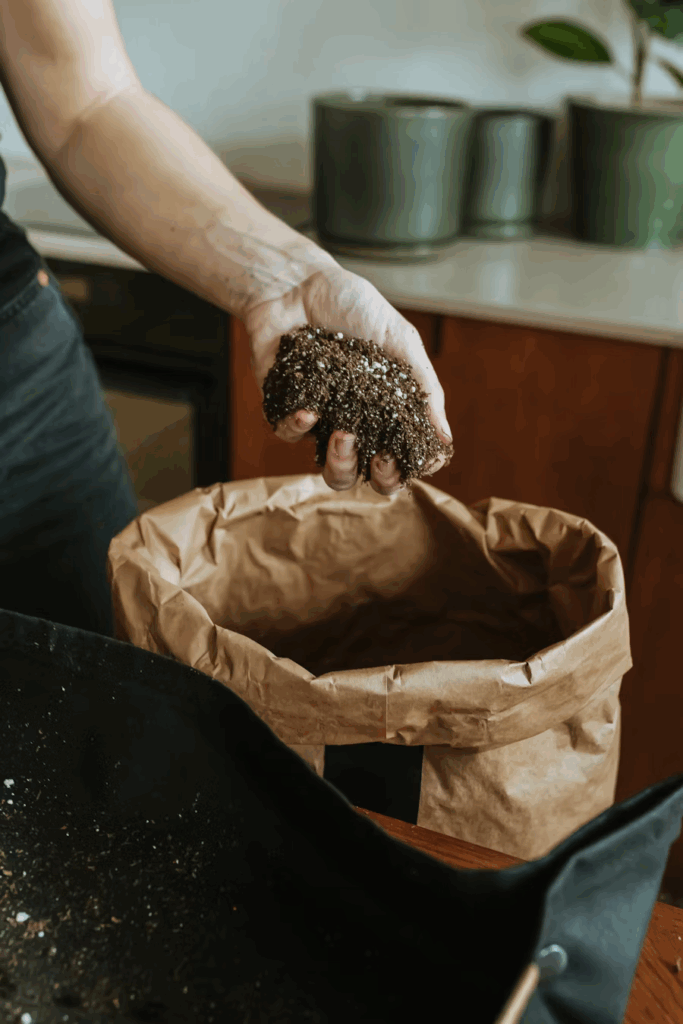
Your leafy green friends can also benefit from expired milk! Diluted expired milk can be used as a natural fertilizer, providing plants with valuable nutrients like calcium, proteins, and sugars that can promote healthy growth. Certain plants, like roses, tomatoes, and peppers, particularly appreciate a milk boost.
My neighbor, a passionate gardener, swore by using milk in her garden. She had the most vibrant roses on the block, and she attributed their health partly to her “secret ingredient” – diluted expired milk. She explained how the calcium helped strengthen the plants and the sugars fed beneficial microorganisms in the soil. I started using it on my own tomato plants, and I did notice they seemed more robust and productive.
Using Milk as Plant Fertilizer:
It’s important to dilute the milk to avoid potential issues like attracting pests or creating unpleasant odors.
Diluted Milk Fertilizer
| Ingredients | Ratio |
| Expired Milk | 1 part |
| Water | 2-3 parts |
Instructions:
- Mix one part expired milk with two to three parts water in a watering can or container.
- Use this diluted mixture to water the base of your plants, focusing on the soil around the roots.
- Avoid getting the milk mixture on the leaves, as this can sometimes promote fungal growth.
- Use this fertilizer sparingly, perhaps once every few weeks, to avoid over-saturating the soil with milk.
Observe your plants to see how they respond. If you notice any adverse effects, reduce the frequency of application or further dilute the mixture.
Using in Baked Goods: A Buttermilk Substitute
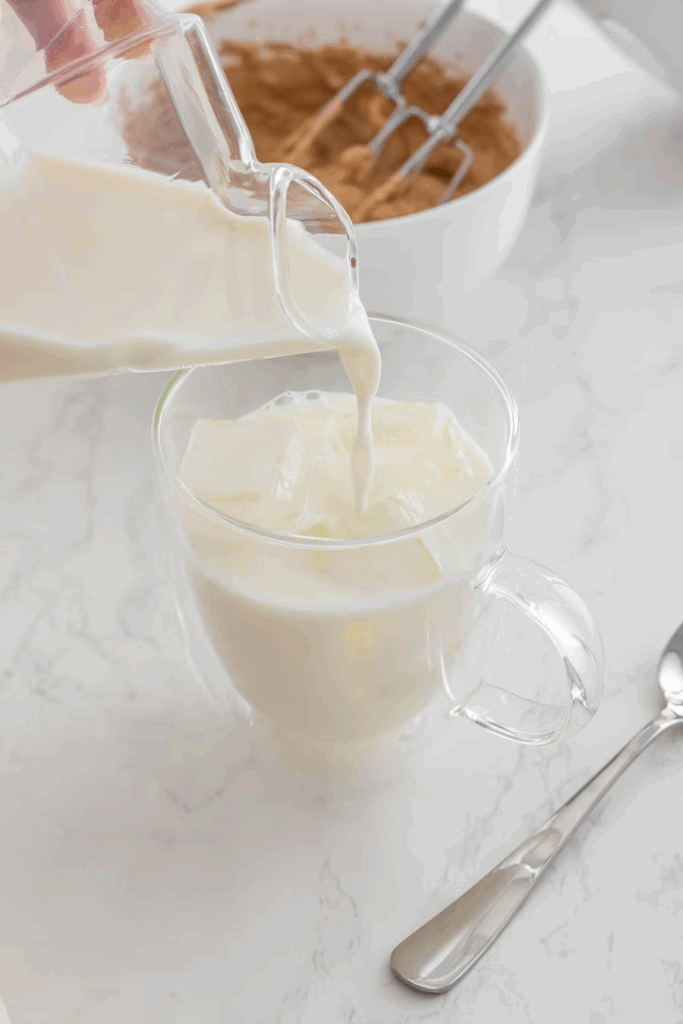
When milk sours, it becomes more acidic, much like buttermilk. This makes slightly expired milk an excellent substitute for buttermilk in baking recipes. The acidity reacts with leavening agents like baking soda, helping baked goods to rise and creating a tender, moist crumb.
I’m an avid baker, and there have been many times I’ve started a recipe only to realize I’m out of buttermilk. Discovering that I could use my slightly sour milk instead was a game-changer. My pancakes became fluffier, my muffins more tender, and my biscuits had a delightful tang that I hadn’t achieved before. It felt like I had unlocked a baking secret!
Substituting Expired Milk for Buttermilk:
In most recipes calling for buttermilk, you can directly substitute slightly expired milk without any adjustments.
Recipes Where Expired Milk Shines (as a Buttermilk Substitute):
- Pancakes
- Waffles
- Biscuits
- Muffins
- Scones
- Quick breads
- Some cake recipes
The slight tang of the soured milk can even enhance the flavor profile of your baked goods. The heat of baking will eliminate any concerns about using milk that is slightly past its prime for consumption.
As a Skin Softener: A Milky Bath
For a luxurious and skin-soothing treat, add expired milk to your bathwater. The lactic acid in the milk acts as a gentle exfoliant, helping to remove dead skin cells and leaving your skin feeling soft and smooth. This is a practice that dates back centuries, reportedly used by figures like Cleopatra for its beautifying properties.
I was initially hesitant to pour milk into my bath, but a friend convinced me to try it, describing the incredibly soft feeling of her skin afterward. The first time I did, I added a few cups of slightly sour milk to warm bathwater. The water felt silky, and after soaking for about twenty minutes, my skin felt noticeably softer and more hydrated than after a regular bath. It felt like a simple, natural spa treatment right at home.
Taking a Milk Bath:
Adding milk to your bath is effortless and can be a relaxing way to use up expired milk while benefiting your skin.
Milk Bath Instructions:
- Fill your bathtub with warm water as usual.
- Add 1-2 cups of expired milk to the bathwater.
- Swirl the water to disperse the milk.
- Soak in the milk bath for 15-30 minutes.
- Rinse off with clean water after your bath if desired, though it’s not strictly necessary.
You can also add essential oils for fragrance or Epsom salts for added relaxation benefits. This is a wonderful way to pamper yourself and use up that extra milk.
From the kitchen to the craft room and even your personal care routine, expired milk has a surprising number of uses. By rethinking how we view food that’s just past its prime, we can reduce waste and discover creative solutions for everyday tasks. So the next time you find a carton of milk that’s gone a little sour, don’t despair – get creative and give it a second life! What are your favorite ways to use expired milk? Share your tips and tricks in the comments below!


Leave a Reply