Hello, my lovely craft enthusiasts! 🌸 Today, I’m thrilled to share a DIY project that’s close to my heart—a beautiful seashell lamp that will light up your space with a cozy, beachy vibe. Whether you’re a seasoned crafter or just looking for a fun project to do on the weekend, this tutorial is for you!
I’ve always had a special place in my heart for the ocean. Growing up, my family would take trips to the beach every summer, and I’d spend hours collecting seashells. Now, as a mom, I love finding ways to bring that calming seaside feeling into my home. This seashell lamp does just that, and I can’t wait to show you how to make it!
Materials You’ll Need
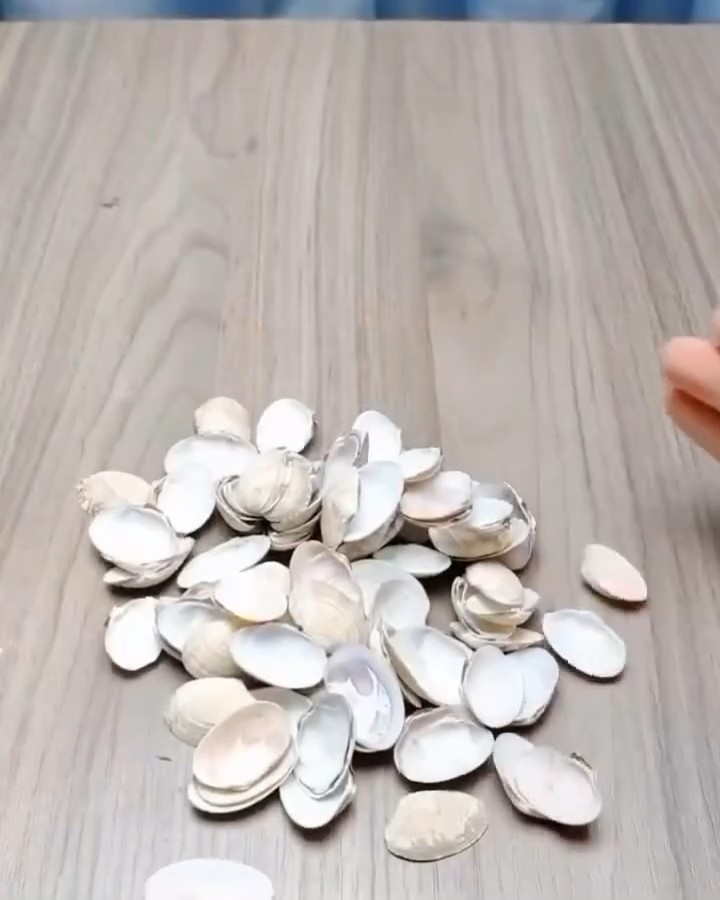
- A collection of seashells (you can find these at a craft store or, better yet, use ones you’ve collected on your own beach trips!)
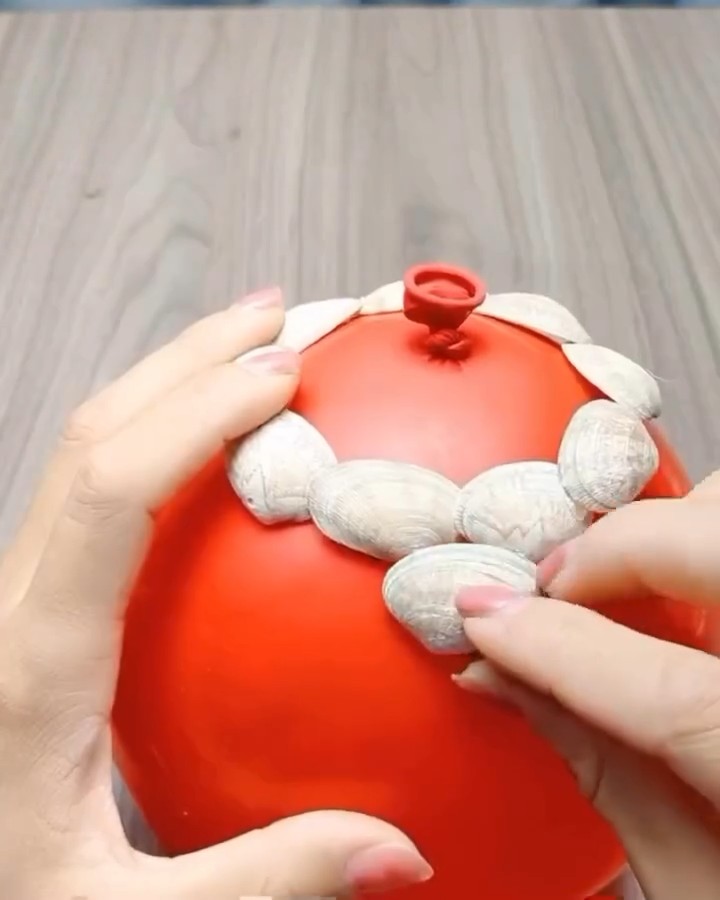
- A balloon 🎈
- Strong adhesive or hot glue gun
- Twine or jute rope
- A light bulb with a holder
- A sturdy wire or flexible pipe
- A base for the lamp (you can use an old lamp base or even a sturdy piece of wood)
Step 1: Creating the Seashell Sphere
Start by blowing up a balloon to the size you want your lampshade to be. This will act as your mold. Then, carefully start gluing your seashells onto the balloon. Tip: Start at the top and work your way down in a circular pattern, overlapping the shells slightly to cover the balloon completely.
Personal Note: This part is so relaxing! I love to put on some calming music and just let myself get lost in the process. It’s almost like being back at the beach, hearing the waves and feeling the sand between my toes. 🌺
Why Use a Balloon?
The balloon is a great mold because it’s easy to work with and will be popped and removed later, leaving you with a perfect seashell sphere!
Step 2: Securing the Shells
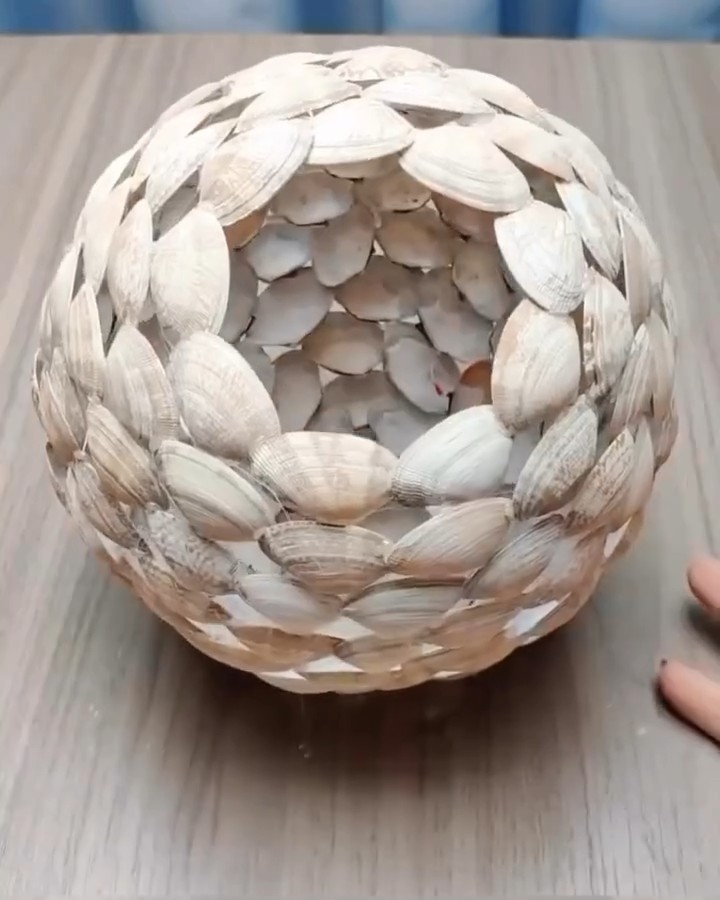
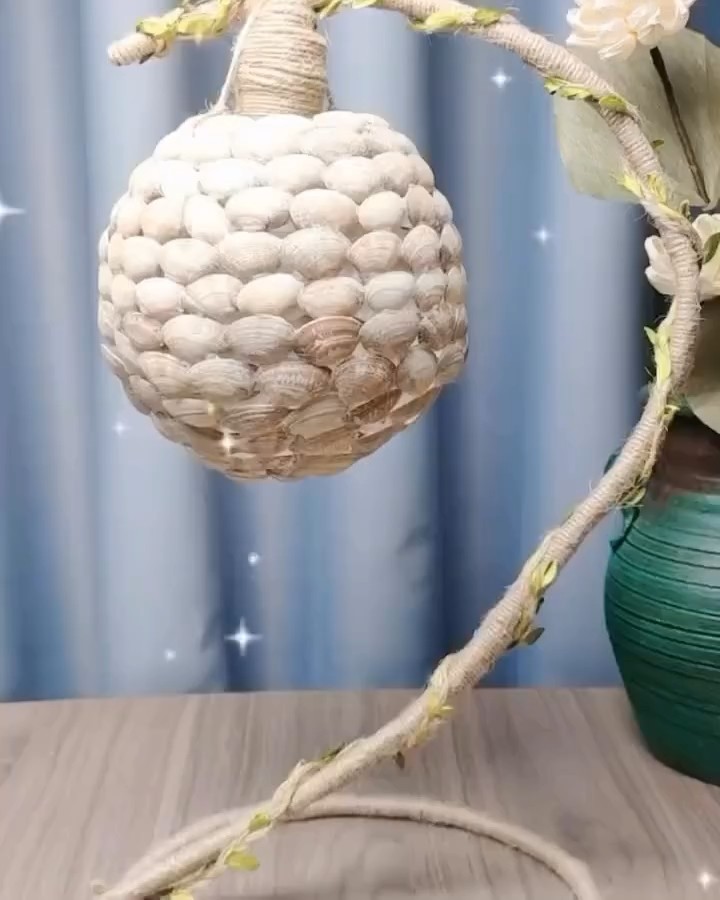
Once all the shells are glued on and have dried completely, it’s time for the fun part—popping the balloon! 🎈 Carefully pop it and remove it from inside the seashell sphere. You’ll be left with a stunning, hollow shell structure that’s just begging to be turned into a lamp.
Pro Tip: If there are any gaps between the shells, you can fill them in with smaller shells or even bits of twine for a more rustic look.
Step 3: Preparing the Lamp Stand
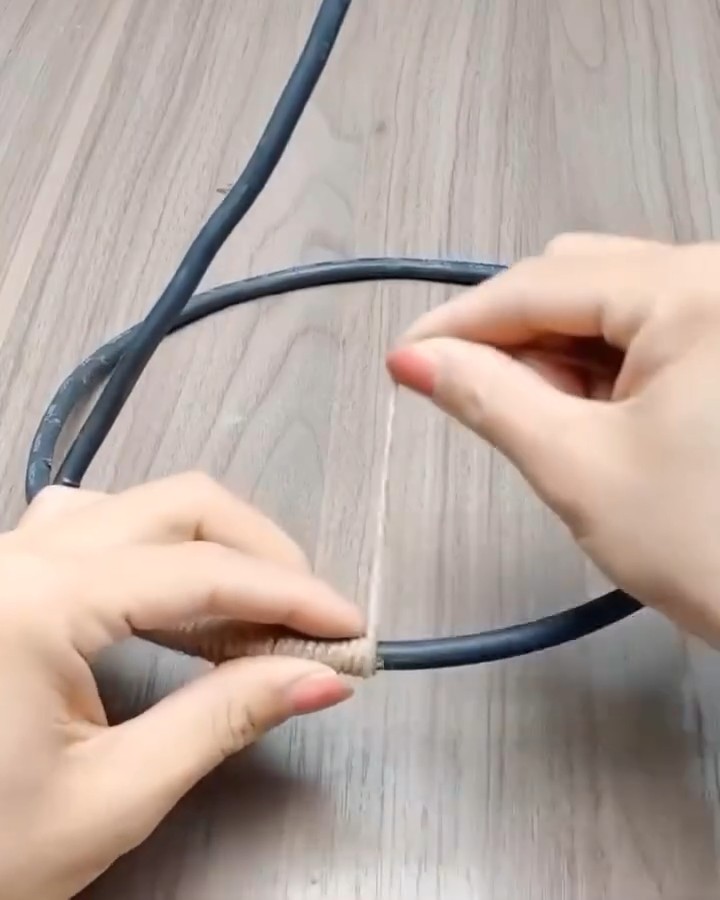
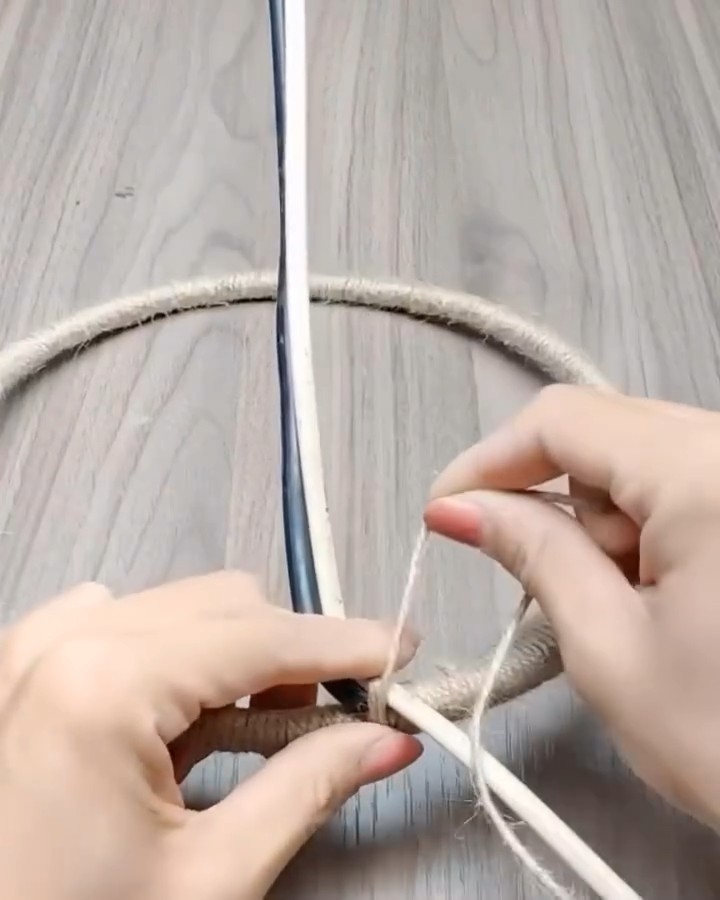
Now that your lampshade is ready, it’s time to move on to the base. Take your flexible pipe or sturdy wire and bend it into a curved shape to act as the lamp stand. Wrap it with twine or jute rope to give it a natural, nautical feel. This is where your creativity can really shine—don’t be afraid to experiment with different shapes and wrapping techniques!
Step 4: Assembling the Lamp
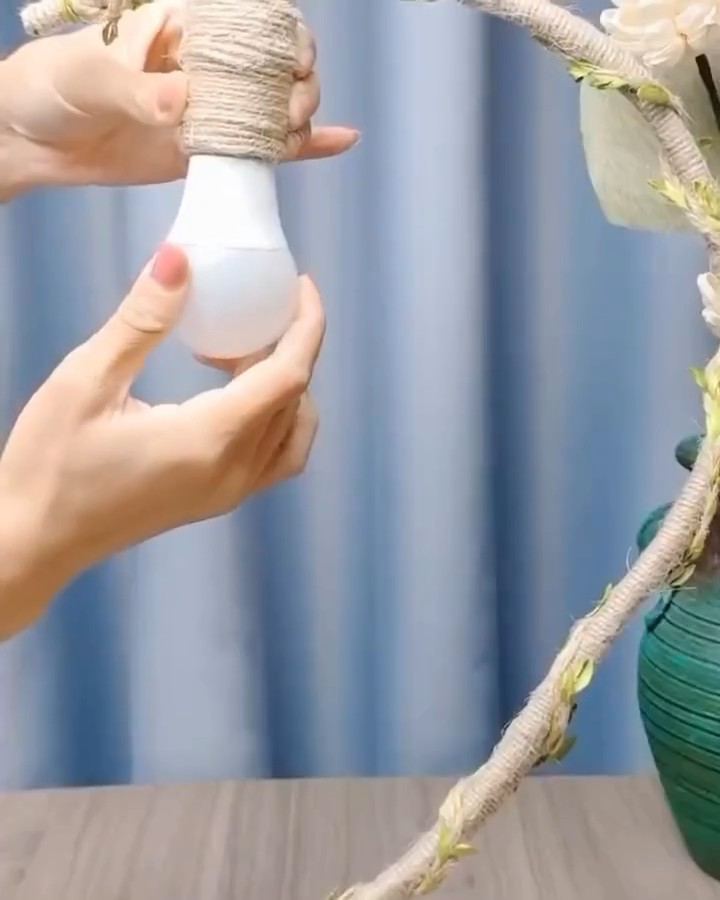
Attach the bottom of your wire stand to your lamp base securely. Then, attach the light bulb holder to the top of the stand. Make sure everything is nice and secure—after all, we don’t want our beautiful creation falling apart! Finally, place the seashell sphere over the light bulb holder, making sure it sits snugly.
Personal Note: When I first tried this project, I was a little nervous about the assembly, but it turned out to be so much fun! My little one even helped me with the twine wrapping, and we had a blast doing it together. It’s amazing how crafting can bring the whole family together. 🥰
Step 5: Light It Up!
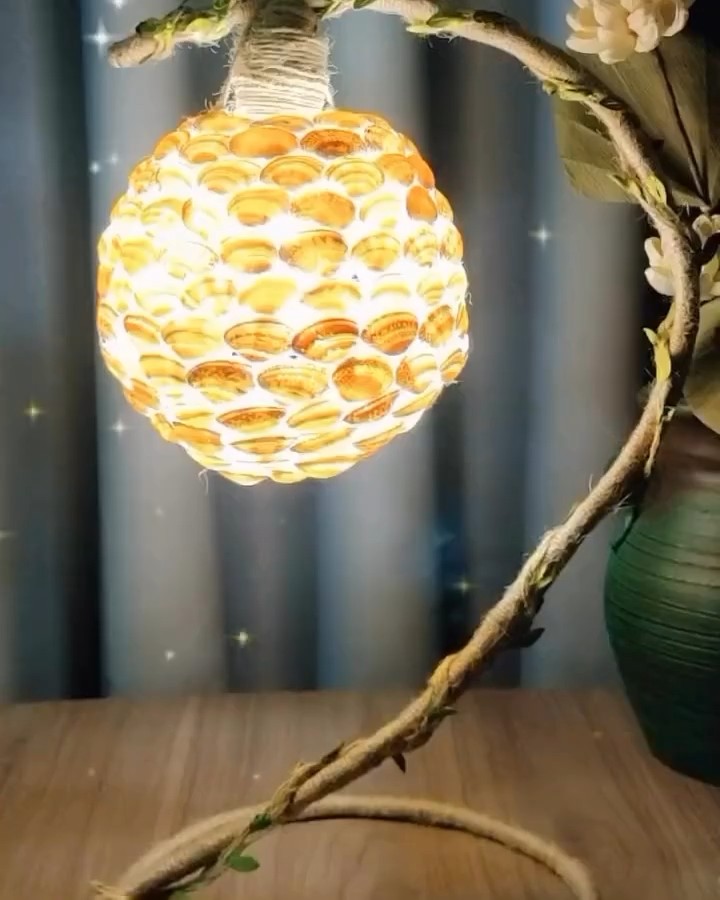
Now for the best part—turning on your lamp! As the light shines through the seashells, you’ll see a warm, inviting glow that instantly transforms the room. It’s like having a piece of the ocean right in your home. 🌅
Pro Tip: If you want to get extra fancy, you can use colored LED bulbs for a cool, beachy effect.
Why This Lamp is Special
This lamp isn’t just a decor piece—it’s a little slice of summer that you can enjoy all year round. Every time I see mine, it reminds me of those sun-soaked days at the beach, collecting shells with my family. And now, it’s a memory that I’ve turned into something beautiful for my home.
So, if you’re looking for a project that’s both fun and meaningful, I can’t recommend this seashell lamp enough. Trust me, you’ll love having it in your space as much as I do. 💖

Leave a Reply