Watercolor painting has always been a go-to for me when I need a moment to unwind. The fluidity of the colors blending on paper brings a sense of calm that few other activities can match. Today, I’m thrilled to guide you through a simple yet elegant watercolor stone painting—a perfect project for a cozy afternoon at home. Imagine the gentle balance of stones stacked in a zen-like arrangement, each one uniquely shaded, bringing a sense of peace and tranquility into your space. Let’s get started!

🖌️ Materials You’ll Need 🖌️
Before we dive into the creative process, let’s gather our materials:
- Watercolor paper (300gsm is ideal for preventing warping)
- Watercolor paints (make sure you have earthy tones like ochre, olive green, and grey)
- Paintbrushes (a medium round brush works best for this project)
- Pencil (for light sketching)
- Masking tape (optional, to keep your paper in place)
- Palette and water jar
Step 1: Sketching the Stone Stack
Begin by lightly sketching the outline of your stone stack on the watercolor paper. The key here is to keep the shapes organic and varied in size—just like real stones. The sketch in the image shows a simple stack with three or four stones, each one slightly different in shape, which gives the painting its natural look.
Tip: Keep your pencil marks light and minimal, as the watercolor will do most of the work in defining the stones.
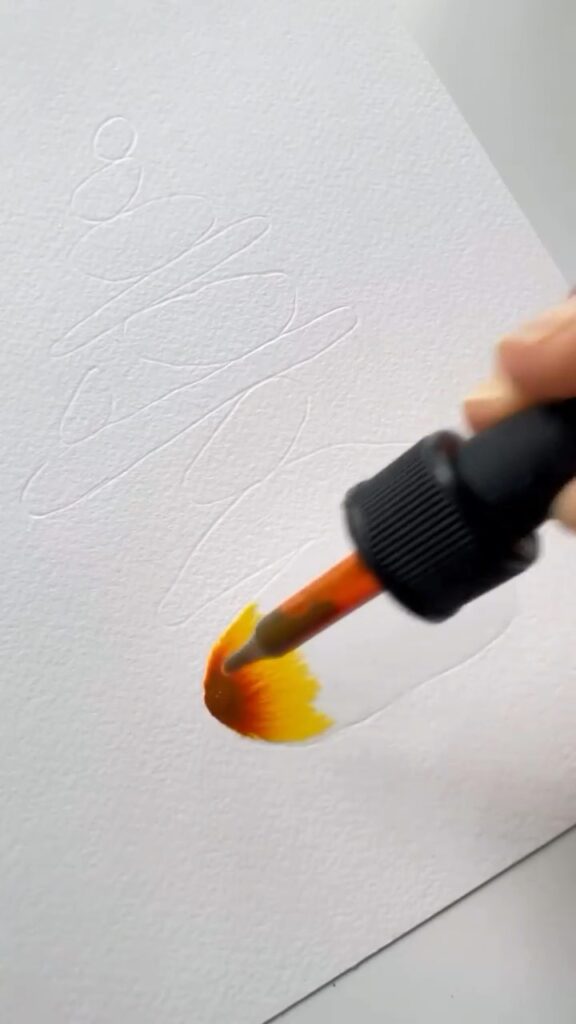
Step 2: Laying Down the First Color Layer 🎨
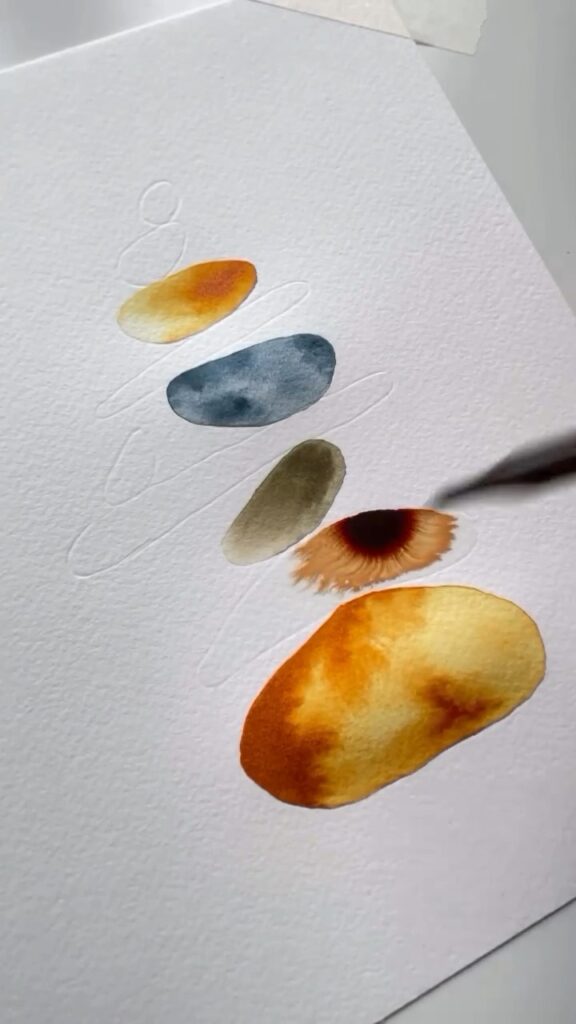
In the first frame, you can see the artist applying a warm yellow and orange hue to the largest stone at the bottom. Using a round brush, start by wetting the area of the stone with clean water. This technique, known as “wet-on-wet,” allows the colors to blend softly, creating beautiful gradients.
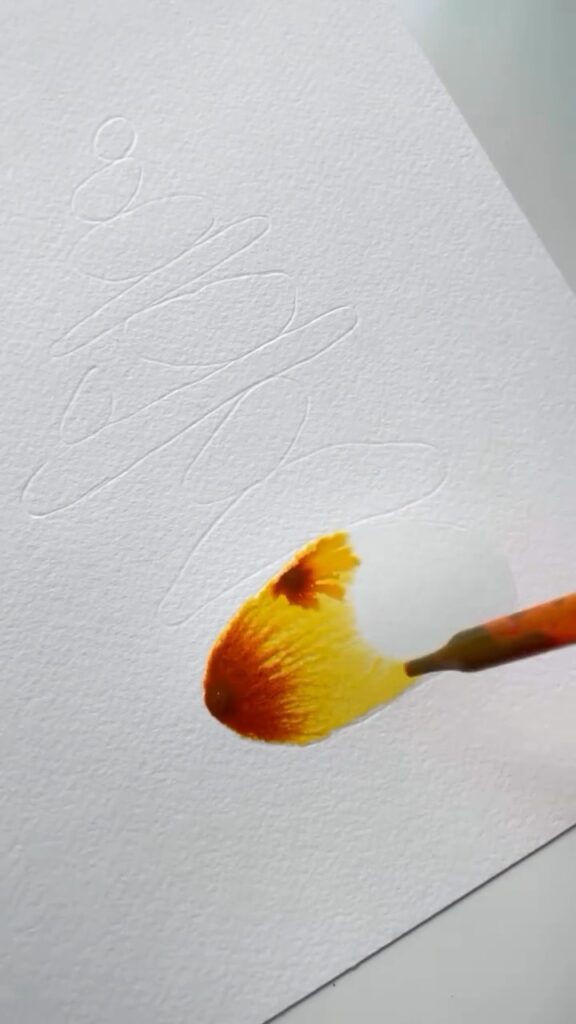
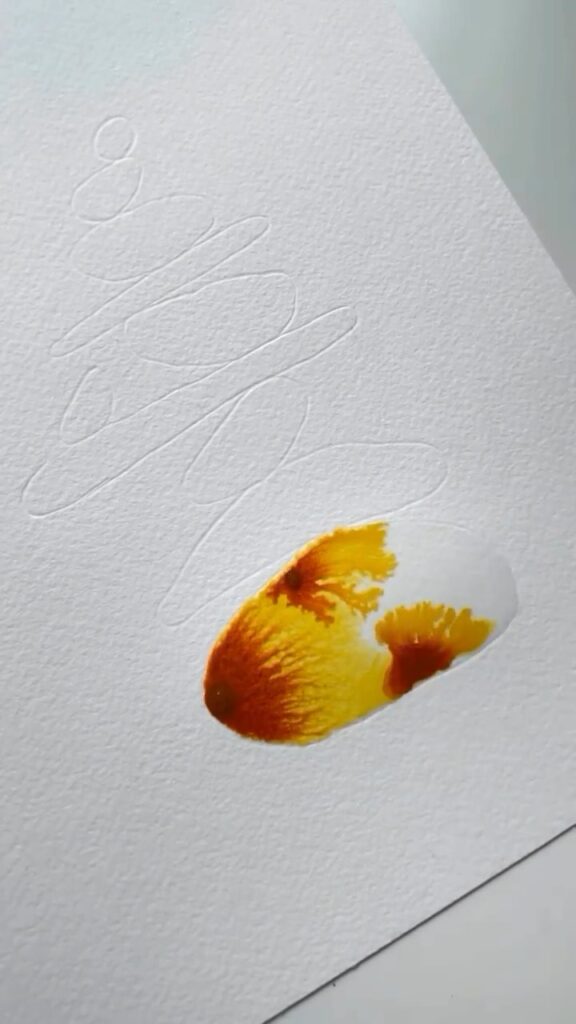
Dab your brush into the yellow paint and gently apply it to the wet area. As you can see in the second and third frames, the color begins to spread, creating a soft, diffused look. Gradually add a touch of orange near the edges to give the stone a warm, glowing effect.
Tip: Don’t worry if the colors bleed into each other—this is the magic of watercolors! Let the water do the work for you.
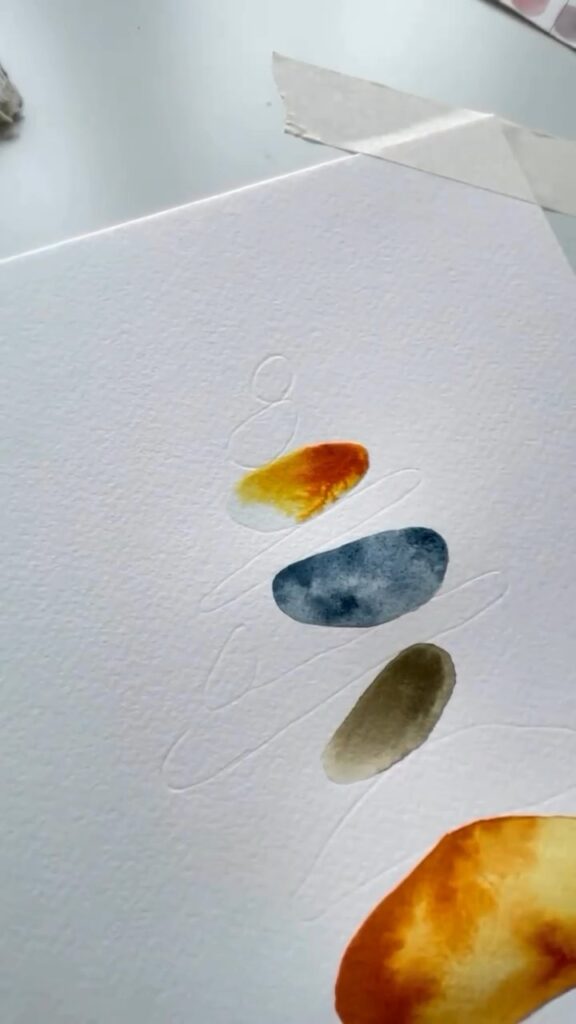
Step 3: Painting the Smaller Stones 🪨
Next, move on to the smaller stones above. The artist in the image uses a similar wet-on-wet technique, but this time with different colors. For the smaller stone at the top, a soft yellow is used, while the middle stones are painted with a cool grey and olive green.
In the fourth and fifth frames, you can see how the colors are gently applied to the wet areas, allowing them to spread naturally. The grey stone has a beautiful gradient that shifts from light to dark, adding depth to the composition.
Tip: When painting multiple stones, vary the color intensity and shading to create contrast and make each stone stand out.
Step 4: Adding Final Details 🌟
Once the initial layers are dry, it’s time to add some final touches. In the last frame, the artist darkens the edges of the stones slightly to give them more definition and a rounded, three-dimensional look. This step really makes the stones pop against the white background.
If you want to add a bit more character, you can even splatter some paint around the stones to mimic the texture of real stone surfaces. Just dip your brush in paint, hold it over the paper, and tap gently.
Tip: Less is more when it comes to details. Focus on enhancing the natural flow of the colors rather than adding too much.
Conclusion: Finding Zen in Watercolor 🎨
There’s something incredibly soothing about painting stones, don’t you think? As you layer colors and watch them blend seamlessly, it’s like stacking your own little zen garden on paper. This watercolor stone painting is not just an art project—it’s a moment of mindfulness, a chance to slow down and connect with the simplicity and beauty of nature.
Whether you’re a seasoned artist or just dipping your toes into watercolors, I hope this tutorial inspires you to create something beautiful today. Take your time, enjoy the process, and remember that every brushstroke is a step towards your artistic zen. Happy painting! 🌸

Leave a Reply