When it comes to watercolor painting, there’s something so soothing about bringing nature to life on paper. Whether you’re a seasoned artist or just starting out, painting a simple yet detailed subject like a porcini mushroom can be both a fun and rewarding experience. Today, I’m excited to guide you through how I painted this delicious-looking porcini mushroom! 🎨✨
🎨 What You’ll Need
Before we dive into the steps, let’s make sure you have everything ready to go. The tools you’ll need are pretty straightforward:
- Watercolor Paper: I always opt for high-quality, textured paper. It makes a world of difference in how the paint interacts with the surface.
- Watercolors: I used earthy tones for this project—think burnt sienna, ochre, and a touch of black.
- Paintbrushes: A mix of fine-tipped and broader brushes will help you achieve the details and shading.
- Water & Palette: Keep your water clean and have a palette ready for mixing colors.
🌟 Step-by-Step Porcini Mushroom Painting Tutorial
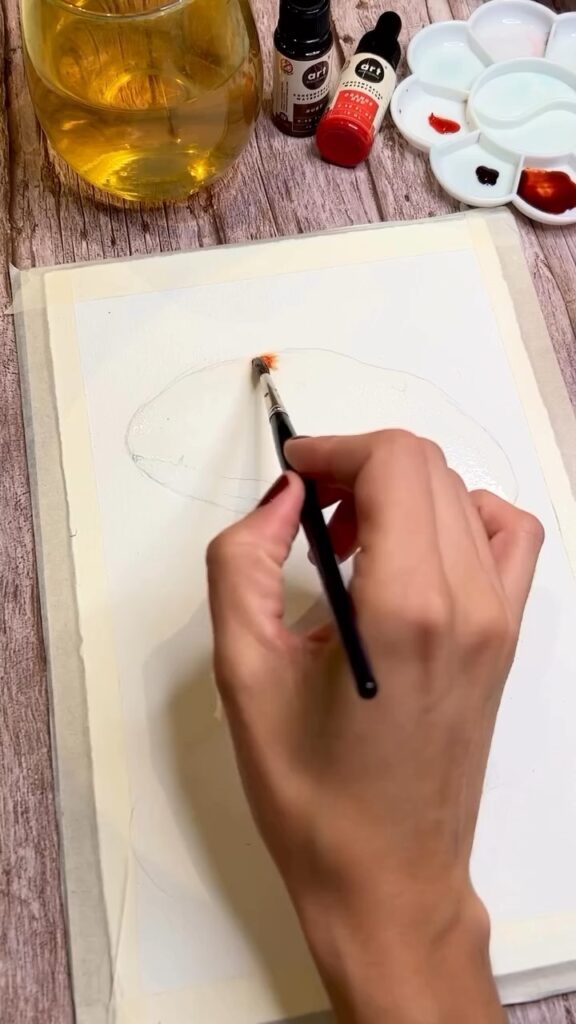
1. Sketch the Mushroom
Start by lightly sketching the outline of your mushroom. Don’t worry about making it perfect—this is just to guide where you’ll place your colors. The top of the mushroom should be broad and slightly domed, with the stem tapering down to the base. 🖋️
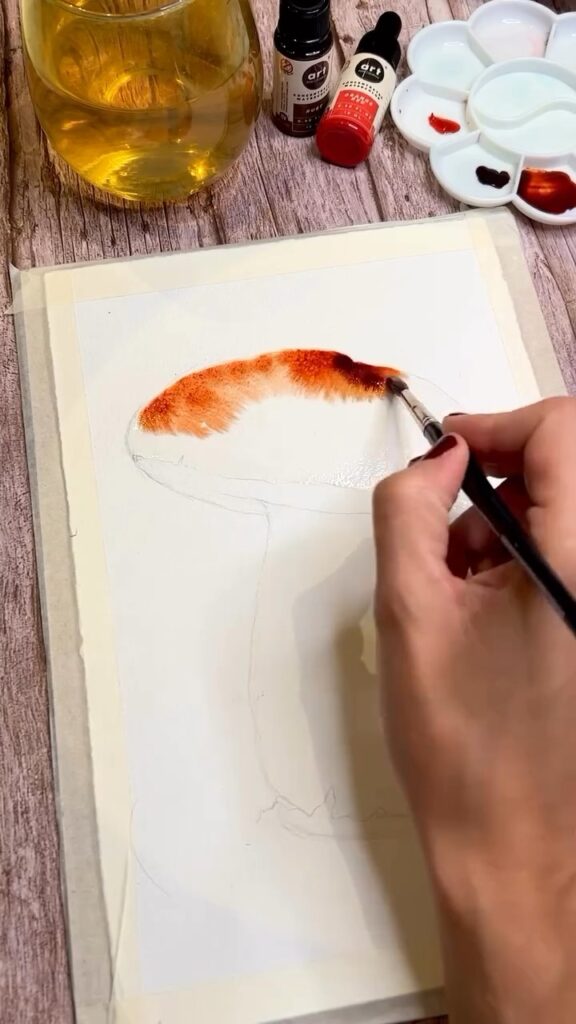
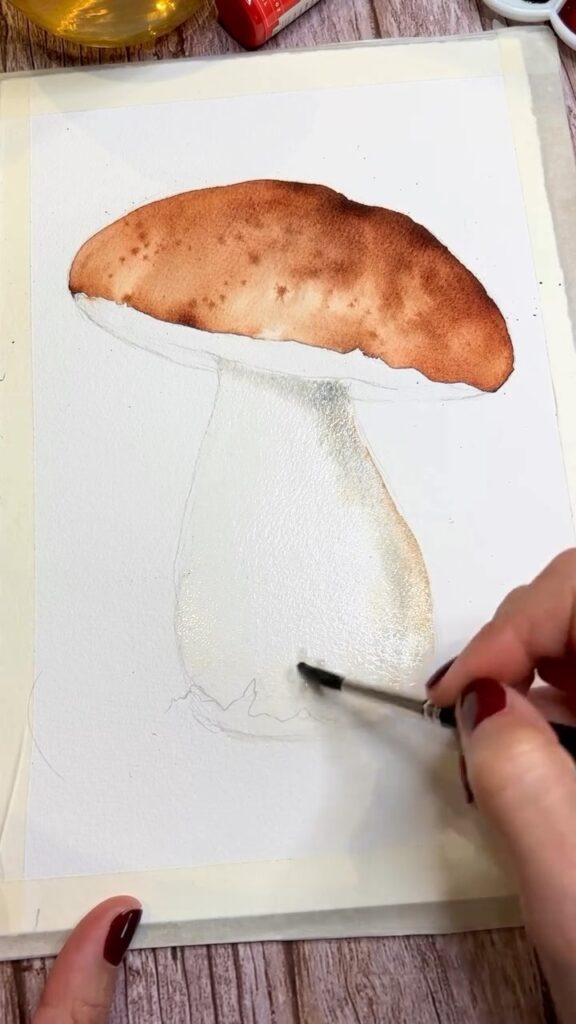
2. Begin with the Cap
Dip your brush into a warm, reddish-brown shade (like burnt sienna) and start filling in the mushroom cap. Notice how the cap has a rich, velvety texture? To mimic this, I applied the paint in light, sweeping strokes, gradually building up the intensity of the color. The edges can be slightly darker to give the cap a rounded, 3D effect. 🌰
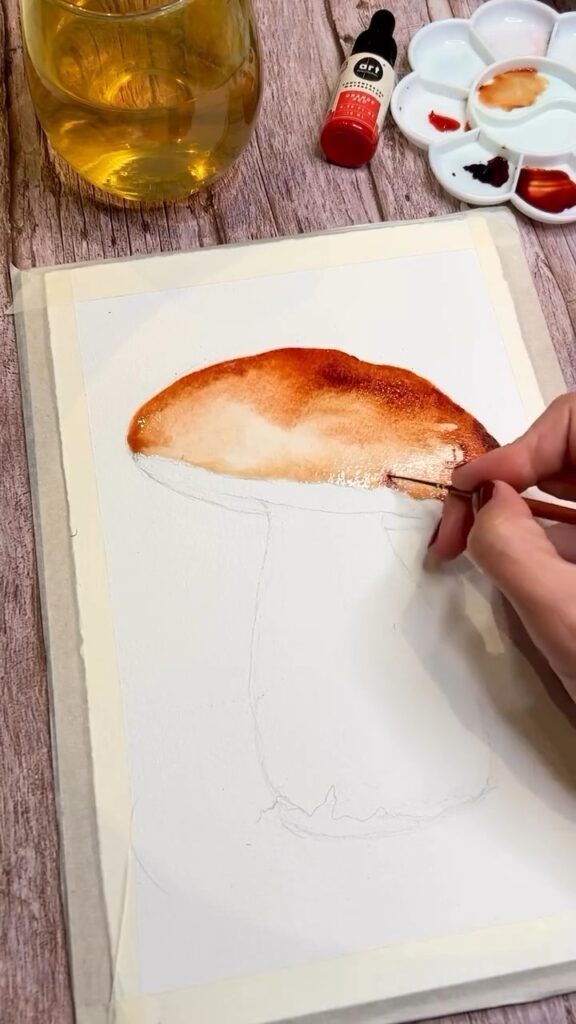
3. Add Depth to the Cap
Once the base layer is dry, go back in with a slightly darker brown to add shadows where the cap curves and folds. This will really make the mushroom pop off the page. Use your brush to gently blend the colors together, creating a soft gradient. 🎨
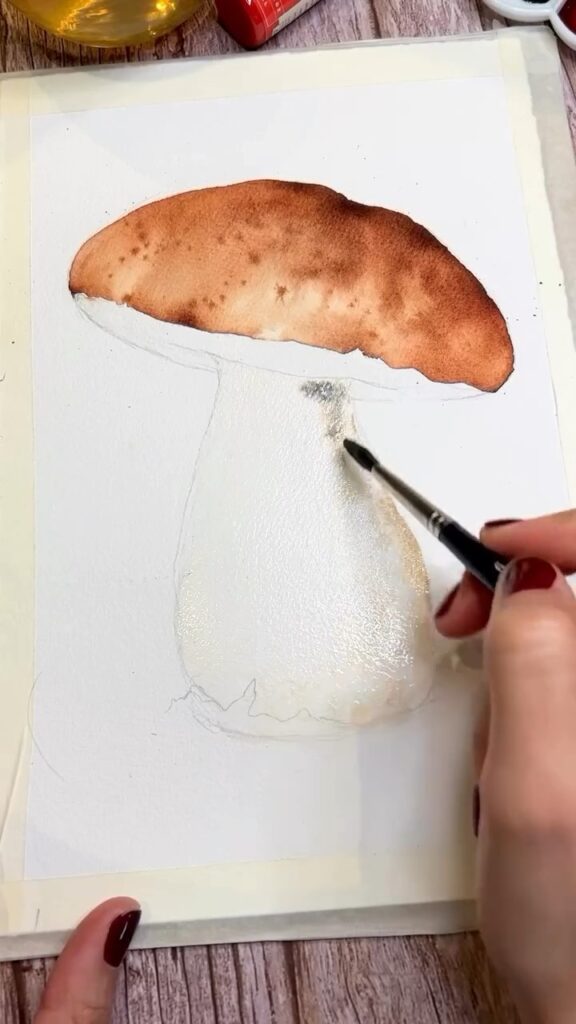
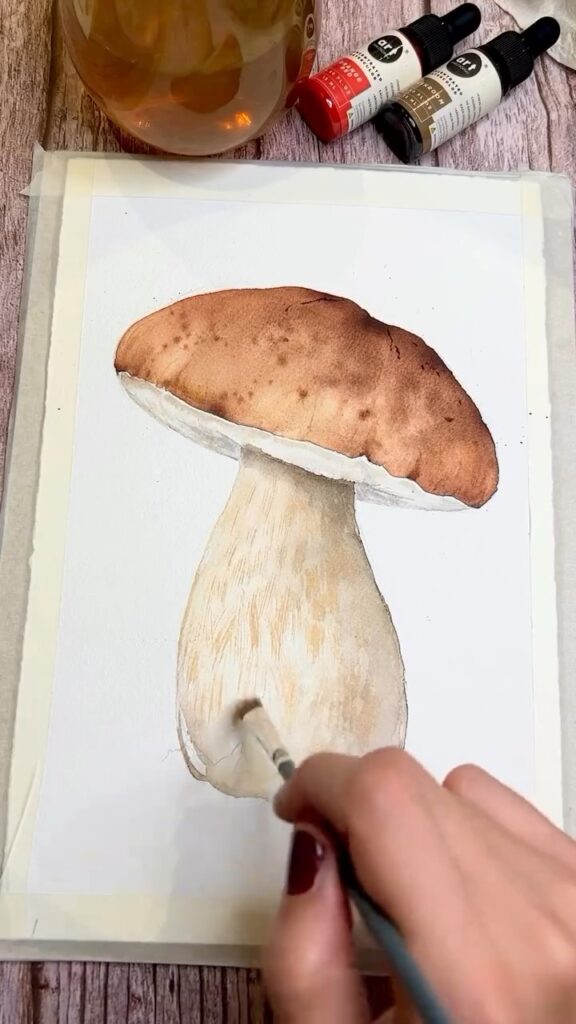
4. Paint the Stem
Next, it’s time to bring the stem to life. I started with a light wash of a creamy, off-white color, adding just a hint of yellow ochre for warmth. As you can see, the stem is thicker at the top and narrows down as it reaches the base. Keep your brushstrokes vertical to mimic the natural texture of the stem. 🌾
5. Add Shadows and Texture
To give the stem more dimension, I went in with a slightly darker shade and added shadows along the sides. You’ll notice I kept the center of the stem lighter to create the illusion of roundness. Little details like this make all the difference! 🖌️
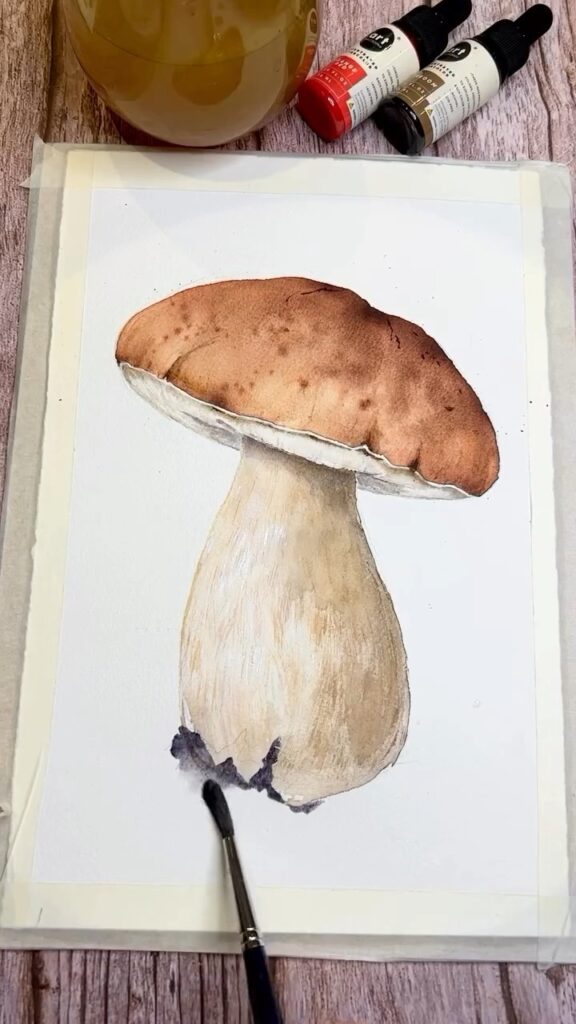
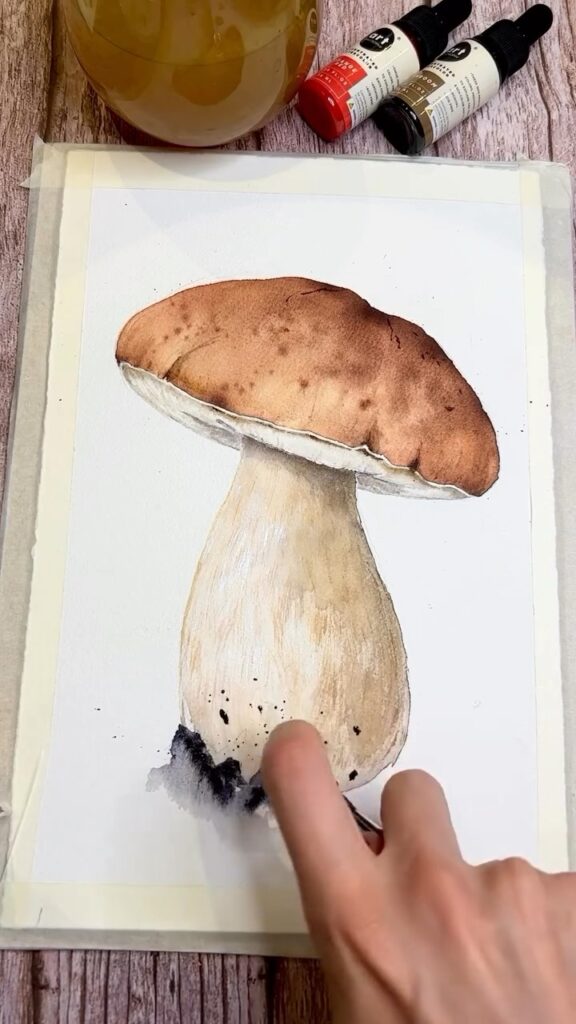
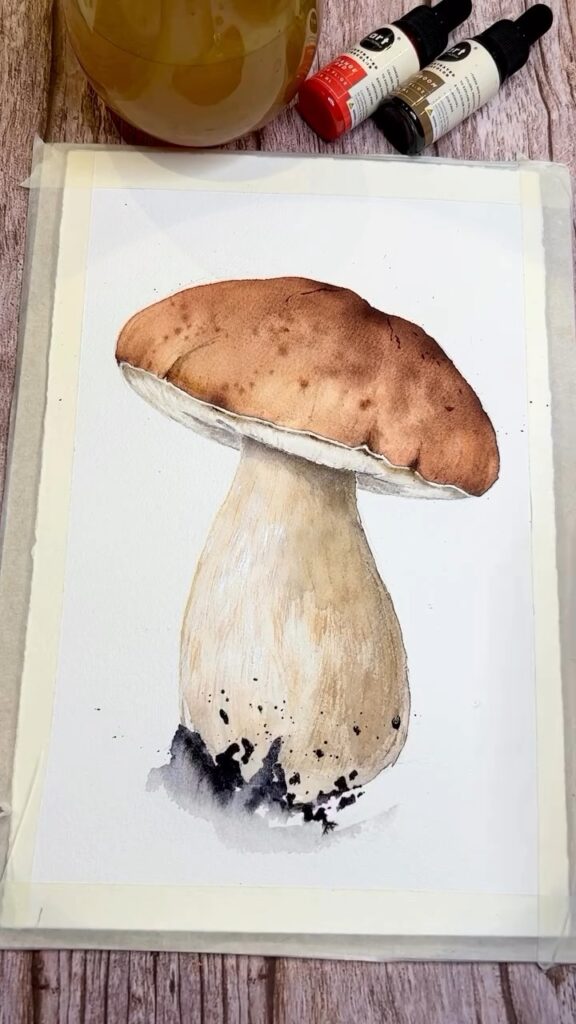
6. The Grounding Touches
Finally, to ground the mushroom and give it a realistic touch, I added some darker pigment around the base. A mix of black and brown works well here. I used the tip of my brush to create tiny specks and smudges, mimicking the soil that often clings to mushrooms. This is where you can really have fun and make it your own! 🌱
7. Finishing Up
Take a step back and look at your work. Are there any areas that need more contrast or color? I usually add a few finishing touches, deepening shadows or brightening highlights to make the painting as lifelike as possible. Once you’re satisfied, let it dry completely. And voilà! You’ve painted a beautiful, tasty-looking porcini mushroom. 🍄
🌼 My Personal Touch
Painting this mushroom reminded me of the autumn walks I used to take with my family, foraging for wild mushrooms. There was always something magical about finding a porcini peeking through the fallen leaves, its earthy scent filling the crisp air. Capturing that memory on paper is like reliving those peaceful moments, and I hope you feel that connection too as you create your own piece.
🍂 Final Thoughts
Whether you’re looking to improve your watercolor skills or simply enjoy a relaxing art project, this porcini mushroom painting is a great way to do it. It’s a little taste of nature you can create from the comfort of your home. I hope this tutorial inspires you to pick up your brushes and try something new. Happy painting! 🎨💕
Leave a Reply