Are you ready to create a beautiful and delicate origami paper lantern? 🌟 Whether you’re looking to add a touch of handmade charm to your home or want a fun project to do with friends, this tutorial will guide you through each step. Let’s dive into the art of folding and make something truly special! 💫

Materials You’ll Need
Before we get started, gather the following materials:
- A sheet of craft paper (size: approximately 24 x 10.3 cm)
- Glue stick
- A flat working surface
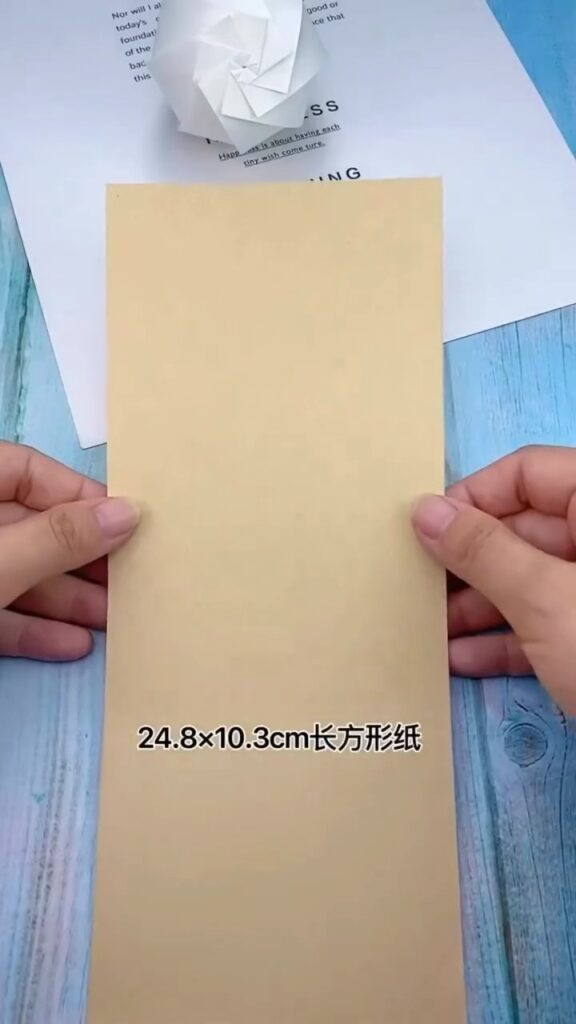
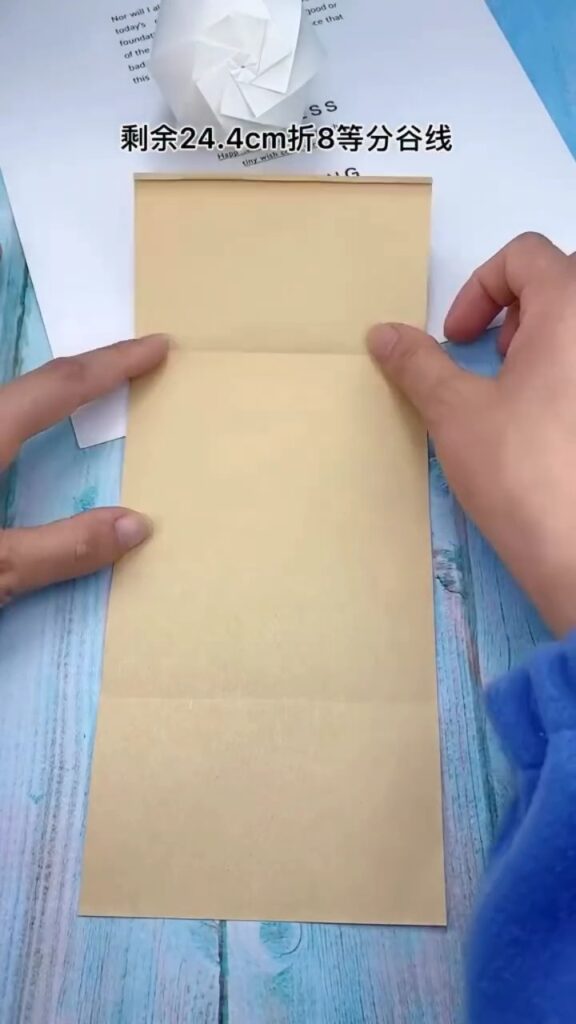
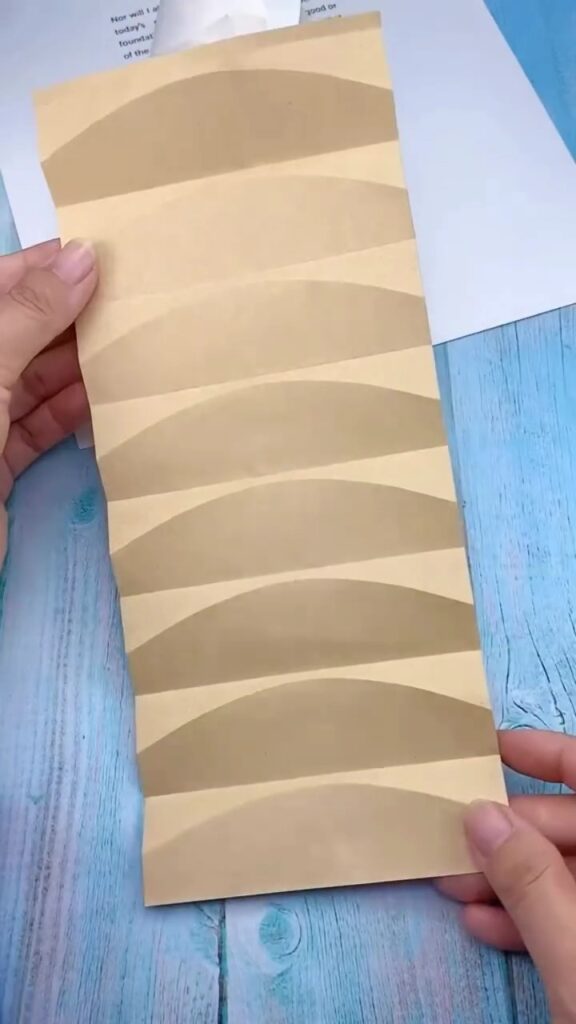
Step 1: Preparing the Paper
Start by placing your craft paper on a flat surface. Fold the paper in half lengthwise to create a strong crease. Open it up, and you’ll have a clear guideline in the center. This fold will serve as the base for your lantern.
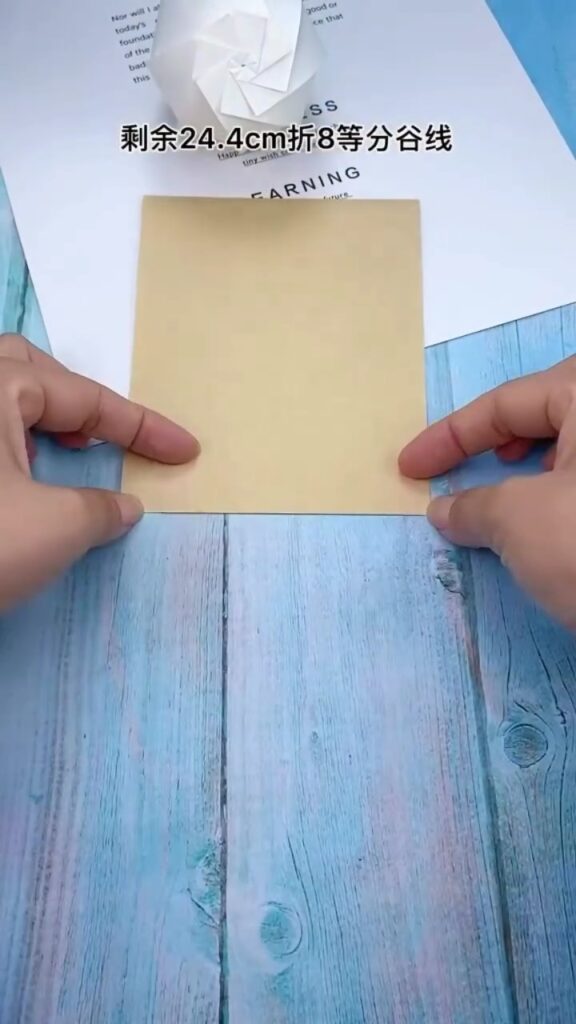
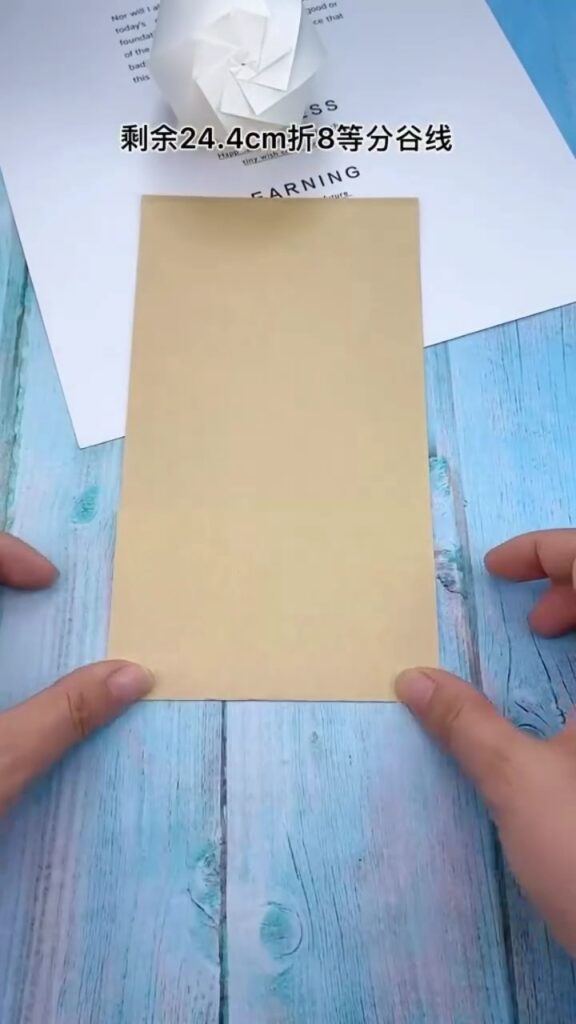
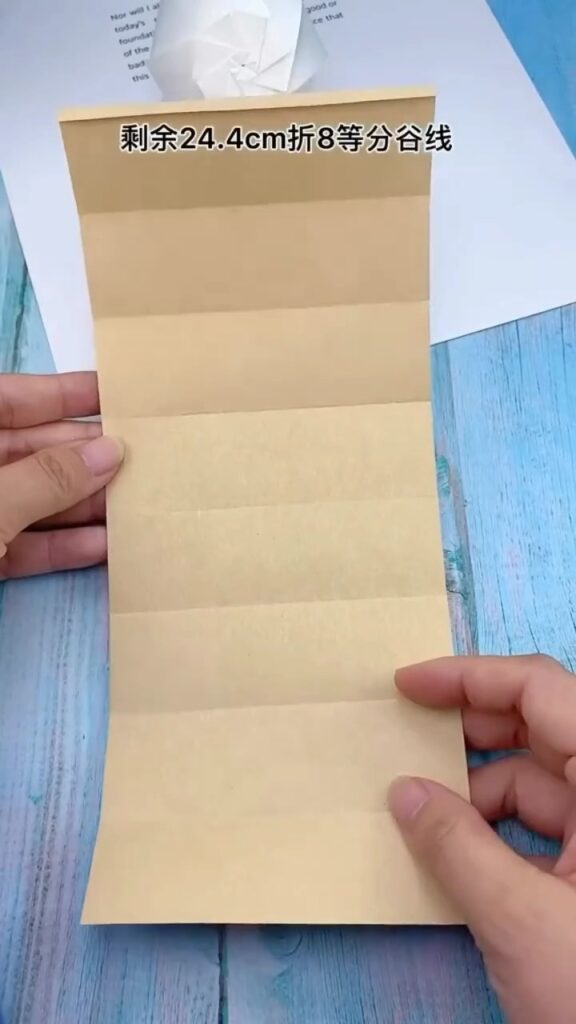
Step 2: Creating Sections
Next, fold the paper again, but this time, do it by making two folds from each side toward the center crease. Each fold should be approximately 2.4 cm. This will give you four equal sections when the paper is unfolded.
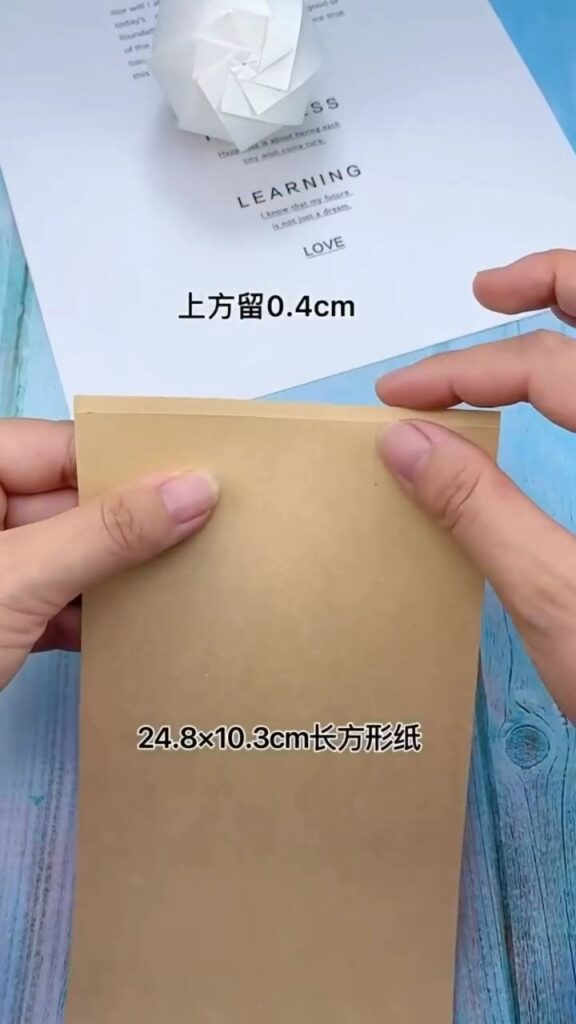
Step 3: Shaping the Lantern
Now, with the paper laid flat and the sections clearly defined, fold the top and bottom edges by 0.4 cm inward. This will form neat borders and add structure to your lantern.
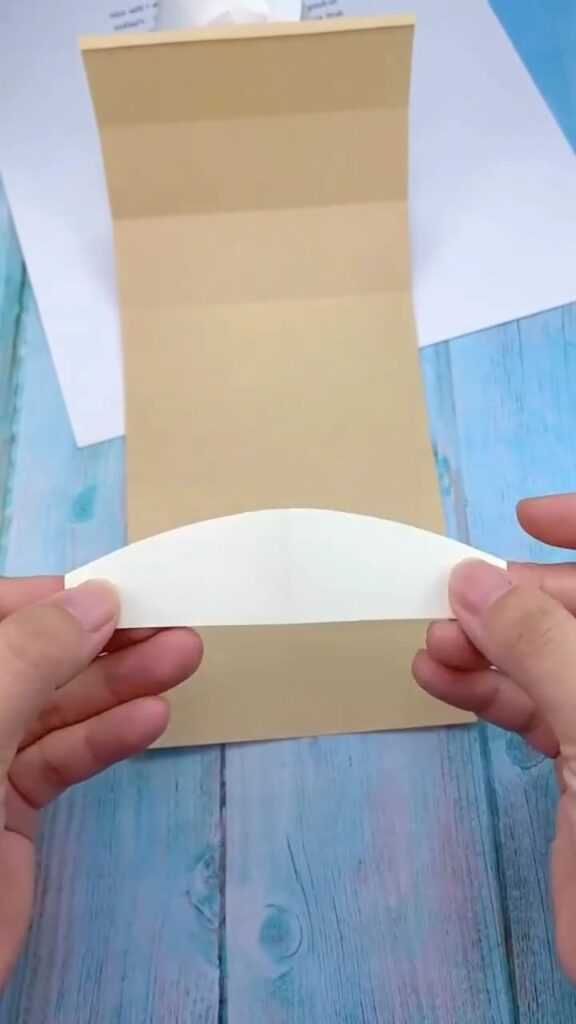
Step 4: Adding the Curve
To give your lantern that classic curved shape, fold the paper into a wave-like pattern. Start by making a rounded fold in the middle section of the paper. This curve will form the lantern’s beautiful, flowing shape.
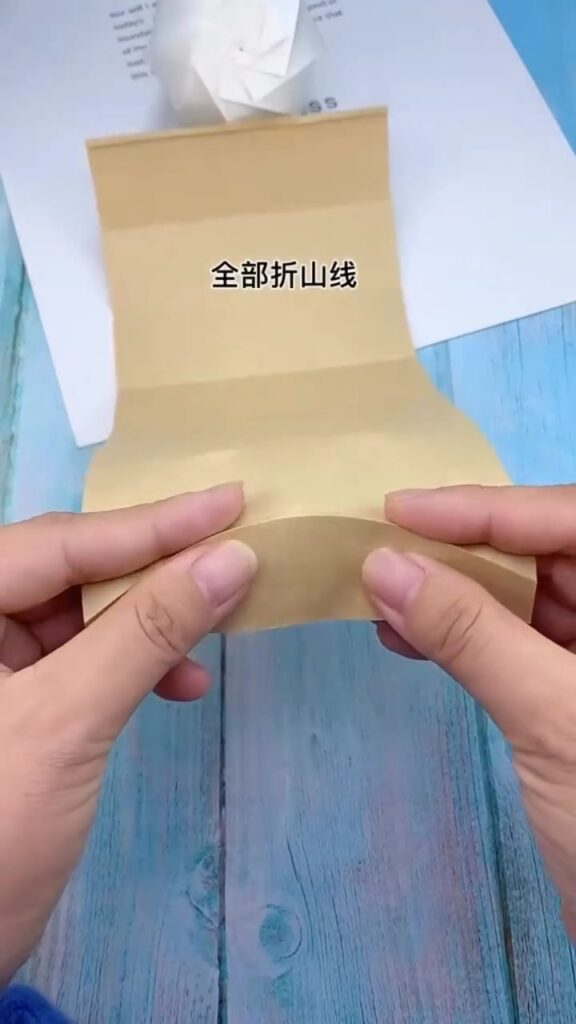
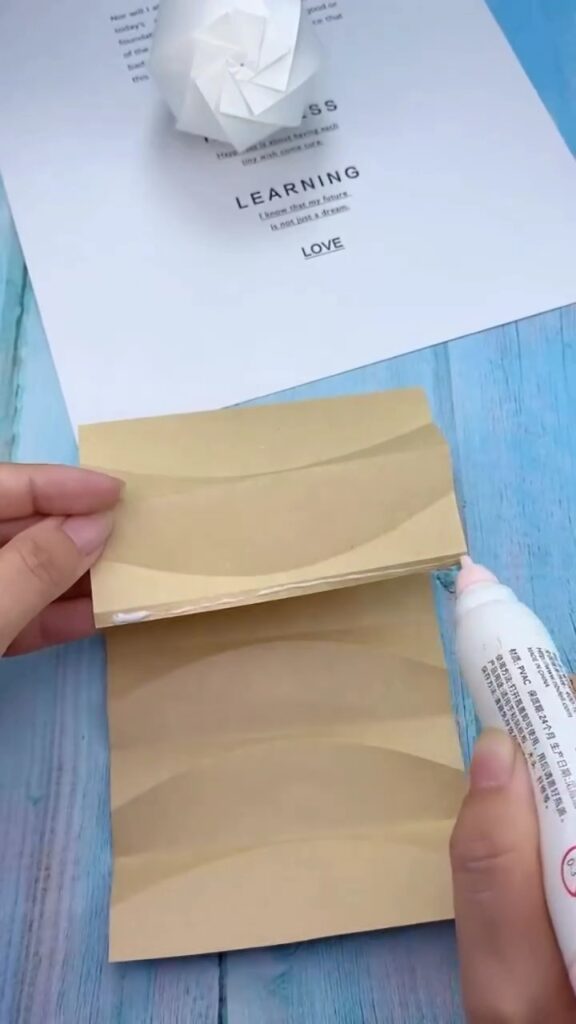
Step 5: Accordion Folding
This step is where the magic begins! Fold the paper in an accordion style, following the creases you made earlier. Ensure that each fold aligns perfectly with the one below it. The paper will now start taking the form of a lantern.
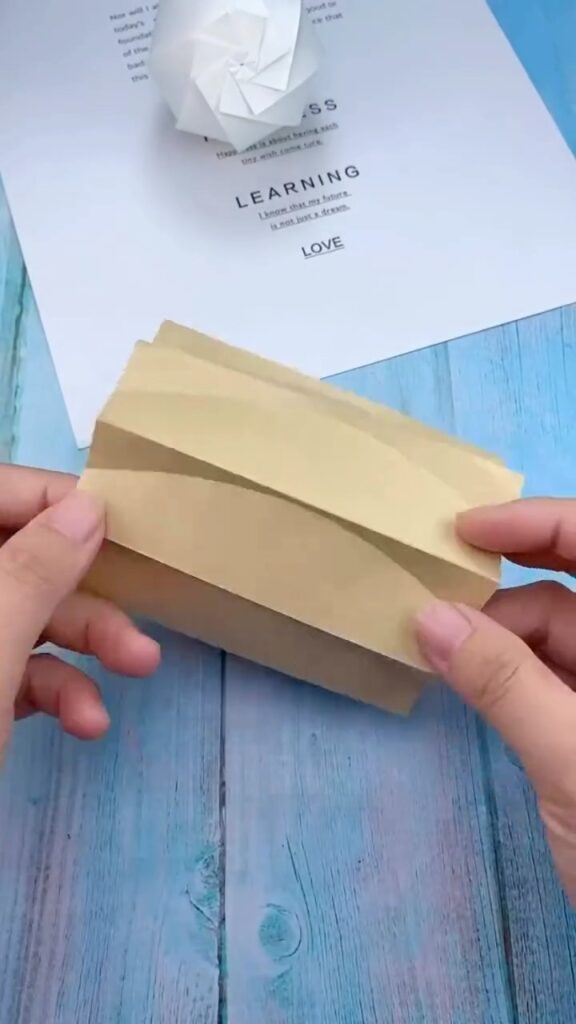
Step 6: Gluing the Edges
Apply glue along the edge of one side of the folded paper. Carefully bring the two sides together to form a cylinder, pressing firmly to secure the edges. This step will close the lantern and give it its three-dimensional shape.
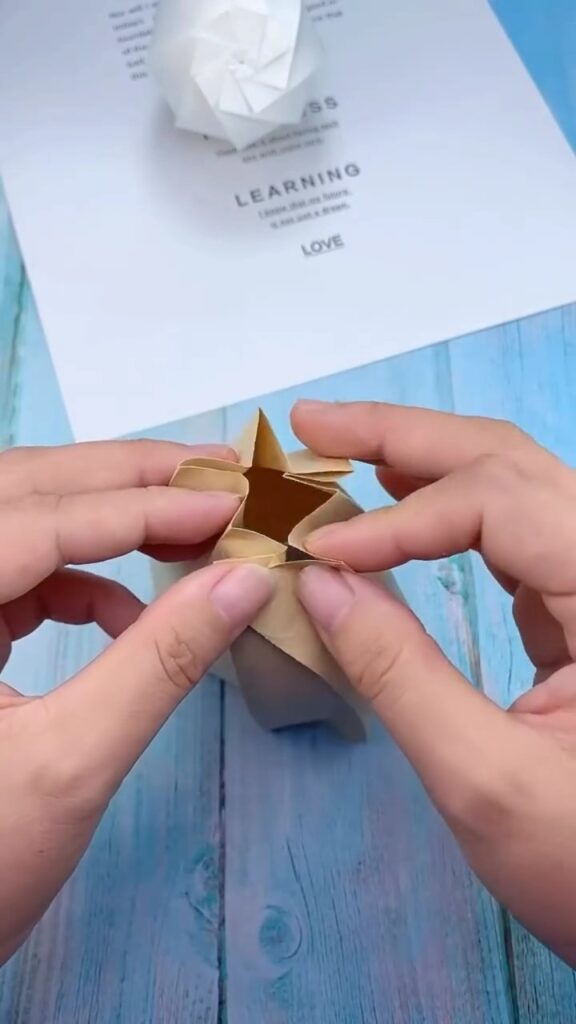
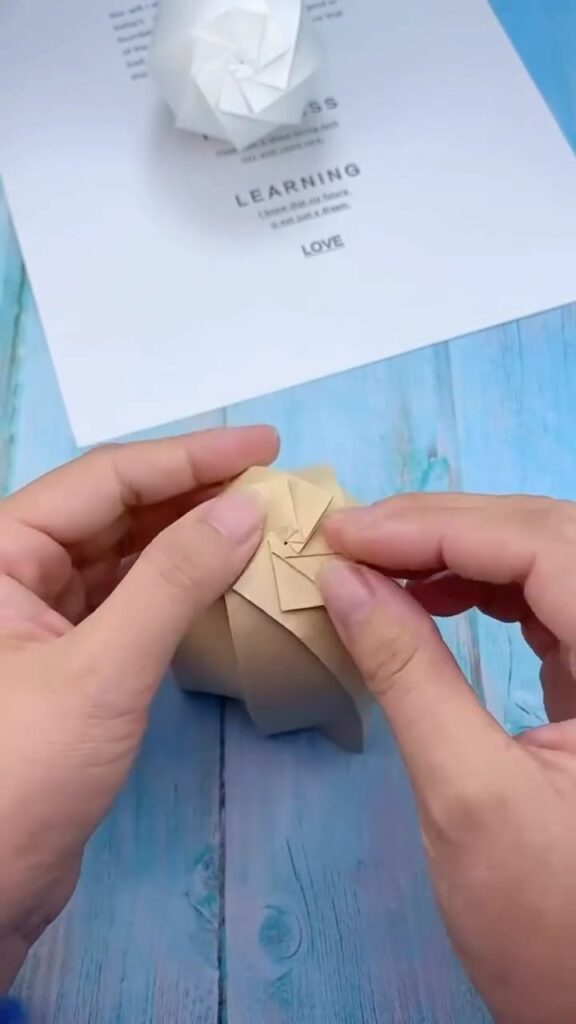
Step 7: Final Adjustments
With the cylinder shape in place, gently open up the top and bottom sections. Press along the creases to reinforce the shape. As you do this, you’ll see the lantern take on its final form.
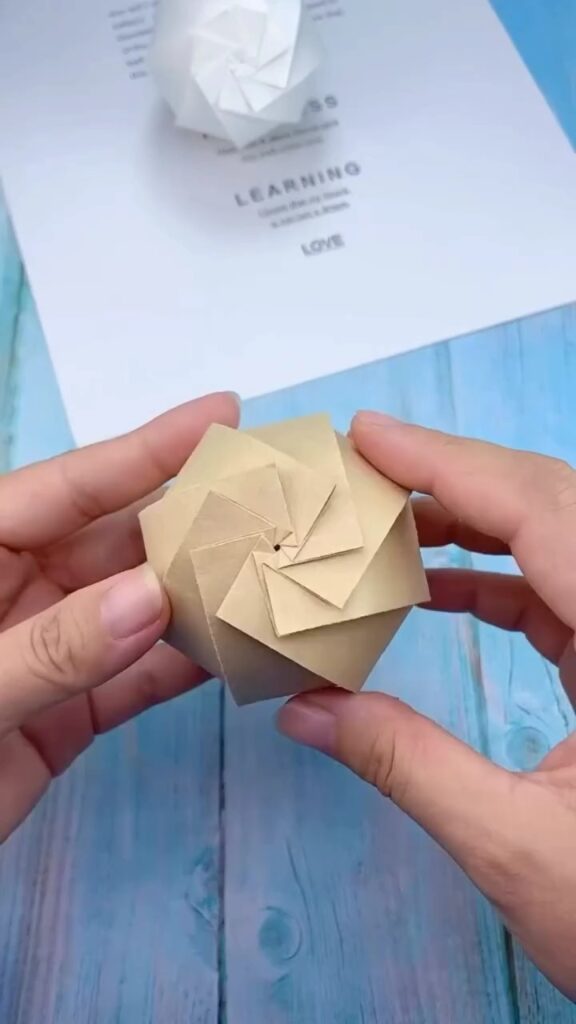
Step 8: Finishing Touches
Finally, press the top and bottom edges inward to complete the look. The lantern will now have a beautiful, rounded shape that is ready to display! You can even add a small LED light inside for a warm, glowing effect. ✨
Why You’ll Love This Craft
Crafting this origami paper lantern isn’t just about making something pretty; it’s also a wonderful way to relax and express your creativity. Plus, this lantern adds a charming and cozy touch to any room. Perfect for a girls’ night in, or as a thoughtful handmade gift! 🎁
FAQs
Q: What type of paper works best for this project?
A: Any thin yet sturdy craft paper will do! You want something that holds its shape but is easy to fold.
Q: Can I make this lantern in different sizes?
A: Absolutely! Just adjust the size of the paper, and follow the same steps.
Q: How can I add more flair to my lantern?
A: Try using colored or patterned paper, or add a tassel at the bottom for an extra touch of elegance.
Now that you have the steps, it’s time to get crafting! Gather your materials and enjoy making your very own origami paper lantern. 🌸 Happy folding!
Leave a Reply