
Are you ready to channel your inner artist with a touch of elegance and romance? Let’s dive into this gorgeous paper quilling project that’s perfect for gifting or as a chic decor piece. This Heart Shaped Paper Quilling Art is all about delicate details, vibrant colors, and a whole lot of love. Whether you’re a crafting newbie or a seasoned pro, this tutorial will guide you step by step to create something truly beautiful. 🌸

What You’ll Need 🛠️
- Quilling Paper Strips (Assorted colors to match your vibe!)
- Quilling Tool 🌀 (Or a toothpick works just as well!)
- White Cardstock 📜
- Glue 🧴
- Tweezers (for precise placement)
- A Heart-Shaped Template ❤️ (You can draw or print one)
Step-by-Step Instructions 💖
Step 1: Preparing Your Canvas
Start by cutting out a heart shape from a piece of sturdy white cardstock. This heart will be the frame for your quilling art. Place this cut-out on another piece of cardstock, securing it lightly with some glue. This creates a beautiful raised border that makes the quilling pop! ✨
Why This Matters: The raised edge adds dimension and gives your artwork a professional, polished look.
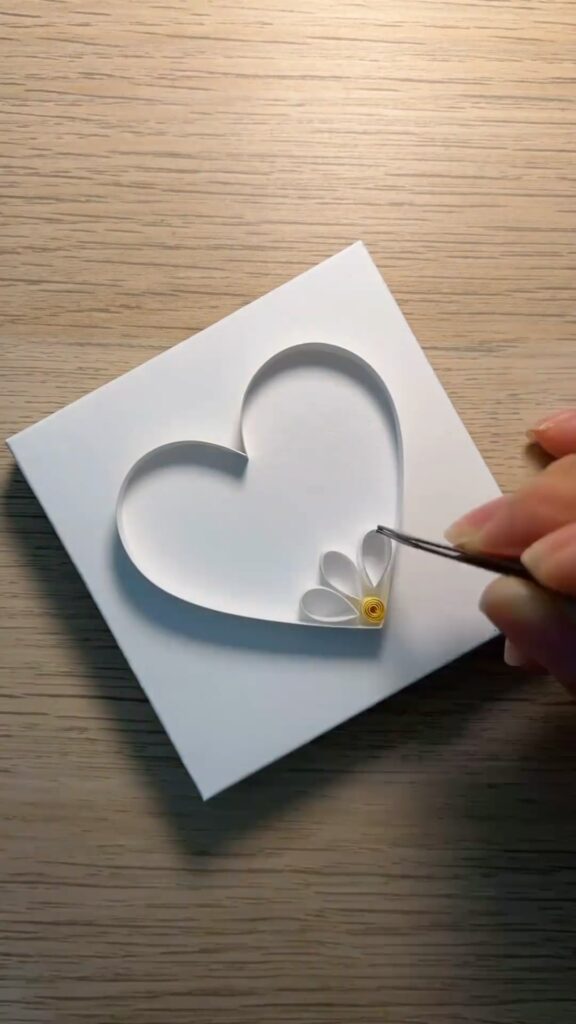
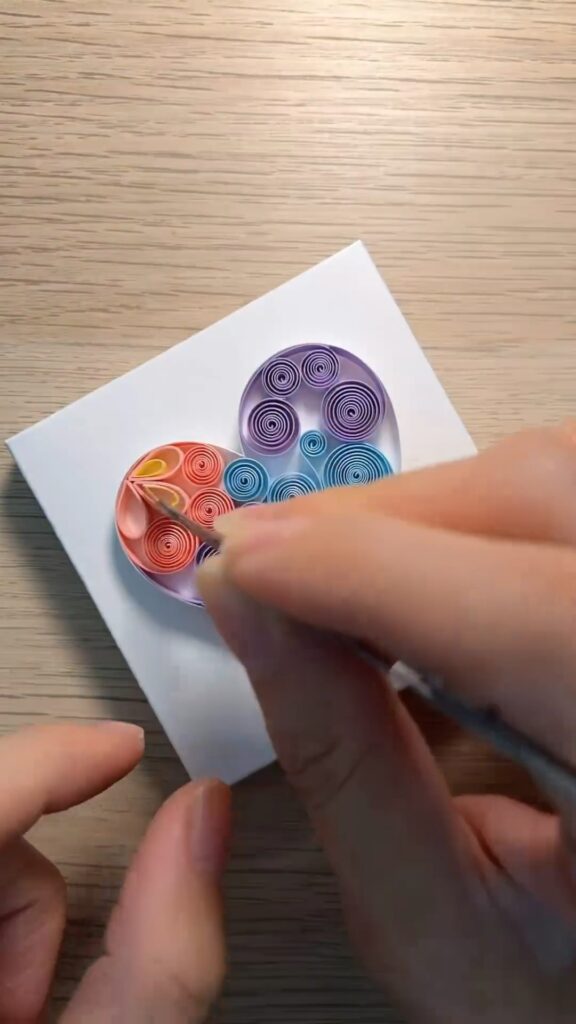
Step 2: Start Quilling 🎨
Now comes the fun part—quilling! Choose your favorite colored strips, and using your quilling tool (or toothpick), start rolling them into tight coils. You can create different shapes like tight coils, loose coils, teardrops, or even scrolls. Once you’ve got a few ready, use your tweezers to carefully place each piece inside the heart shape, starting from one corner.
Pro Tip: Mix up the colors and sizes for a dynamic, eye-catching design!
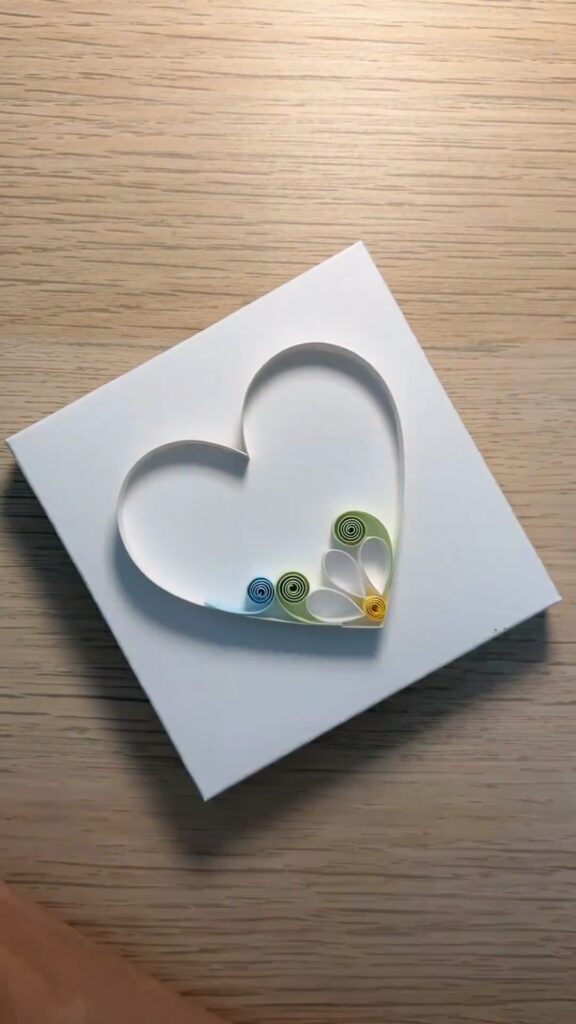
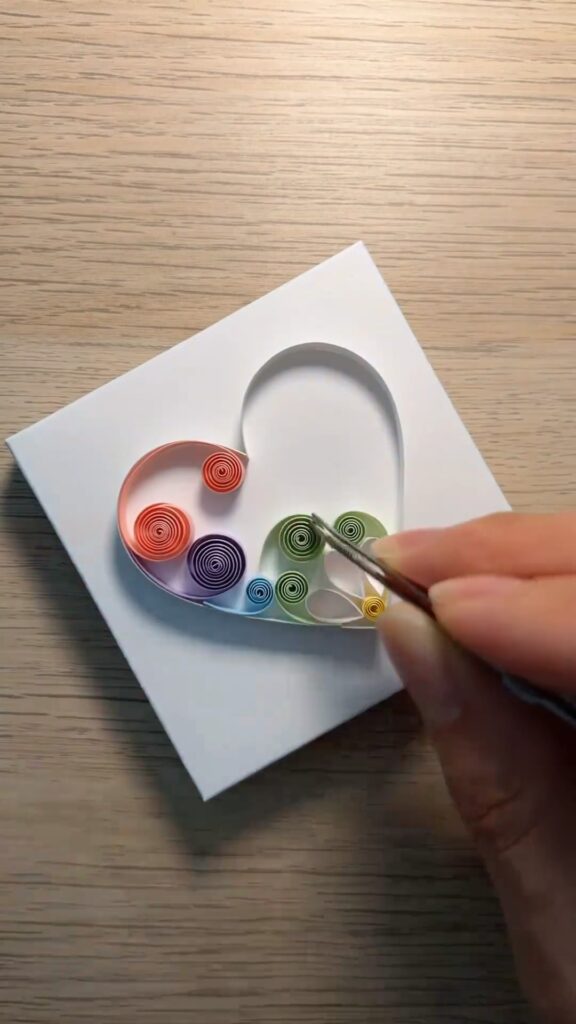
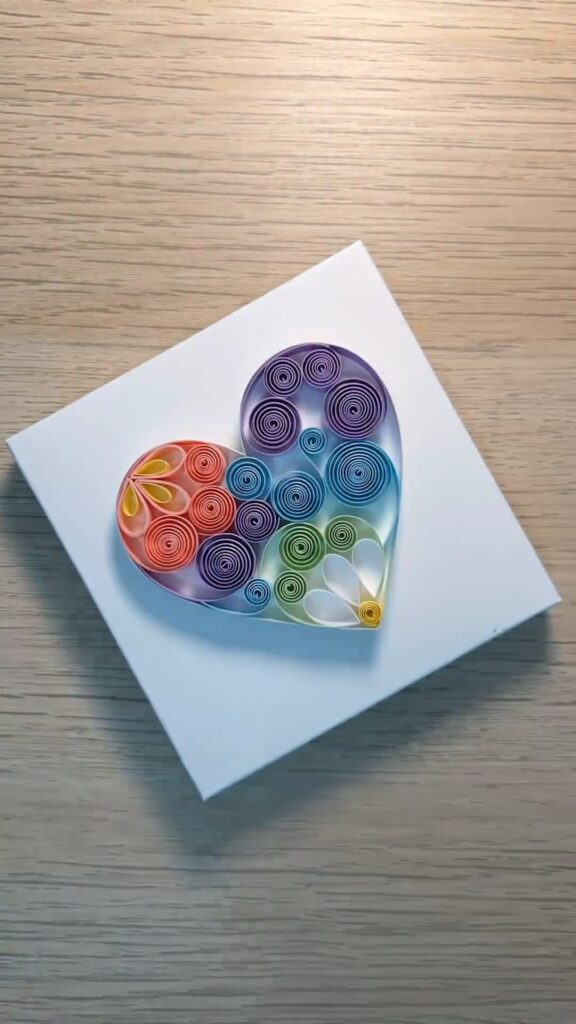
Step 3: Filling the Heart ❤️
Continue filling in the heart with your quilled pieces, working from the outside in. Take your time to arrange them in a way that feels balanced and visually appealing. You can follow a rainbow pattern, a gradient effect, or simply go with the flow and let the colors dance together.
Make It Your Own: Don’t be afraid to experiment with different shapes and patterns. Each piece you add is a reflection of your creativity!
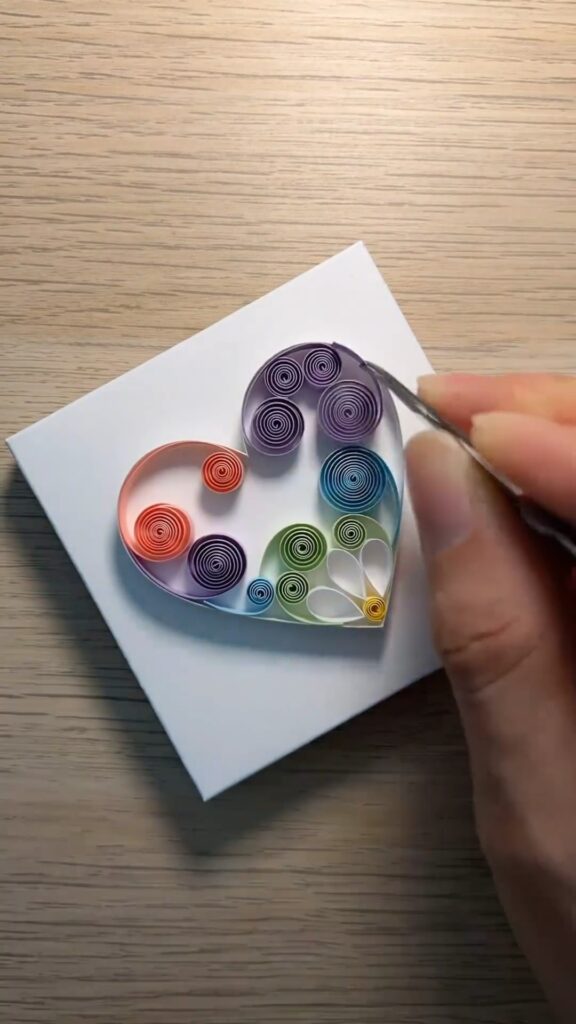
Step 4: Final Touches ✨
Once your heart is full and you’re happy with the design, let everything dry completely. This is the moment when your artwork truly comes to life! You can even add a light coat of glue over the entire piece to seal it and give it a glossy finish.
And just like that, you’ve created a stunning piece of quilling art that’s not only a joy to make but also a beautiful reminder of love and creativity.
Display Ideas 🌸
This heart-shaped quilling art looks amazing in a shadow box frame, hung up as wall decor, or even as a special handmade card. It’s a thoughtful gift for someone special or a lovely addition to your own home decor.
Conclusion
Quilling is a beautiful way to express your creativity and patience, and this heart-shaped project is the perfect way to start. With just a few materials and a bit of time, you can create something truly unique and heartfelt. 💕
So, grab your quilling tool and get rolling—because nothing says “I care” like handmade art!

Leave a Reply