
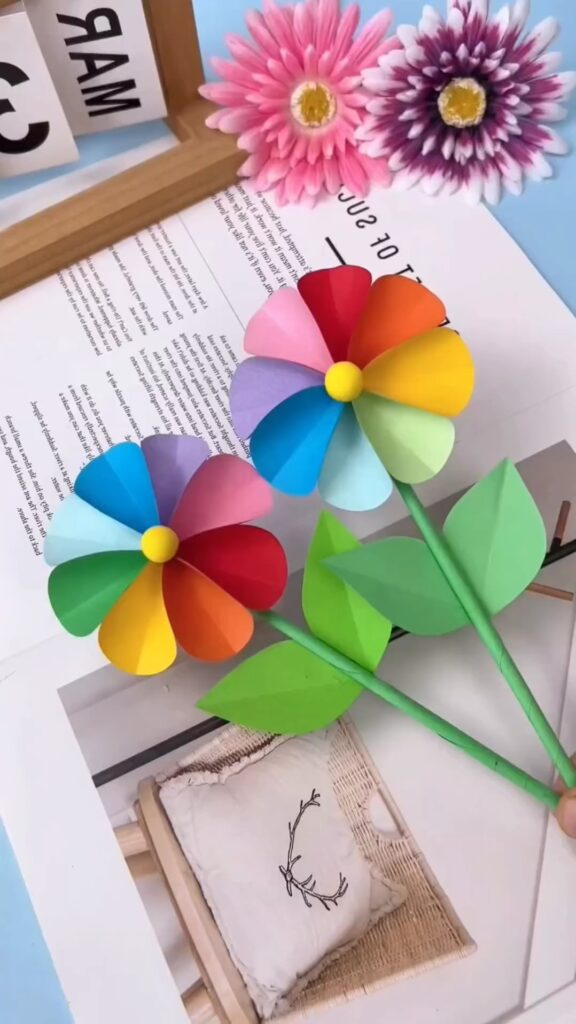
Looking for a fun and vibrant craft project that’s perfect for brightening up any space? Let’s create this stunning Rainbow Paper Flower that’s not only super easy to make but also adds a splash of color to your day. This project is perfect for crafters of all ages and is sure to bring a smile to your face! 🌼
What You’ll Need 🛠️
- Colorful Paper Sheets (Assorted bright colors)
- Scissors ✂️
- Glue 🧴
- Green Paper (for the stem and leaves)
- A Straw or Stick (for the stem)
- A Circle Template (Optional, for the flower center)
Step-by-Step Instructions 🌺
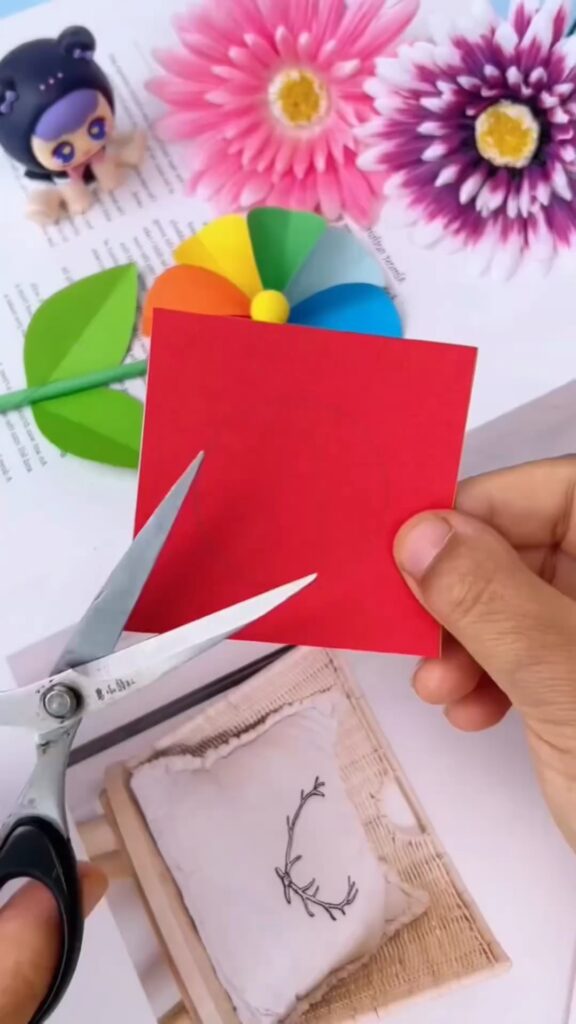
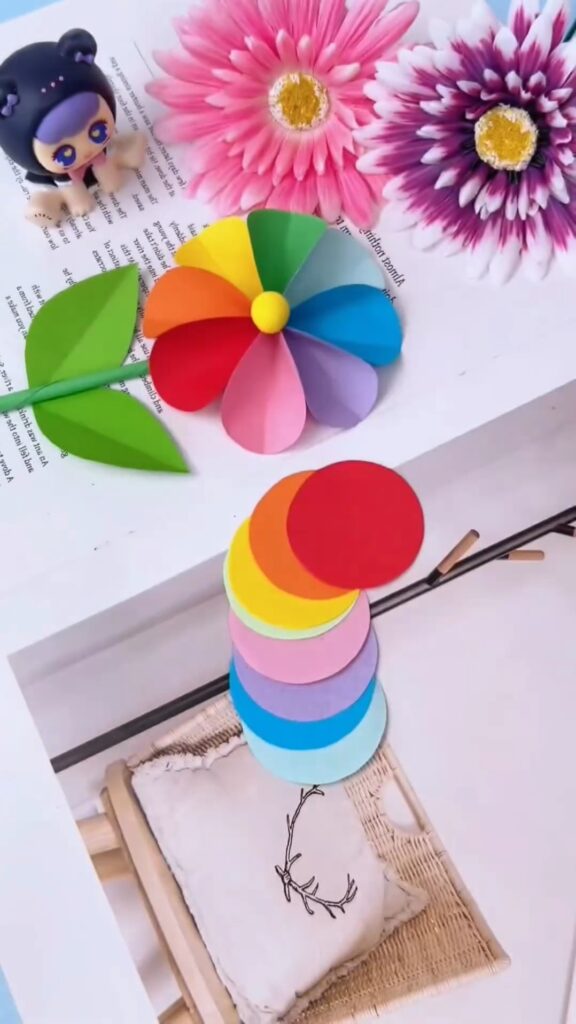
Step 1: Cutting the Petals 🌈
Start by picking out a few different colored paper sheets—go for the brightest and happiest shades you have! Cut out small squares from each color. These squares will become your flower petals. Once you have your squares, fold each one in half and then cut out a petal shape by rounding off the edges.
Pro Tip: Don’t worry about making them perfect; the charm of handmade crafts is in their uniqueness!
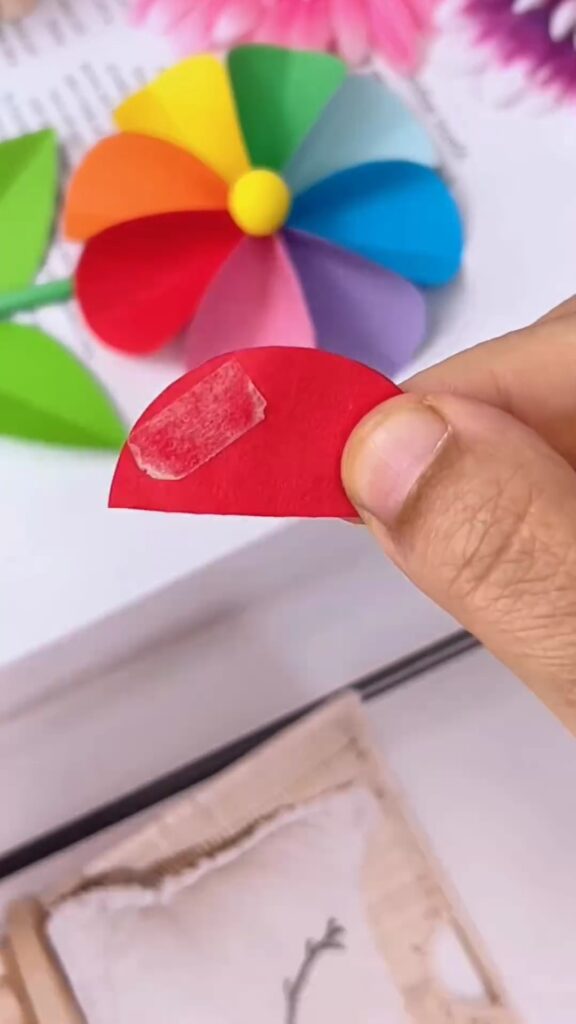
Step 2: Preparing the Petals
Now that you have your petal shapes, take one and gently fold it in half lengthwise. This will give your petals a bit of dimension, making the flower look more realistic and lively. Repeat this for all your petals.
Why This Works: The fold adds volume and makes each petal pop, creating a fuller flower.
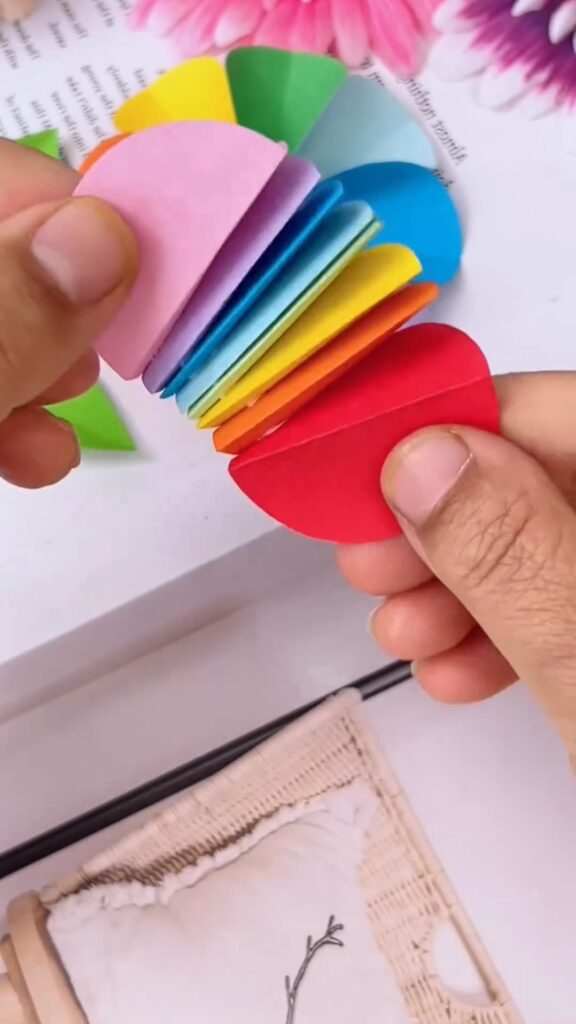
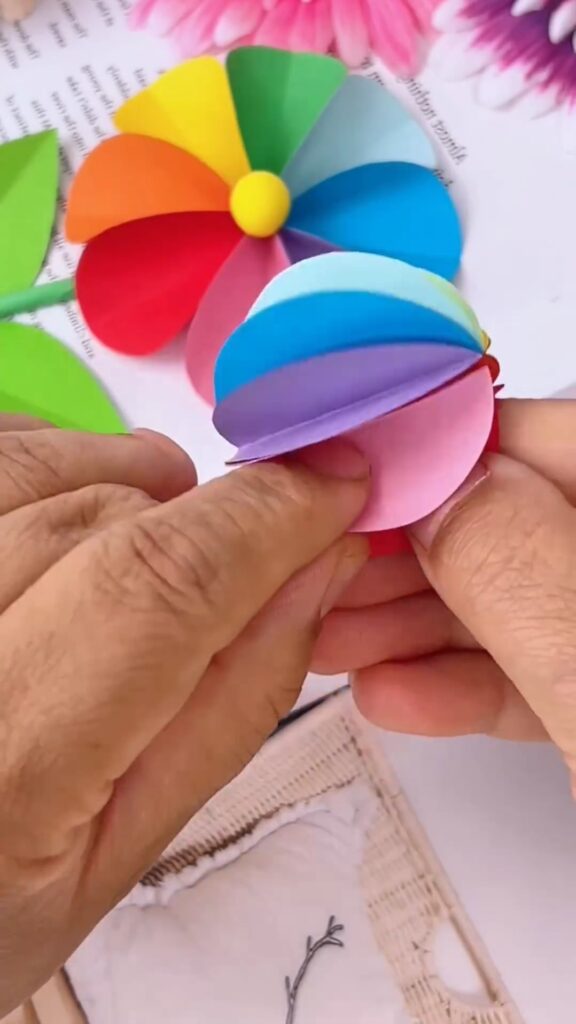
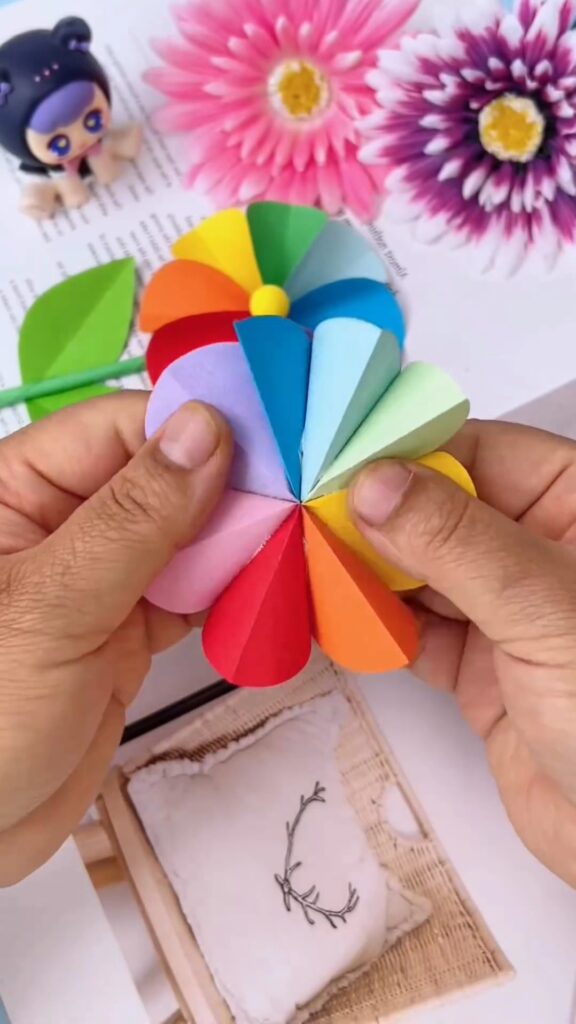
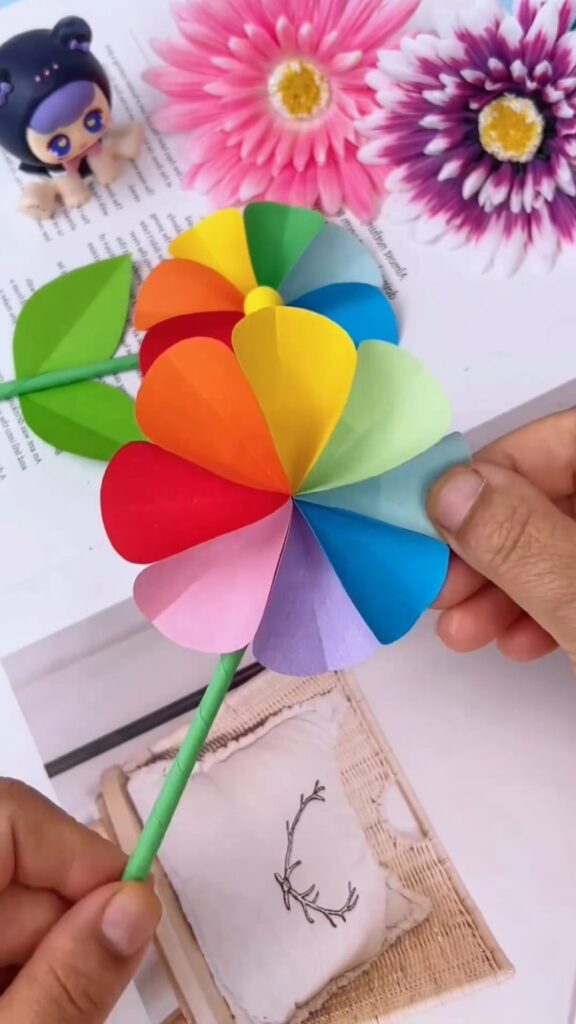
Step 3: Assembling the Flower 🌼
Grab your glue and start by placing a small dot in the center of your first petal. Attach the next petal slightly overlapping the first. Continue this process, working your way around in a circle until all your petals are attached, forming a complete flower.
Make It Your Own: Mix up the colors as you go to create a fun, rainbow effect!
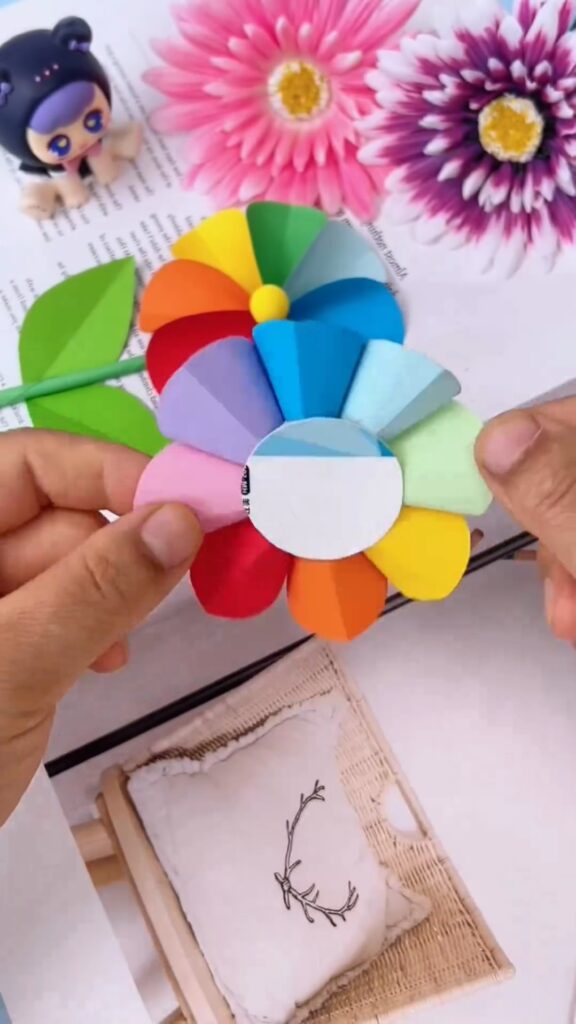
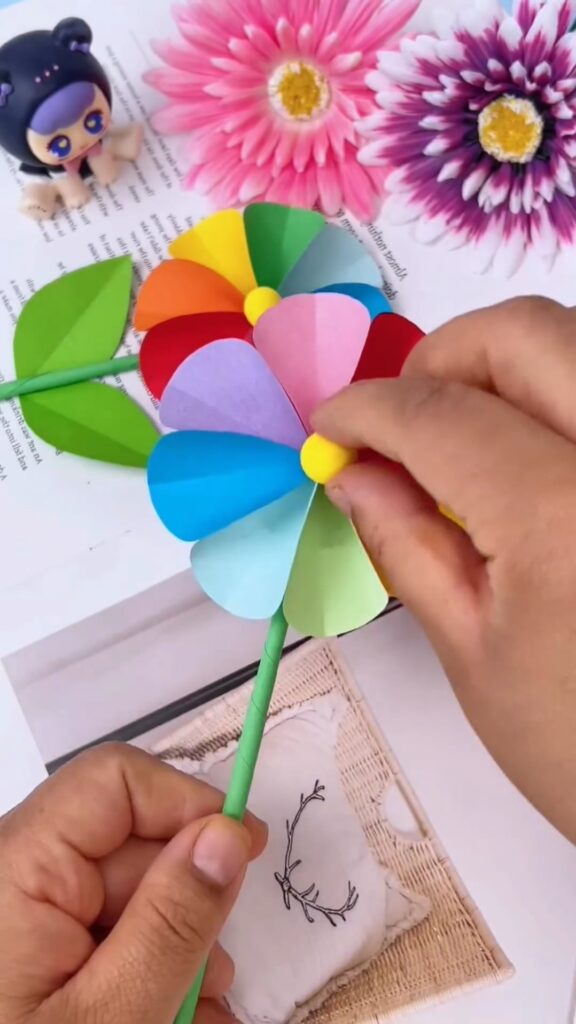
Step 4: Adding the Flower Center 🌟
Cut out a small circle from one of your colored papers. This will be the center of your flower. Glue this circle right in the middle of your petals. For an extra cute touch, you could add a button, bead, or even a tiny pom-pom!
Tip: The center brings everything together, so choose a color that either contrasts or complements your petals.
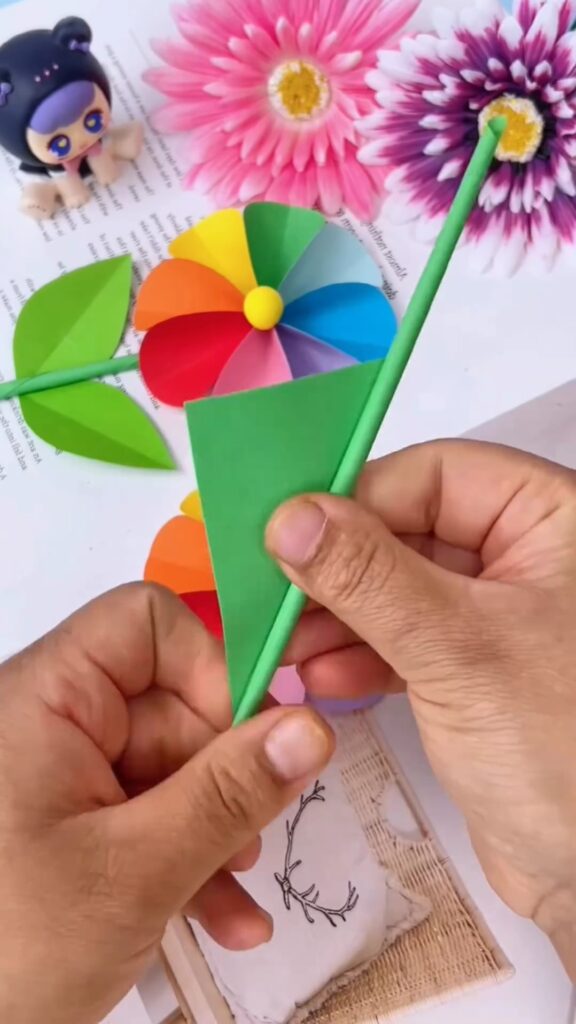
Step 5: Creating the Stem and Leaves 🌿
Now, take your green paper and cut out a long strip to wrap around your straw or stick. This will be your flower’s stem. Glue the strip around the straw, ensuring it’s nice and secure. Next, cut out a couple of leaf shapes from the same green paper and attach them to the stem.
Why This Matters: The green stem and leaves add a natural touch, making your paper flower look even more lifelike.
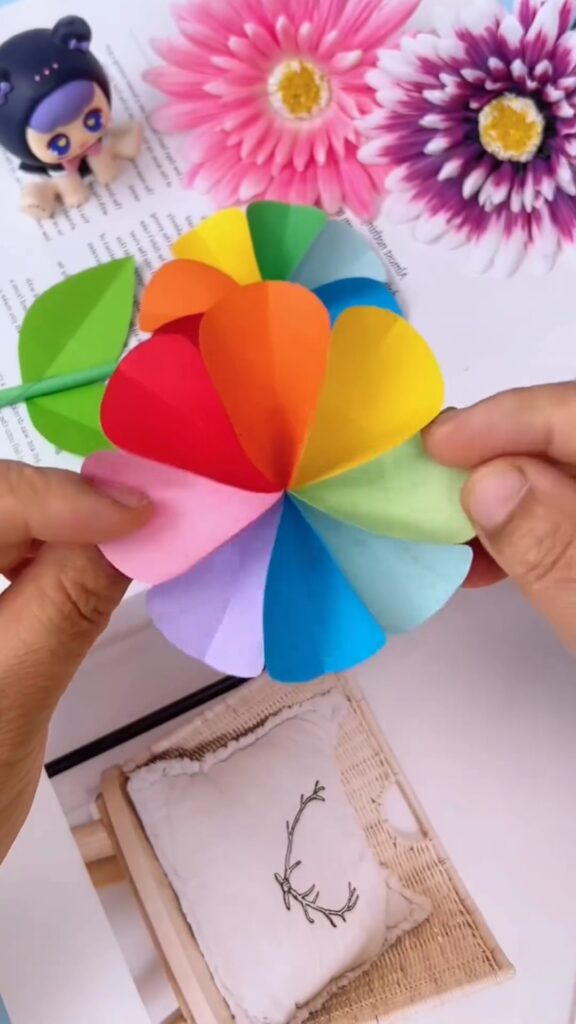
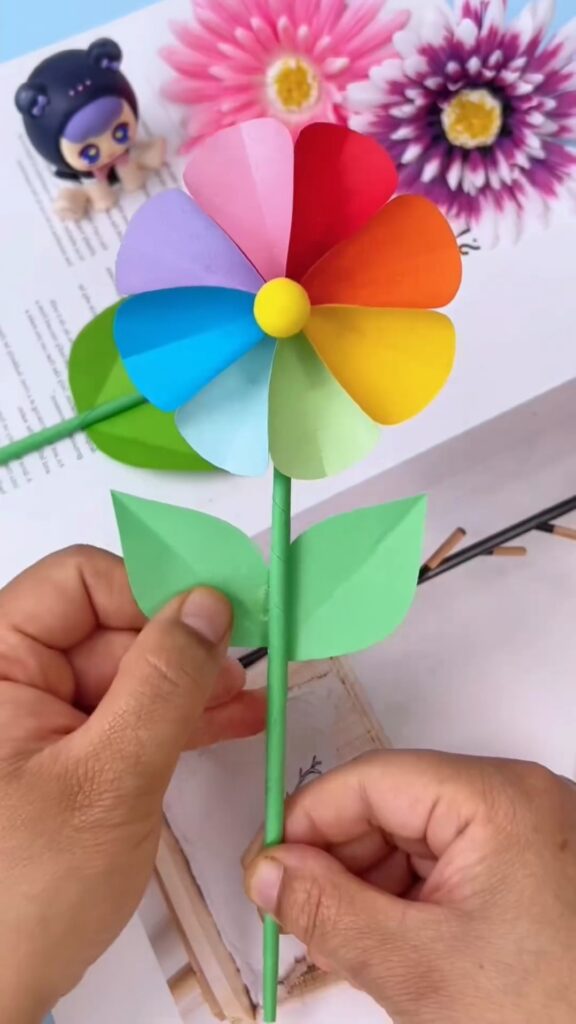
Step 6: Attaching the Flower 🌸
Finally, attach your beautiful paper flower to the top of the stem. Make sure it’s centered and secure. Hold it in place for a few seconds to ensure the glue sets properly.
And there you have it! A lovely, colorful Rainbow Paper Flower that’s ready to brighten up any space in your home or give as a handmade gift to someone special.
Display Ideas 🌻
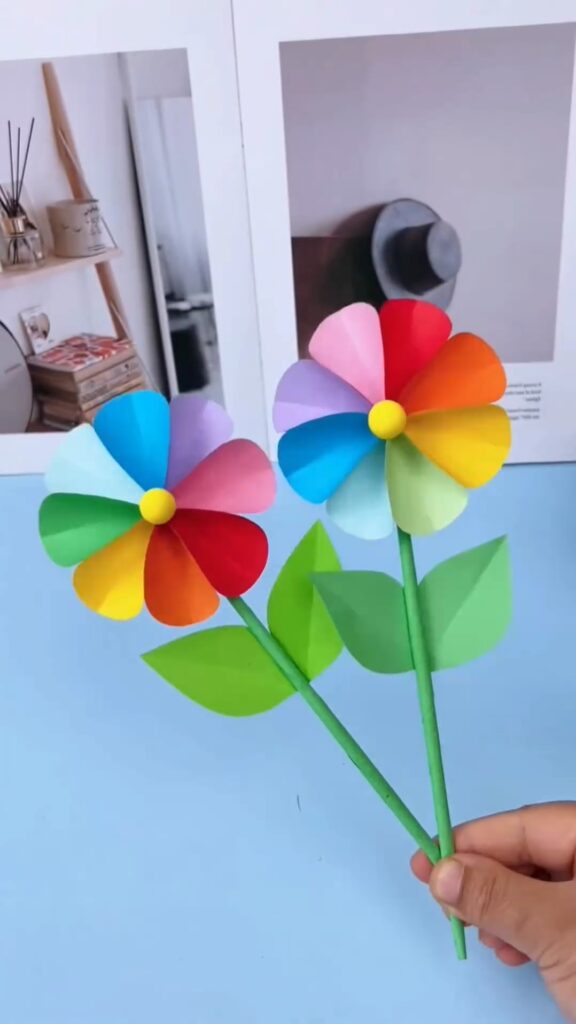
These flowers are perfect for decorating a room, adding a pop of color to your desk, or even as part of a bouquet for a special occasion. You can make several of them in different sizes and colors to create a whole garden of paper flowers!
Conclusion
This DIY Rainbow Paper Flower is not just a craft; it’s a little burst of joy that you can create with just a few simple materials. It’s a perfect project for when you need a creative pick-me-up or want to make something beautiful to share with others. 🌸
So, what are you waiting for? Grab those colorful papers and get crafting—you’ll be amazed at how easy and fun it is to make your own paper flower garden!

Leave a Reply