Creating art is not just about the final product, but also about the joy of the process. In this tutorial, we’ll guide you through the steps to draw a realistic apple that’s sure to impress! Let’s get those creative juices flowing! 🎨🖌️

Materials Needed
Before we start, make sure you have these materials ready:
- Sketchbook or drawing paper
- Pencils (HB and 2B)
- Eraser
- Paintbrushes (various sizes)
- Red, brown, yellow, and white paint
- Black paint or pen for detailing
Step-by-Step Guide to Drawing a Realistic Apple
Step 1: Preparing Your Canvas 🖼️
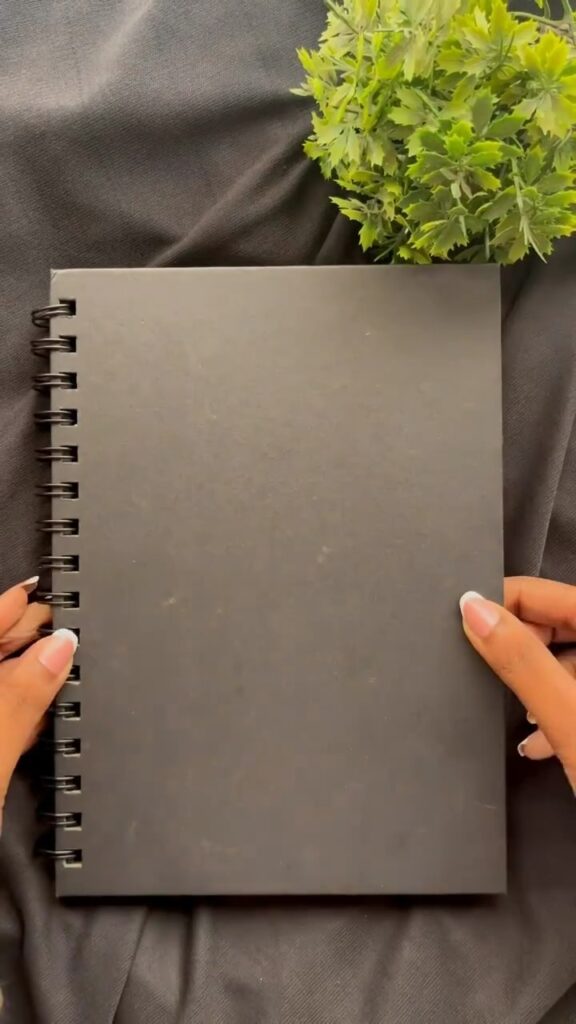
First things first, grab your sketchbook and open it to a blank page. Place your sketchbook on a flat surface, ensuring you have good lighting.
Image Reference: The first frame shows hands holding a blank sketchbook.
Step 2: Sketch the Outline ✏️
Using an HB pencil, lightly sketch the outline of an apple. Don’t worry about making it perfect; this is just the foundation.
Image Reference: The second frame shows a rough outline of an apple drawn in pencil.
Step 3: Adding the Base Color 🎨
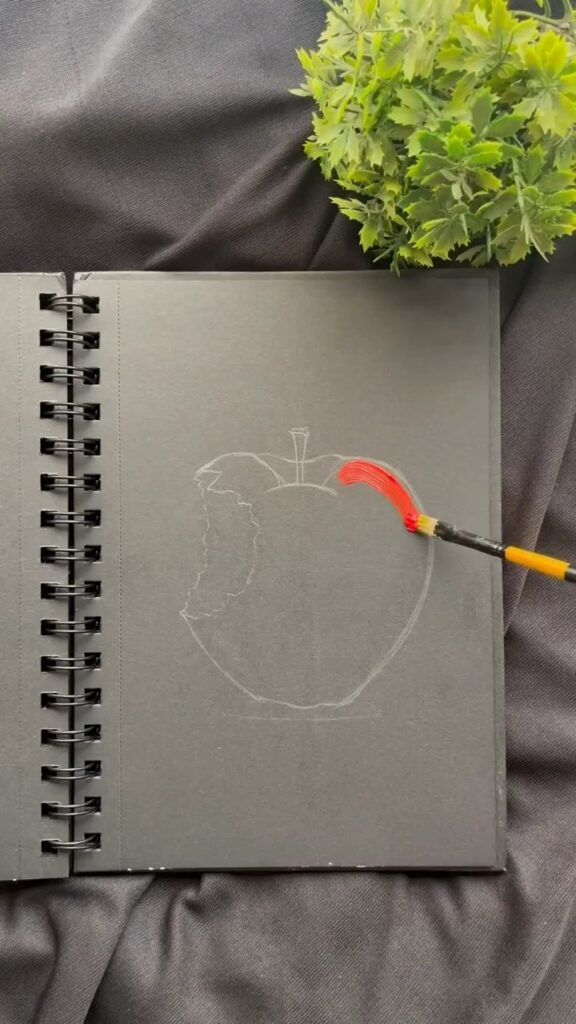
Now, it’s time to add some color! Take your paintbrush and dip it into the red paint. Start filling in the outline of the apple, leaving the area where the bite will be taken out unpainted.
Image Reference: The third frame shows the apple outline being painted red.
Step 4: Shading and Depth 🖌️
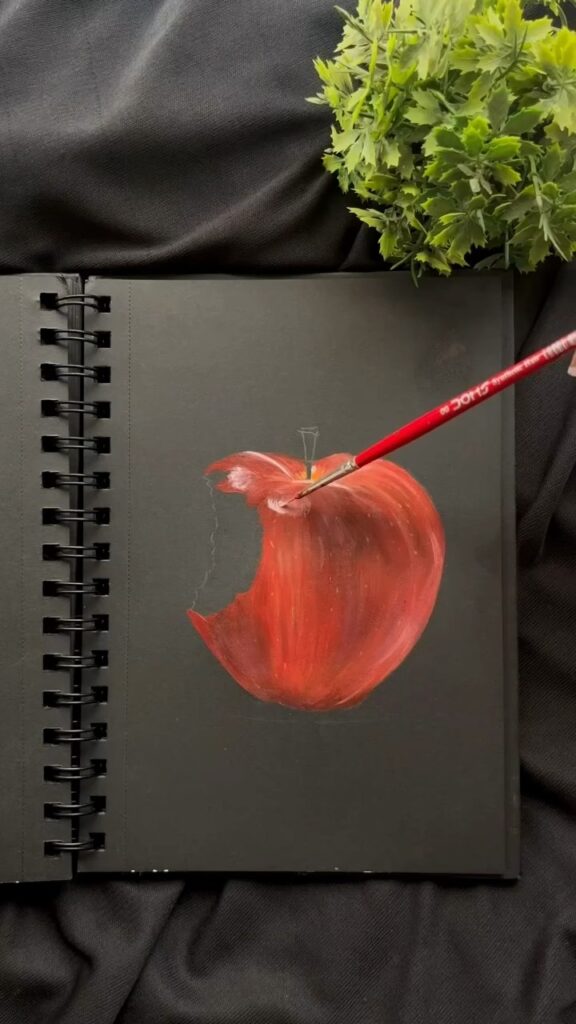
To make the apple look more realistic, add some shading. Use a darker shade of red and gently blend it into the base color to create a sense of depth. You can add some yellow to the mix for highlights.
Image Reference: The fourth frame shows shading being added to the apple.
Step 5: Detailing the Bite 🍏
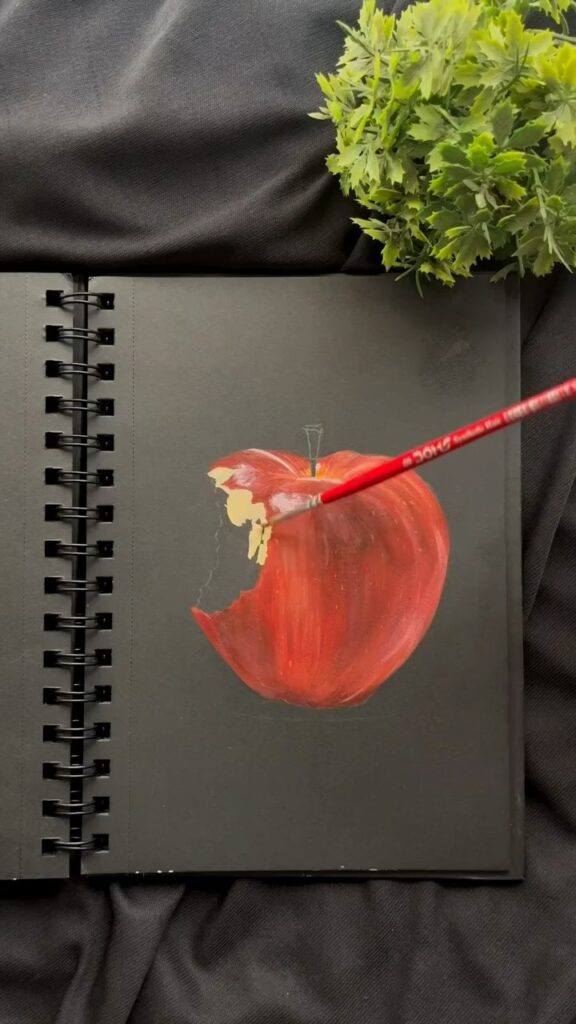
Using a smaller brush, add details to the bitten area of the apple. Mix white and a touch of yellow paint to create a lighter color and fill in the bite. Use short, quick strokes to mimic the texture of the apple’s flesh.
Image Reference: The fifth frame shows the bitten area being painted with a lighter color.
Step 6: Refining the Edges 🖋️
With a fine brush or a black pen, outline the edges of the apple and the bite to make them stand out. This step will give your drawing a polished look.
Image Reference: The sixth frame shows the apple with detailed edges and the bite defined.
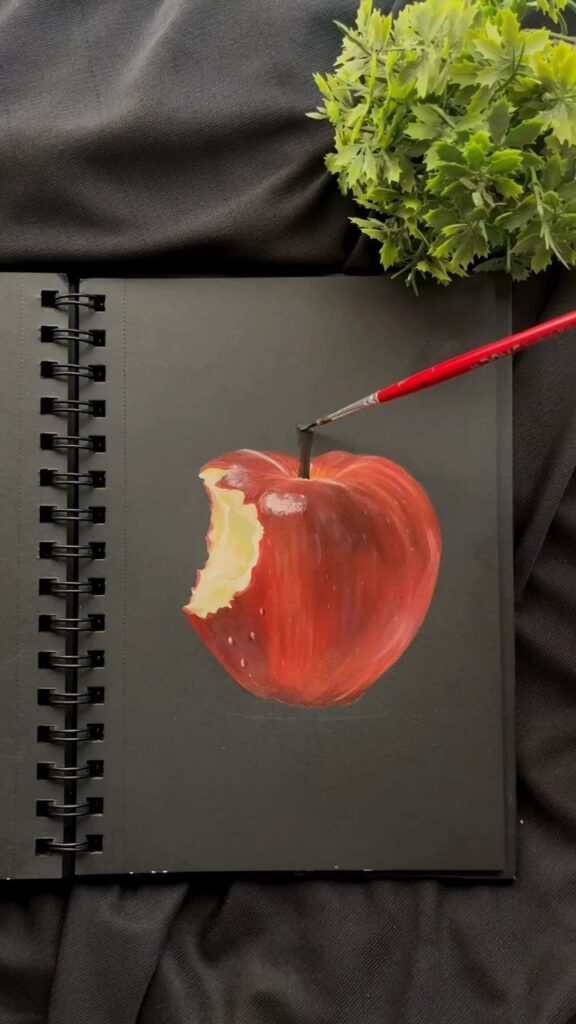
Step 7: Adding the Stem 🌿
No apple is complete without its stem! Use a fine brush to paint the stem brown. Add a touch of black for shadows and highlights to give it a realistic appearance.
Image Reference: The seventh frame shows the stem being painted onto the apple.
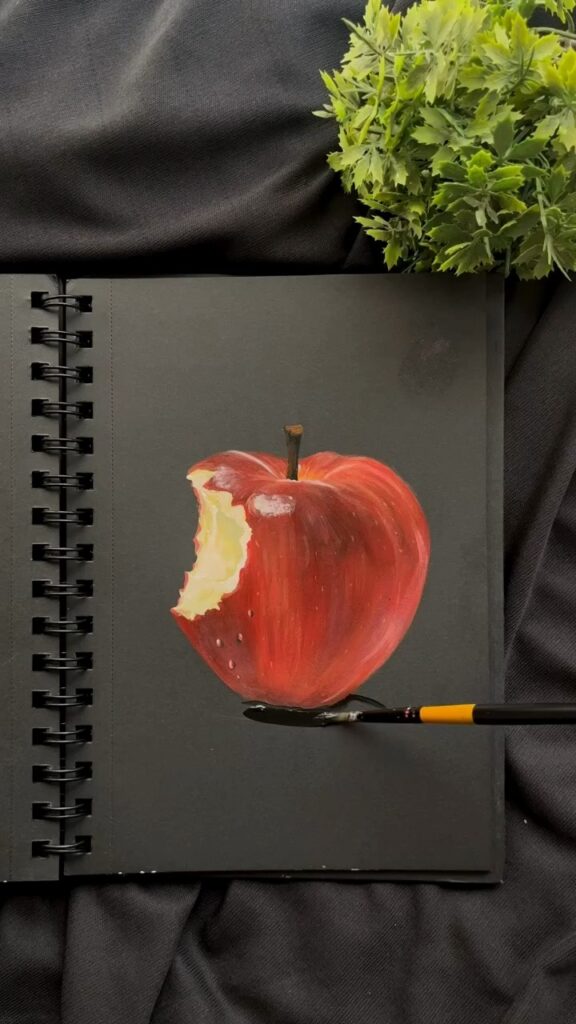
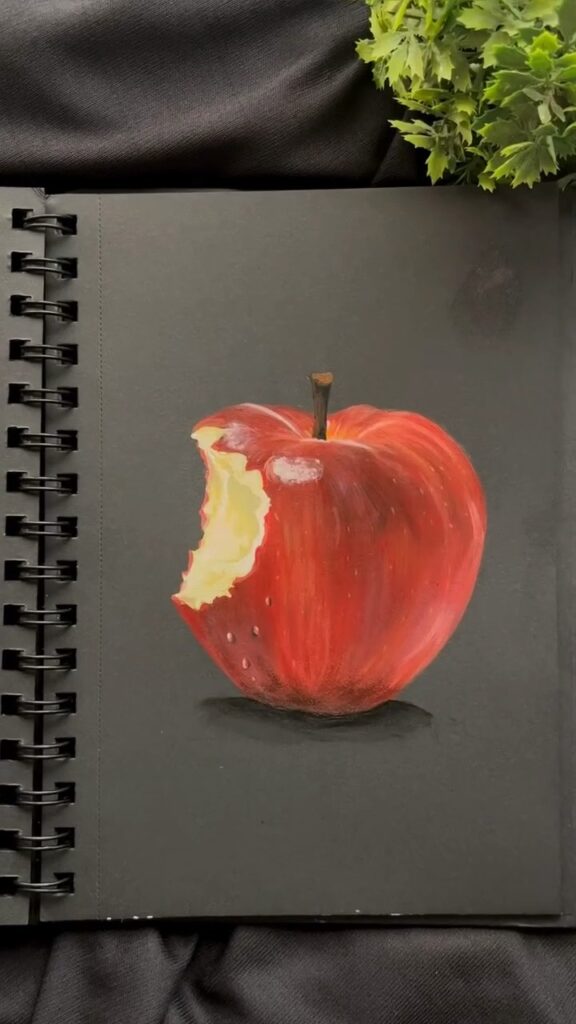
Step 8: Final Touches ✨
Take a step back and look at your drawing. Add any final touches or adjustments needed. Use your eraser to clean up any stray pencil marks. Add a few white dots on the apple to represent the shine.
Image Reference: The eighth frame shows the finished apple with all details added.
Tips for a Perfect Apple Drawing
- Blend Colors Smoothly: Make sure to blend your colors well to avoid harsh lines.
- Use References: Don’t hesitate to look at real apples for reference.
- Practice Makes Perfect: The more you practice, the better your drawings will become.
And there you have it, a beautiful and realistic apple drawing! 🍎 Don’t forget to share your artwork with friends and family or on social media to show off your new skills. Happy drawing! 🌟
Want More?
If you loved this tutorial, check out our other DIY craft guides! Subscribe to our newsletter for more fun and creative projects. Let’s keep the creativity flowing, ladies! 🎉🖌️
Feel free to comment below with any questions or share your creations with us! We love to see your art!


Leave a Reply