Are you ready to add a touch of sweetness to your art collection? 🍭 This DIY Bubble Tea Acrylic Painting is the perfect project for anyone who loves a good craft session and, of course, bubble tea! Let’s dive into this fun and easy step-by-step guide to create your own bubbly masterpiece.
Materials You’ll Need 🛠️
- Acrylic paints: Brown, Black, White, Beige
- Paintbrushes: Flat brush, Round brush
- Canvas or Acrylic Paper
- Pencil
- Palette
- Water cup
- Paper towels
Step-by-Step Instructions 📖
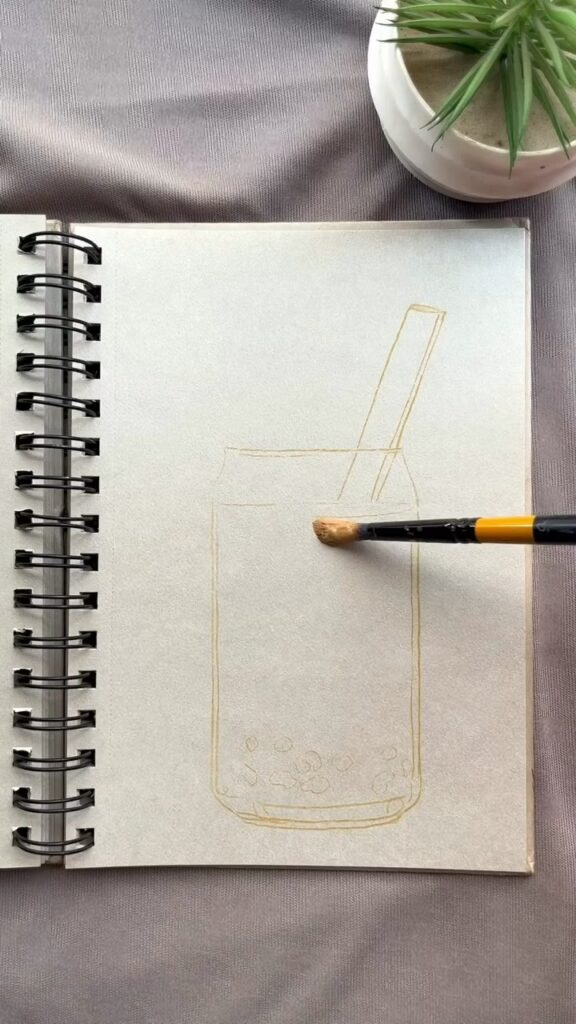
1. Sketch the Bubble Tea Outline 📝
Begin by lightly sketching the outline of your bubble tea cup on your canvas or acrylic paper using a pencil. Focus on the shape of the cup and the straw, and don’t worry about the details yet.
Pro tip: Use a light hand so you can easily paint over the lines.
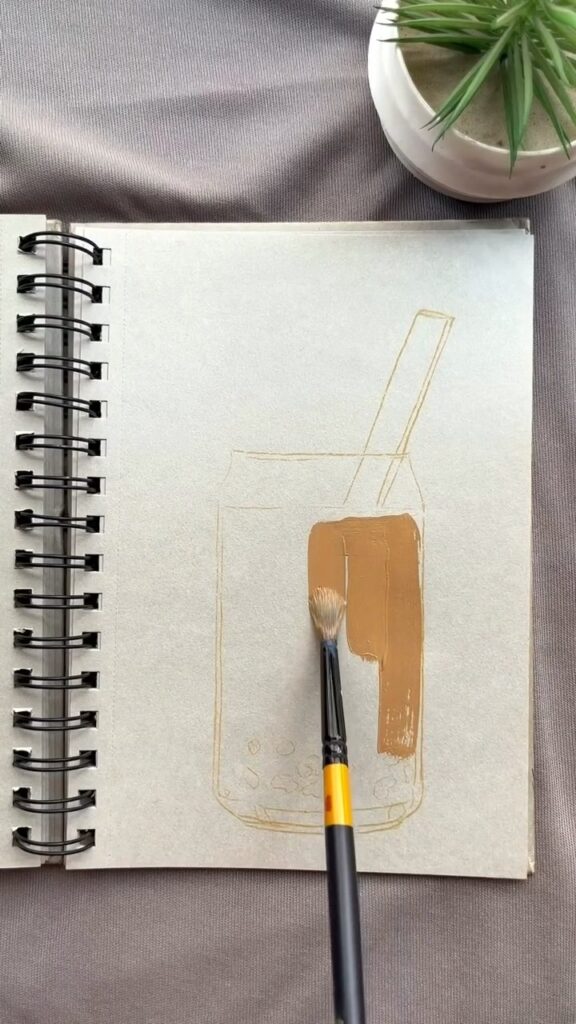
2. Base Coat the Bubble Tea 🖌️
Next, let’s get some color down!
Applying the Base Color
- Step 2.1: Using a flat brush, apply a light beige color as the base for your bubble tea. This will serve as the background color and give your painting a solid foundation.
- Step 2.2: Blend the beige smoothly across the sketched area, ensuring an even coat.
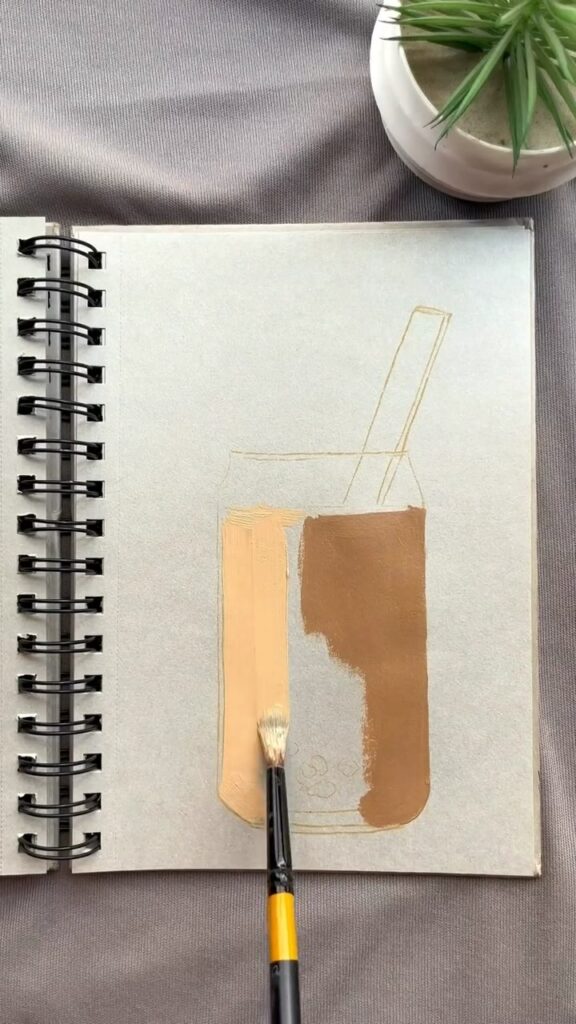
3. Add Dimension with Shadows 🌗
It’s time to add some depth to your painting!
Creating Shadows
- Step 3.1: Mix a slightly darker shade of beige or brown.
- Step 3.2: With a round brush, apply this darker color to the sides and bottom of the bubble tea cup to create shadows.
- Step 3.3: Blend the edges where the colors meet to avoid harsh lines.
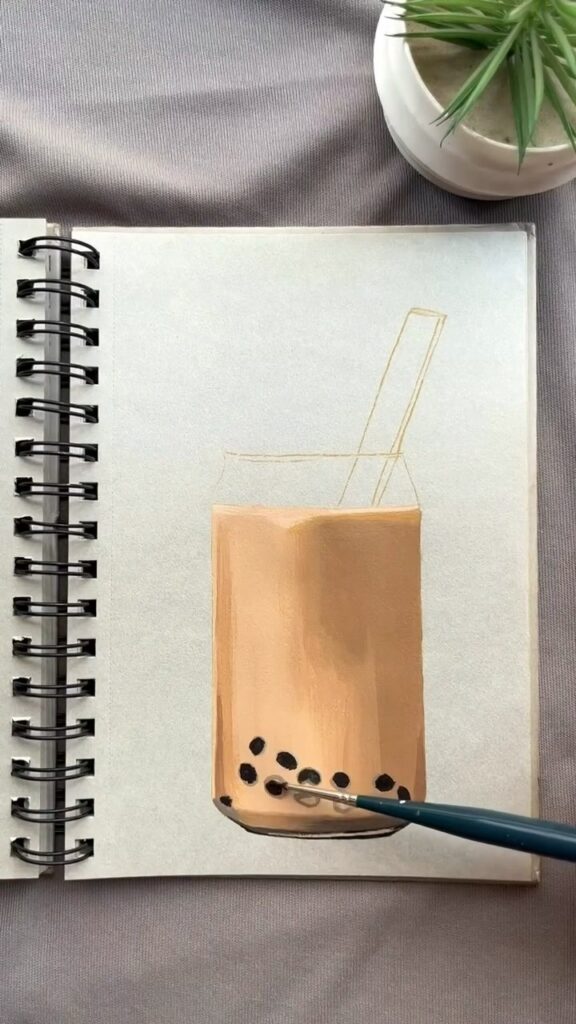
4. Paint the Tapioca Pearls ⚫
Now, the fun part – adding those cute tapioca pearls!
Painting the Pearls
- Step 4.1: Using a small round brush, dip into black paint and start dotting the bottom of the cup to create the tapioca pearls.
- Step 4.2: Vary the size of the pearls for a more realistic effect.
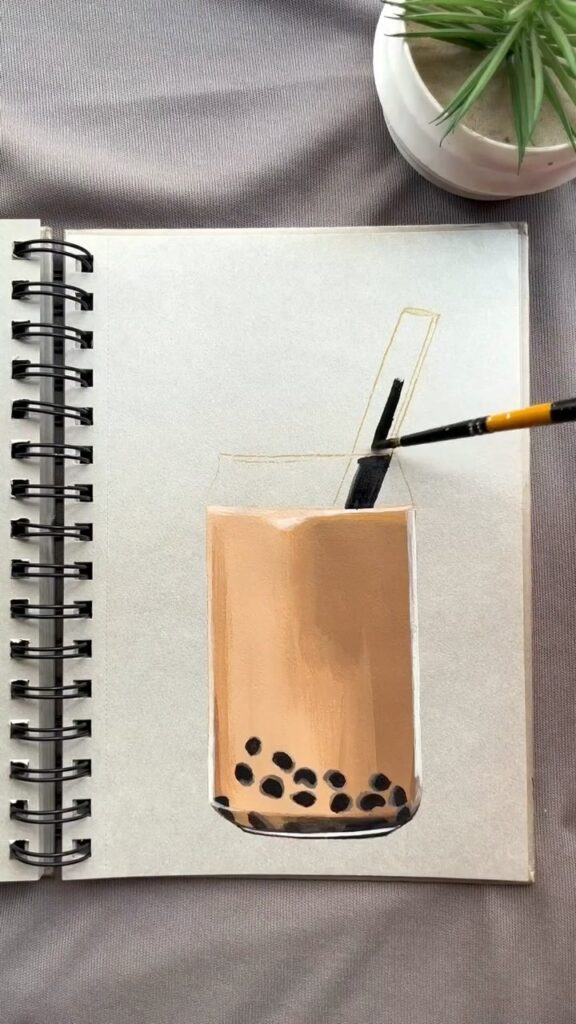
5. Paint the Straw 🥤
Time to give our bubble tea a straw!
Adding the Straw
- Step 5.1: Use a flat brush to paint the straw. Start with a base color – you can choose black or any color that pops!
- Step 5.2: Once the base is dry, add highlights with a lighter color to give it a cylindrical look.
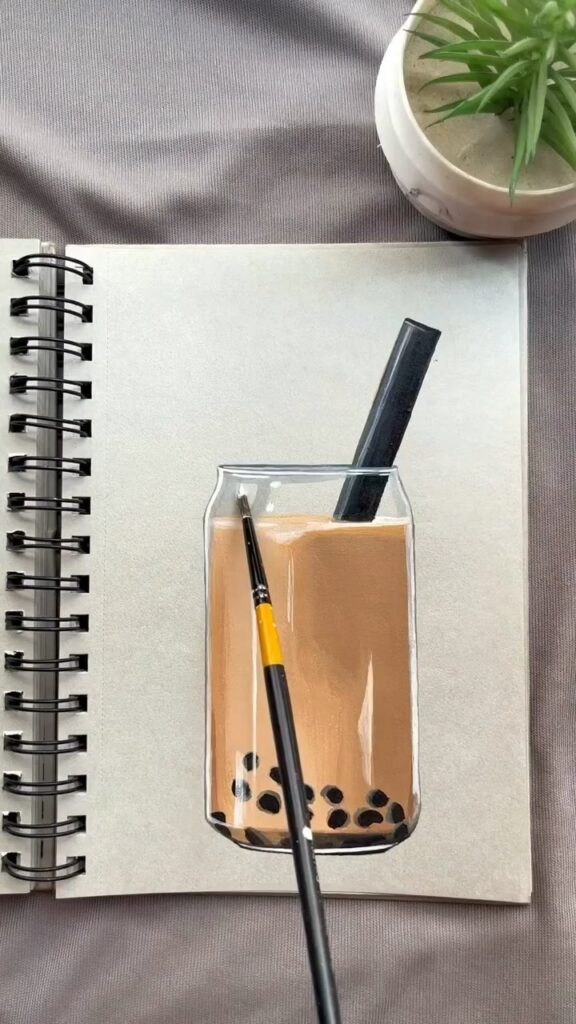
6. Add Highlights and Reflections ✨
Let’s make this painting pop with some highlights!
Highlighting
- Step 6.1: Using a fine brush, apply white paint to areas where light would naturally hit the cup and the pearls.
- Step 6.2: Add reflections on the surface of the bubble tea and the straw to enhance the glass effect.
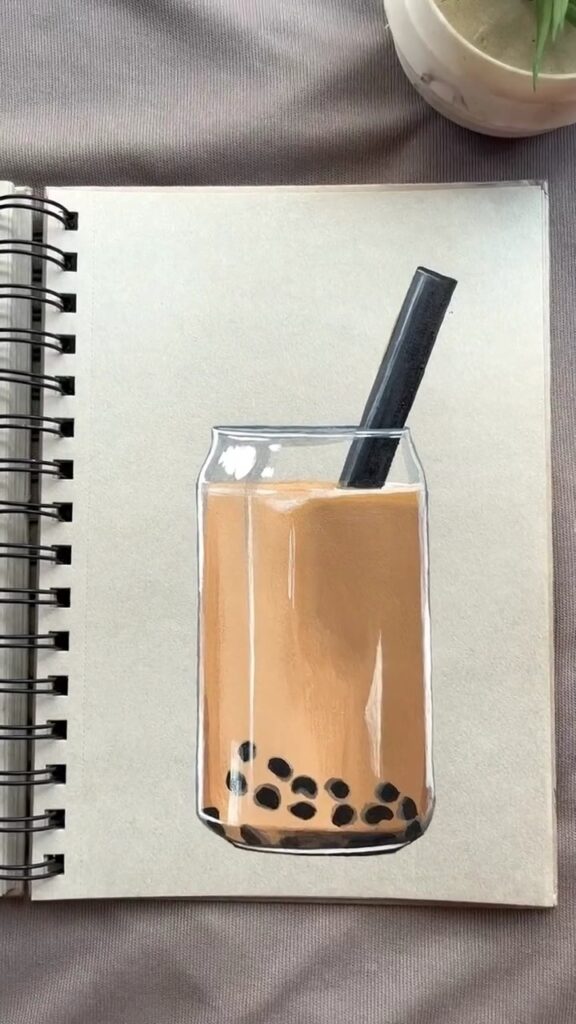
7. Finishing Touches 🎉
Almost done! Let’s polish off our painting.
Final Details
- Step 7.1: Check for any areas that need touch-ups or additional blending.
- Step 7.2: Ensure the edges of the cup and straw are clean and well-defined.
Display Your Masterpiece! 🖼️
Congratulations! You’ve just created a stunning Bubble Tea Acrylic Painting. 🌟 Now it’s time to show off your artwork. Find a perfect spot to display your new piece, and enjoy the sweet vibes it brings to your space.
Remember: Art is all about expressing yourself and having fun. So, don’t worry about making it perfect. Enjoy the process, and let your creativity flow! 🎨💖
Feel free to share your creations with us in the comments or tag us on social media. We can’t wait to see your bubbly masterpieces! 🧋✨
Happy painting! 🎨😊
Leave a Reply